For 1990-2009 cars only
Removal Procedure
- Remove the engine. Refer to Engine Replacement .
- Remove the manual transmission from the engine. Refer to Transmission Replacement .
- Remove the automatic transmission from the engine with the torque converter. Refer to Transmission Replacement .
- Remove the pressure plate and clutch disc. Refer to Clutch, Pressure Plate, and Pilot Bearing Replacement .
- Remove the flywheel. Refer to Engine Flywheel Replacement .
- Remove the drive belt. Refer to Drive Belt Replacement .
- Remove the oil pan. Refer to Oil Pan Replacement .
- Remove the oil pump module.
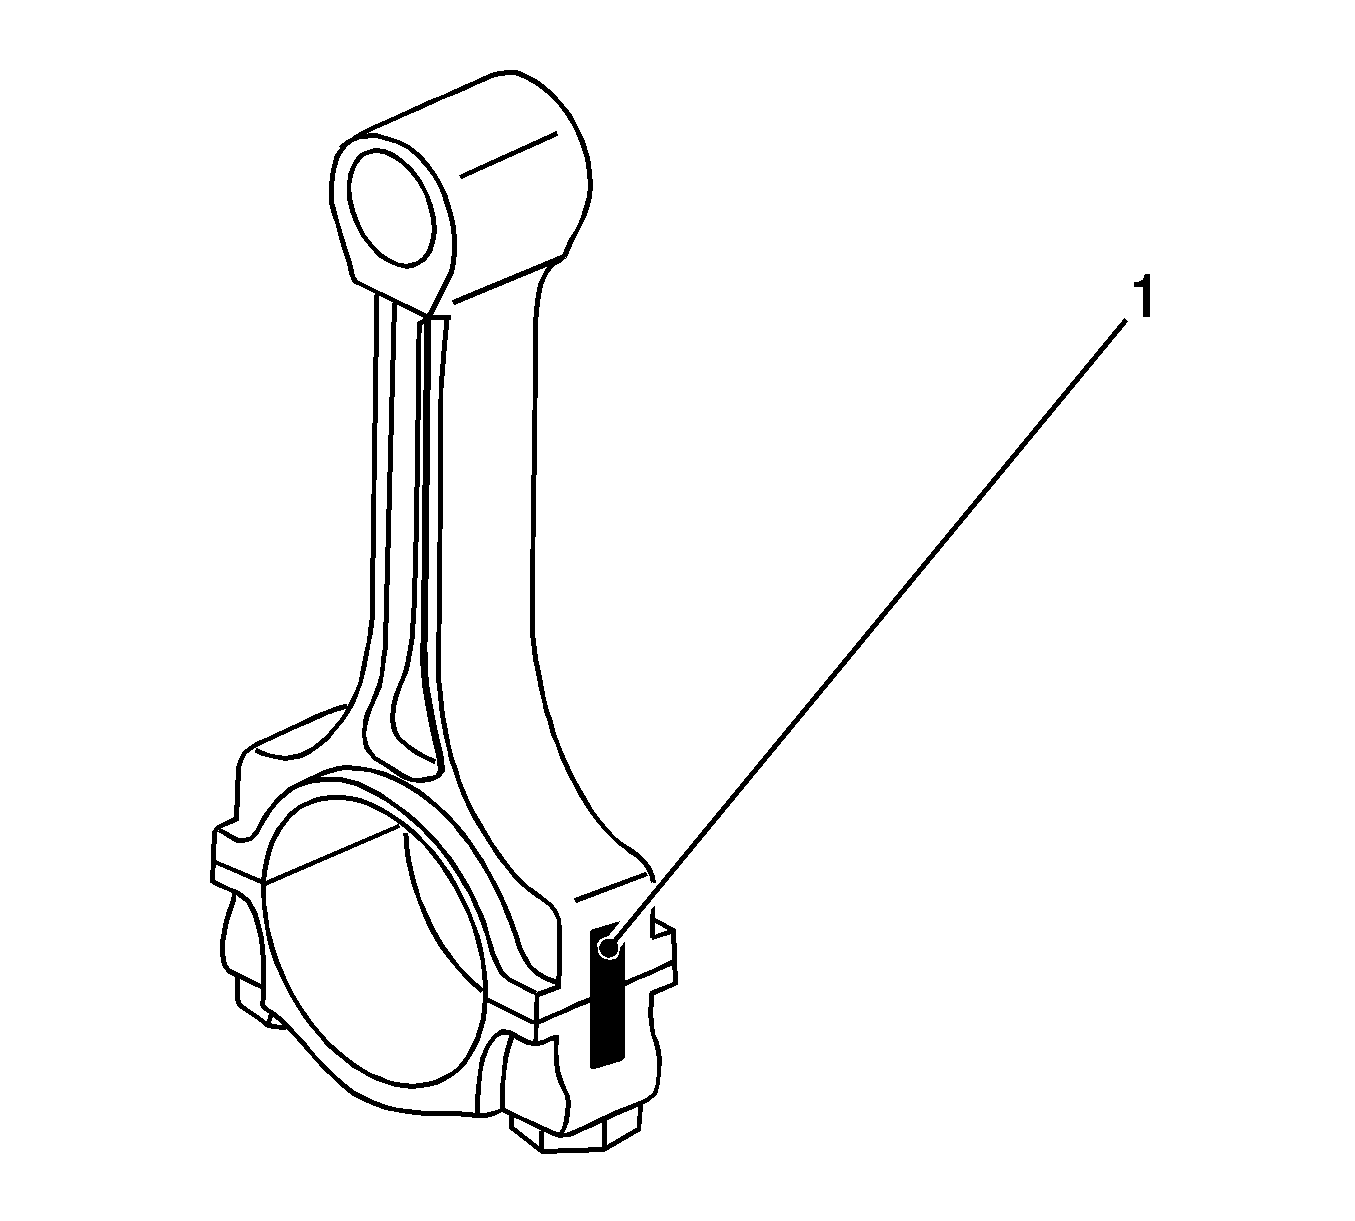
- Identify all the con-rod bearing caps (1).
- Remove the con-rod bearing caps 1 and 4 (1).
- Turn the crankshaft through 180 degrees.
- Remove the con-rod bearing caps 2 and 3 (1).
- Identify the crankshaft bearing caps.
- Remove the crankshaft bearing cap (1).
- Remove the crankshaft.
- Remove the crankshaft bearing clips.
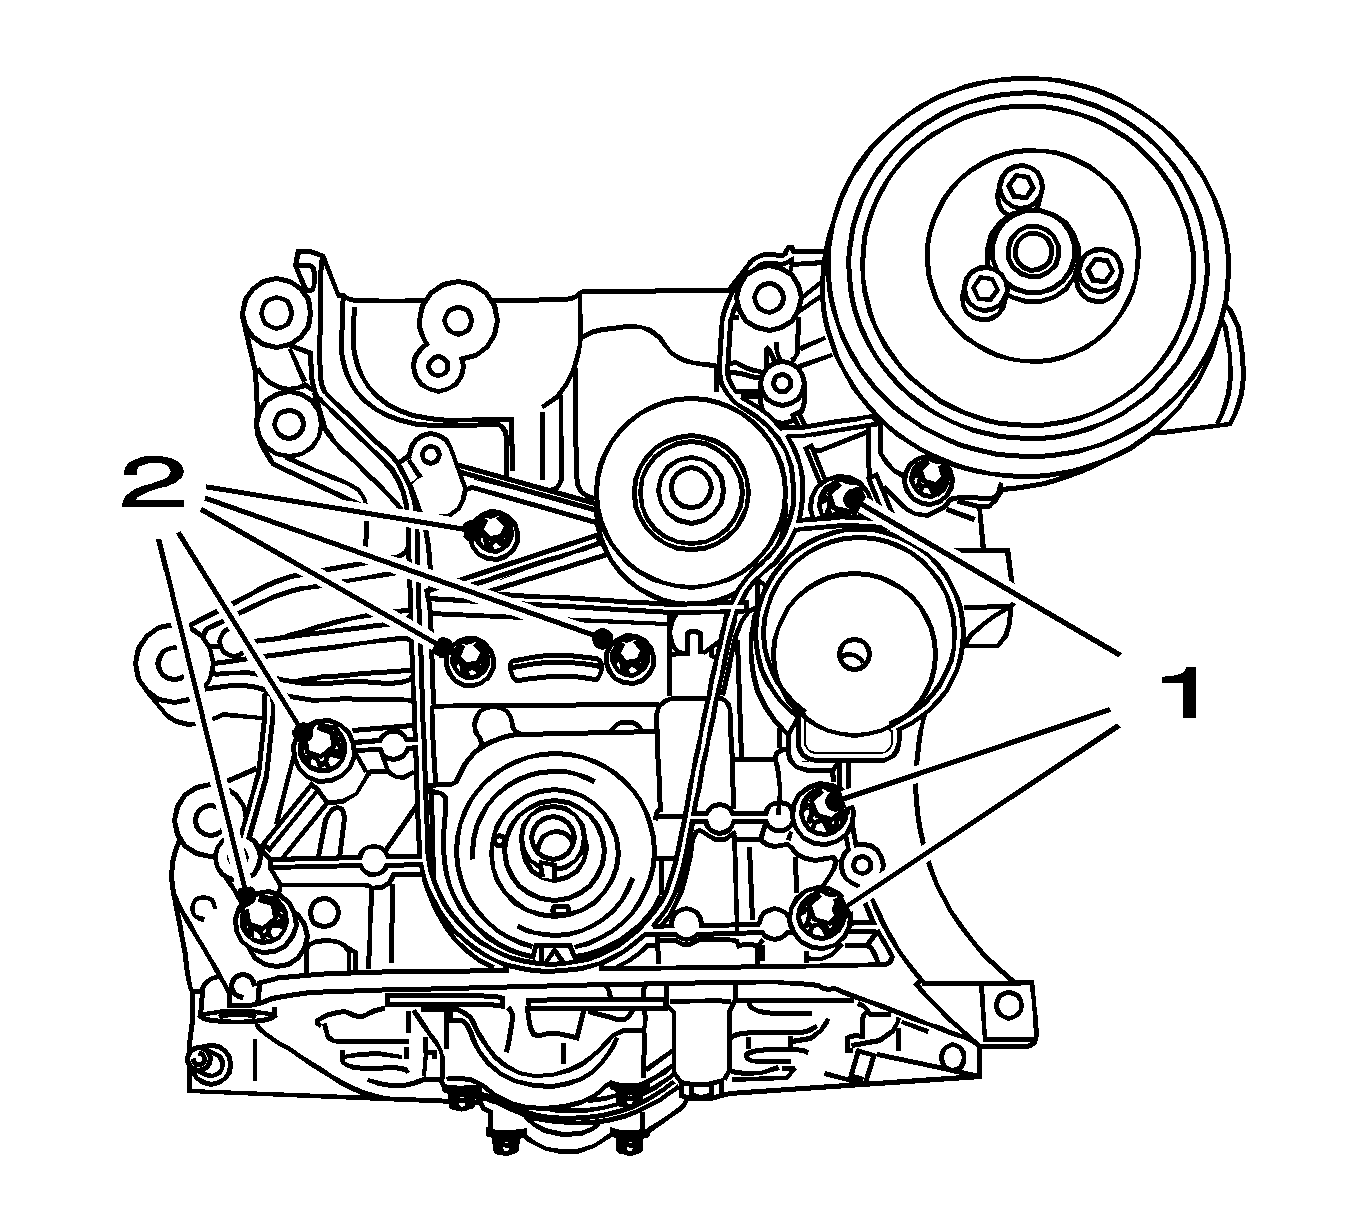
| Important: Note the different screw lengths. |
| • | Remove the 8 bolts (1, 2). |
| • | Remove the gasket. |
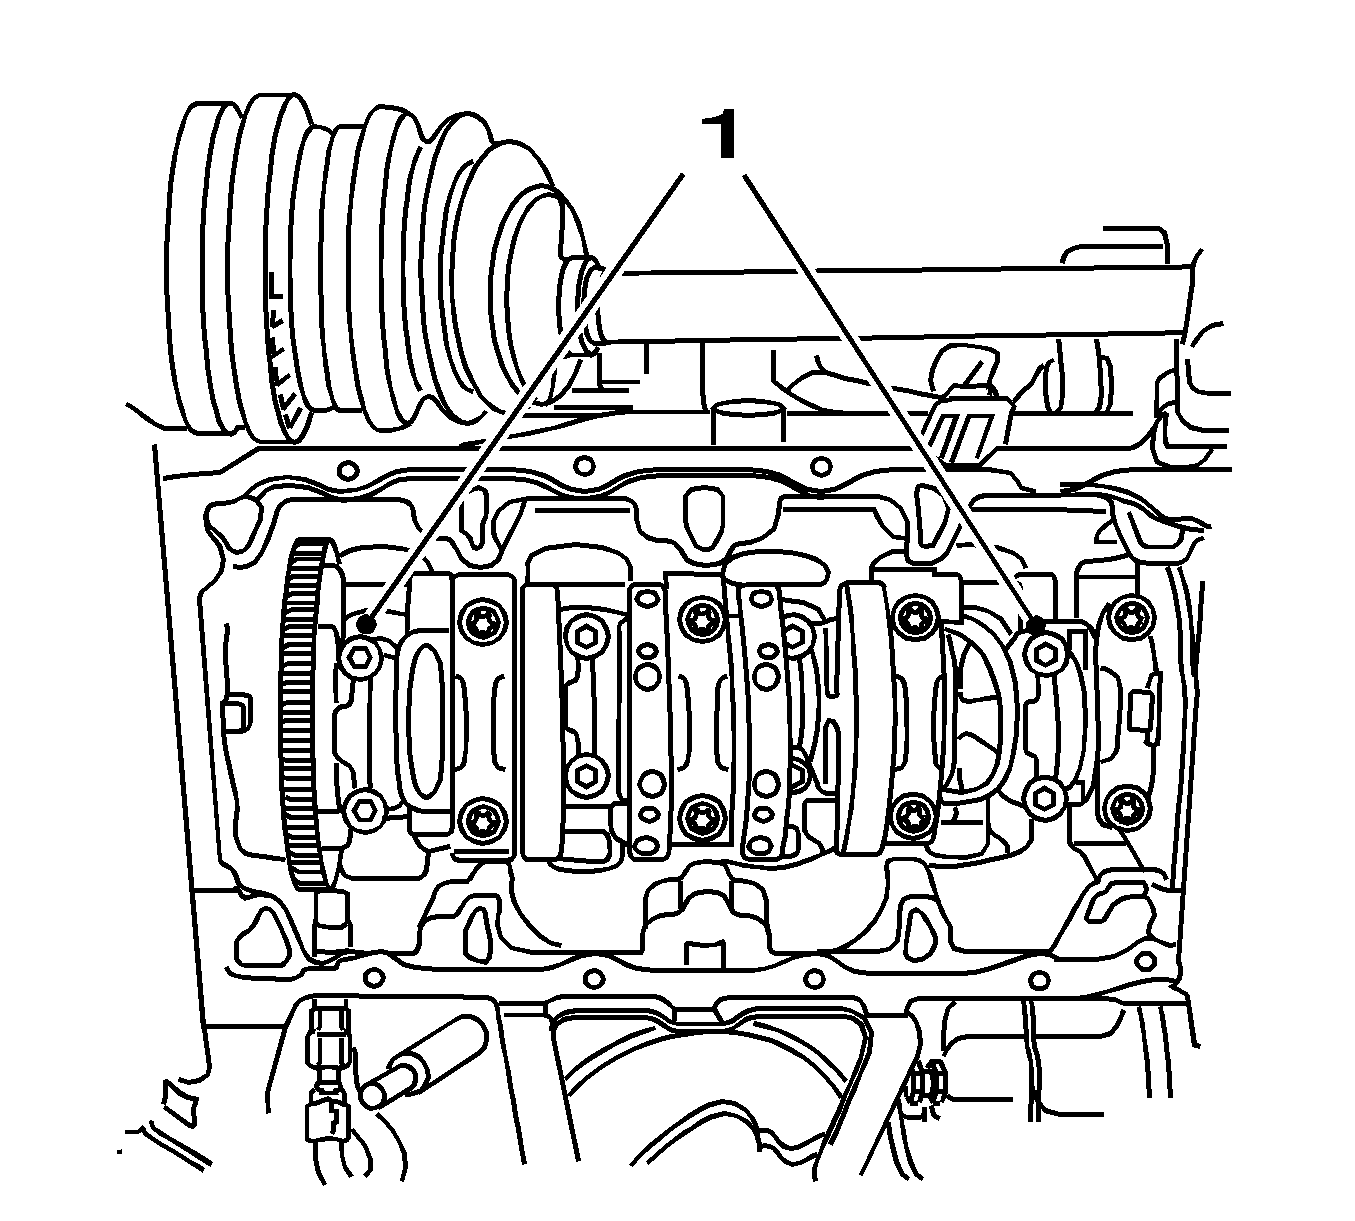
Remove the 4 bolts.
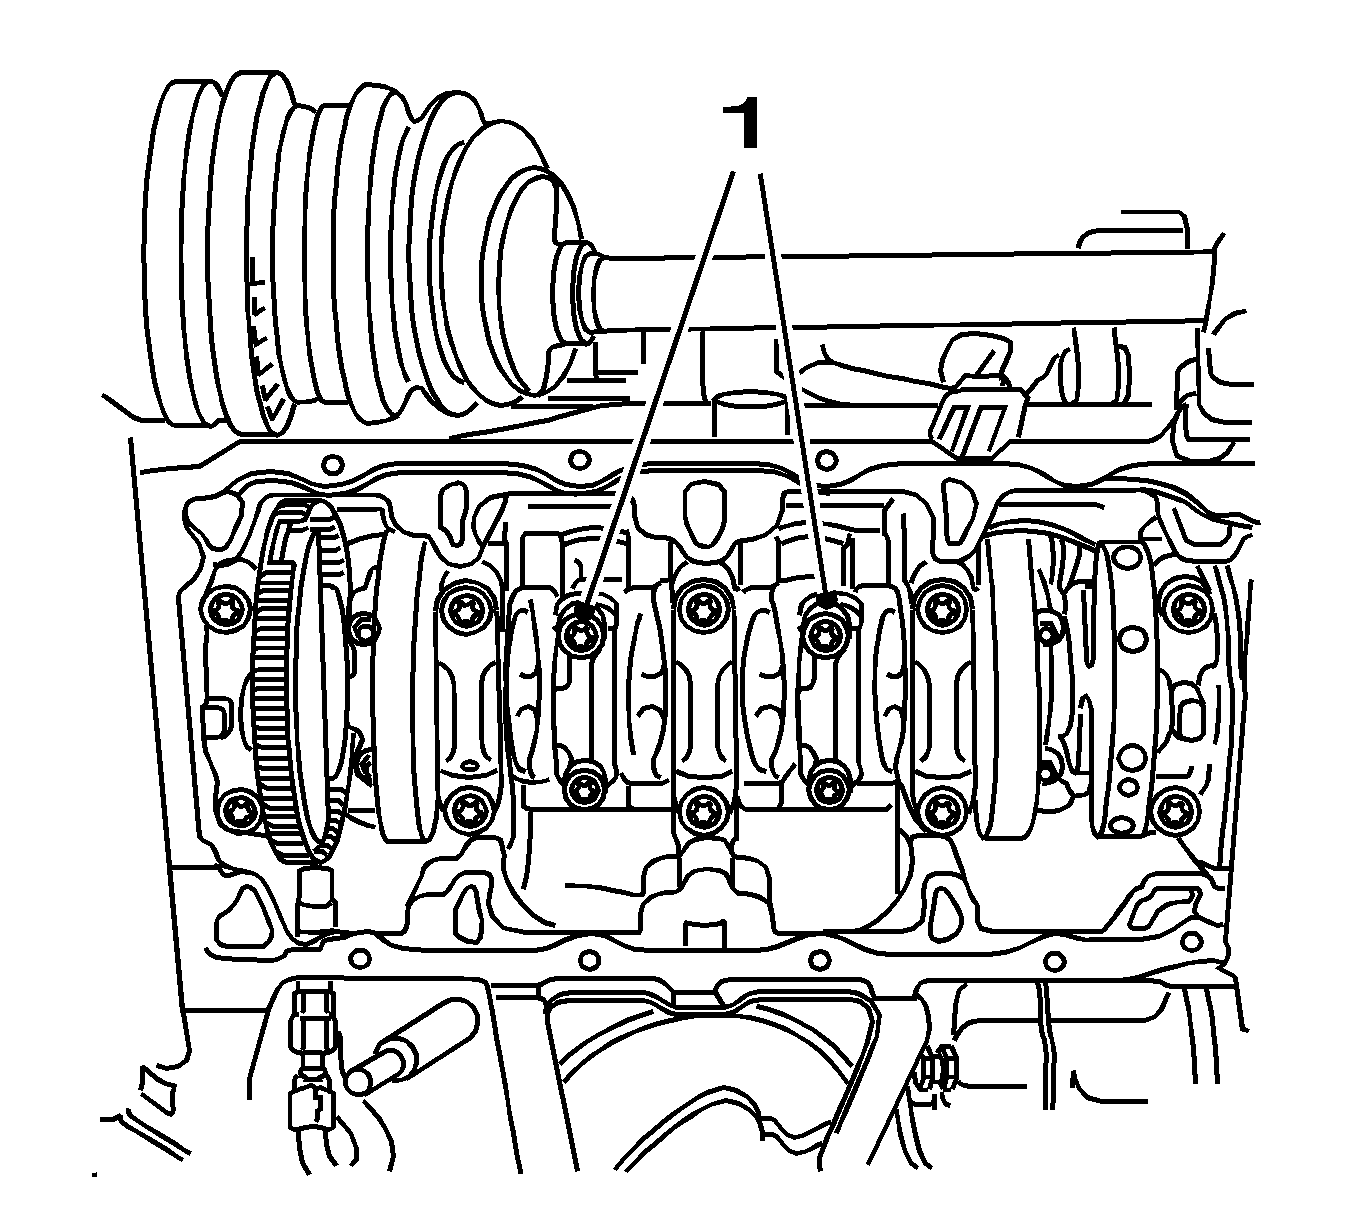
Remove the 4 bolts.
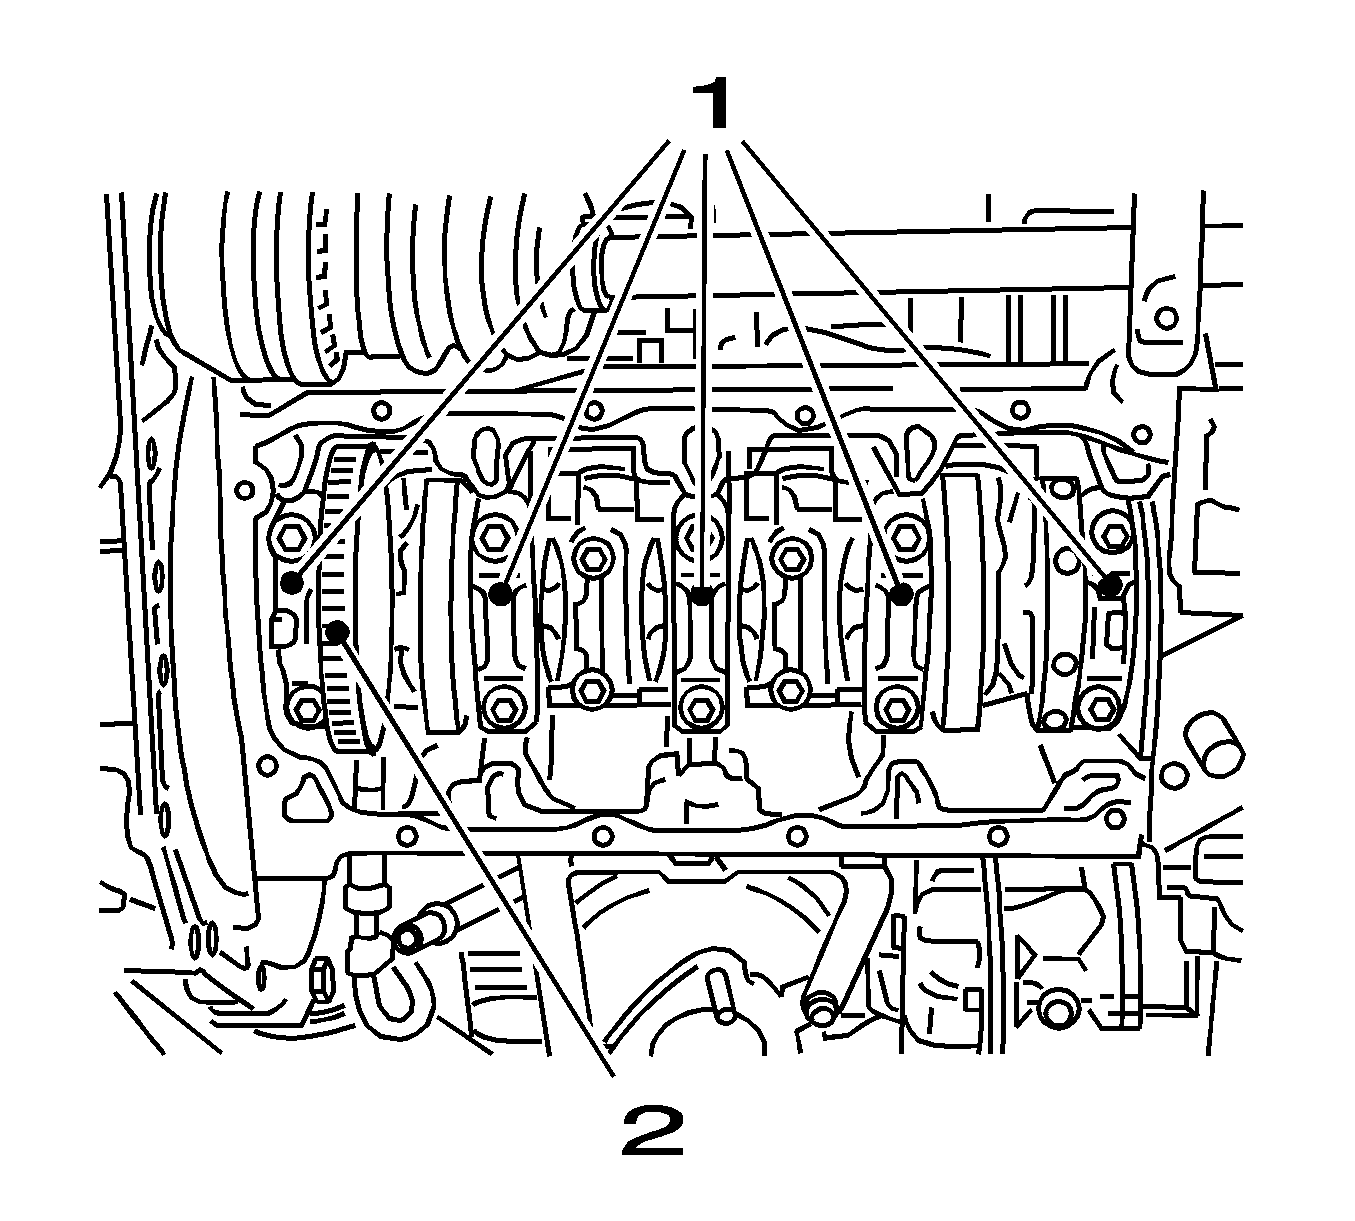
Remove the 10 bolts.
Installation Procedure
- Install the crankshaft bearing clips.
- Install the crankshaft.
- Install the crankshaft bearing caps 1-4.
- Install the crankshaft bearing cap.
- Tighten the crankshaft bearing cap.
- Install the con-rod bearing caps 2 and 3.
- Turn the crankshaft through 180 degrees.
- Install the con-rod bearing caps 1 and 4.
- Replace the crankshaft seal ring (rear). Refer to Crankshaft Rear Oil Seal Replacement .
- Install the oil pump module.
- Seal Ring - Front Crankshaft, Replace. Refer to Crankshaft Front Oil Seal Replacement .
- Install the oil pan. Refer to Oil Pan Replacement
- Install the flywheel. Refer to Engine Flywheel Replacement .
- Install the pressure plate and clutch disk. Refer to Clutch, Pressure Plate, and Pilot Bearing Replacement .
- Replace the drive belt drive gear.
- Install the drive belt. Refer to Drive Belt Replacement .
- Install the automatic transmission in engine with torque converter. Refer to Transmission Replacement .
- Install the manual transmission. Refer to Transmission Replacement .
- Install the engine. Refer to Engine Replacement .
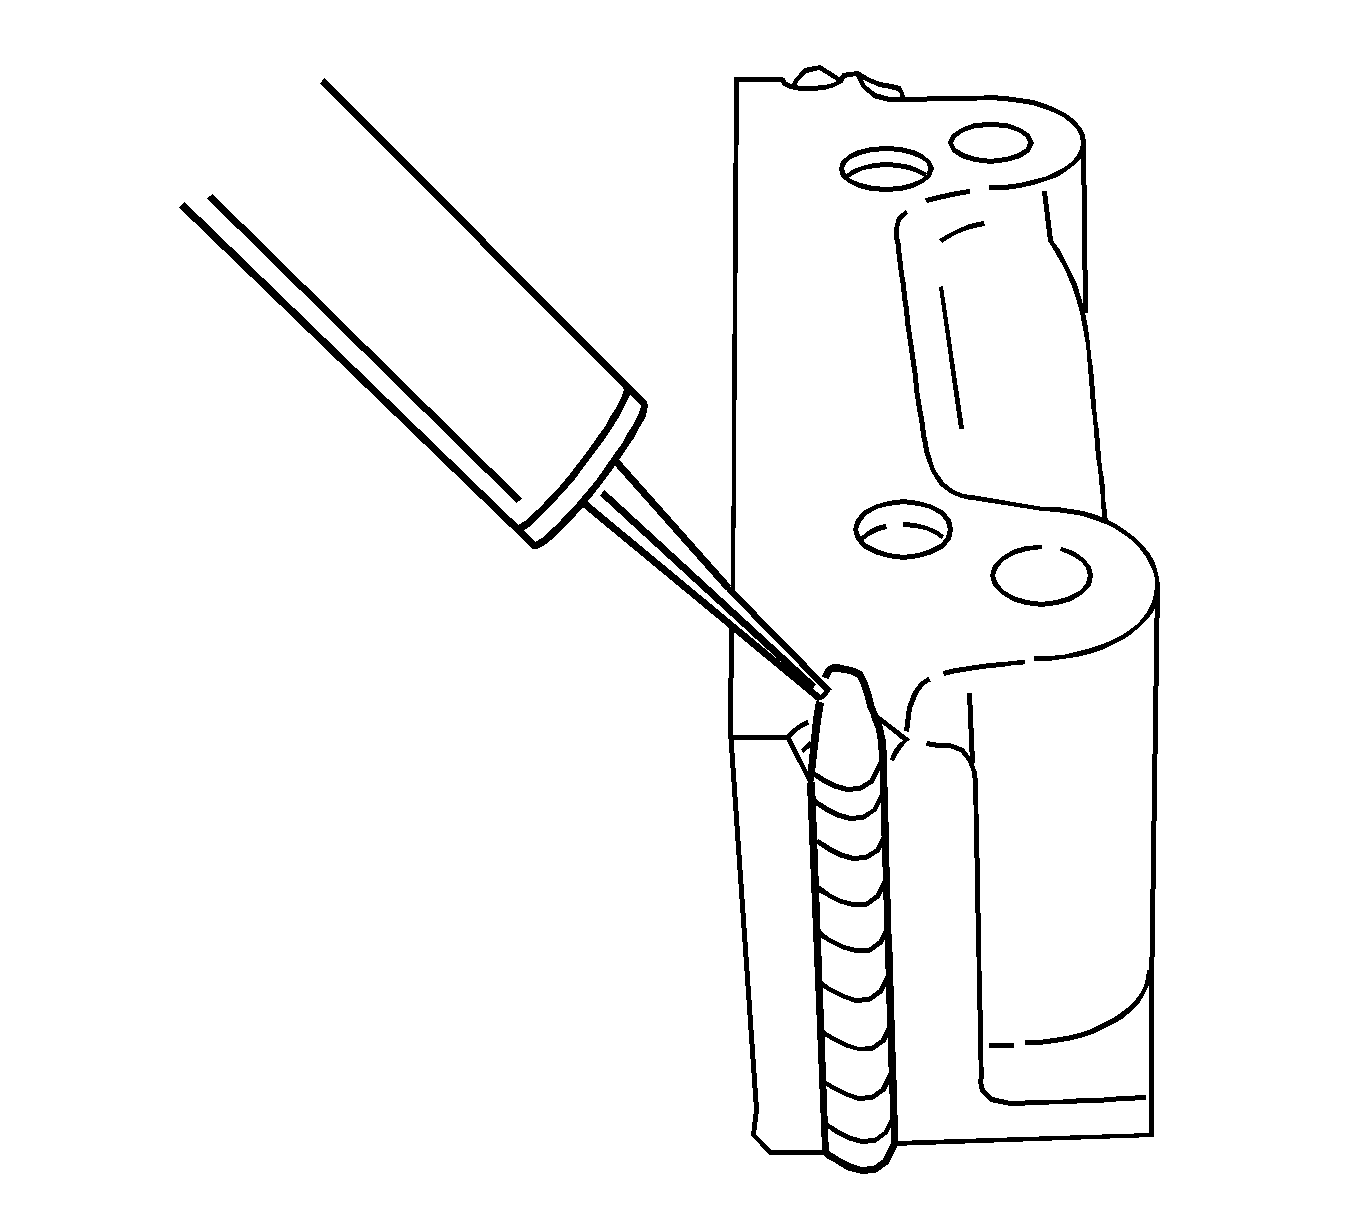
Important: Inspect the installation position.
Oil bearing clips.
Important: Inspect the installation position.
| • | Oil bearing clips. |
| • | Install the 8 bolts. |
Notice: Refer to Fastener Notice in the Preface section.
Important: Inspect the installation position.
| • | Apply the adhesive sealing compound (black) to the grooves of the rear crankshaft bearing cap. |
| • | Install the 2 bolts. |
Use new bolts.
Tighten
Tighten the 10 bolts to 50 N·m (37 lb ft) plus 45 degrees plus 15 degrees.
Important: Inspect the installation position.
| • | Oil bearing clips. |
| • | Renew the bolts. |
Tighten
Tighten the 4 bolts to 35 N·m (26 lb ft) plus 45 degrees plus 15 degrees.
Important: Inspect the installation position.
| • | Oil bearing clips. |
| • | Install new the bolts. |
Tighten
Tighten the 4 bolts to 35 N·m (26 lb ft) plus 45 degrees plus 15 degrees.
Important: Note the different screw lengths.
Replace the gasket.
Tighten
Tighten the 8 bolts to 20 N·m (15 lb ft).
