For 1990-2009 cars only
Tools Required
J 35616 GM-Approved Terminal Test Kit
Removal Procedure
- Place the folding top in the service position. Refer to Folding Top Retainer Strap Installation Position .
- Remove the left and right sides of the lock pillar upper garnish molding . Refer to Lock Pillar Upper Garnish Molding Replacement .
- Remove the rear compartment front trim panel. Refer to Rear Compartment Front Trim Panel Replacement .
- Remove the rear compartment right side trim. Refer to Rear Compartment Side Trim Replacement - Right Side .
- Remove the rear compartment left side trim. Refer to Rear Compartment Side Trim Replacement - Left Side .
- Release the hydraulic pump pressure. Refer to Folding Top Pump Bypass Valve Pressure Release Adjustment .
- Disconnect the electrical connectors from the rear window defogger location in the rear compartment.
- Disconnect right side electrical connector from the folding top.
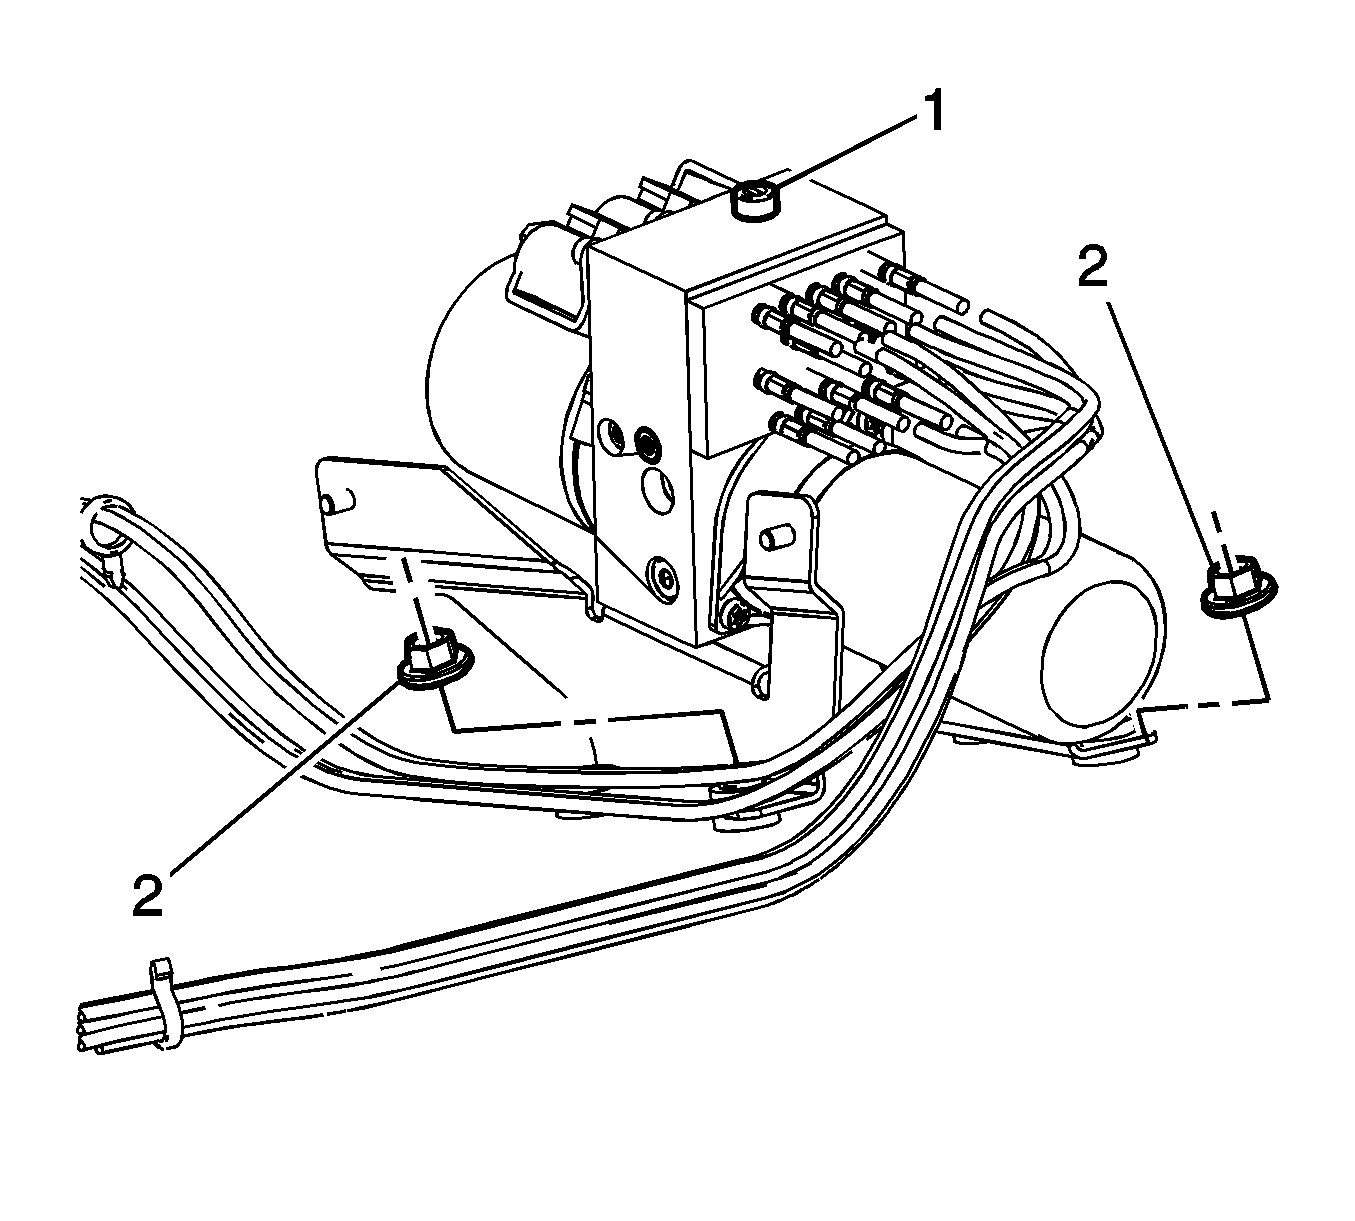
- Disconnect the left side of the hydraulic hoses (2) quick release to the valve (3).
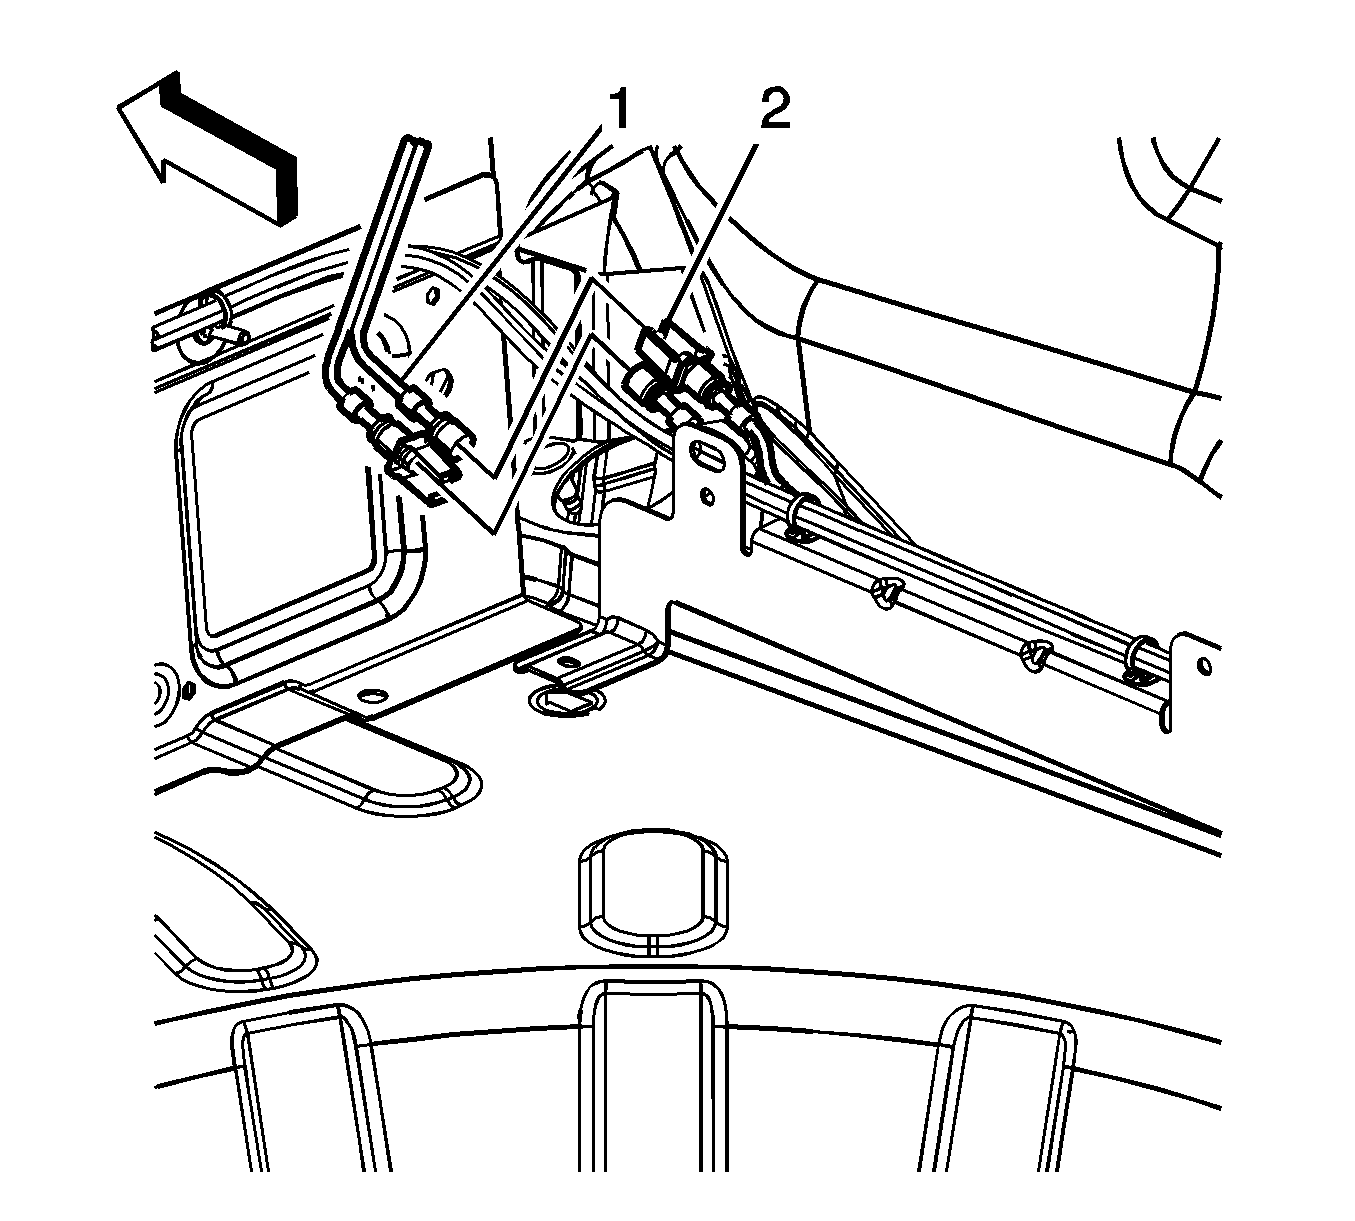
- Disconnect the right side quick releases from the hydraulic line connectors (1, 2).
- Remove the rear center seat belts. Refer to Rear Seat Belt Retractor Replacement .
- Partially remove the rear end trim finish upper panel (1). Pull enough slack on the seat belts to be able to pull the panel up and over the rear seat headrests and lay the panel against the rear seat.
- Remove the bolts (1) from the left and right of the side rail link (2).
- Remove the folding top from the top pivot bracket.
- With the aid of an assistant, remove the folding top module from the vehicle.
Caution: Refer to Servicing Electrical Components Caution in the Preface section.

| • | Place a suitable container and/or rags under the hydraulic cylinder lines before disconnecting. |
| • | Wait 5 minutes before separating the hydraulic cylinder lines at any connectors. |


Important: Ensure all electrical connectors or hydraulic cylinder lines are supported.


Installation Procedure
- With the aid of an assistant, install the folding top module to the vehicle.
- Install the folding top to the pivot brackets.
- Install the bolts (1) to the left and right of the side rail link (2) Do Not tighten at this time.
- Connect the right side quick releases to the hydraulic line connectors (1, 2).
- Connect the left side of the hydraulic hoses (2) quick release to the valve (3).
- Manually move the folding top to the service position. Refer to Folding Top Retainer Strap Installation Position .
- Tighten the bolts (1) to the left and right of the side rail link (2).
- Close the pump bypass valve. Refer to Folding Top Pump Bypass Valve Pressure Release Adjustment .
- Connect the electrical connectors to the rear window defogger.
- Connect left and right sides electrical connector to the folding top.
- Remove the folding top straps. Refer to Folding Top Retainer Strap Installation Position .
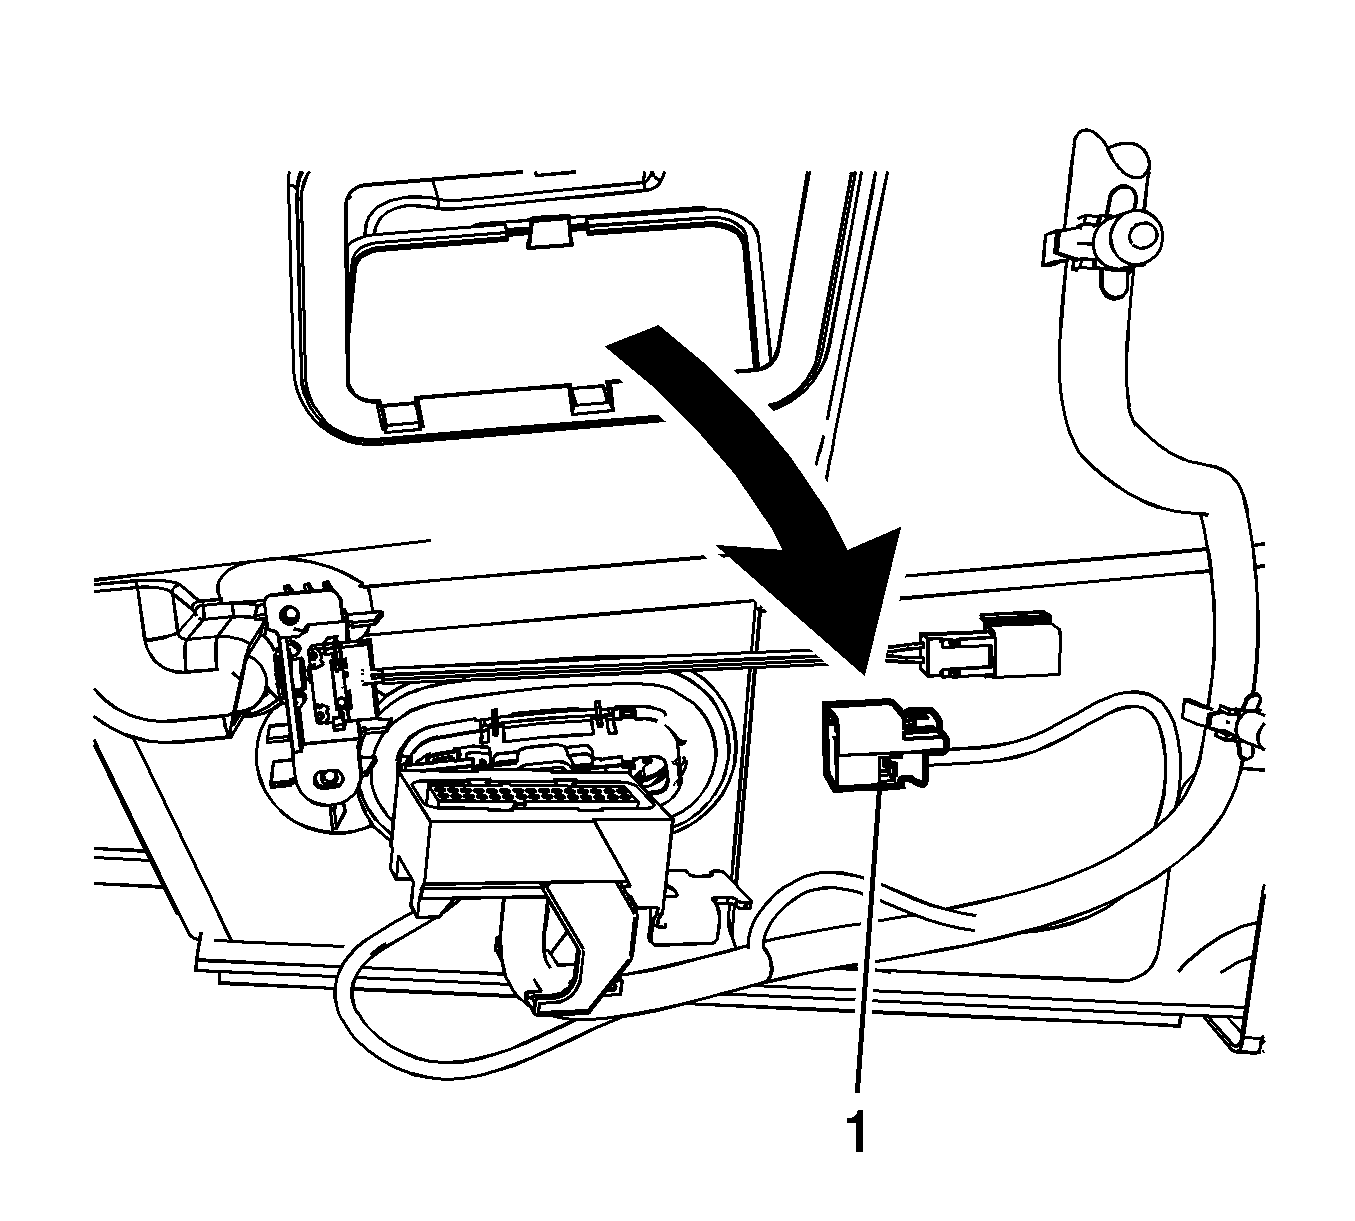
- Connect a J 35616 jumper switch to the actuator assembly folding top stowage compartment wiring harness (1) located behind the right rear trim panel next to the folding top hydraulic pump.
- Using the jumper switch, cycle the folding top 3 times to ensure there are no leaks.
- Inspect the fluid level. Add fluid if needed. Refer to Folding Top Fluid Addition .
- Install the left and right sides of the lock pillar upper garnish molding . Refer to Lock Pillar Upper Garnish Molding Replacement .
- Install the rear center seat belts. Refer to Rear Seat Belt Retractor Replacement .
- Install the rear compartment trim panel. Refer to Rear Compartment Front Trim Panel Replacement .
- Install the rear compartment right side trim. Refer to Rear Compartment Side Trim Replacement - Right Side .
- Install the rear compartment left side trim. Refer to Rear Compartment Side Trim Replacement - Left Side .
- Ensure the folding top is working and is aligned to the side windows.
Important:
• If reinstalling the original top, the top will stay in the service position. • If installing a new folding top, the top will come in the fully open position. It will be necessary to position the top to the vehicle, connect the hydraulic quick releases, then put the top in the service position. • DO NOT pinch hoses or wiring when installing the new top.


Notice: Refer to Fastener Notice in the Preface section.

Tighten
Tighten the bolts to 22 N·m (16 lb ft).


