Radiator Replacement Gasoline
Removal Procedure
The type of radiator core varies according to the model and the engine type. The radiator assembly includes a shroud and may include an oil cooler in the core. You may have to remove the oil cooler on vehicles equipped with an oil cooler in order to ease removal of the radiator core. Refer to Power Steering System in the Steering Section for power steering oil cooler removal and installation.
- Drain the coolant from the radiator. Refer to Cooling System Draining and Filling .
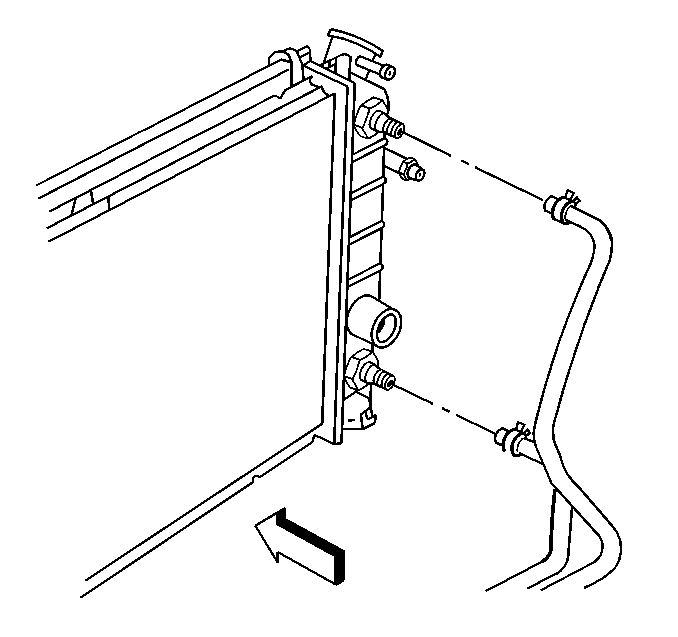
- Disconnect the transmission cooler lines.
- Disconnect the radiator inlet and outlet hoses.
- Disconnect the overflow hose from the radiator.
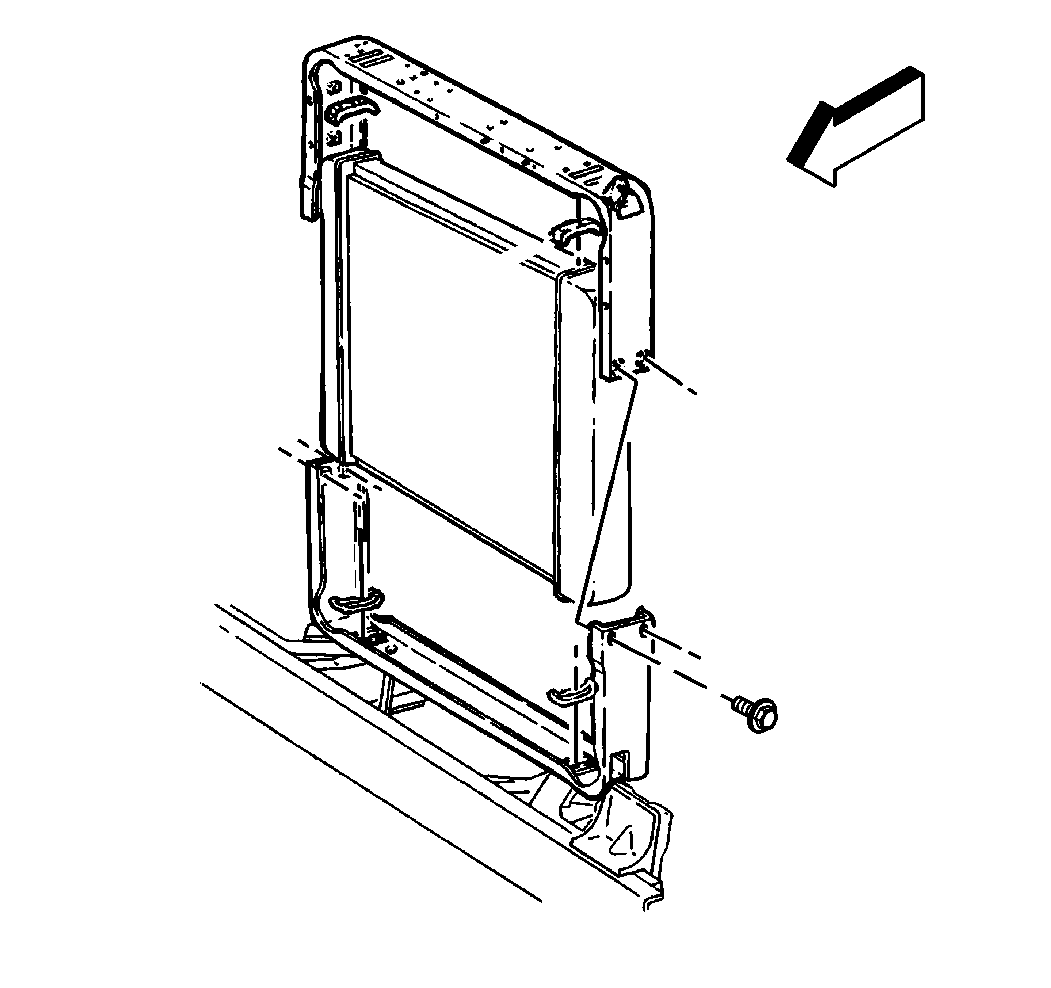
- Remove the fan shroud. Refer to Fan Shroud Replacement .
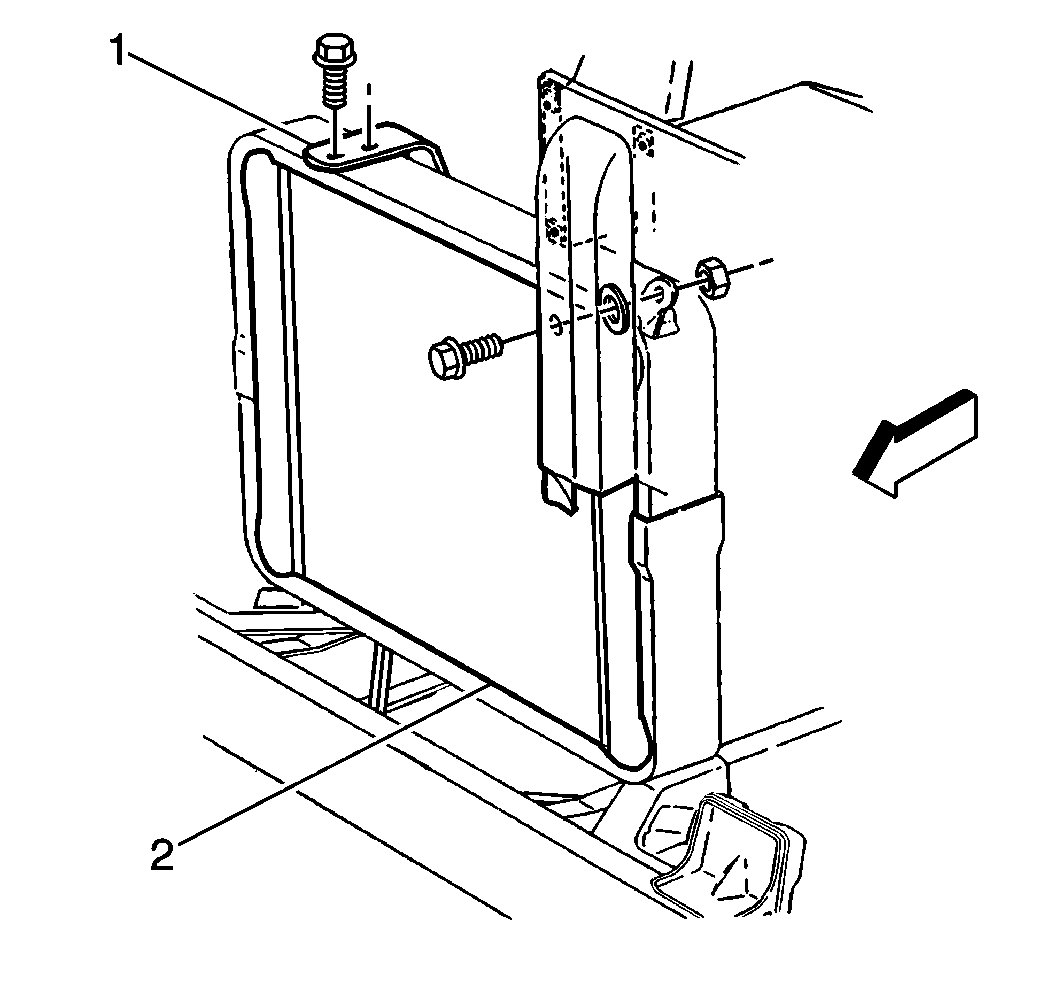
- Remove the upper mounting bracket bolts (1) of the radiator (3). Remove the bracket (2).
- Remove the filler neck hose from the radiator.
- Remove the radiator from the vehicle.


Installation Procedure
- Install the radiator into the vehicle.
- Install the filler neck hose on the radiator.
- Install the radiator upper mounting bracket (2) and the bolts (1).
- Connect the transmission cooler lines.
- Install the fan shroud. Refer to Fan Shroud Replacement .
- Connect the overflow hose to the radiator.
- Connect the radiator inlet hose and the radiator outlet hose to the radiator.
- Add the coolant to the radiator. Refer to Cooling System Draining and Filling .
- Install the radiator cap. Make sure that the arrows line up with the overflow tube.
- Check the radiator for leaks.

Notice: Use the correct fastener in the correct location. Replacement fasteners must be the correct part number for that application. Fasteners requiring replacement or fasteners requiring the use of thread locking compound or sealant are identified in the service procedure. Do not use paints, lubricants, or corrosion inhibitors on fasteners or fastener joint surfaces unless specified. These coatings affect fastener torque and joint clamping force and may damage the fastener. Use the correct tightening sequence and specifications when installing fasteners in order to avoid damage to parts and systems.
Tighten
Tighten the bolts to 17 N·m (13 lb ft).

| 8.1. | Remove the radiator cap. |
| 8.2. | Start the engine. Allow the engine to run until the upper radiator hose is hot and the thermostat is open. |
| 8.3. | Add the coolant while the engine is idling. Add the coolant until the coolant level reaches the bottom of the filler mark. |
Radiator Replacement Diesel
Removal Procedure
- Drain the coolant from the radiator. Refer to Cooling System Draining and Filling .
- Remove the air intake tube.
- Remove the windshield washer reservoir.
- Disconnect the hood release cable.
- Remove the upper fan shroud. Refer to Fan Shroud Replacement .
- Disconnect the upper radiator hose from the radiator.
- Disconnect the transmission cooler lines from the radiator.
- Remove the low coolant sensor.
- Disconnect the overflow hose from the radiator.
- Remove the lower radiator hose.
- Remove the radiator mounting bracket (1) from the radiator (2).
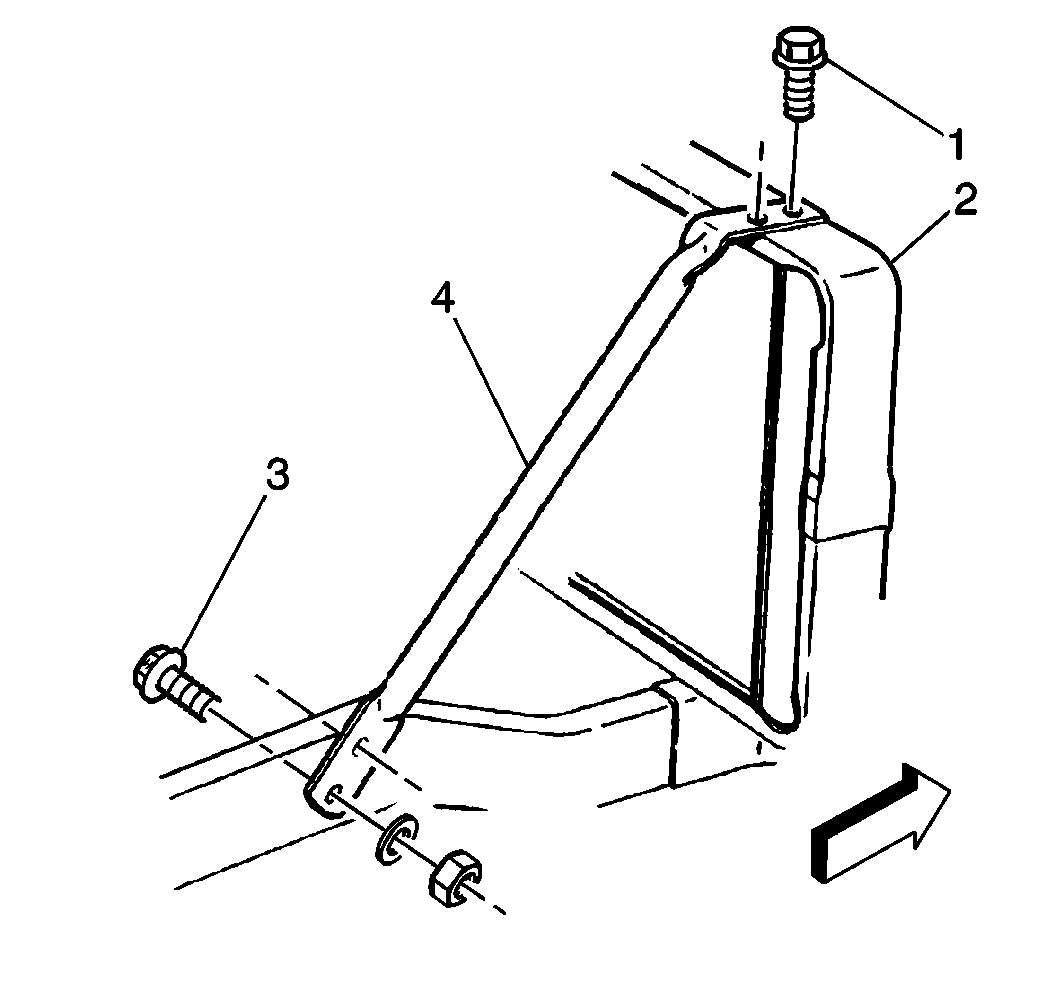
- Remove the upper radiator support bolts (1, 3) and the support (4) from the radiator (2).
- Remove the radiator from the vehicle.

Raise the vehicle. Refer to Lifting and Jacking the Vehicle in General Information.


Installation Procedure
- Install the radiator into the vehicle.
- Install the upper radiator support bolts (1, 3) and the support (4) from the radiator (2).
- Install the radiator mounting bracket (1) to the radiator (2).
- Connect the lower radiator hose to the radiator.
- Lower the Vehicle.
- Connect the overflow hose to the radiator.
- Install the low coolant sensor.
- Connect the transmission cooler lines to the radiator.
- Connect the upper radiator hose to the radiator.
- Install the upper fan shroud. Refer to Fan Shroud Replacement .
- Connect the hood release cable.
- Install the windshield washer reservoir.
- Install the air intake tube.
- Add coolant to the radiator. Refer to Cooling System Draining and Filling .
- Install the radiator cap. Make sure that the arrows line up with the overflow tube.
- Check the radiator for leaks.


Notice: Use the correct fastener in the correct location. Replacement fasteners must be the correct part number for that application. Fasteners requiring replacement or fasteners requiring the use of thread locking compound or sealant are identified in the service procedure. Do not use paints, lubricants, or corrosion inhibitors on fasteners or fastener joint surfaces unless specified. These coatings affect fastener torque and joint clamping force and may damage the fastener. Use the correct tightening sequence and specifications when installing fasteners in order to avoid damage to parts and systems.
Tighten
Tighten the bolts to 17 N·m (13 lb ft).

| 14.1. | Remove the radiator cap. |
| 14.2. | Start the engine. Allow the engine to operate until the upper radiator hose is hot and the thermostat is open. |
| 14.3. | Add coolant while the engine at idle. Add the coolant until the coolant reaches the bottom of the filler neck. |
