For 1990-2009 cars only
Luggage Carrier Replacement With Sunroof
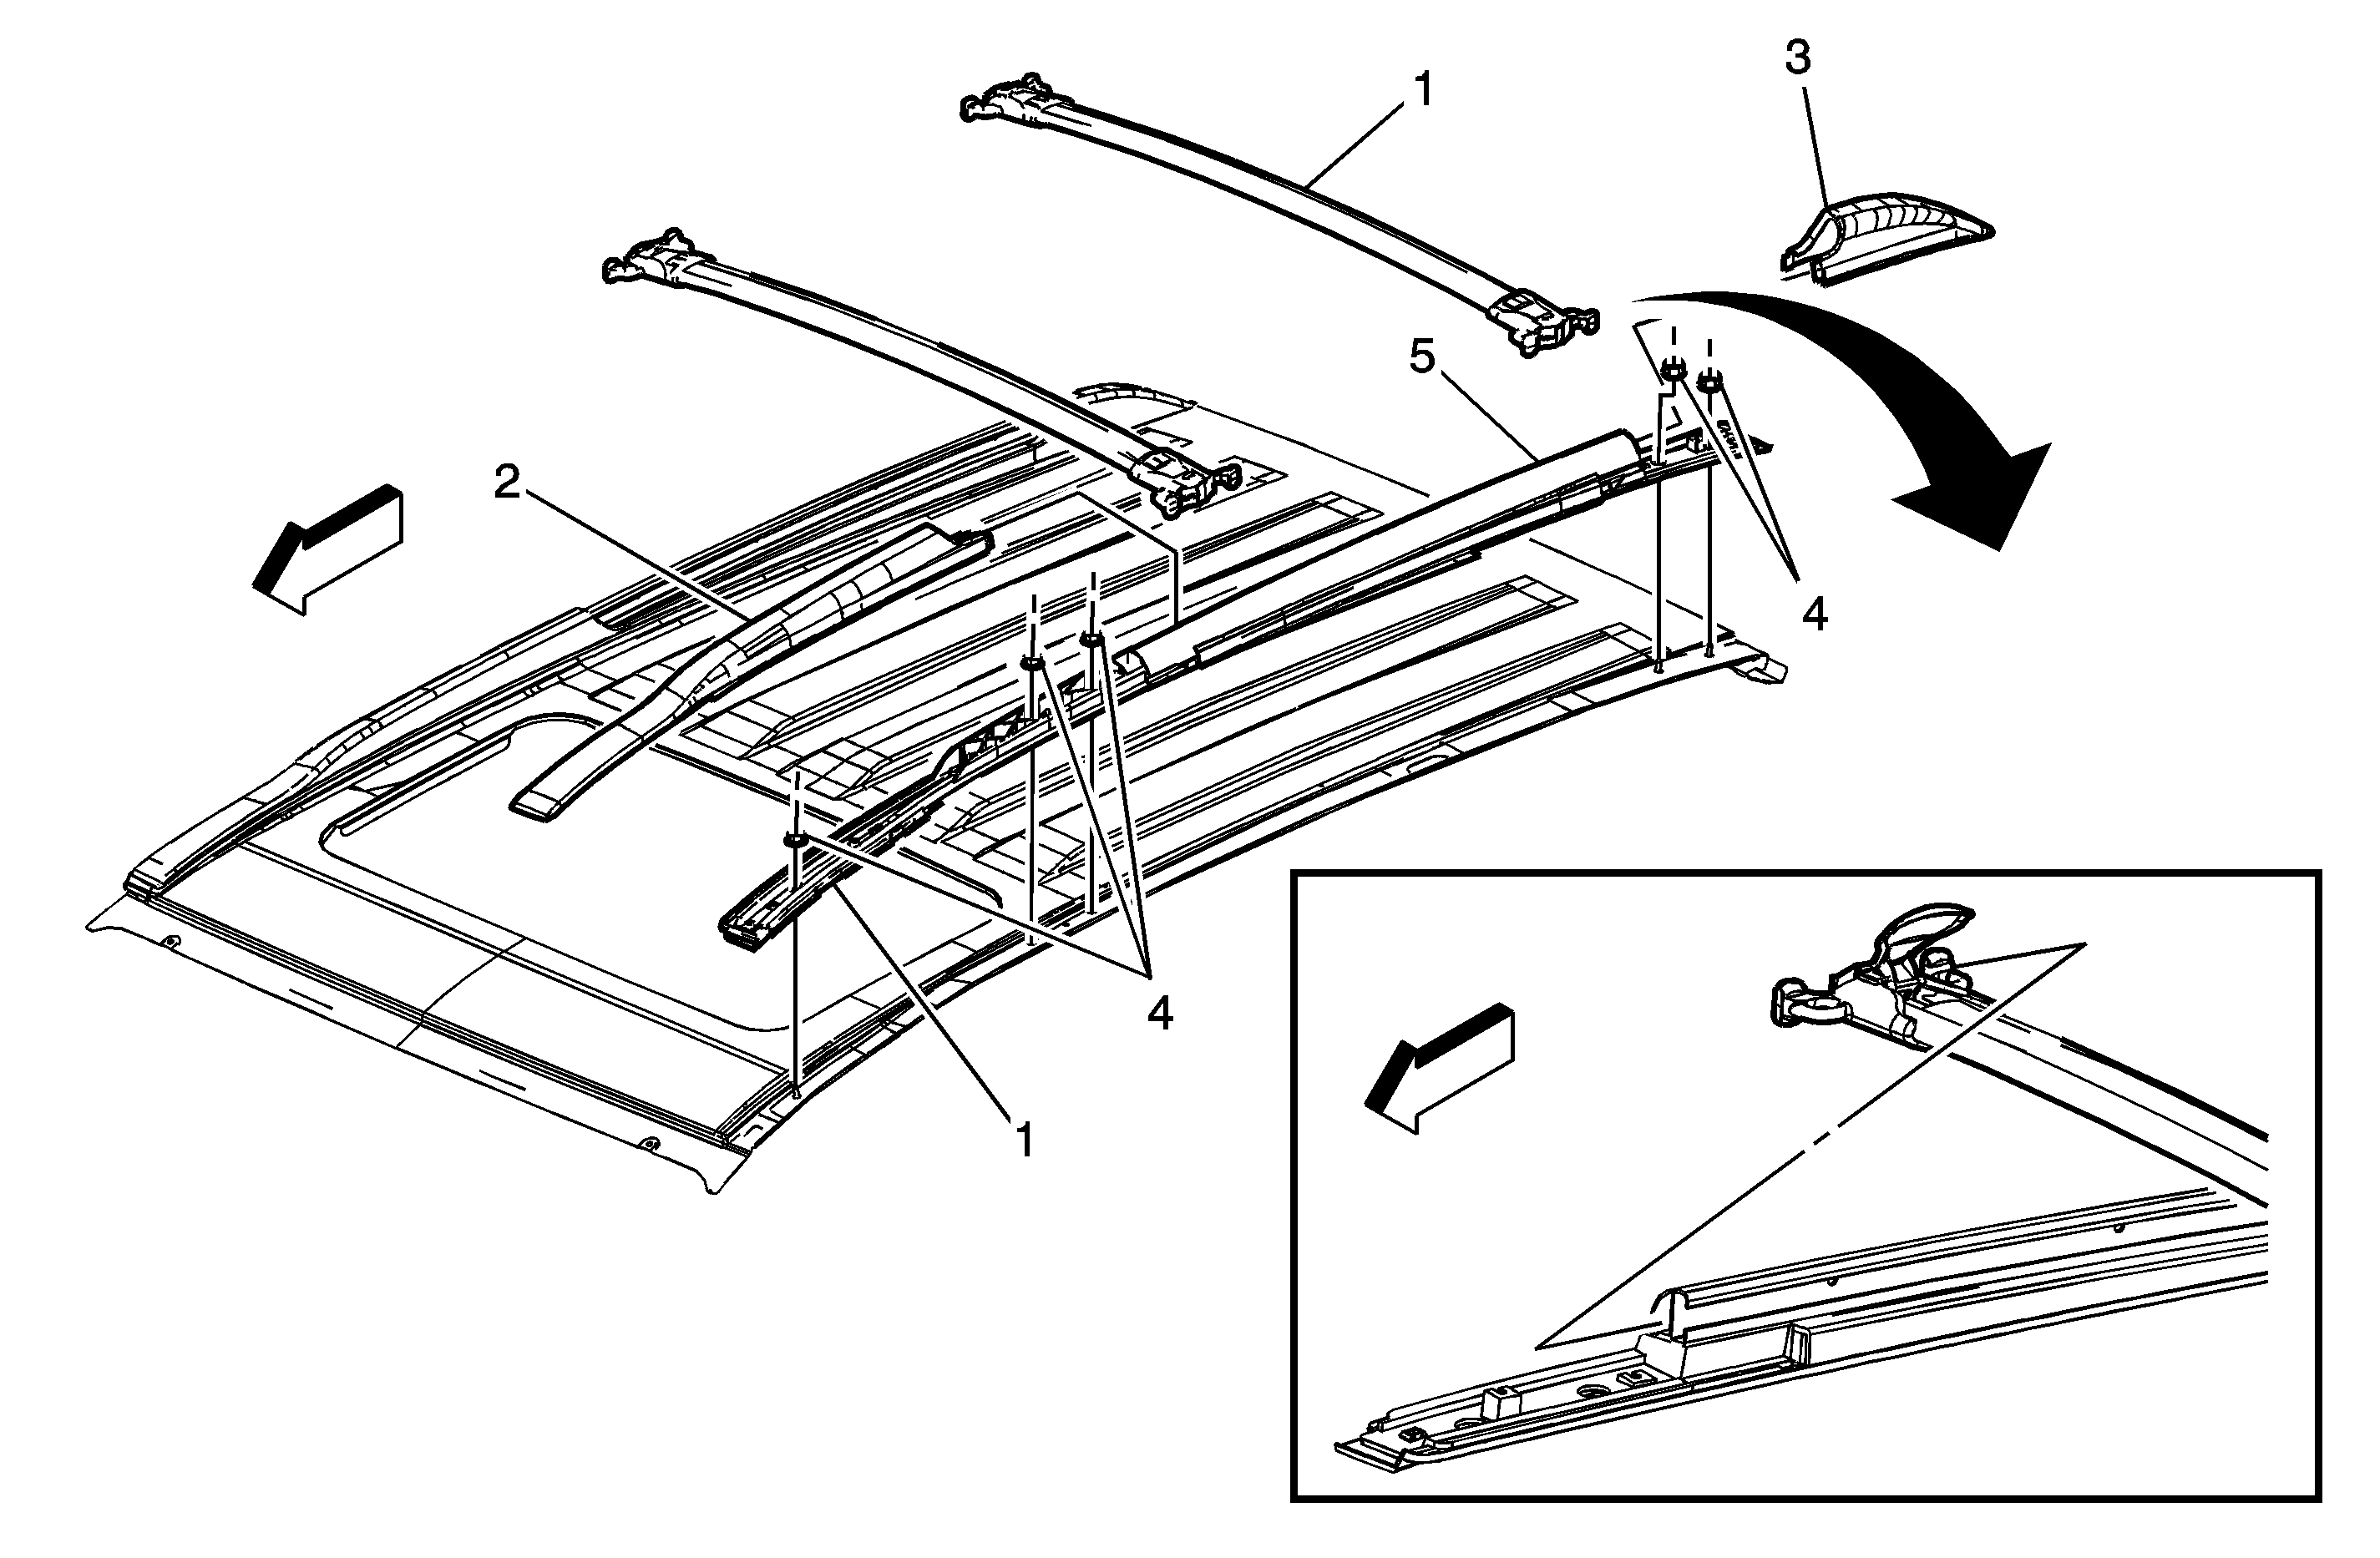
Callout | Component Name |
|---|---|
1 | Front Luggage Rack Rail |
2 | Front Luggage Rack Cover |
3 | Rear Luggage Rack Cover |
4 | Front Luggage Rack Nut (Qty: 5) Caution: Refer to Fastener Caution in the Preface section. Tighten |
5 | Front Luggage Rack Rail |
Luggage Carrier Replacement Without Sunroof
Removal Procedure
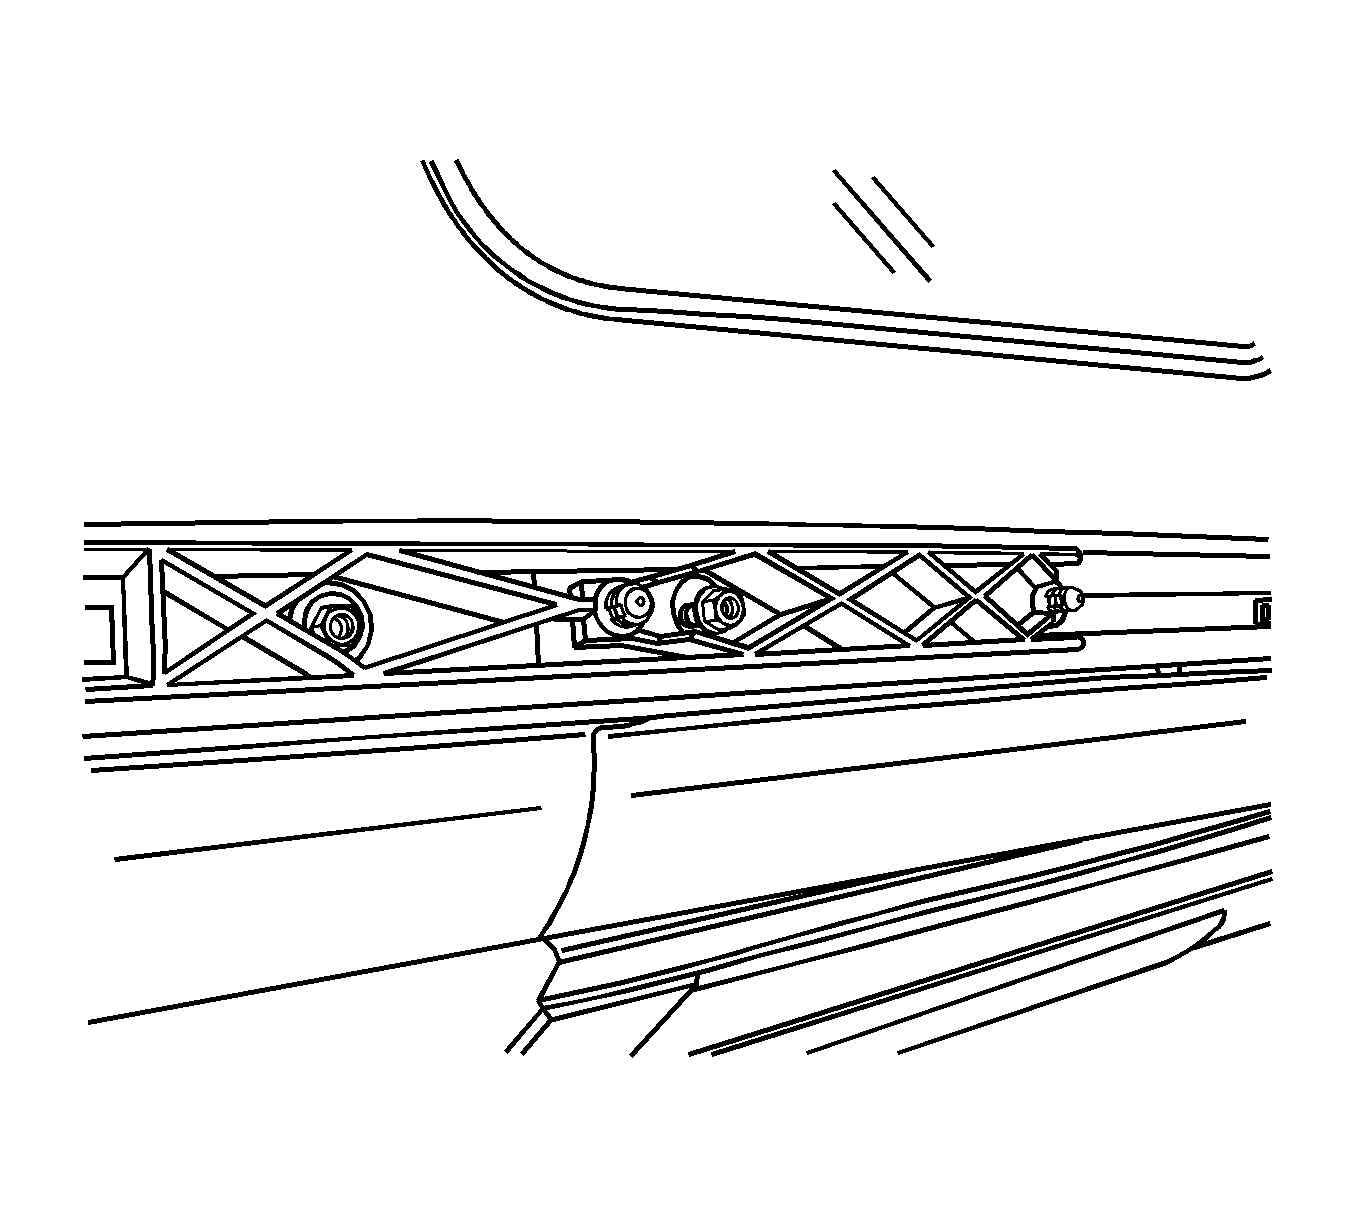
- Remove the luggage carrier side rail front covers using a trim tool or equivalent.
- Remove the luggage carrier side rail rear covers using a trim tool or equivalent.
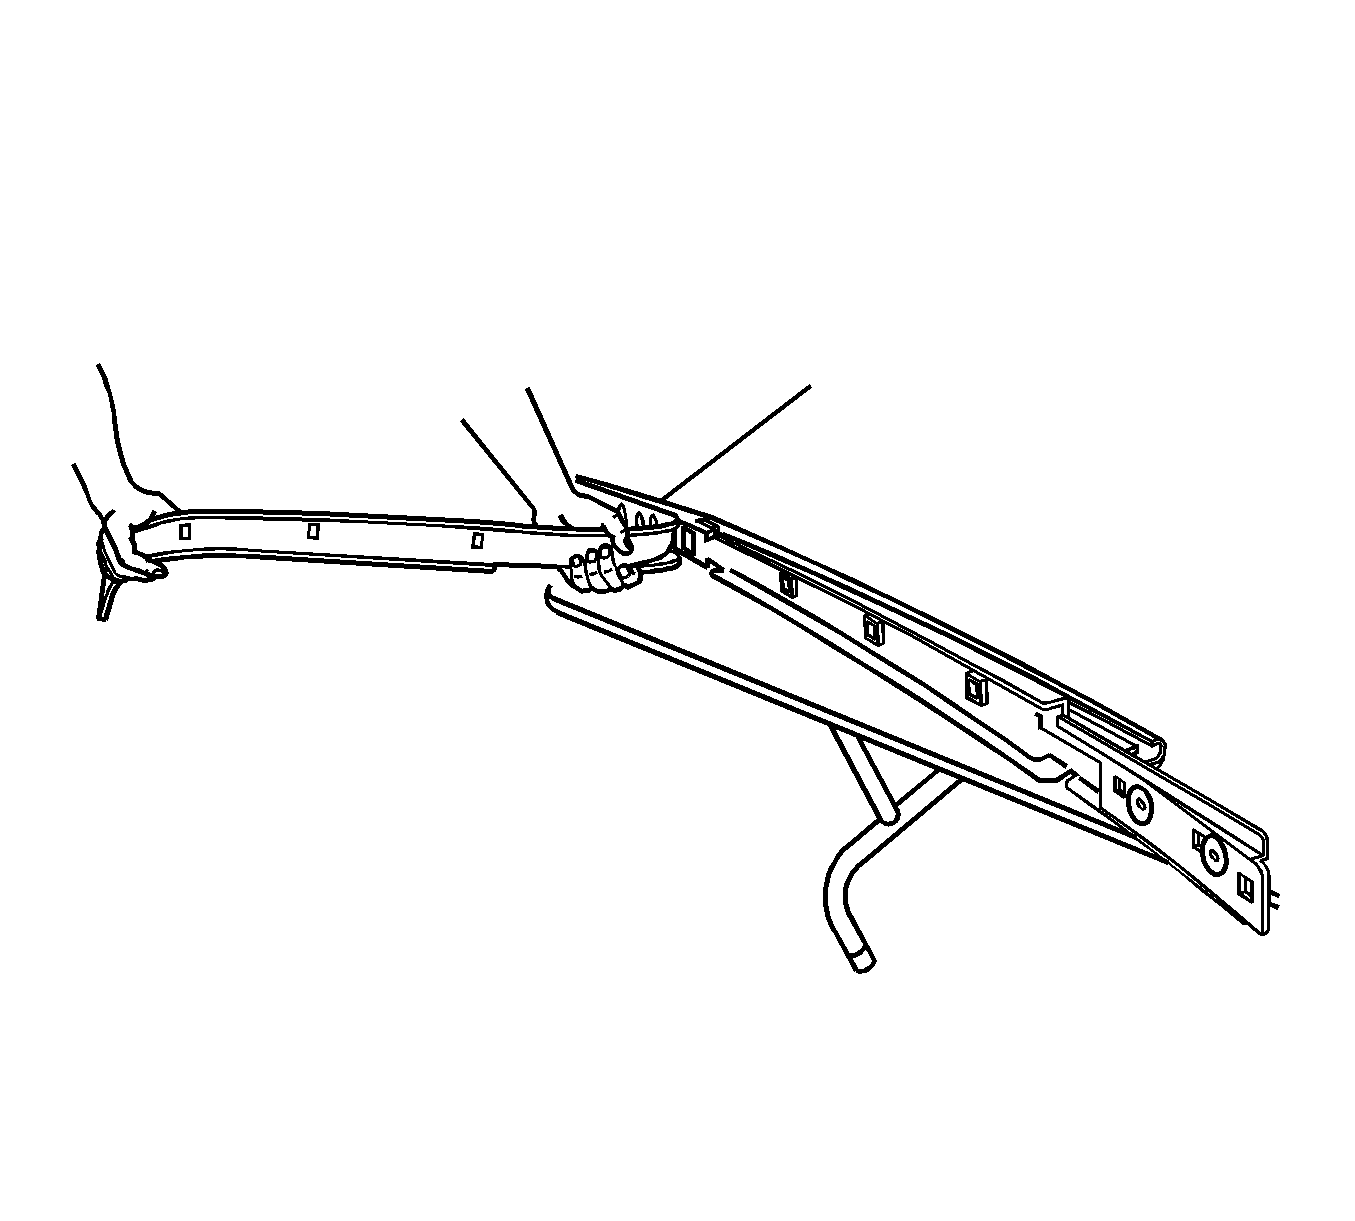
- Remove the luggage carrier center rails by flipping up the side retainers and sliding the center rails rearward off the side rails.
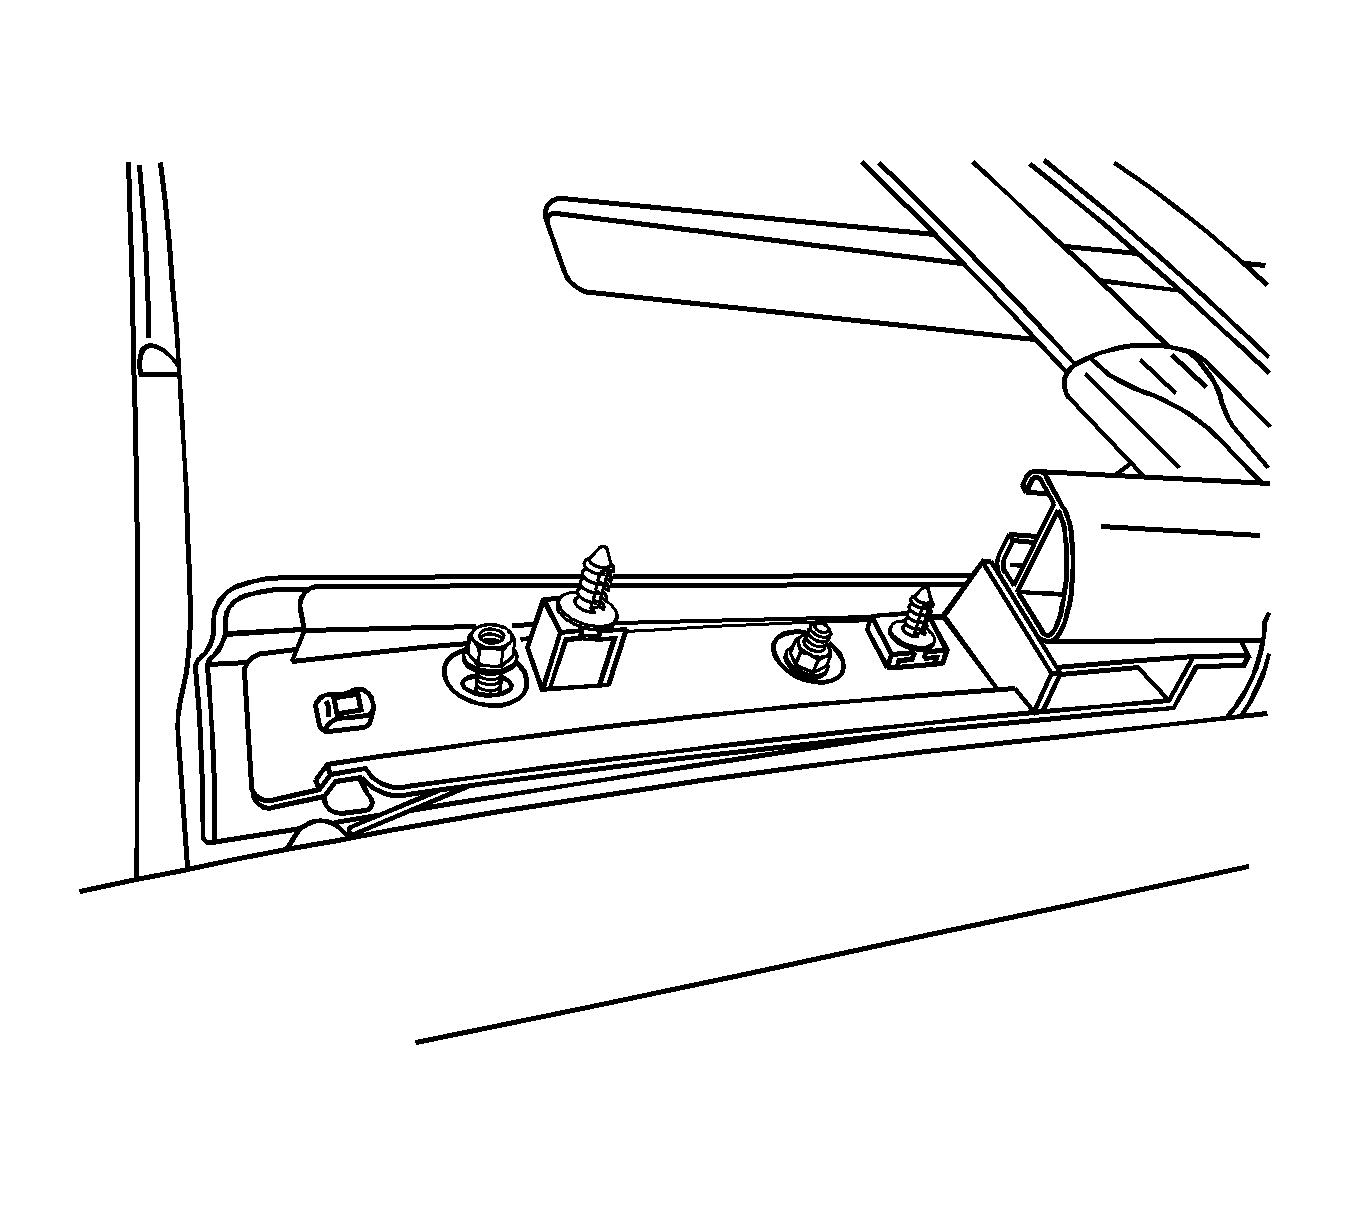
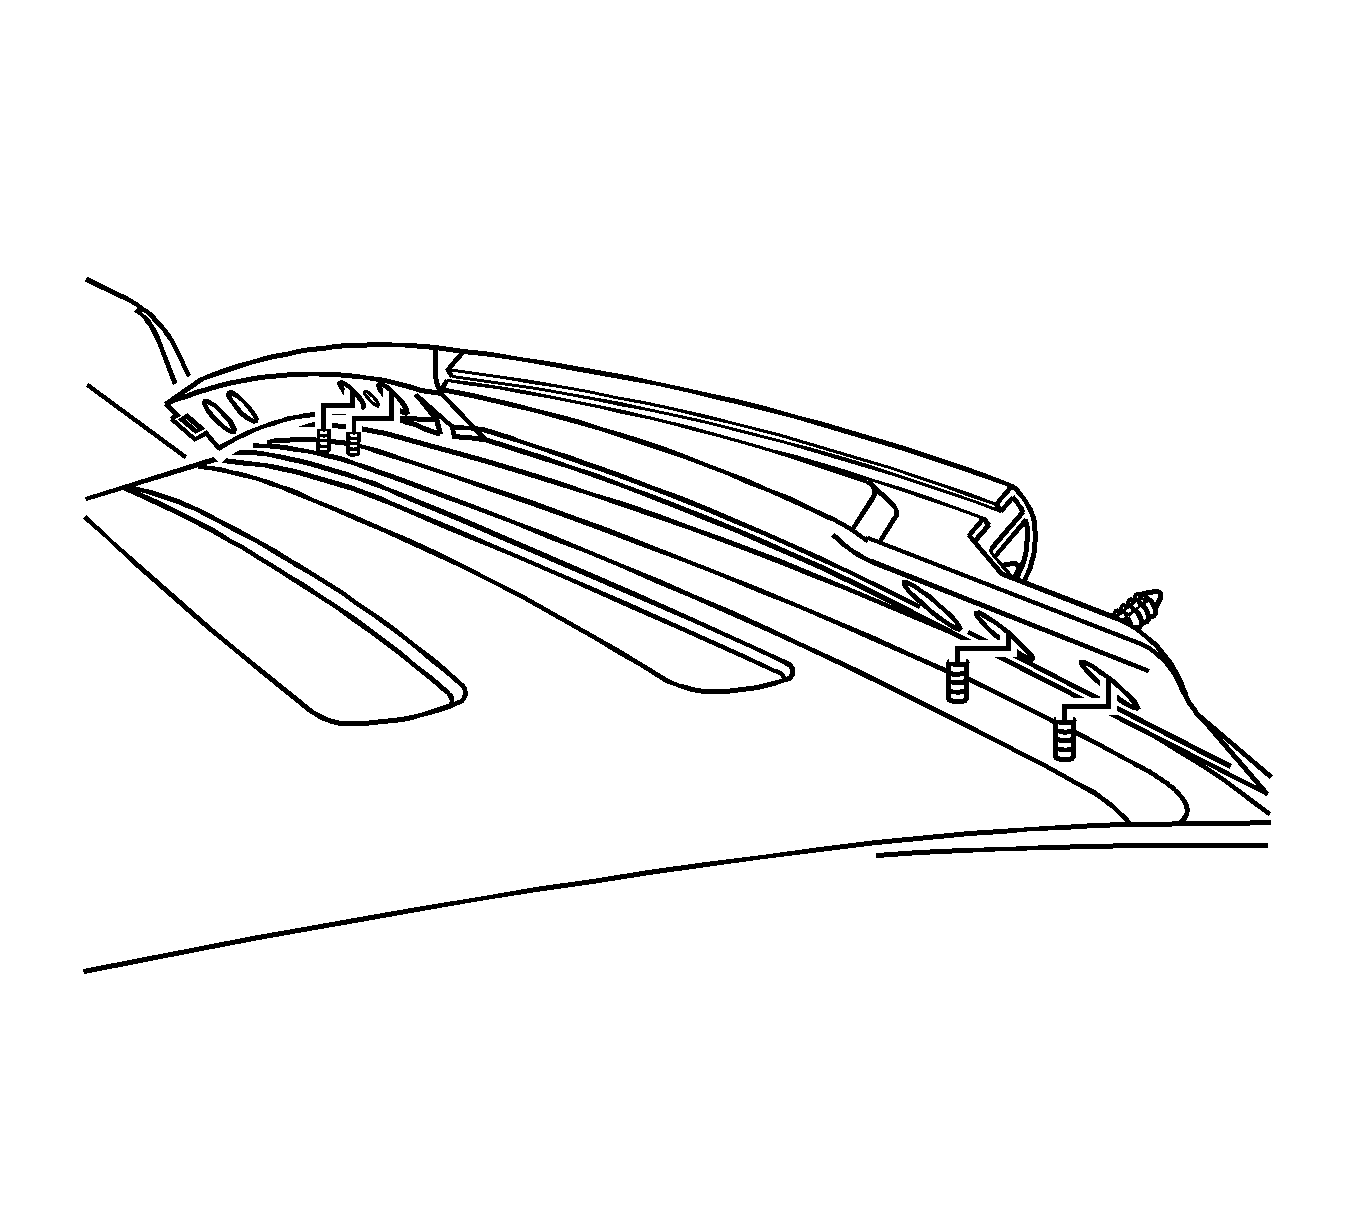
- Remove the nuts that attach the front of the side rails to the roof.
- Remove the nuts that attach the rear of the side rails to the roof.
- Remove the side rails from the vehicle.
- Remove the rubber gasket from the side rails.
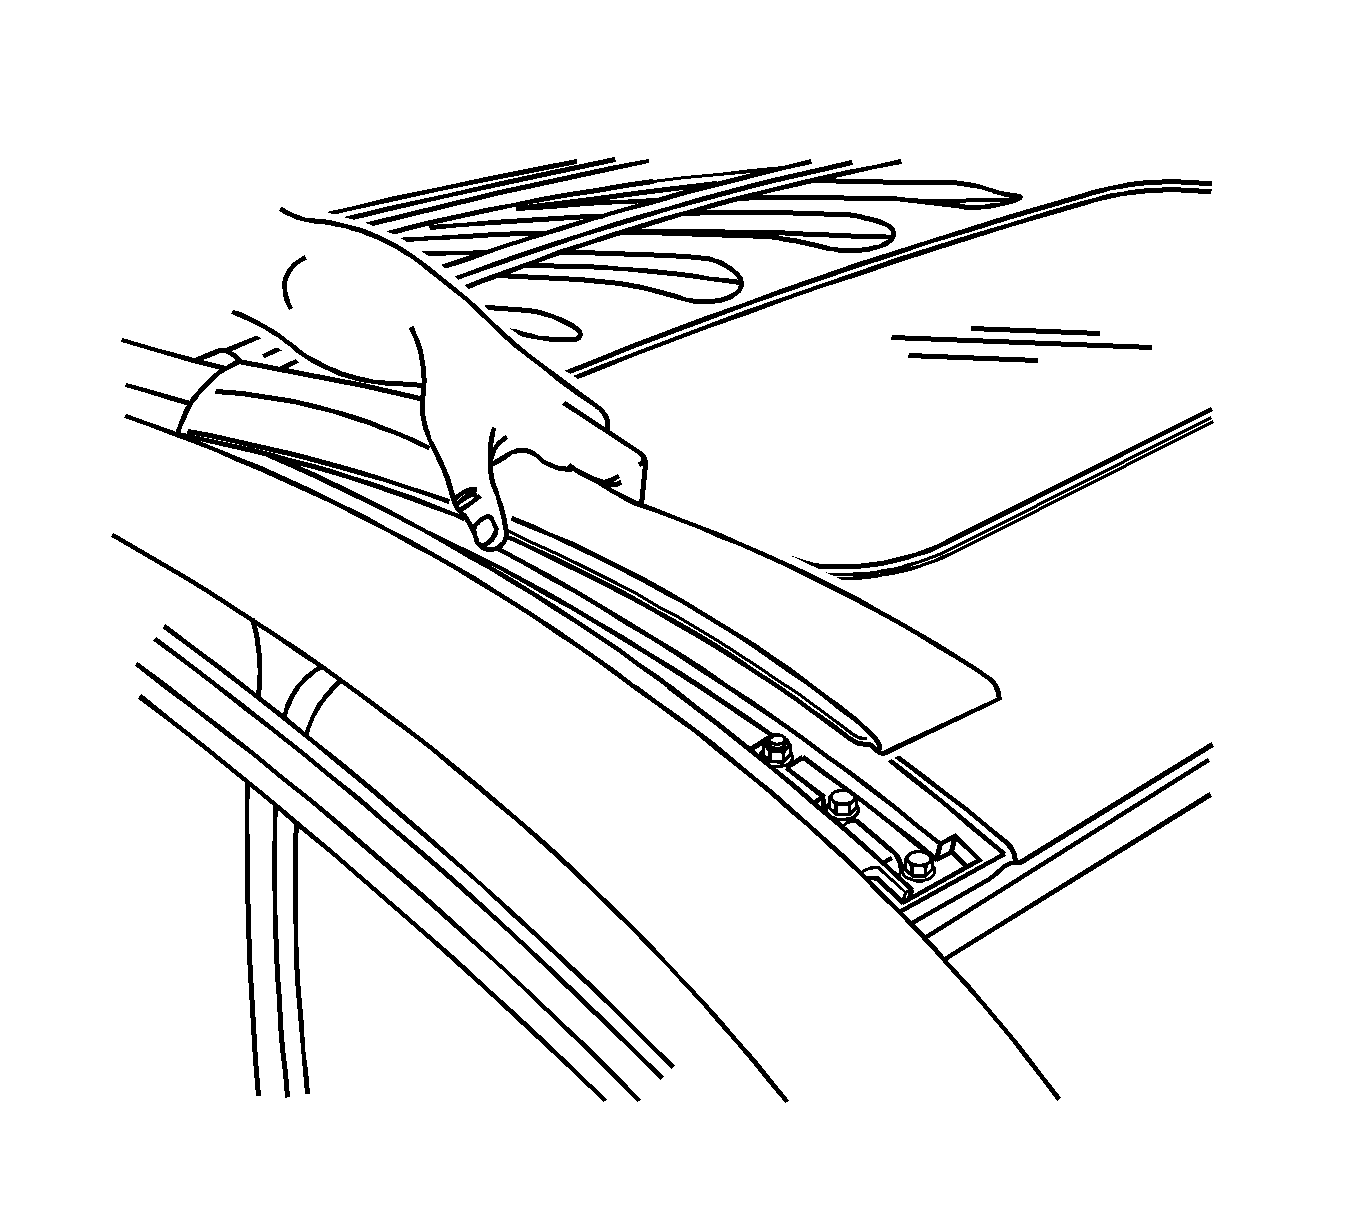
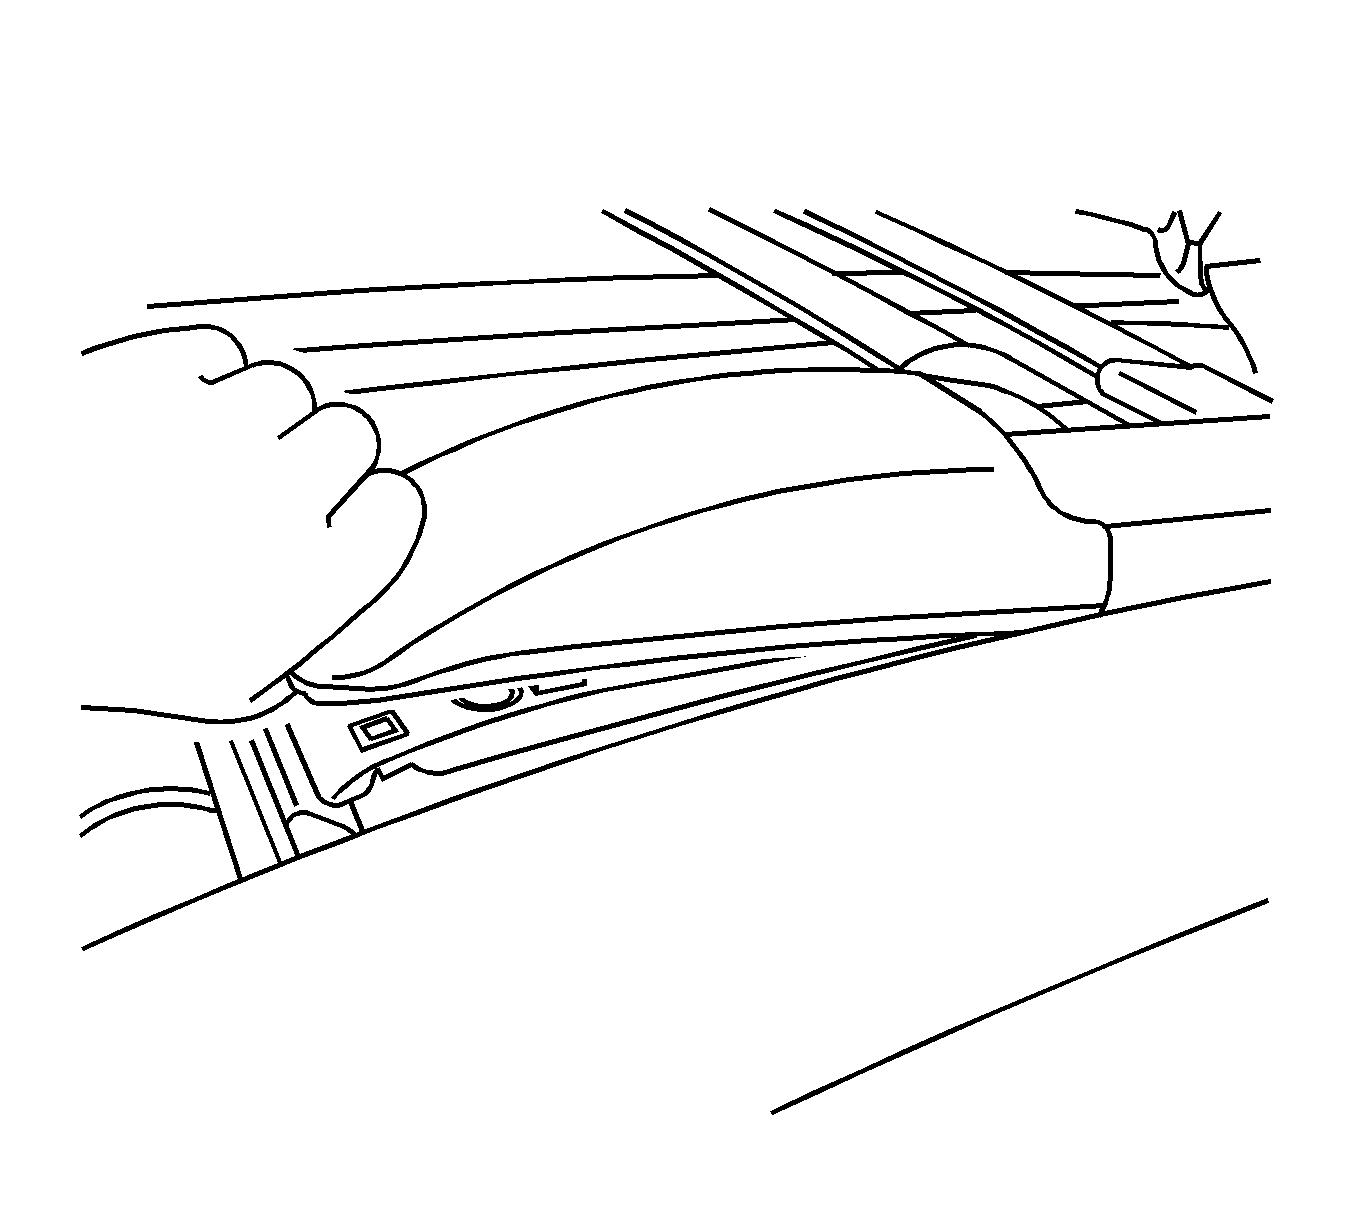
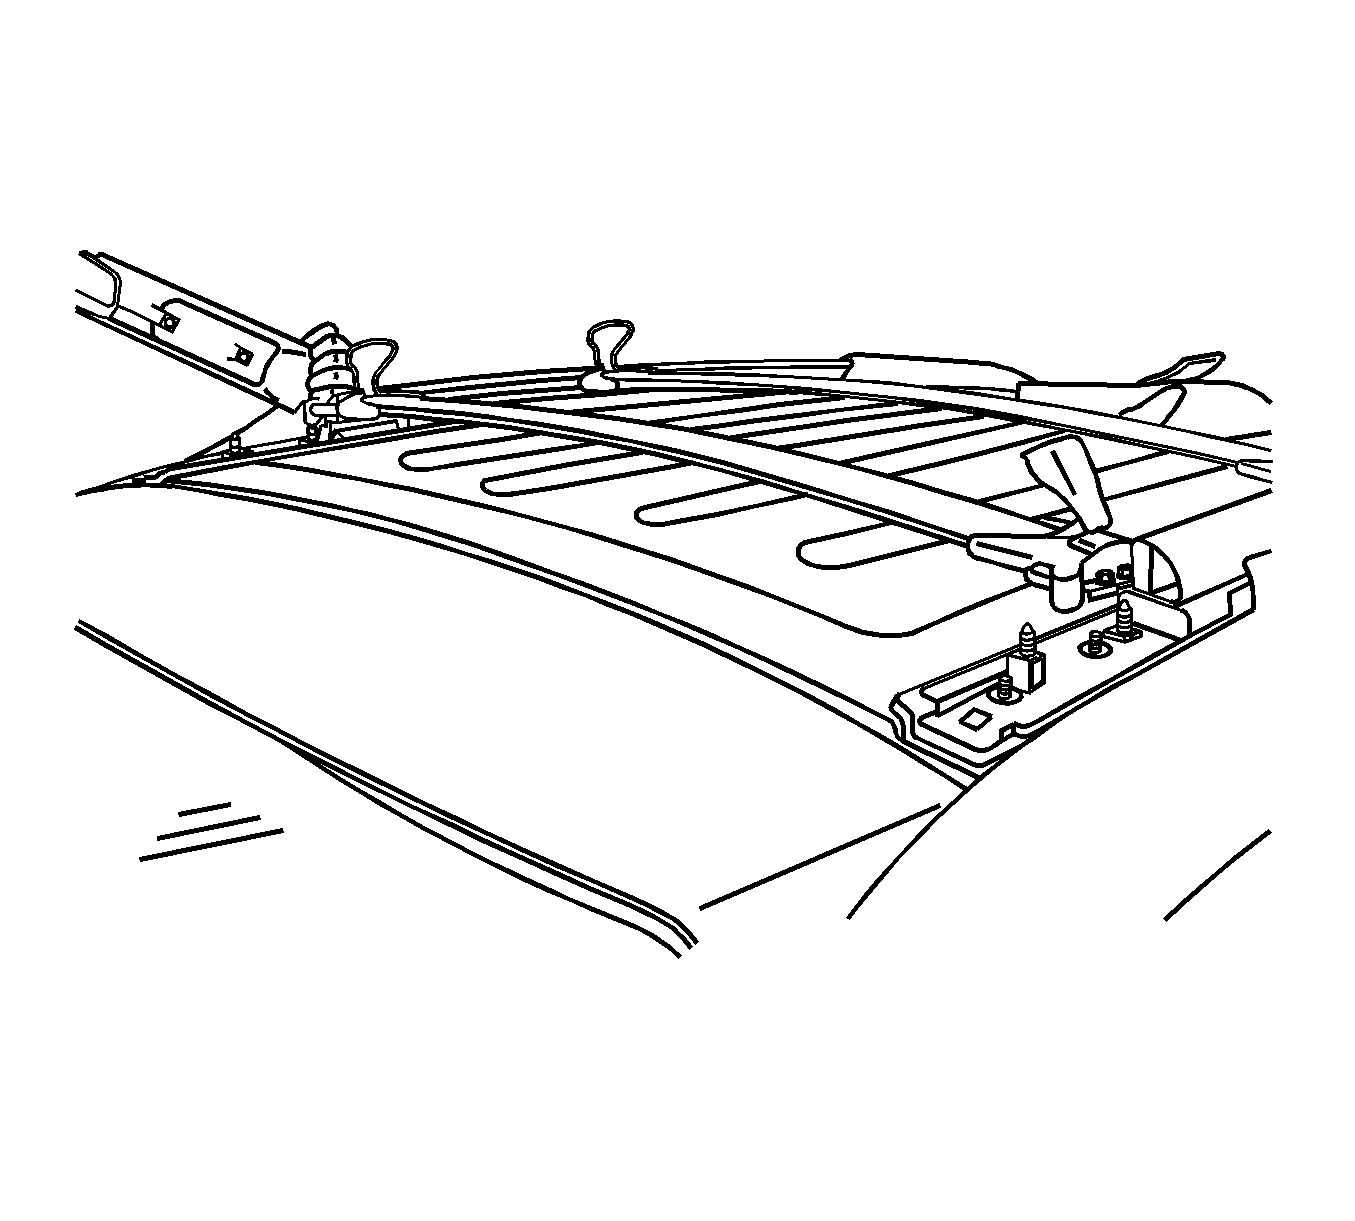
Installation Procedure
- Install the rubber gasket to the side rails.
- Install the side rails to the vehicle.
- Install the rear side rails to the roof nuts.
- Install the front side rails to the roof nuts.
- Install the luggage carrier center rails, with the arrows pointing forward, by sliding into the side rails from the rear.
- Install the rear side rail covers.
- Install the front side rail covers.


Caution: Refer to Fastener Caution in the Preface section.

Tighten
Tighten the nuts to 9 N·m (80 lb in).

Tighten
Tighten the nuts to 9 N·m (80 lb in).

Note: To avoid windnoise, the center rails must be installed with the arrows pointing forward.


