For 1990-2009 cars only
Removal Procedure
- Raise the seat cushion to the highest position.
- Remove the front seat from the vehicle. Refer to Front Seat Replacement - Bucket .
- For vehicles with heated seats disconnect the heat module electrical connector.
- If the seat is equipped with a lumbar support, perform the following procedure:
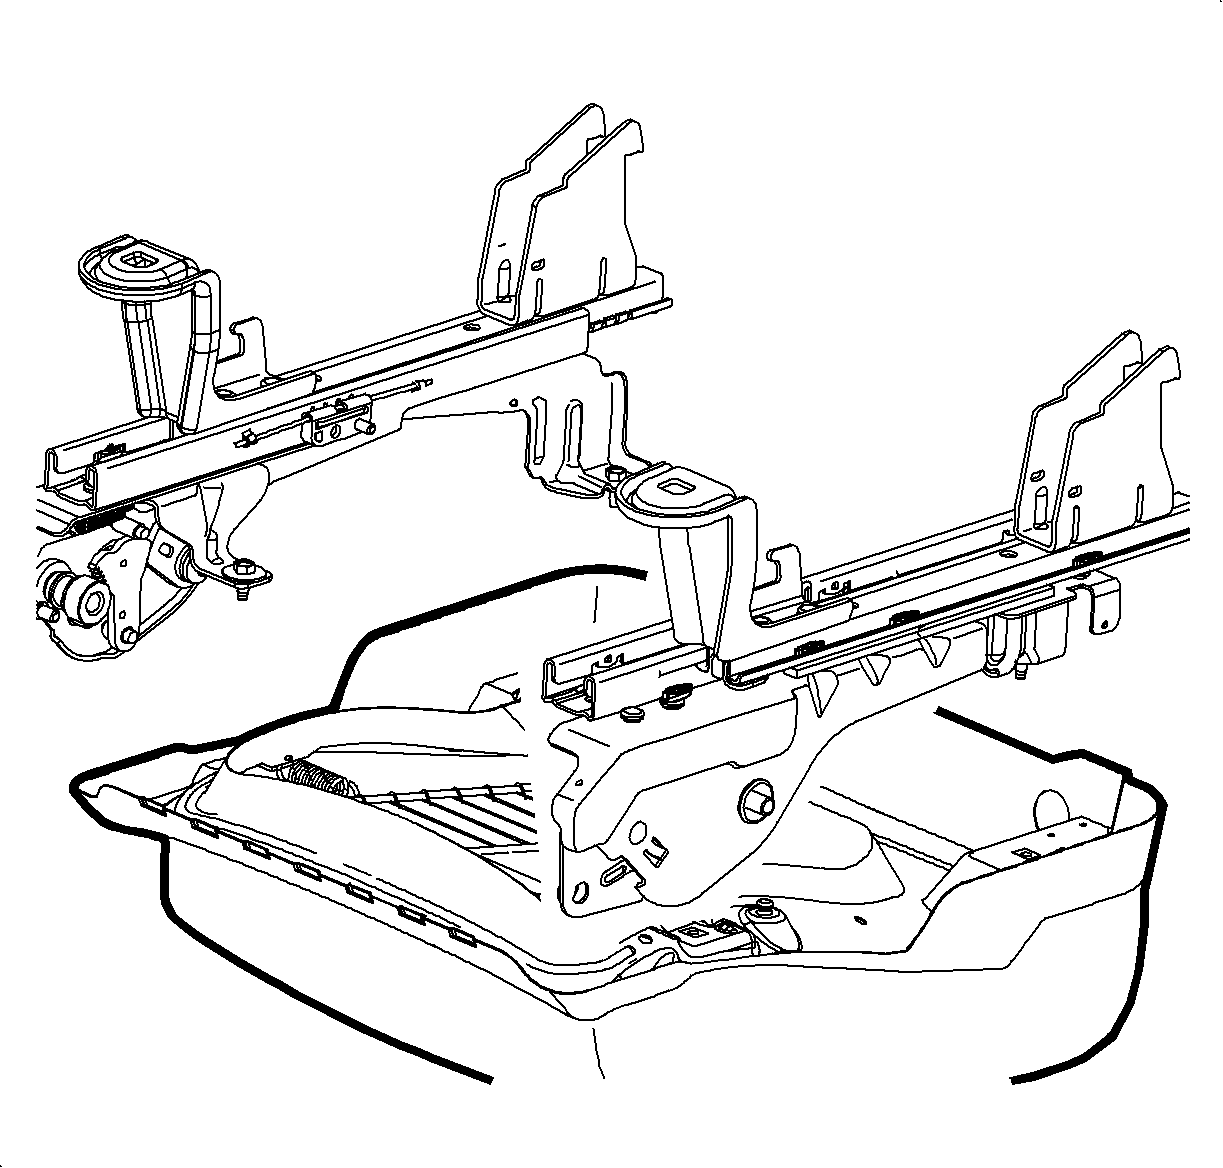
- Remove the seat cushion pan bolts and remove the seat cushion assembly.
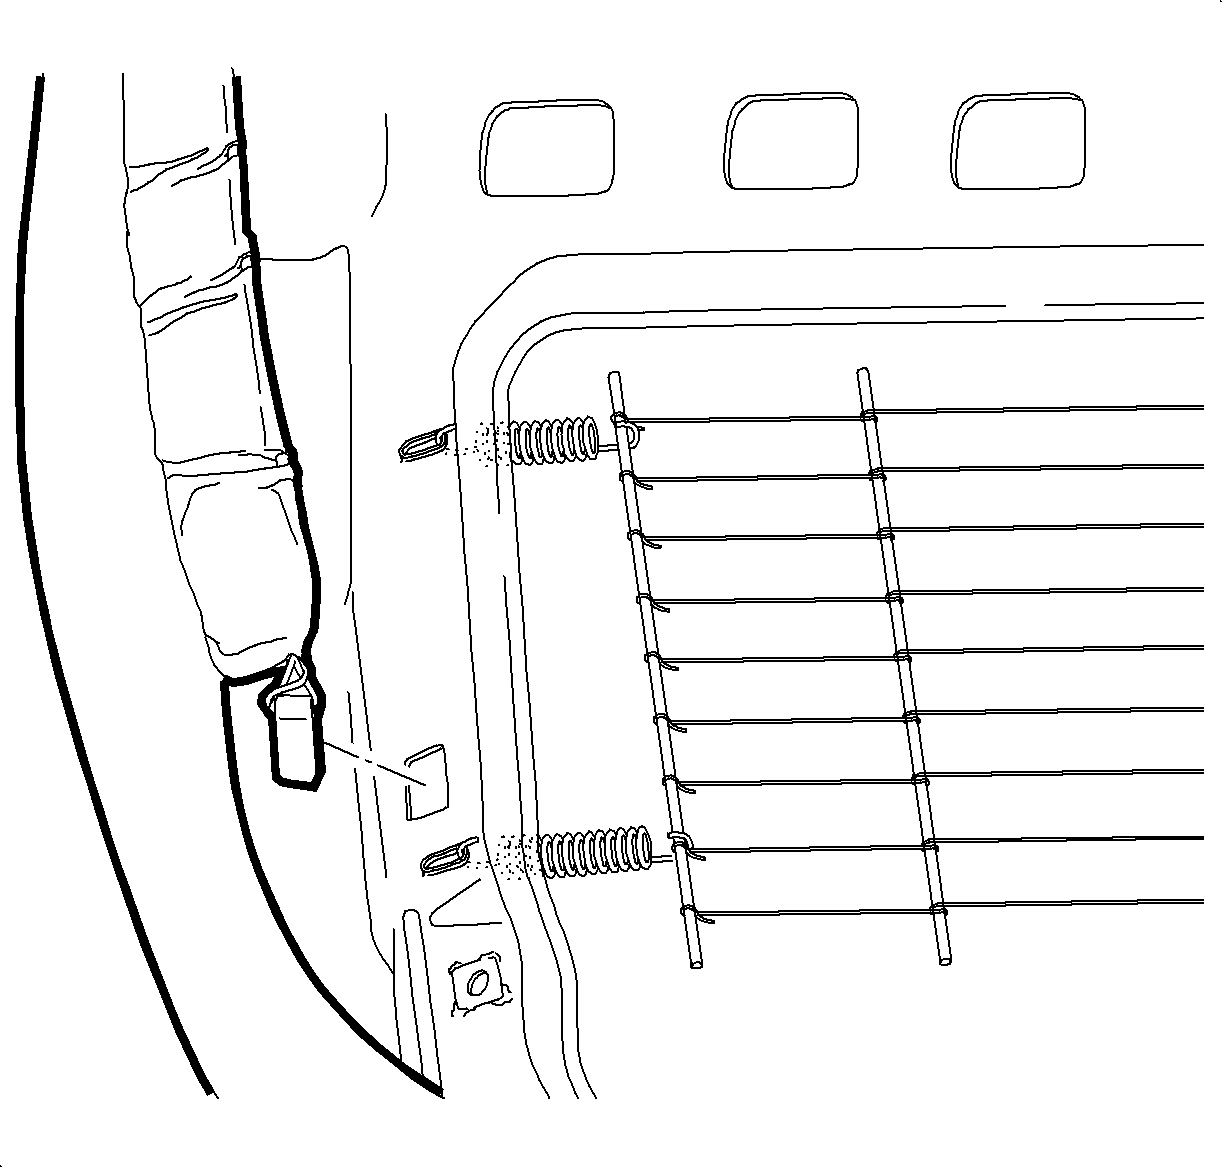
- On vehicles with a J-hook design, disconnect the J-hook retainers.
- On vehicles with a drawstring design, disconnect the drawstring clips.
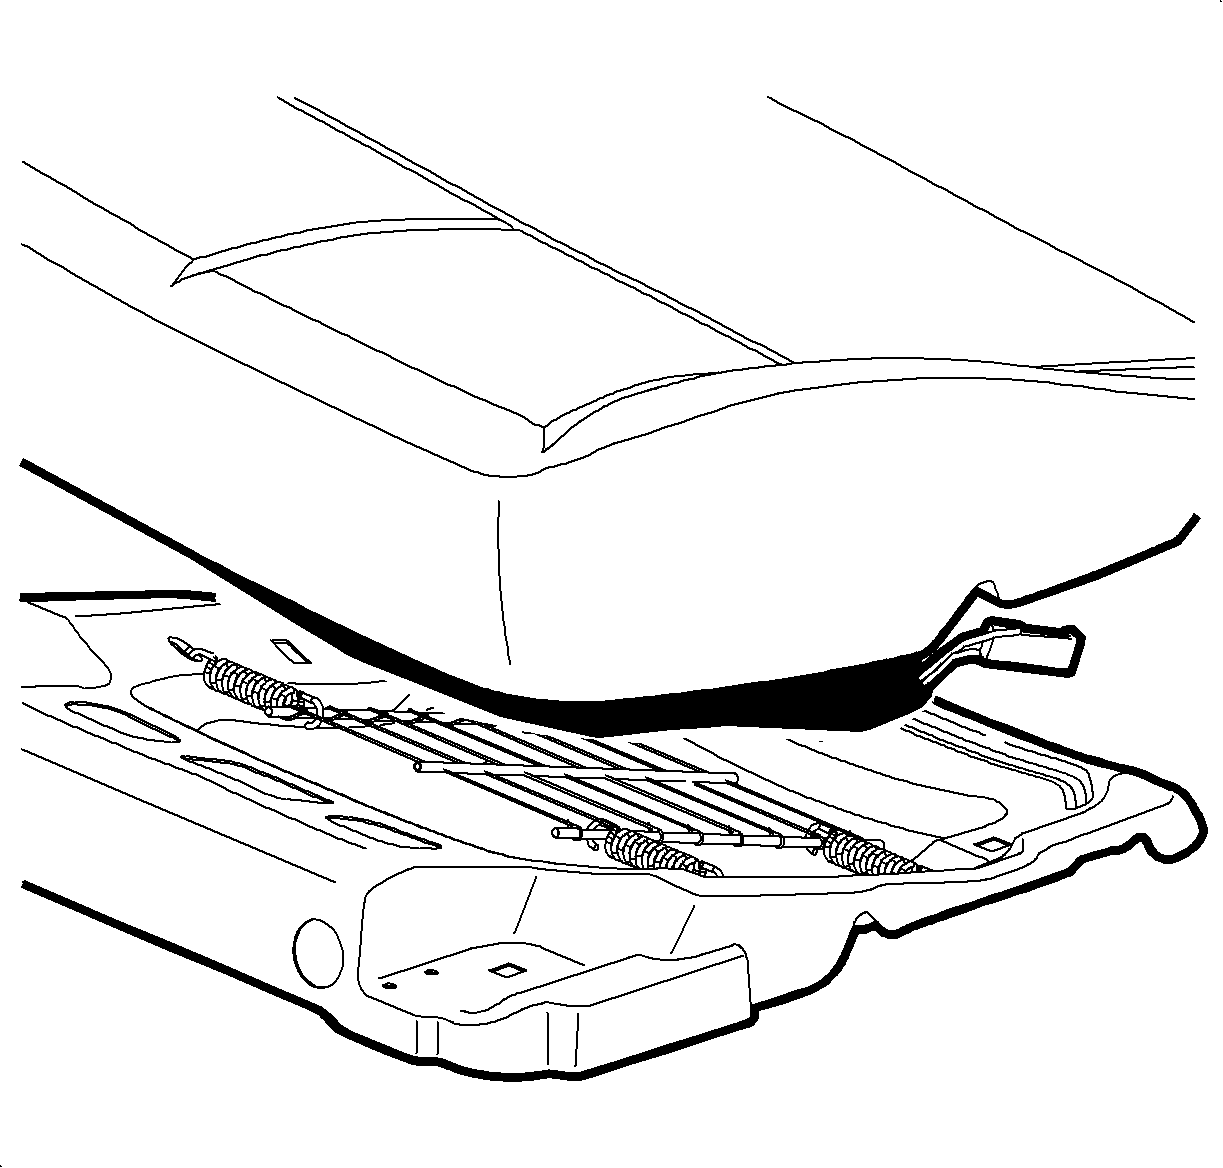
- Disengage the J-strip at the rear of the cushion.
- Remove the seat cushion cover from the pad by carefully disengaging the hook and loop retainers.
- Remove the seat cushion pad from the frame.


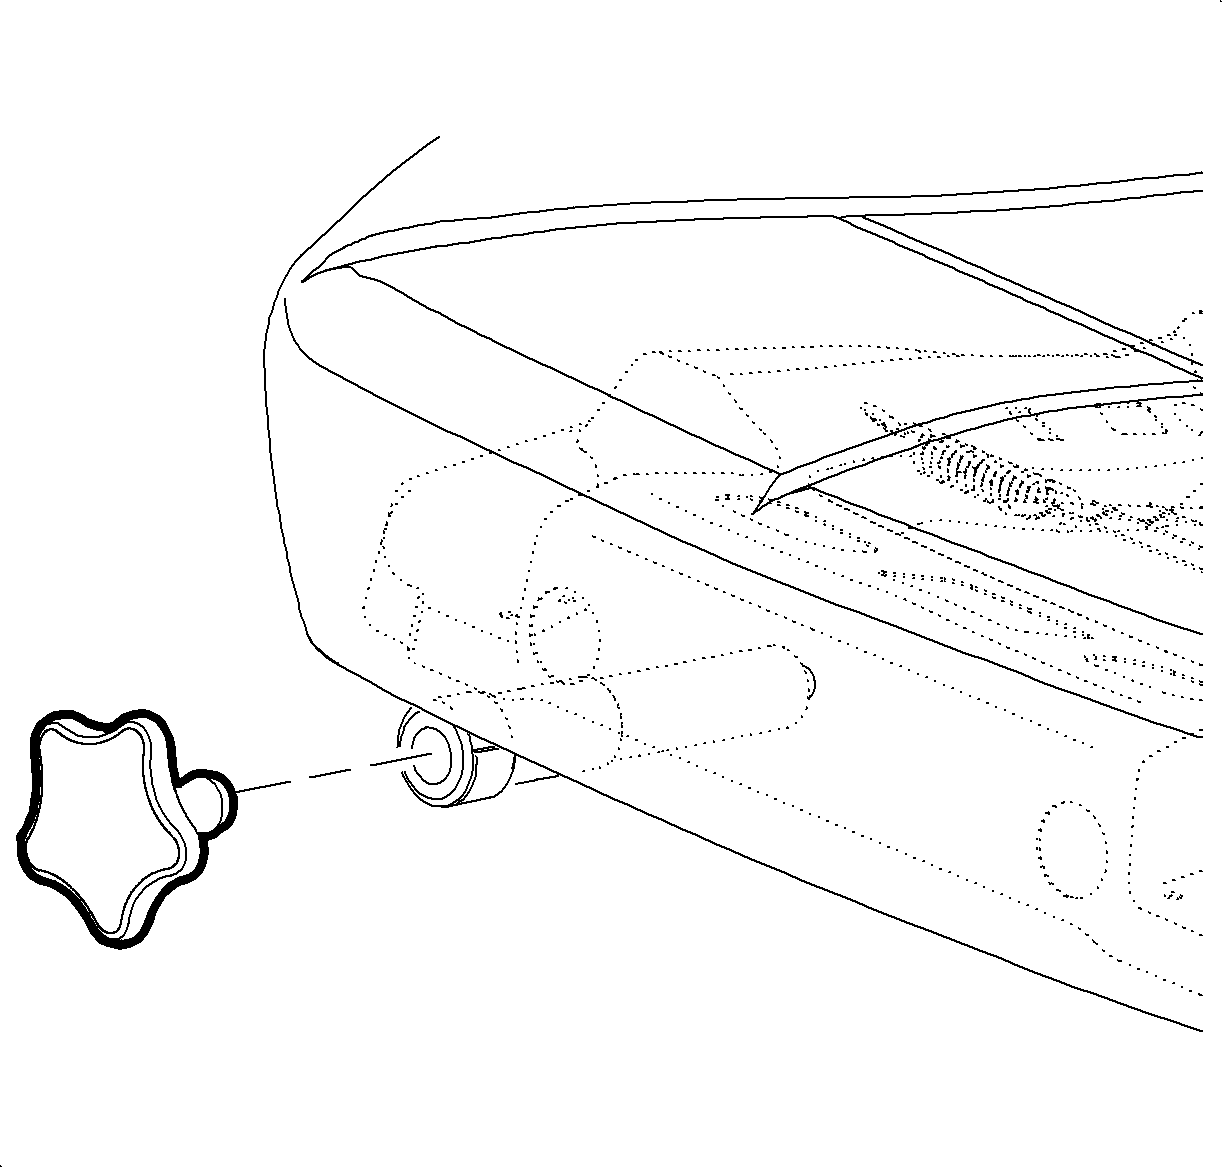
| 4.1. | Adjust the lumbar knob until the lumbar is in the setting of the least support. |
| 4.2. | Remove the lumbar knob by pulling firmly. |


Notice: Use care when disengaging the hook and loop fasteners. The hook end may pull from the seat foam pad, requiring foam pad replacement.
Installation Procedure
- Position the seat cushion pad to the frame.
- Engage the hook and loop retainers by pressing down on the retainers.
- Engage the J-strip at the rear of the cushion cover to the seat pan.
- On vehicles with a J-hook design, connect the J-hook retainers.
- On vehicles with a drawstring design, connect the drawstring clips.
- Position the seat cushion pan over the seat adjusters.
- Install the frame bolts.
- For vehicles with heated seats connect the heat module electrical connector.
- If the seat is equipped with a lumbar support, perform the following procedure:
- Install the front seat into the vehicle. Refer to Front Seat Replacement - Bucket .


Notice: Refer to Fastener Notice in the Preface section.
Tighten
Tighten the bolts to 12 N·m (9 lb ft).

| 9.1. | Pull the lumbar cable sleeve forward. |
| 9.2. | Using a sharp-bladed tool, make a small slit where the lumbar actuator meets the cover. |
| 9.3. | Install the lumbar knob by pushing firmly. |
| 9.4. | Adjust the lumbar knob to ensure that the lumbar is operating correctly. |
