Intake Manifold Replacement DOHC LL0
Removal Procedure
- Raise the vehicle.
- Drain the engine coolant. Drains are located at the right front corner of the engine block and right-hand side of the radiator.
- Place a 1 in x 1 in x 2 in long block of wood between the torque strut and cradle.
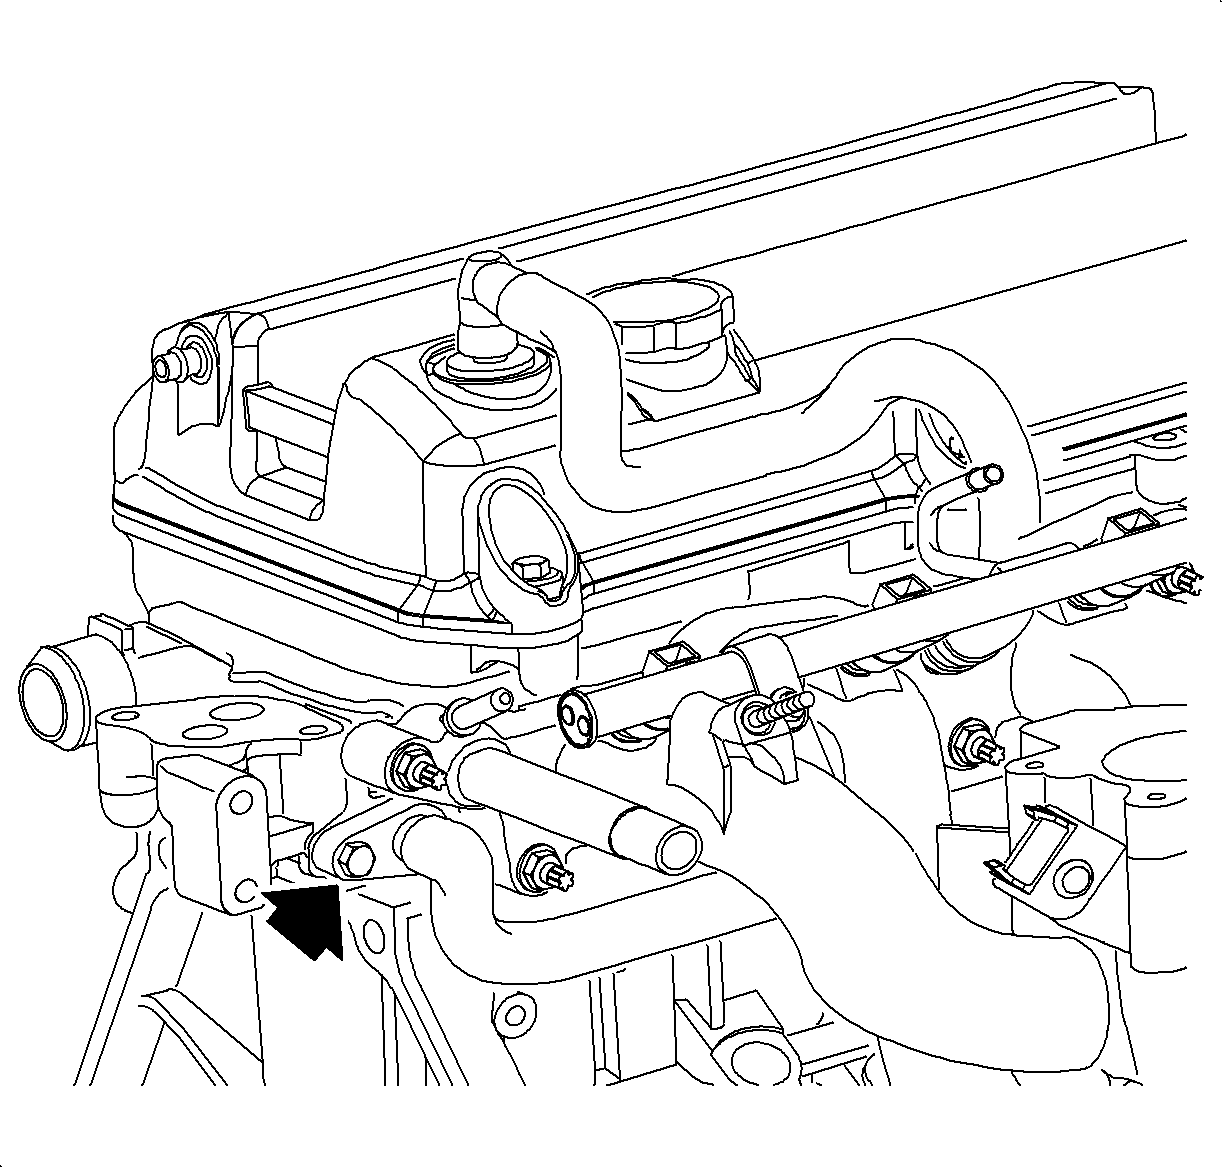
- Remove the fastener at the bottom of the intake manifold that attaches the intake manifold brace to the intake manifold.
- Lower the vehicle.
- Disconnect the negative battery terminal
- Remove the air inlet tube and the air filter cover, disconnecting the fresh air hose at the air inlet duct.
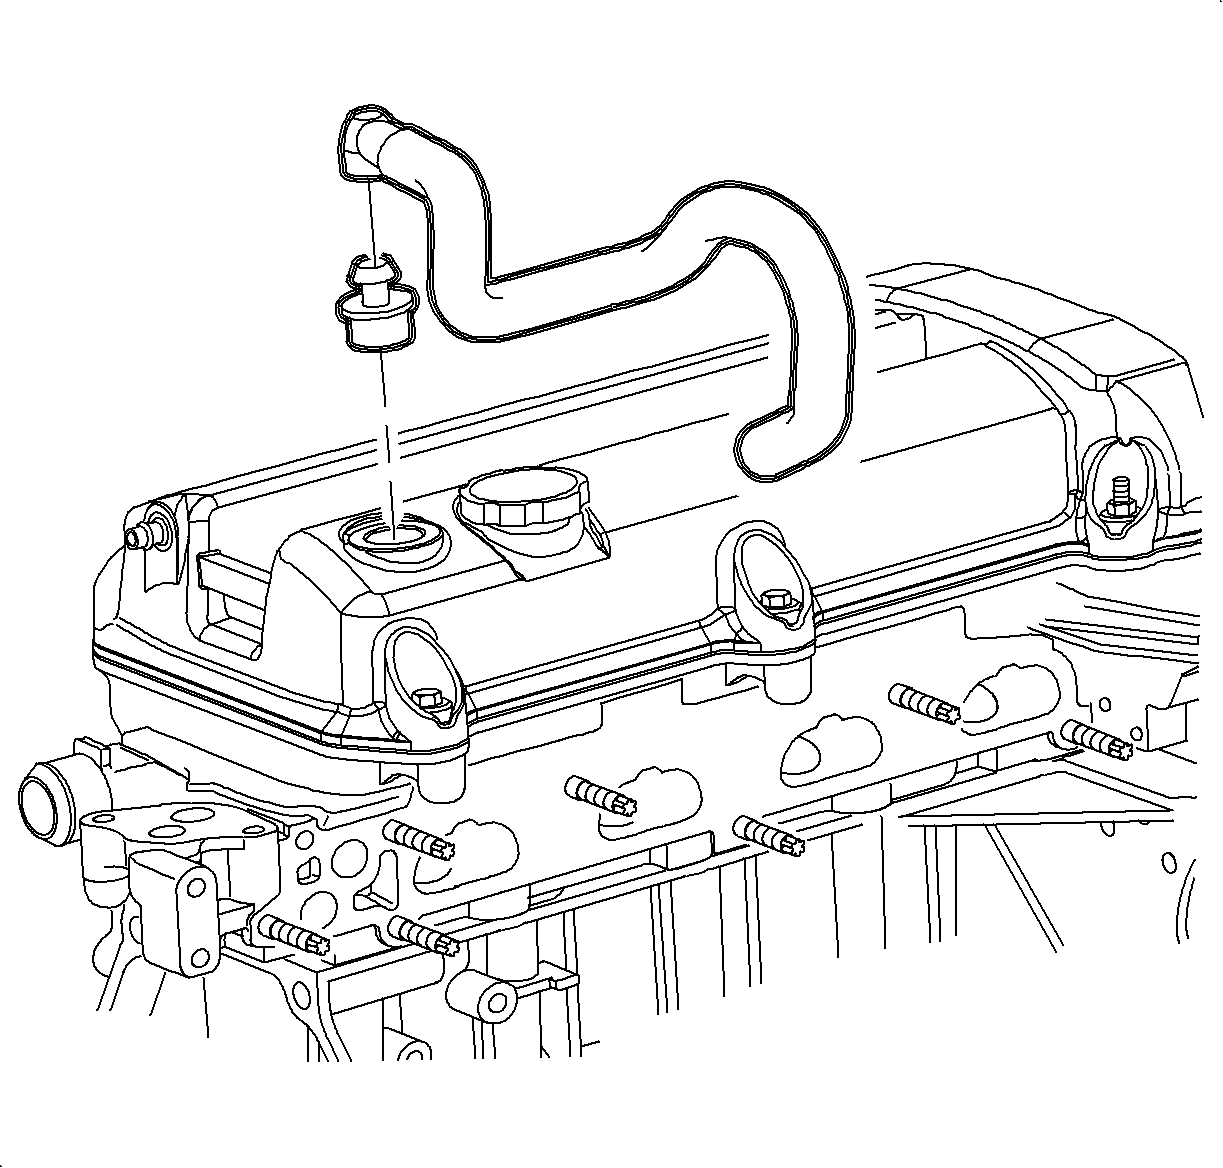
- Remove the PCV valve hose at the cam cover.
- Relieve the fuel system pressure. Refer to Fuel Pressure Relief in Engine Controls.
- Remove the nut at the fuel line clip and disconnect the fuel line from the rail.
- Disconnect the throttle cable from the throttle body.
- Remove the throttle cable from the cable bracket.
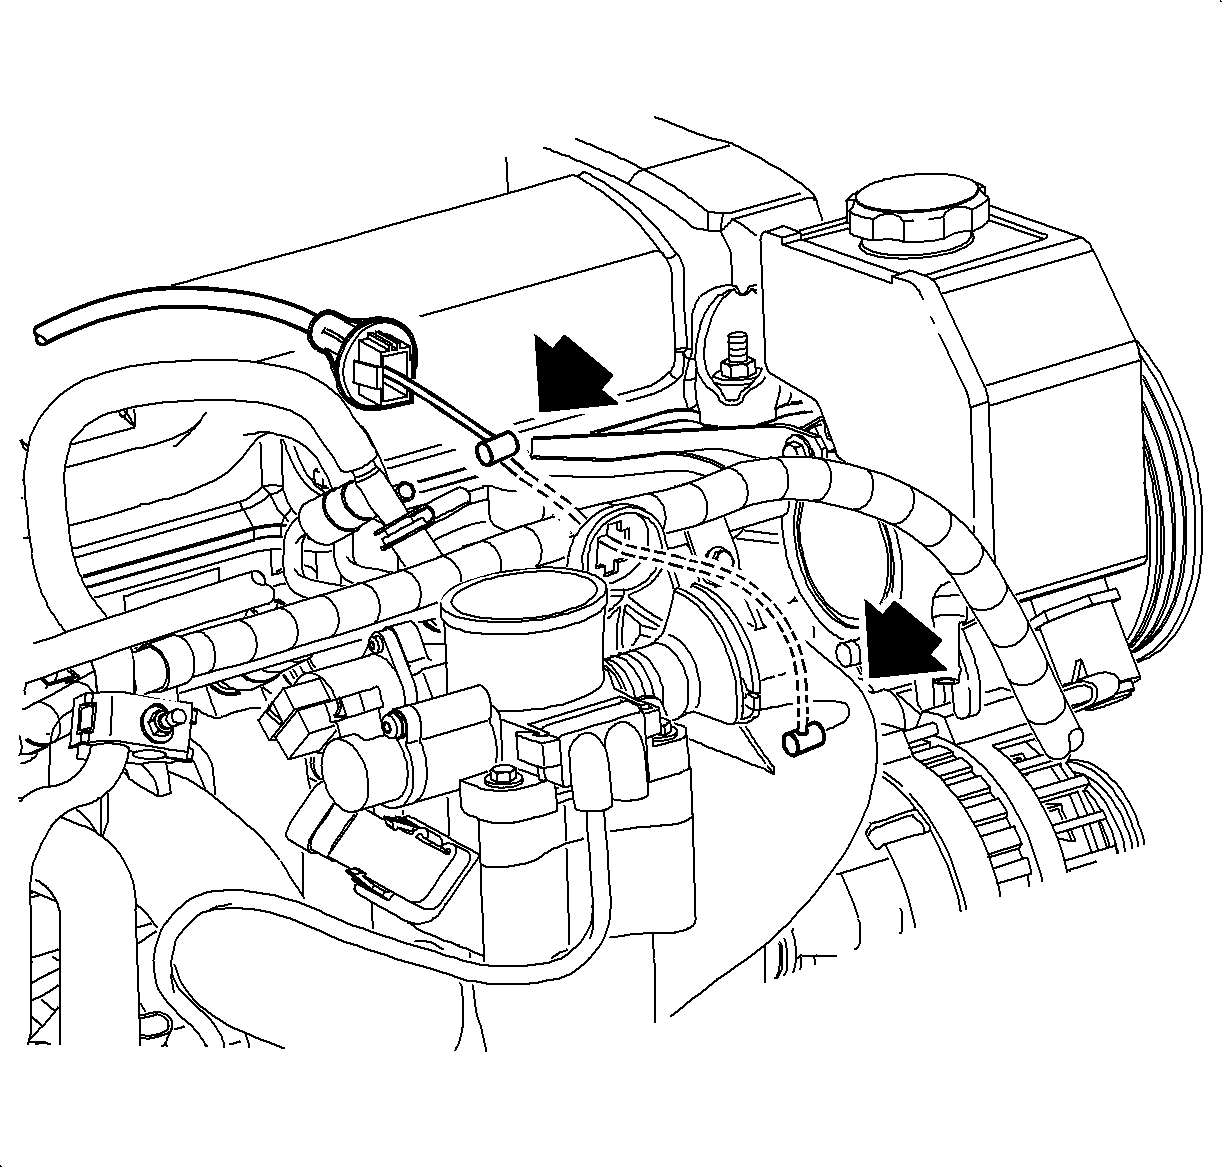
- Disconnect the vacuum harness from the throttle body.
- Remove the following electrical connectors and harness wiring:
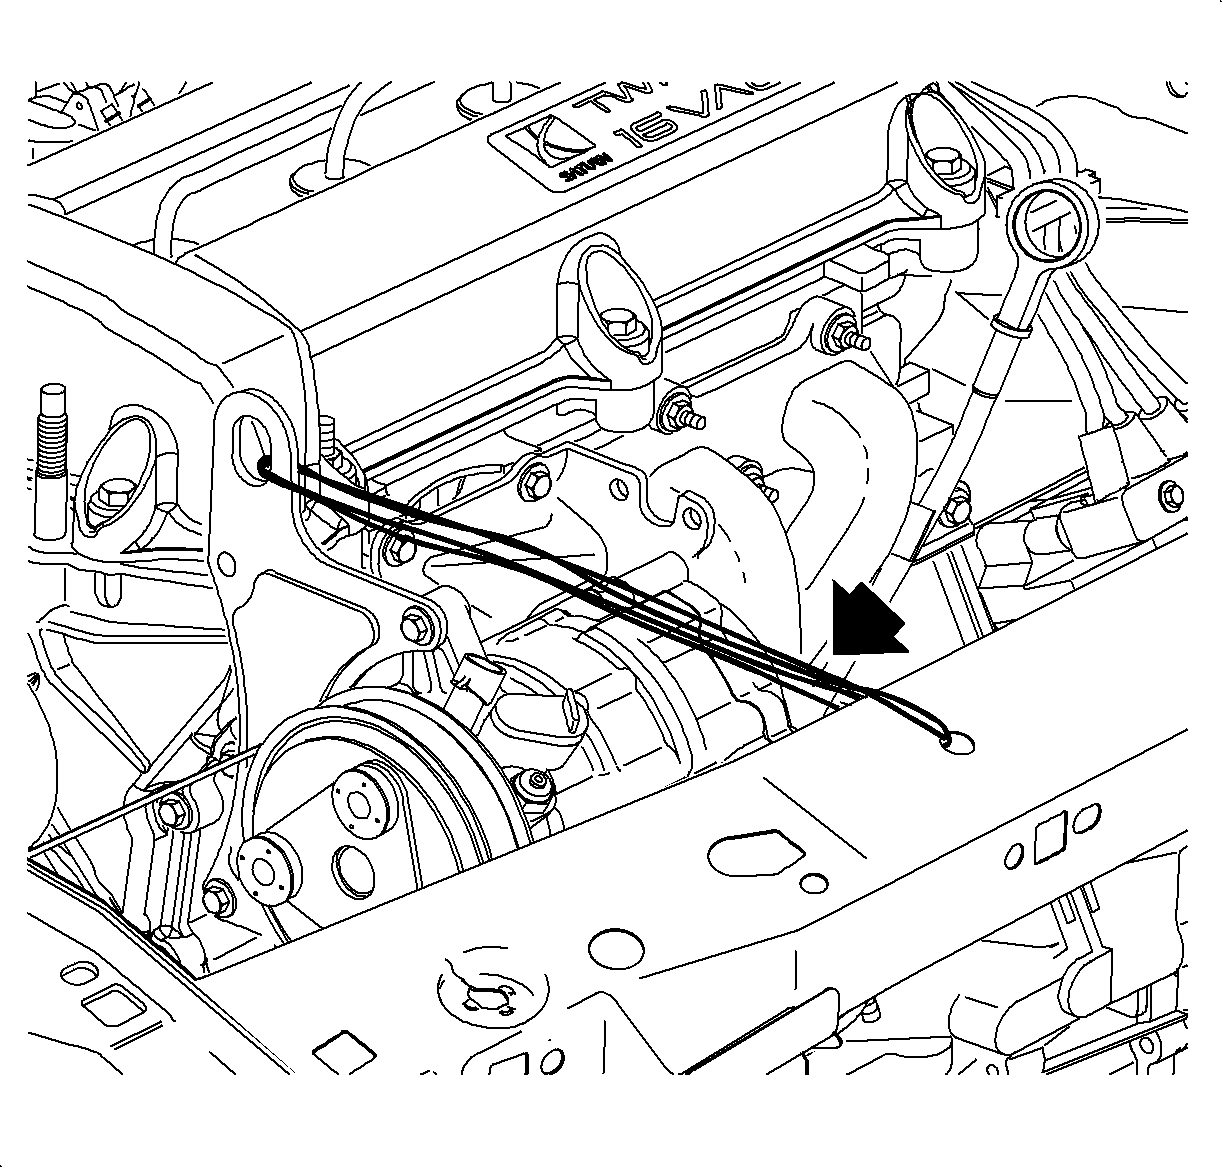
- Move the harness to the front of the dash.
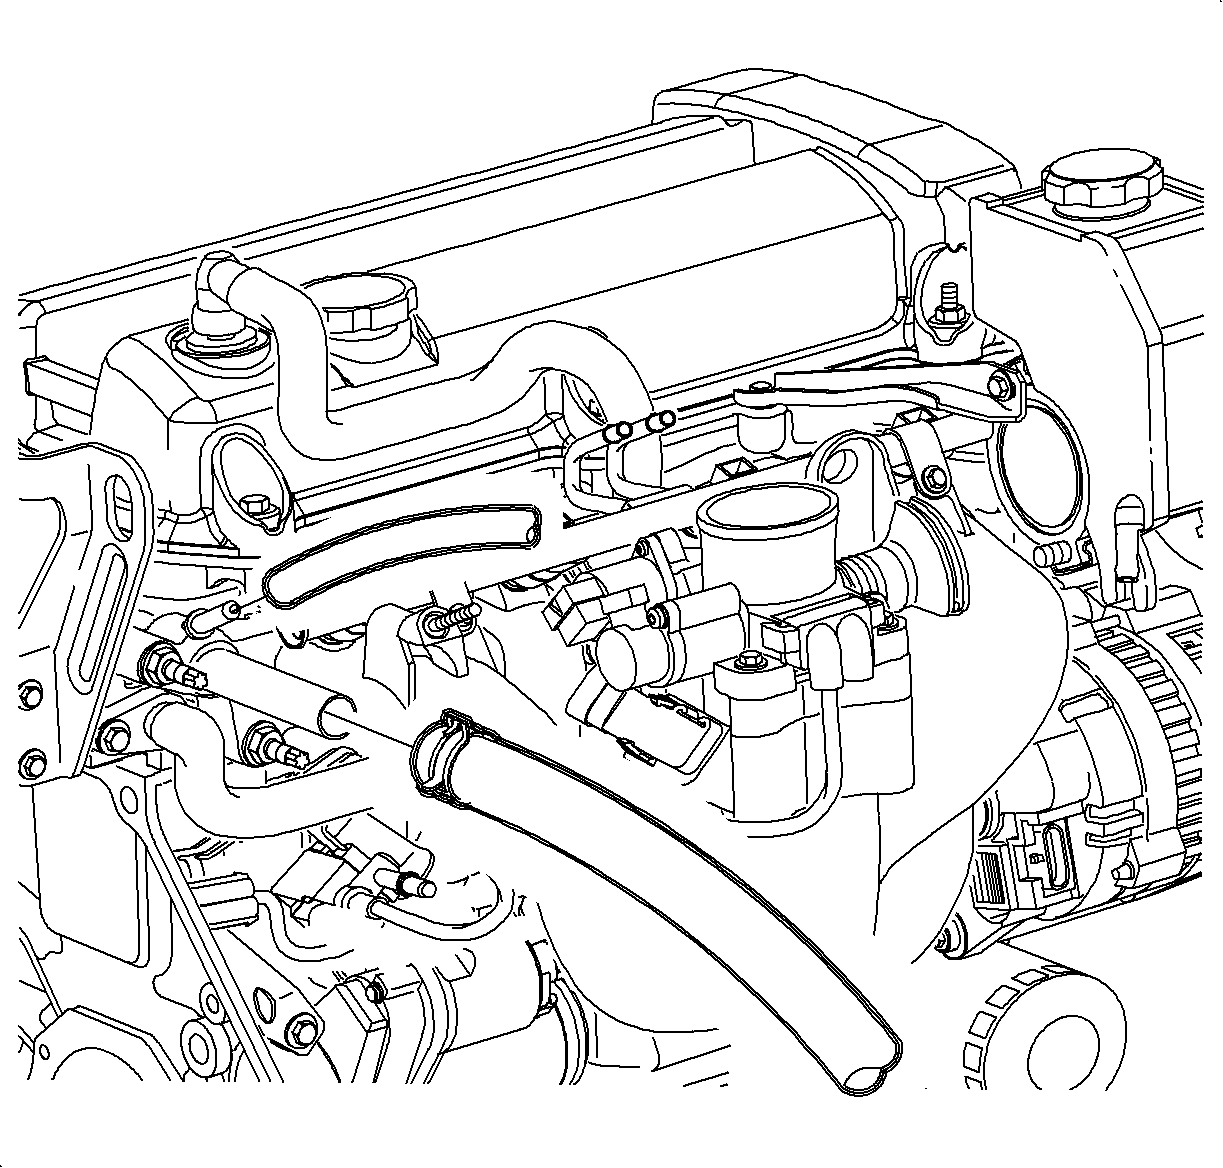
- Disconnect the heater and deaeration hoses at the intake manifold outlets.
- Remove the power steering support brace.
- Remove the fuel rail.
- Disconnect the EGR pipe from the cylinder head.
- Disconnect the vacuum hose at the brake booster.
- Remove the accessory drive belt.
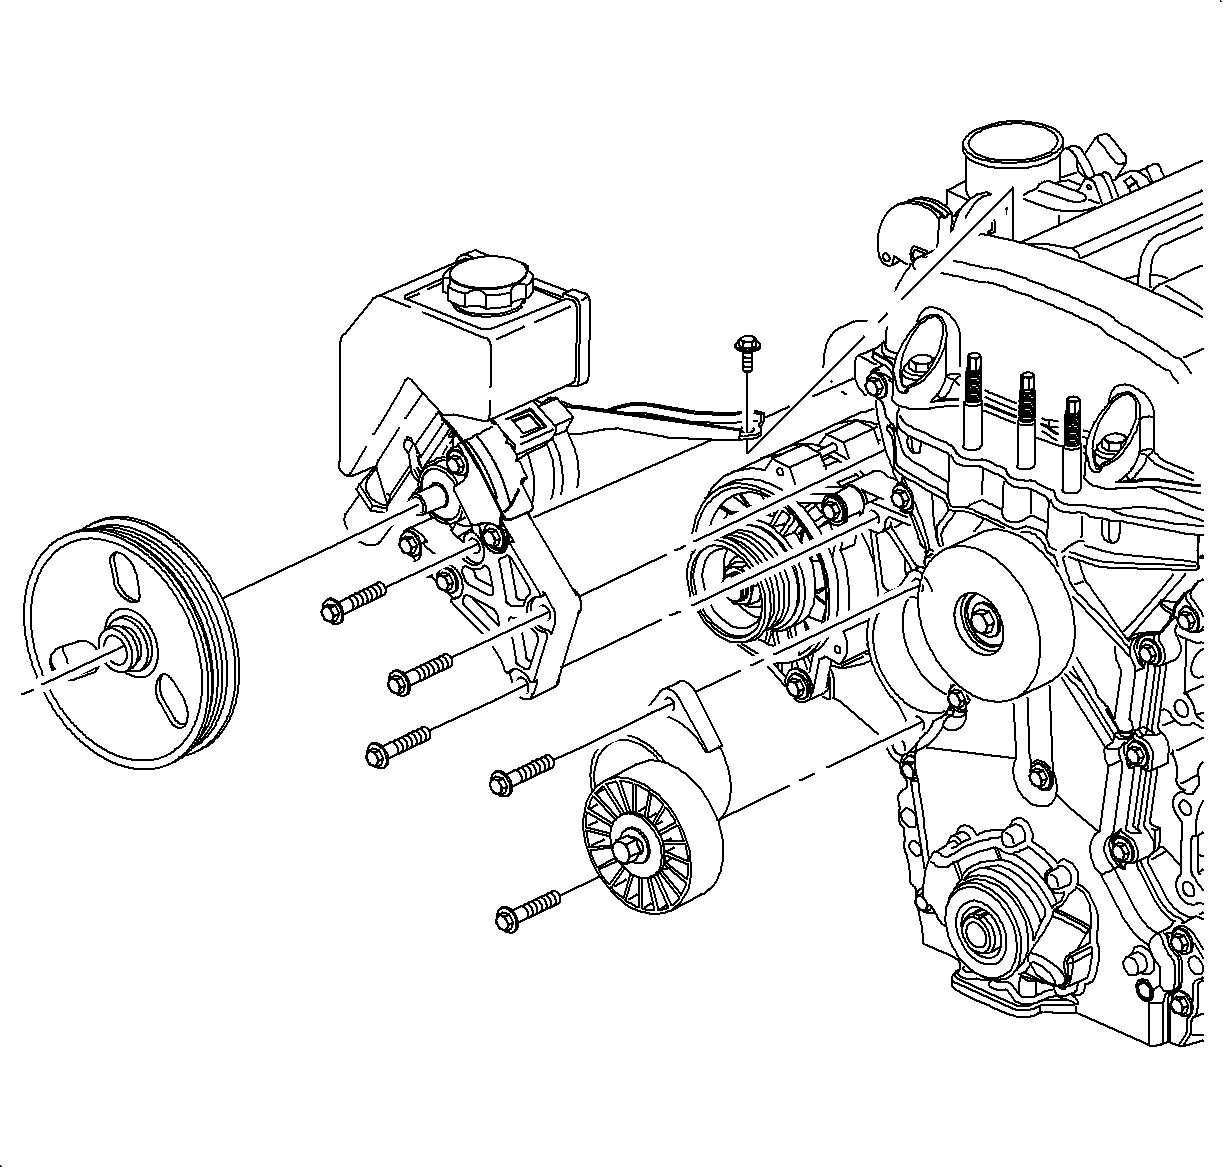
- Remove the power steering pump assembly with the support bracket.
- Remove the upper power steering pump bracket attachment bolts and position the pump next to the right-hand front of the dash panel, away from the cylinder head and intake manifold. Refer to Power Steering Pump Replacement in Power Steering System.
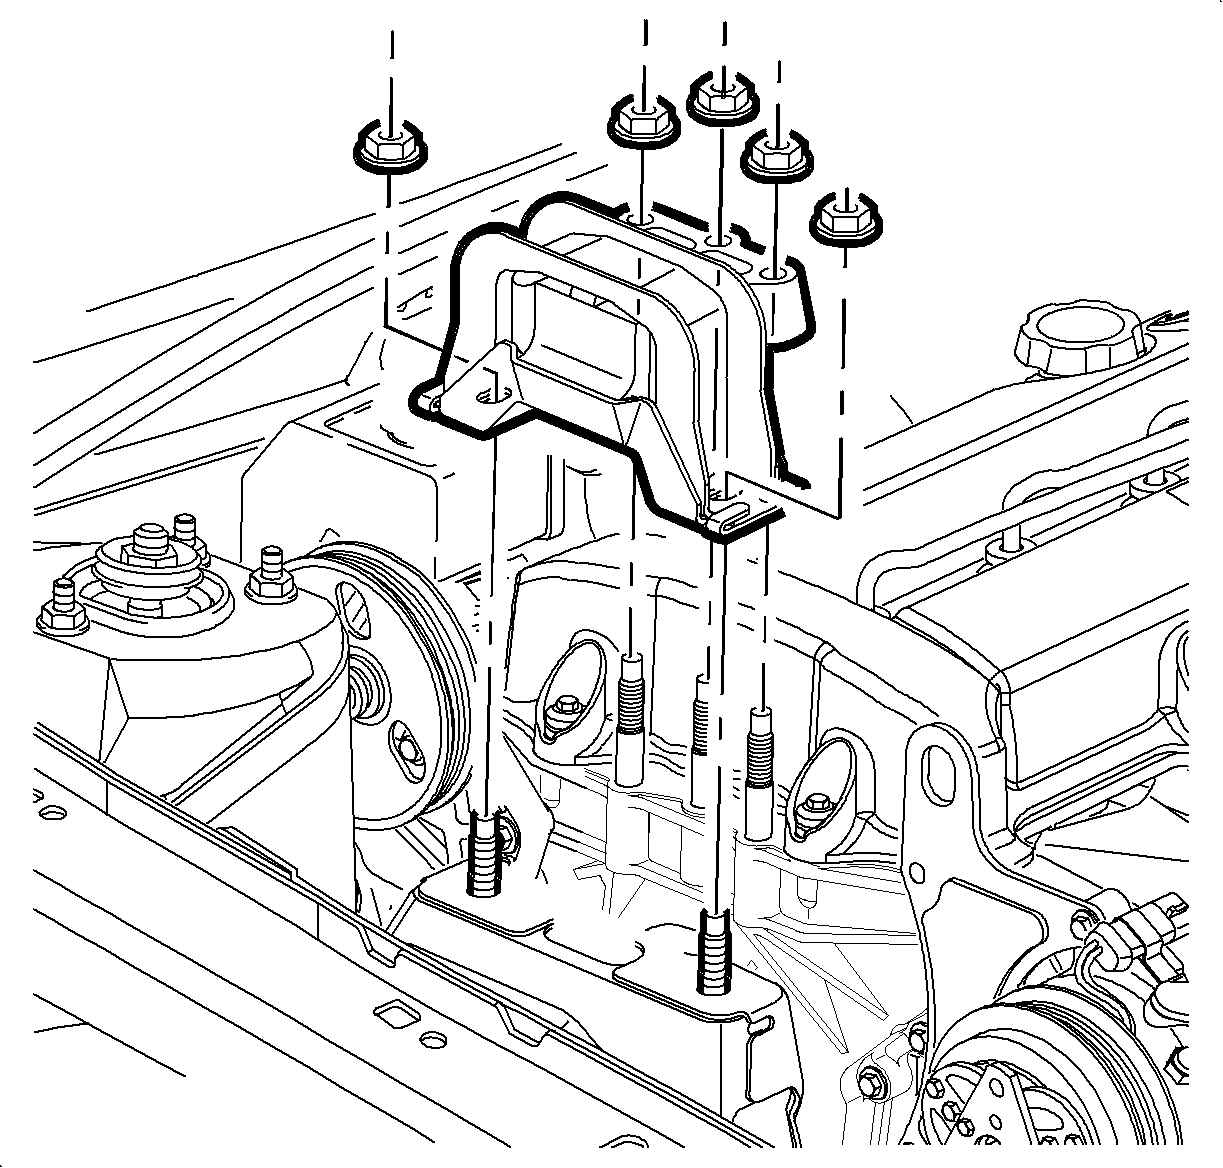
- Remove the 3 right-hand, upper engine torque axis mount to front cover nuts and the 2 mount to midrail bracket nuts, allowing the powertrain to rest on the block of wood, and remove the mount
- Remove the resonator and air cleaner box.
- Disconnect the air temperature sensor.
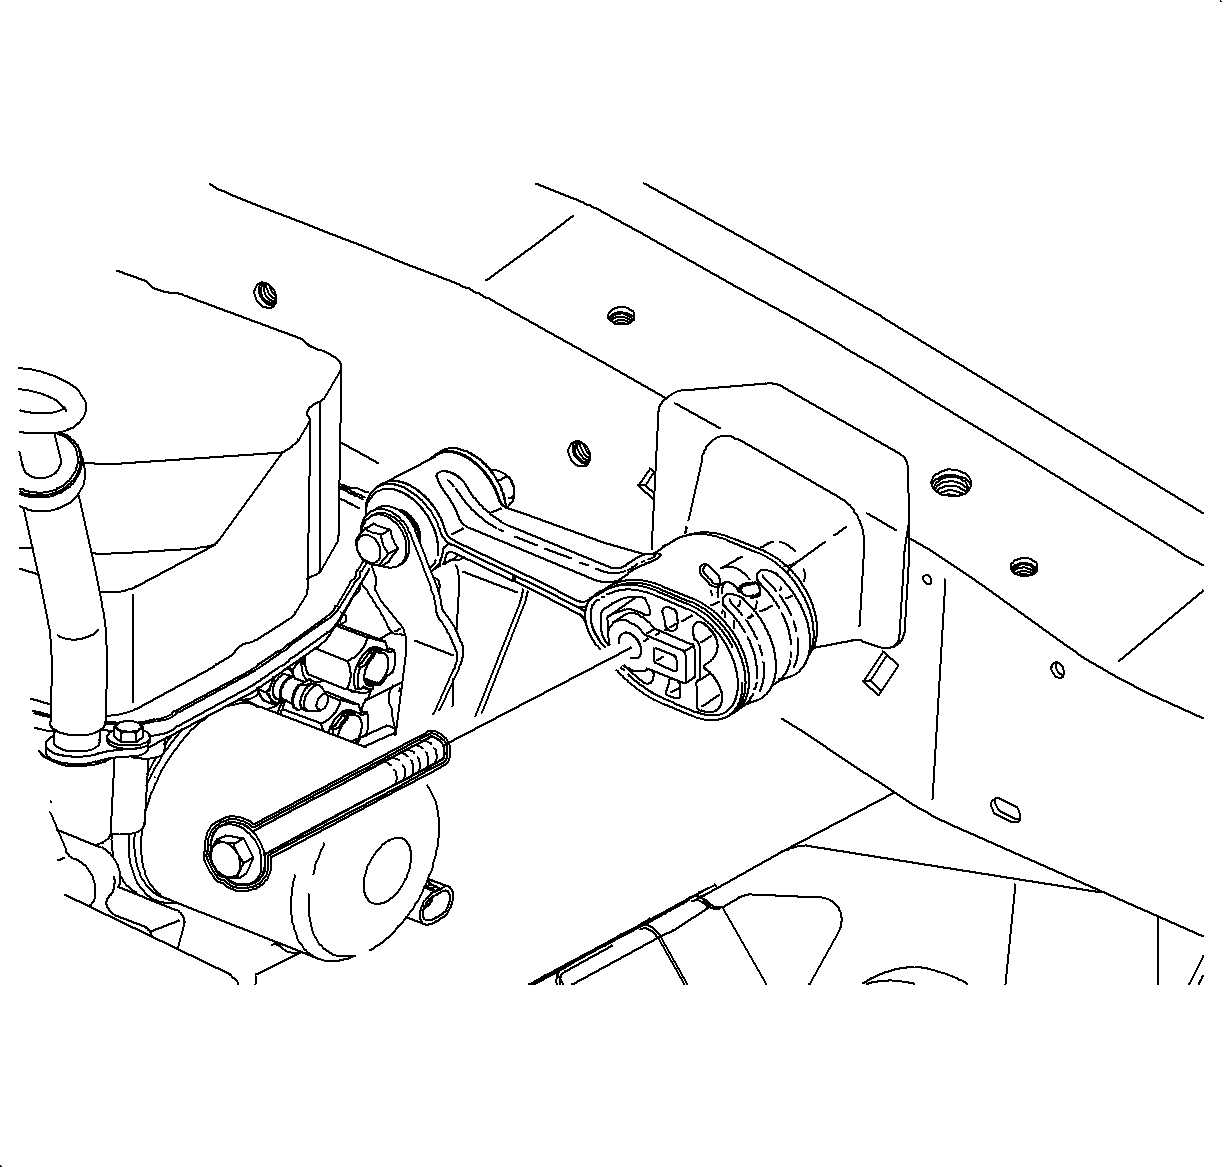
- Remove the transaxle strut-to-midrail bolt.
- Rotate the top of engine forward and secure the engine with tie straps or mechanic's wire. The tie straps can be routed from the front engine lift hook to the radiator support.
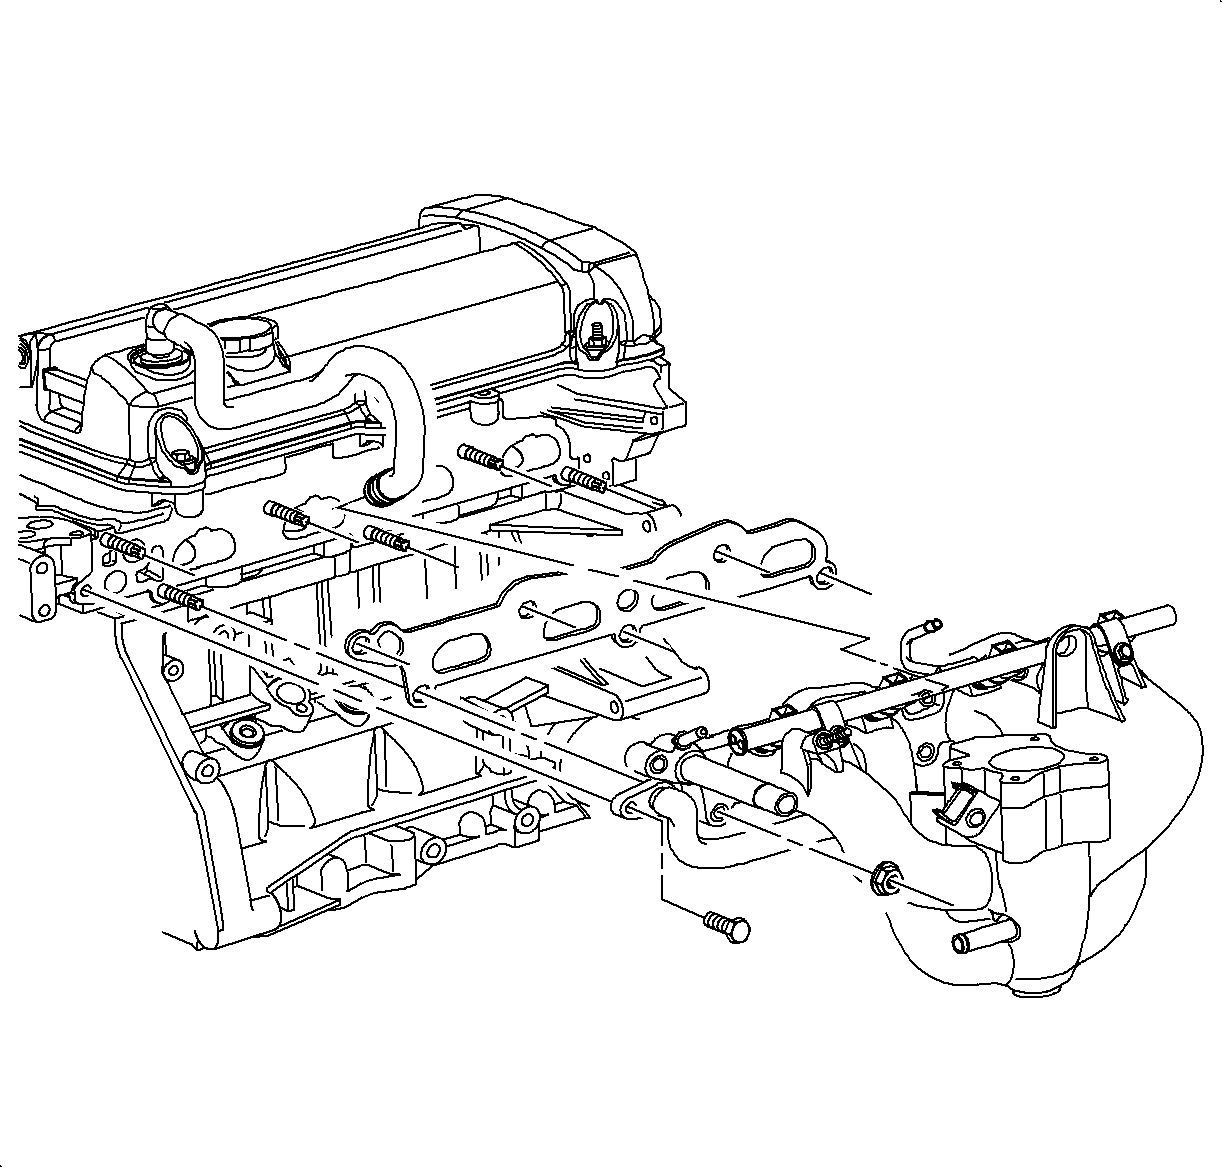
- Remove the intake manifold fasteners and remove the intake manifold.
Caution: Do not allow smoking or the use of open flames in the area where work on the fuel or EVAP system is taking place. Anytime work is being done on the fuel system, disconnect the negative battery cable, except for those tests where battery voltage is required.
Caution: Ensure that the vehicle is properly supported and squarely positioned. To help avoid personal injury when a vehicle is on a hoist, provide additional support for the vehicle on the opposite end from which the components are being removed.

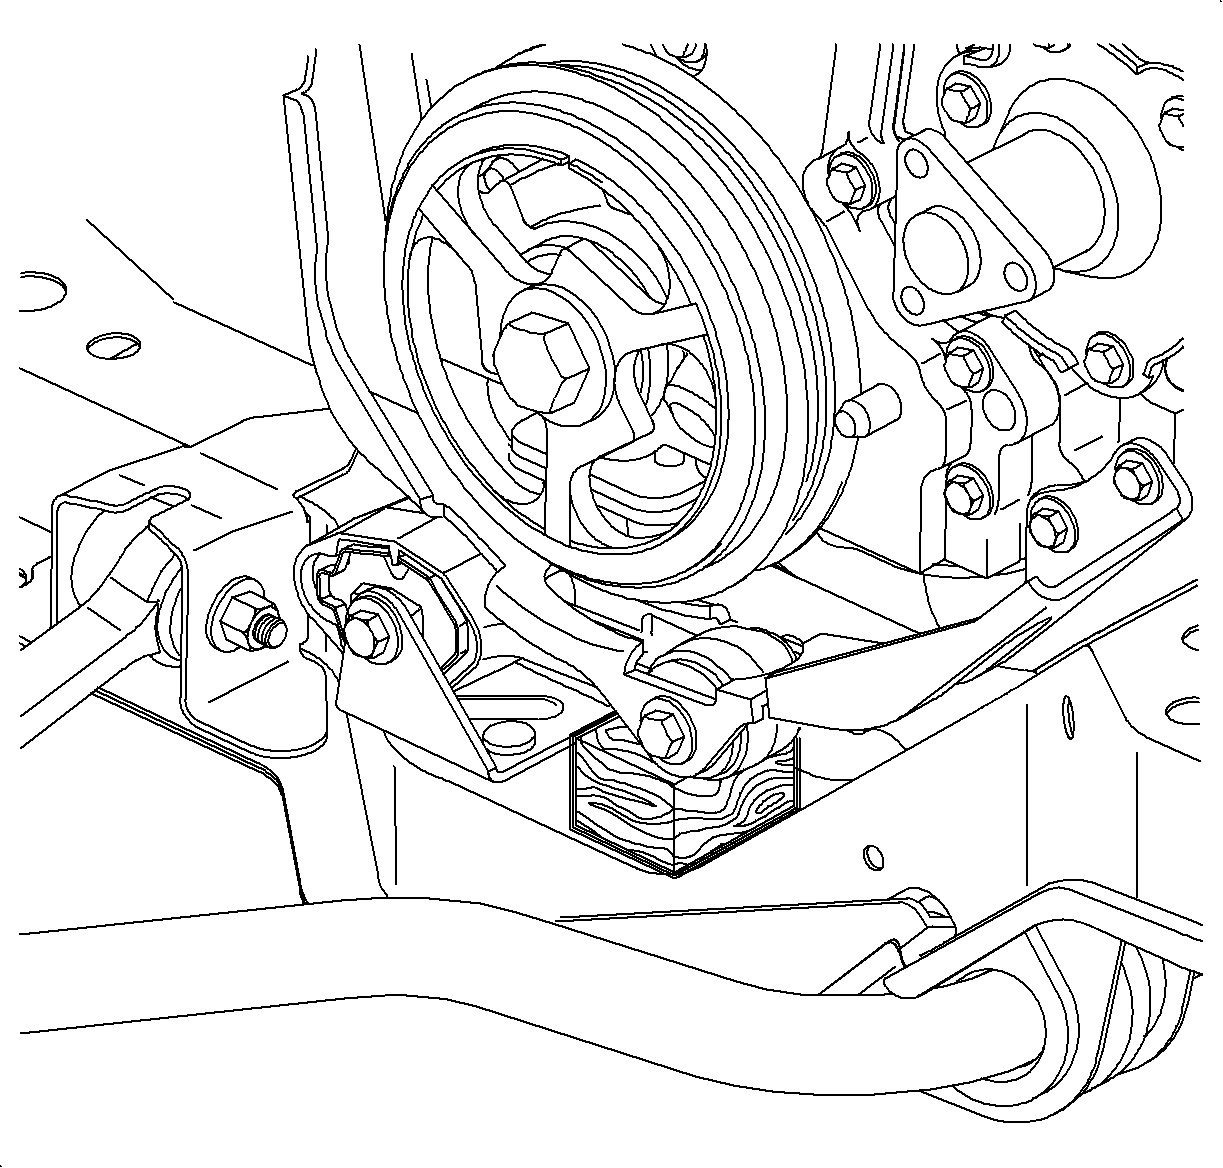
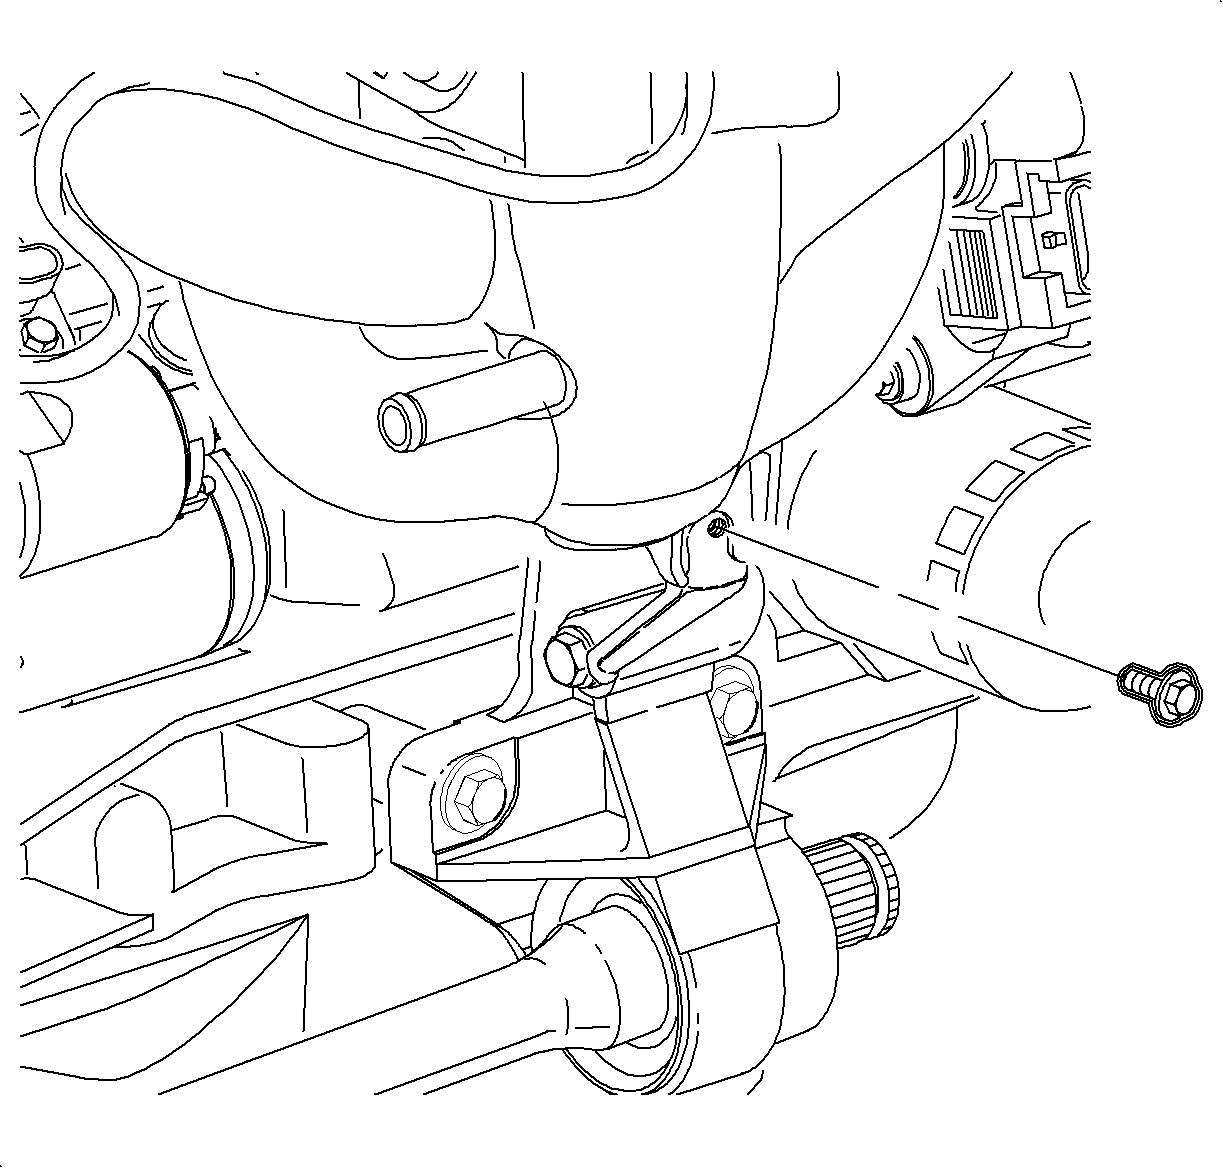
Important: Installation of the wood block prior to upper engine torque axis mount removal allows the mount to be easily removed without lifting or jacking the powertrain.

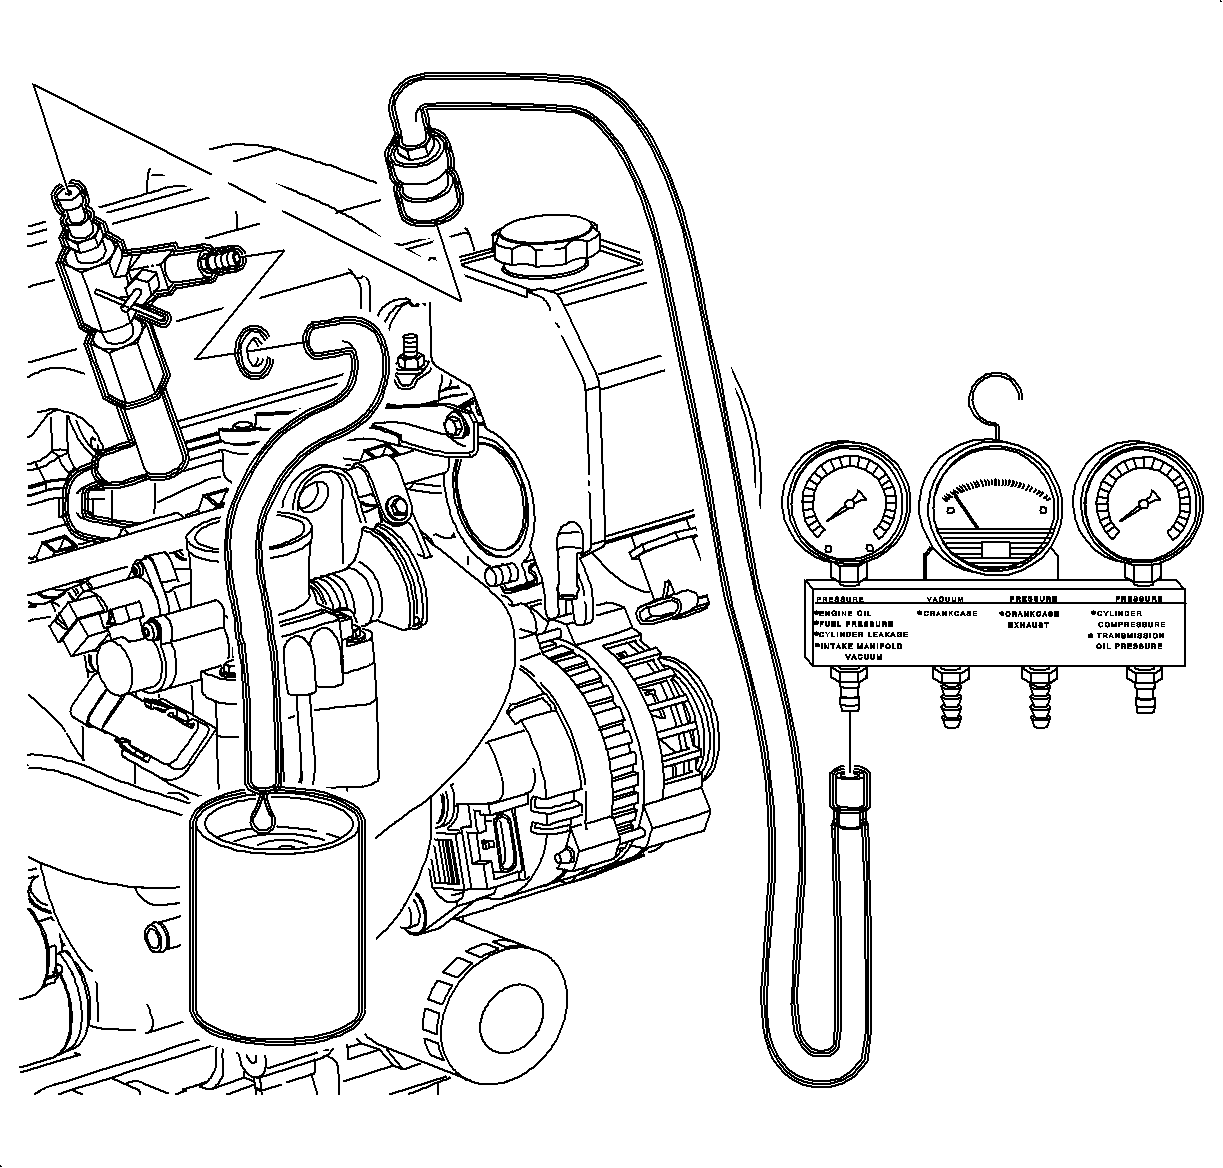
Caution: Whenever fuel line fittings are loosened or disconnected, wrap a shop cloth around the fitting to collect fuel. Place the cloth in an approved container.

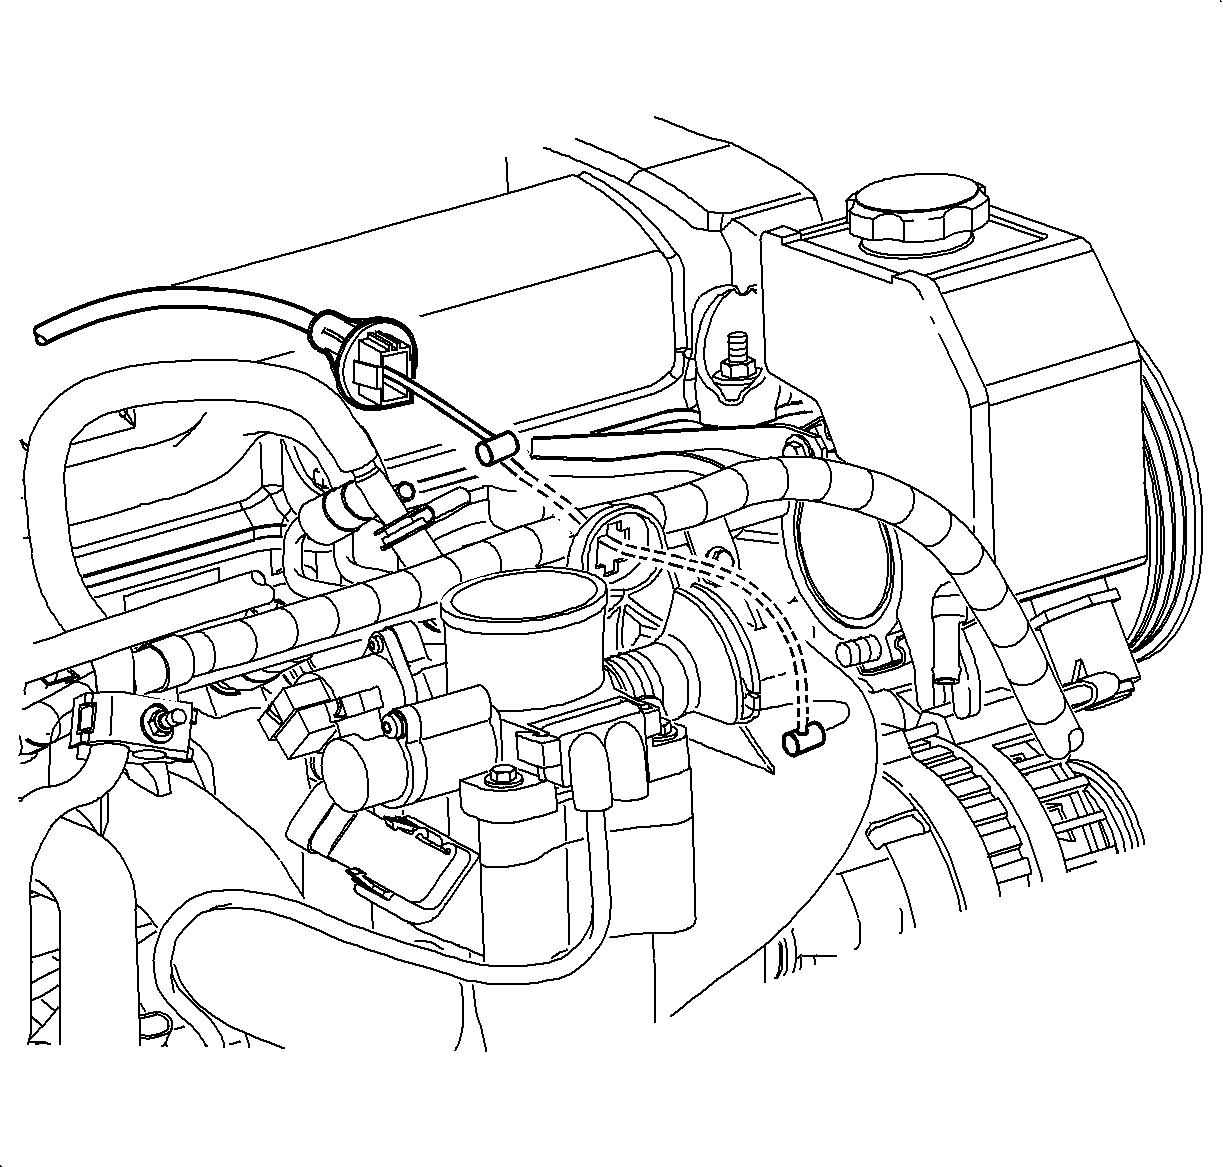
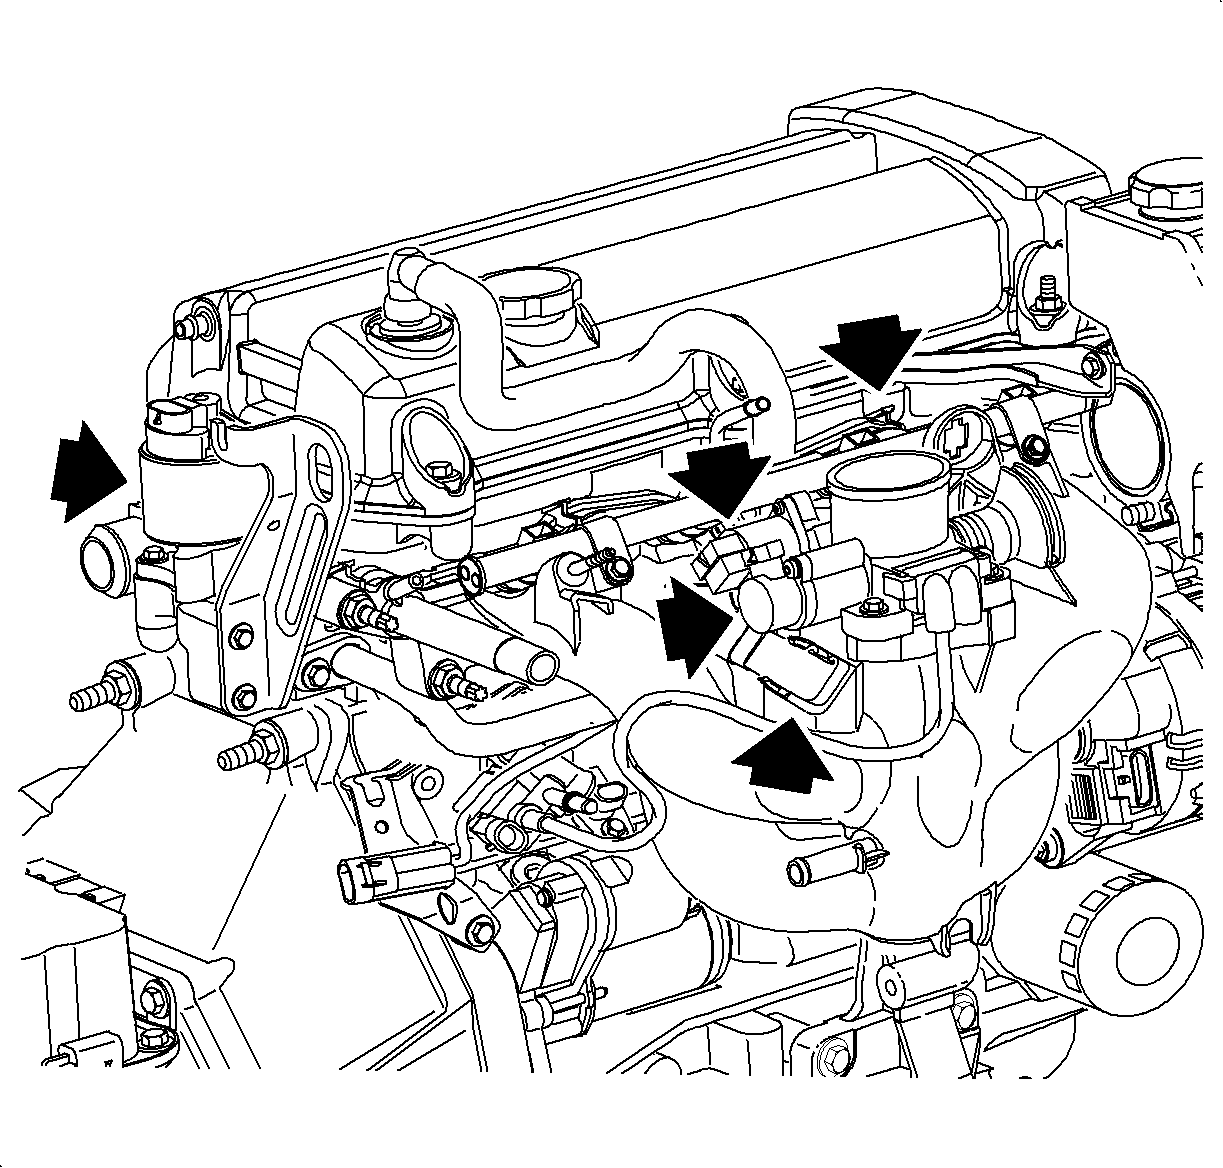
| • | The fuel injectors |
| • | The throttle position (TP) sensor |
| • | The idle air control valve (IAC) |
| • | The manifold absolute pressure (MAP) sensor |
| • | The exhaust gas recirculation (EGR) valve |


Installation Procedure
- Assemble the EGR pipe assembly to the intake manifold.
- Install the intake manifold onto the attaching studs.
- Install the intake manifold attaching nuts.
- In sequence, torque the intake manifold attaching nuts.
- Install the EGR pipe with a new gasket to the cylinder head.
- Connect the heater and deaeration hoses to the intake manifold outlets.
- Install the fuel rail.
- Install the following electrical harness connectors and vacuum hoses.
- Install the vacuum line to the brake booster.
- Install the PCV valve and hose to the cam cover.
- Assemble the fuel line nut to the fuel line stud at the intake manifold.
- Attach the line to fuel rail.
- Install the power steering pump assembly and brackets.
- Install the power steering pump brace.
- Install the accessory drive belt.
- Install the transaxle mount to frame rail.
- Install the engine mount-to-midrail bracket nuts first.
- Next, install the 3 engine mount-to-front cover nuts.
- Remove the block of wood from under the torque strut after the engine mount assembly is installed.
- Install the airbox assembly and attaching screws. Install the resonator and push in the plastic fastener.
- Connect the electrical connector at the intake air temperature (IAT) sensor.
- Install the cable retainer into the support bracket until the locking tang is engaged.
- Connect the accelerator cable to the throttle lever.
- Raise the vehicle.
- Install the intake manifold brace to the intake manifold.
- Remove the support block.
- Install the cylinder block drain plugs and close the radiator drain.
- Lower the vehicle.
- Fill the cooling system with coolant. Use DEX-COOL™ coolant.
- Connect the negative battery terminal.
- Prime the fuel system.
- Start the engine and check for leaks.
- Fill the cooling system surge bottle to the cold full line. Inspect the coolant level after the engine has run for 2-3 minutes.
- Install the air cleaner tube and the air box cover.
- Attach the fresh air hose to the air cleaner tube.

Important: Ensure that the cylinder head and intake manifold gasket sealing surfaces are clean. Refer to DOHC (LL0) Cylinder Head section for inspection requirements. Inspect intake manifold gasket for cuts, nicks, or swelling. Replace if any of these conditions are found.
Tighten
Tighten the EGR pipe-to-intake manifold (LL0) 10 N·m (89 lb in).

Tighten
Tighten the intake manifold-to-head (LL0) to 13 N·m (9.5 lb ft).
Tighten
Tighten the EGR pipe-to-cylinder head (LL0) to 25 N·m (19 lb ft).

Important: Lubricate the O-rings at the injector tips prior to installing the injectors into the intake manifold.
Tighten
Tighten the fuel rail attachment bolts to 12 N·m (9 lb ft).

| 8.1. | Electrical connectors: |
| • | The idle air control valve (IAC) |
| • | The throttle position (TP) sensor |
| • | The manifold absolute pressure (MAP) sensor |
| • | The fuel injectors (4) |
| • | The EGR valve |
| 8.2. | Vacuum hoses: |
The EVAP canister purge solenoid

Tighten
Tighten the fuel feed line support clip-to-bracket (LL0) to 4.5 N·m (37 lb in).
Notice: Replace plastic fuel retainer whenever the fuel supply is disconnected at the fuel rail. Install the new retainer into the female cavity of the connection. Care must be taken to assure that the locking tab is centered in the window of the female cavity. Firmly press the female connection onto the male end until a click is heard, then pull back to confirm engagement. Pinched, kinked, or damaged fuel lines must be replaced.

Tighten
Tighten the power steering pump bracket-to-block to 30 N·m (22 lb ft).
Tighten
Tighten the power steering pump brace-to-block to 30 N·m (22 lb ft).

Tighten
Tighten the transaxle mount-to-frame rail to 70 N·m (52 lb ft).

Notice: To prevent engine front cover and mount damage, the three front engine mount-to-front cover nuts must be tightened down uniformly.
Tighten
| • | Tighten the engine mount-to-front cover nuts to 50 N·m (37 lb ft). |
| • | Tighten the engine mount-to-midrail bracket nuts to 50 N·m (37 lb ft). |

Tighten
Tighten the air cleaner/resonator attachment bolts (all) to 10 N·m (89 lb in).

Notice: Whenever a throttle cable assembly is installed, make sure the locking tangs are engaged to the front of dash and the seal is properly installed. The cable should be installed so that the tangs are in a horizontal position to provide optimum sealing. Pull on the cable to ensure the tangs are engaged.

Tighten
Tighten the intake manifold support bracket-to-intake manifold (LL0) to 6.5 N·m (58 lb in).

Tighten
Tighten the cylinder block drain plugs to 35 N·m (26 lb ft).
Tighten
Tighten the battery terminal bolts to 17 N·m (13 lb ft).
| 31.1. | Cycle the ignition ON for 5 seconds and then OFF for 10 seconds. |
| 31.2. | Repeat the previous step twice. |
| 31.3. | Crank the engine until it starts. Maximum starter motor cranking time is 20 seconds. |
| 31.4. | If the engine does not start, repeat the previous three steps. |

