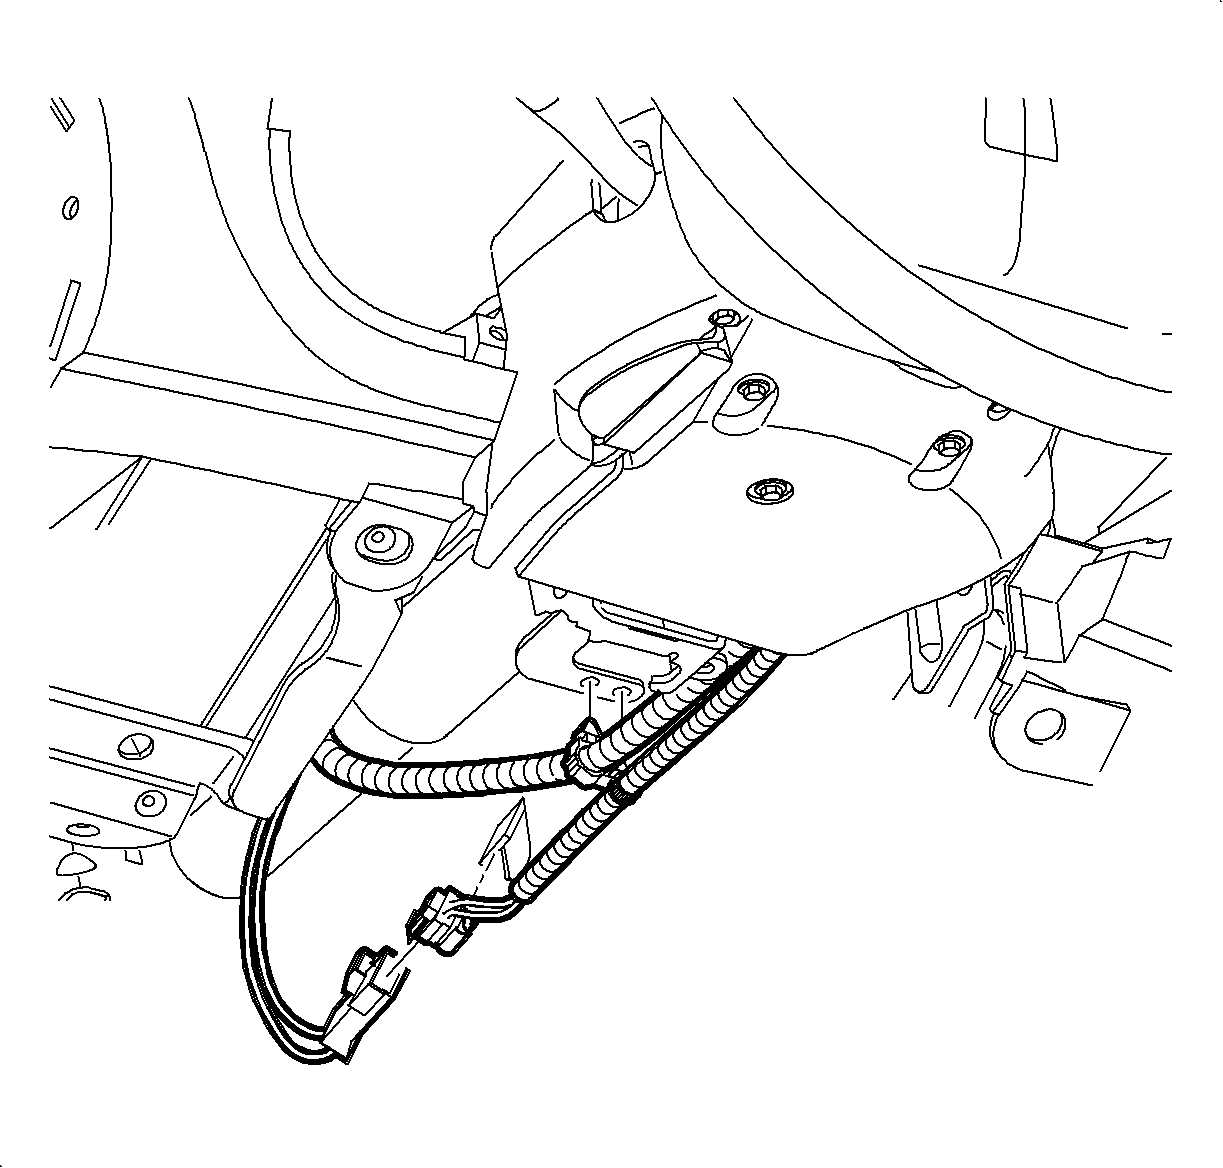
For 1990-2009 cars only
Important: For steps 1-2, and 4-11, LHD illustrations are shown, RHD illustrations are similar. A LHD and RHD illustration are shown in step 3. LHD illustration is shown first.
- Turn ignition switch to LOCK position and remove key.
- Connect yellow two way SIR connector at the base of steering column and install connector position (CPA) device to connector.
- Connect yellow two way passenger inflator module pigtail and install CPA device to connector.
- For RHDD vehicles only - Connect yellow two way passenger inflator module pigtail and install CPA device to connector.
- Install upper trim panel insulator.
- Lower panel, making sure upper trim panel alignment tabs interlock with windshield garnish slots.
- Push down at clip locations to secure.
- Press down firmly at forward corners to fully engage.
- Install and tighten screws.
- Install AIR BAG fuse to I/P junction block.
- Turn ignition switch to RUN position and verify that the AIR BAG warning lamp flashes seven times and then turns Off. If it does not operate as described, perform the SIR Diagnostic System Check.
- Remove connector position assurance (CPA) device and disconnect yellow two-way connector located on pigtail from passenger inflator module.
- CPA removal for RHDD vehicles only.


Important: Make sure to tuck in all flaps.

Important: Be careful not to damage VIN plate when replacing upper trim panel.
Important: Be sure the upper trim panel seal is correctly seated on forward edge before installing upper trim panel.

Tighten
Tighten screws to 2.3 N·m (20 lb in).


