Climate Control System without A/C

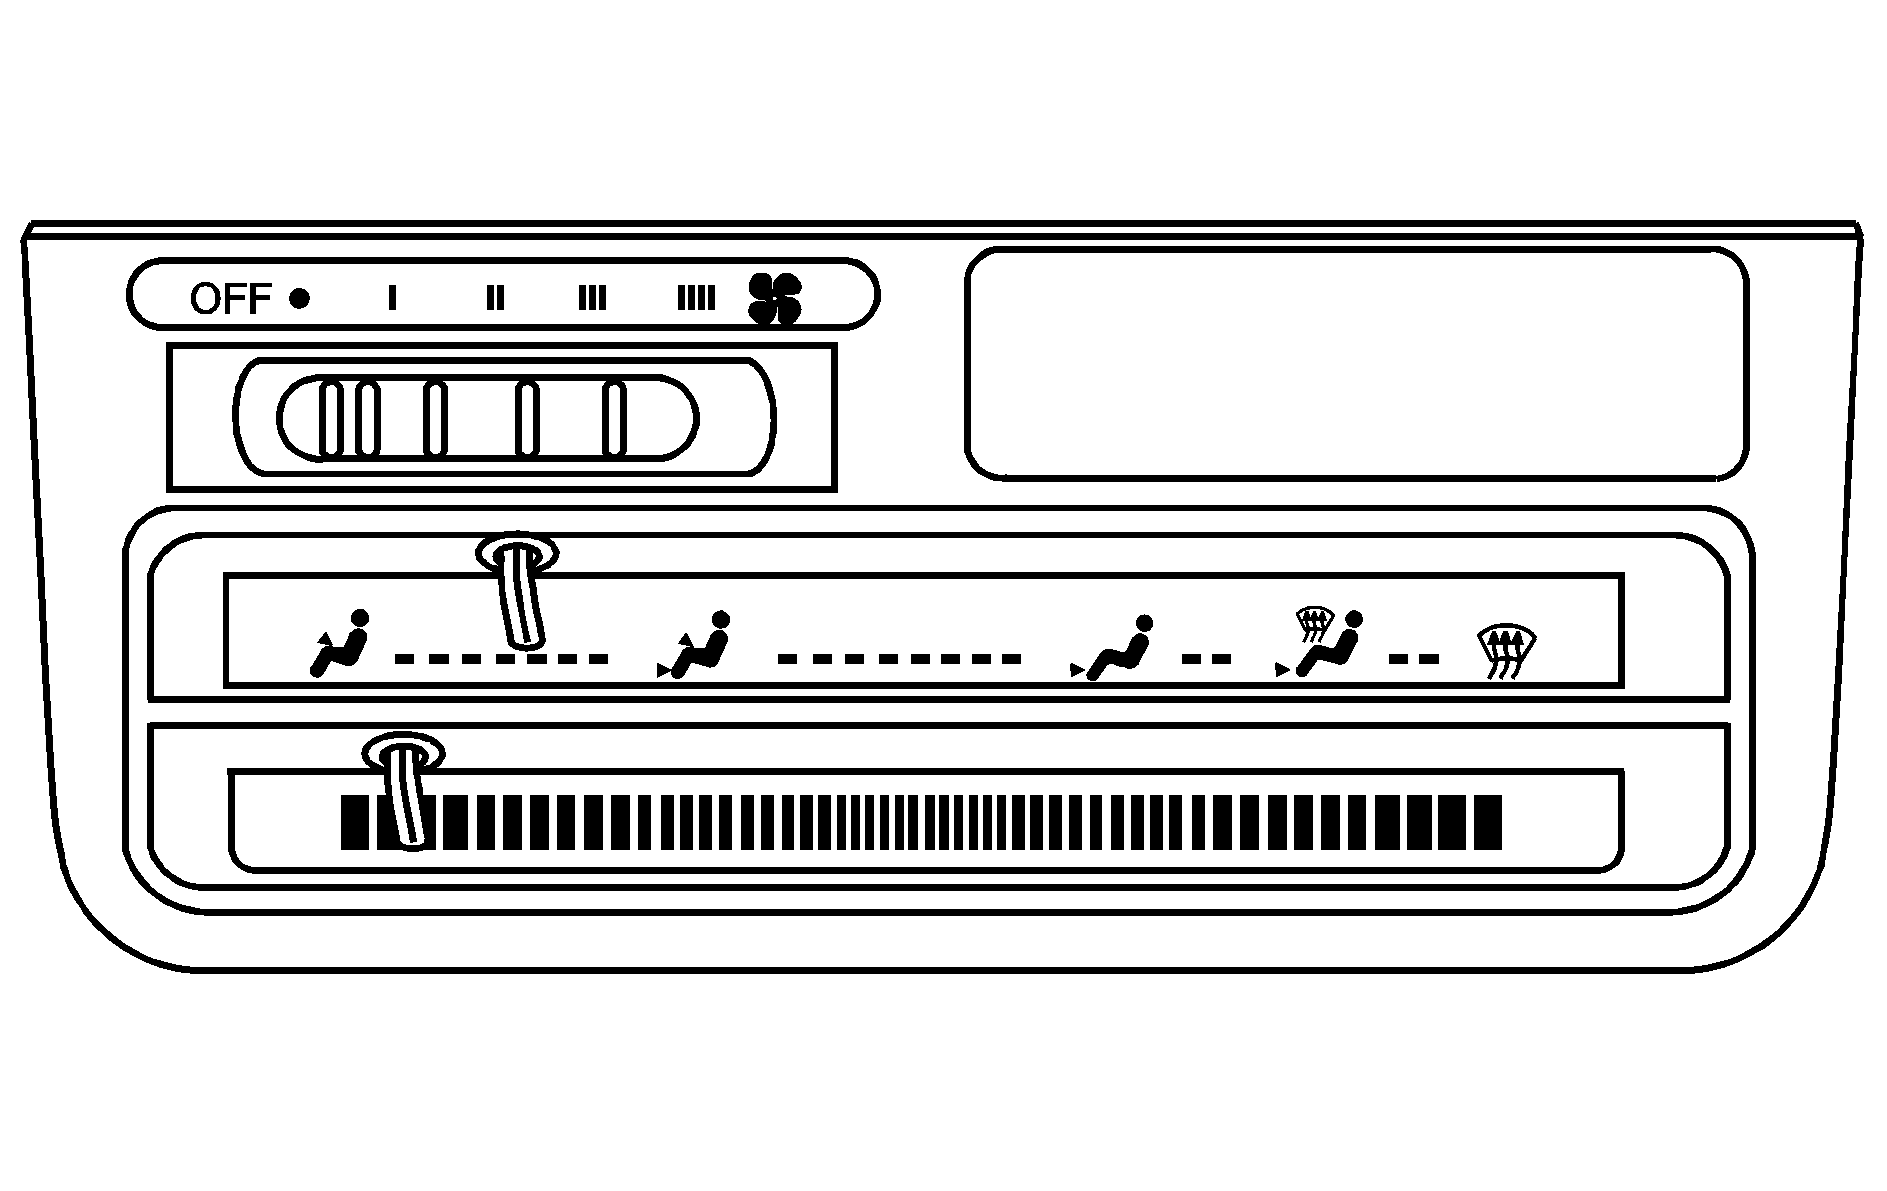
(Fan Control Switch): This switch sets the fan speed. Select the force of air your want by moving the switch. If you move the switch to OFF, the fan will be off.
Lever Controls: The upper lever allows you to select the path of air flow or mode through the various outlet in the system. The lower lever changes the temperature of the air coming through the system. You can position the right knob between setting to vary the air flow from the different outlets.
(Vent): This setting is best when little heating or cooling is needed. Slide the upper lever to the Vent setting. The air flow will be through the instrument panel outlets. Set the lower lever to the temperature desired.
(Bi-Level): This setting directs air in two ways. The air is directed to the upper portion of your body through the instrument panel outlets, and the air is directed through the heater outlet. The air will be slightly warmer through the heater outlet.
(Heater): This setting brings air through the heater outlets, rear floor outlet, and through the windshield defroster outlets.
: This setting directs air in two ways. The air is directed through the defroster and heater outlets. This setting should be used to keep glass fog free. NOTE: During extremely cold weather, 10°F (-12°C) or colder, your engine's coolant temperature will decrease quickly when idling with the heater fan on high speed and cool air may flow from the heater outlets. The fan control switch can be set at a slower speed position (fan speed I or II) to maintain the hottest air flow.
(Defrost): This setting directs the air through the windshield defroster outlets onto the windshield and past the front side windows. This helps to defrost the front side windows.
Defogging Windows
If you quickly want to defrost the windshield, slide the upper control to Defrost, slide the temperature control lever into the red (HOT) area, and then turn the fan on high. The recirculate button should be left off.
Notice: Do not use anything sharp on the inside of the rear window. If you do, you could cut or damage the warming grid, and the repairs would not be covered by the vehicle warranty. Do not attach a temporary vehicle license, tape, a decal or anything similar to the defogger grid.
Climate Control System with A/C Option

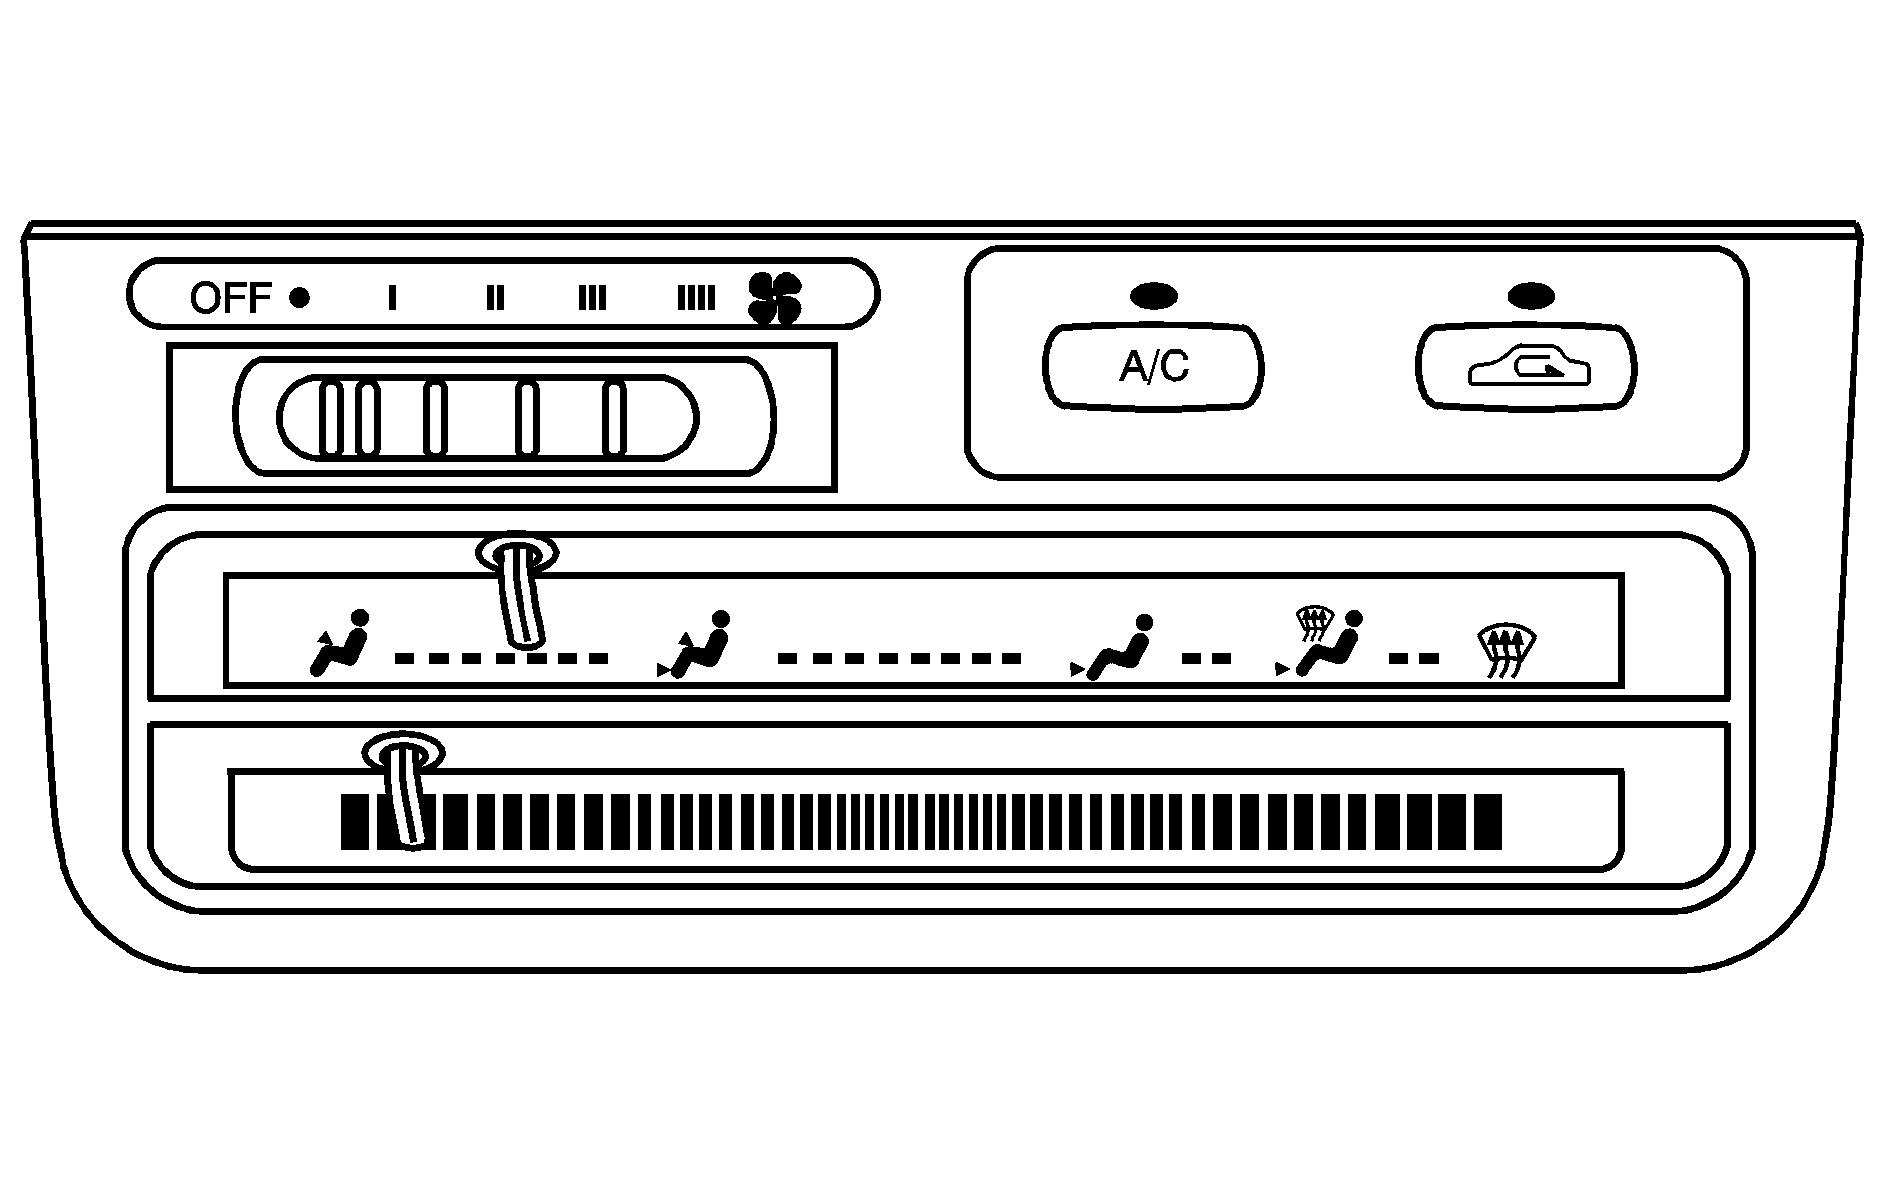
Air conditioning and Recirculate function can be selected in any mode as long as the fan switch is "ON" when starting your vehicle. On very hot days, open the windows long enough to let hot inside air escape. This reduces the time it will take the inside of your vehicle to cool down.
Your vehicle's air conditioning may shut off for short periods of time when the engine is under extreme load (steep grades or passing). This is done in order to provide maximum engine Performance.
RECIRCULATE: This switch controls the air source (inside or outside) for the various air modes. When this button is pushed (an indicator light will light), the interior air is recirculated through the climate control system. This cools the air more quickly. Use of Recirculate in cold weather is not recommended and can result in window fogging. In cold or humid weather, outside air is the best for clearing the windows.NORMAL A/C: Push the "A/C" button for normal cooling. When the button is pushed, the indicator light will light. This setting cools air brought in from the outside.
MAX A/C: Provide maximum cooling or quick cool-down on very hot days. Push the A/C and Recirculate buttons. When the buttons are pushed, indicator lights will light. This setting recirculates and cools the inside air.
(Fan Control Switch): This switch sets the fan speed. Select the force of air you want by moving the switch. The fan control switch also controls the operation of the "A/C" Recirculate buttons. If you move the switch to "OFF", the fan, "A/C", and Recirculate functions will not operate.
Lever Controls: The upper lever allows you to select the path of air flow or mode through the various outlets in the system. The lower lever changes the temperature of the air coming through the system. You can position the lever between settings to vary the air flow from the different outlets.
(Vent): Slide the upper lever to Vent setting. Air flow is directed through the instrument panel outlets. Set the left knob to the temperature desired.
(Bi-Level): Push the A/C button and set the control mode to Bi-Level. When the A/C button is pushed, an indicator light will light. This setting brings in the outside air, but directs it in two ways. The air is directed through the instrument panel outside air, but directs it in two ways. The air is directed through the instrument panel outlets and also directed through the floor outlets.
(Heater): Slide the upper lever to the heater setting. This will send air through the heater outlets, rear floor outlets, and some through the windshield defroster outlets.
(Defrost/Heater): This setting directs air in two ways. The air is directed through the defroster and heater outlets. This setting should be used to keep glass fog free. NOTE: During extremely cold weather, 10°F (-12°C) or colder, your engine's coolant temperature will decrease quickly when idling with the heater fan on high speed and cool air may flow from the heater outlets. The fan control switch can be set at a slower speed position (fan speed I or II) to maintain the hottest air flow.
/ (Defrost/Defogging Windows): This setting directs the air through the windshield defroster outlets onto the windshield and past the front side windows. Use this setting if windows are fogged or icy. This setting will also help defog the front side windows. Set the control knob to defrost and set the temperature to full hot (far to the right). To quickly clear the windows, put the fan control switch to high and push the A/C button (if equipped). An indicator light will go on.
Notice: Do not use anything sharp on the inside of the rear window. If you do, you could cut or damage the warming grid, and the repairs would not be covered by the vehicle warranty. Do not attach a temporary vehicle license, tape, a decal or anything similar to the defogger grid.
Rear Window Defogger

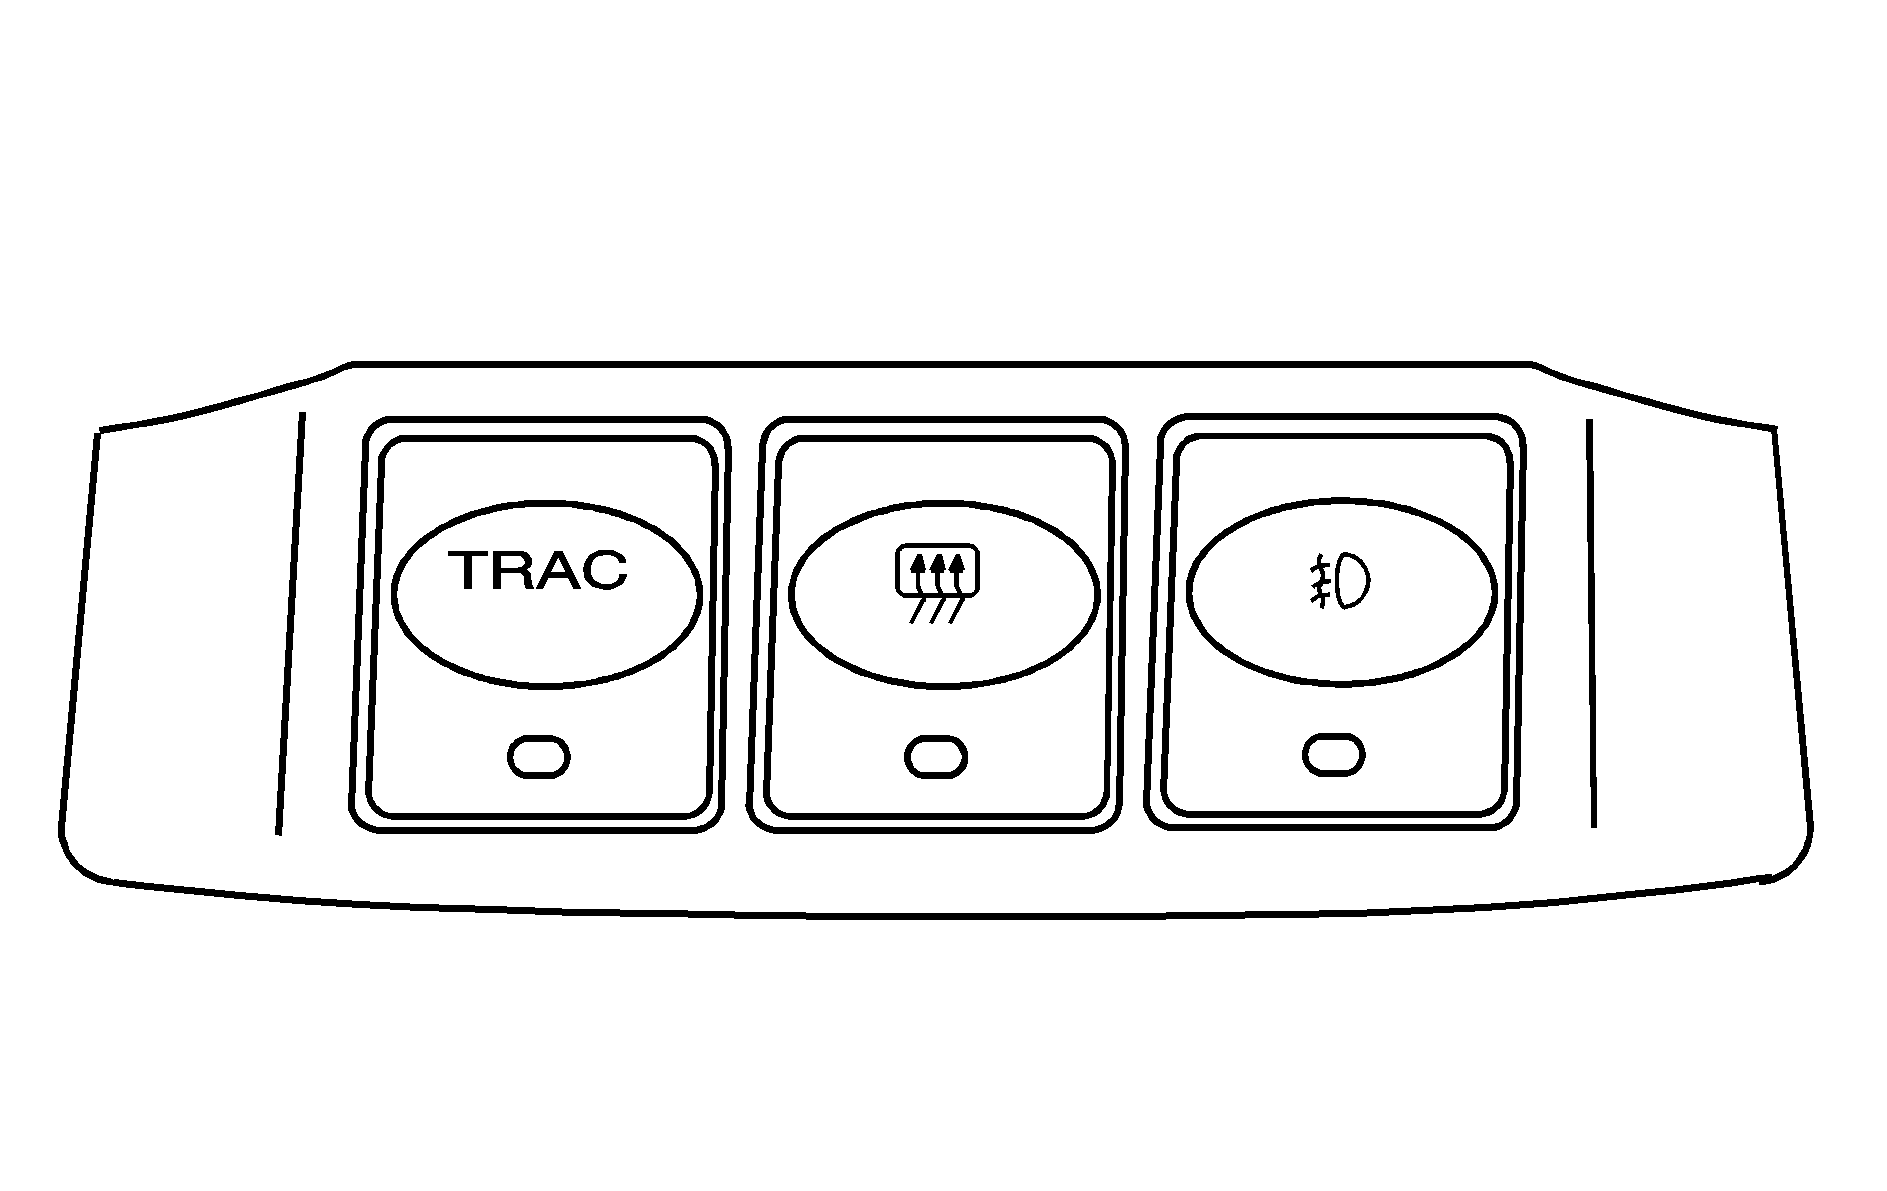
Your vehicle has a rear window defogger and you can see the lines across the rear window. Those are the lines of the heater that warms the glass. You will find the control switch on the center of the instrument panel above the radio. To turn on the defogger, push the switch. Your defogger switch has an indicator light that will glow.
Your defogger will stay on for 15 minutes unless the ignition is turned to either the accessory "ACC" or "LOCK" position or the defogger switch is turned off by pressing the switch again before the 15 minute time period has passed.
To run the defogger for more than 15 minutes, wait until the defogger turns off, and then press the switch again. The defogger will be on for 7 1/2 more minutes.
Your defogger is designed to clear condensation on the inside or outside of the rear window. If there is ice on the outside of the rear window, you may need to scrape it off.
Notice: Do not use anything sharp on the inside of the rear window. If you do, you could cut or damage the warming grid, and the repairs would not be covered by the vehicle warranty. Do not attach a temporary vehicle license, tape, a decal or anything similar to the defogger grid.
