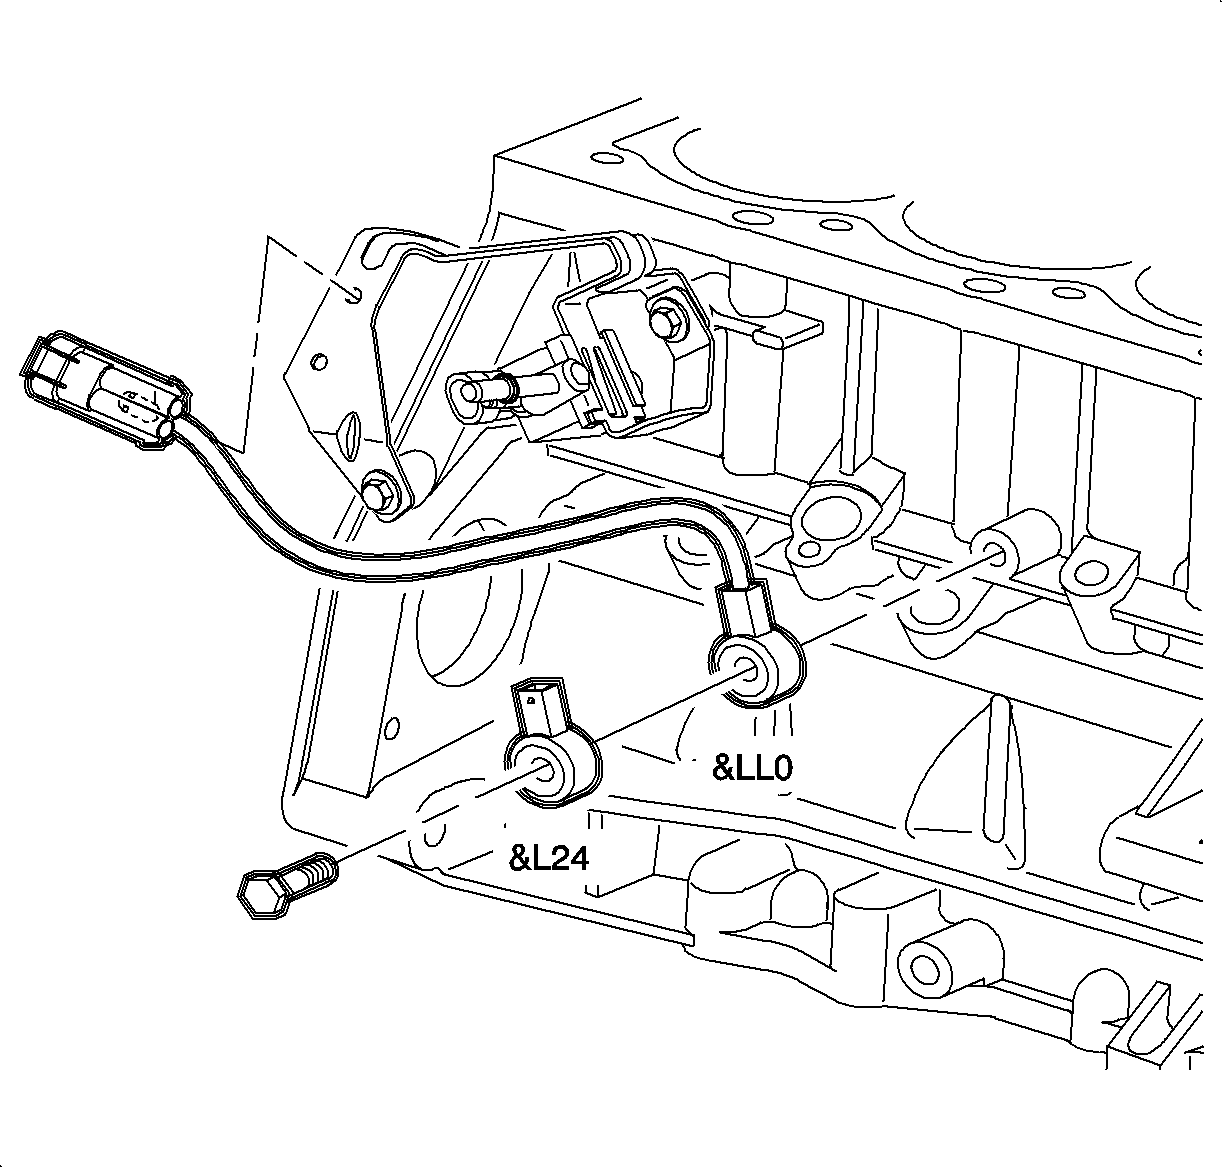
Knock Sensor Replacement DOHC
Removal Procedure
- Turn the ignition OFF.
- Disconnect the knock sensor harness connector.
- Remove the knock sensor connector from the retaining clip by inserting a flat-blade screwdriver between the connector and clip.
- Slide the knock sensor connector toward the battery to remove from the clip.
- Raise the vehicle.
- Remove the knock sensor attachment bolt and the knock sensor.

Caution: Ensure that the vehicle is properly supported and squarely positioned. To help avoid personal injury when a vehicle is on a hoist, provide additional support for the vehicle on the opposite end from which the components are being removed.
Installation Procedure
- Install the knock sensor and attachment bolt with the larger metal contact area toward the engine block.
- Lower the vehicle.
- Insert the knock sensor retaining clip into the bracket.
- Connect the knock sensor harness connector. Push in the connector until a click is heard and pull back to confirm a positive engagement.

Notice: Use the correct fastener in the correct location. Replacement fasteners must be the correct part number for that application. Fasteners requiring replacement or fasteners requiring the use of thread locking compound or sealant are identified in the service procedure. Do not use paints, lubricants, or corrosion inhibitors on fasteners or fastener joint surfaces unless specified. These coatings affect fastener torque and joint clamping force and may damage the fastener. Use the correct tightening sequence and specifications when installing fasteners in order to avoid damage to parts and systems.
Important: The larger metal contact area of the knock sensor MUST be toward the engine block. DTC P0327 may result if the sensor is installed backwards.
Tighten
Tighten the knock sensor to 25 N·m (19 lb ft).
Important: If the new knock sensor connector retaining clip is going to be used, the old one must be removed from the bracket. Use diagonal cutters to remove.
Knock Sensor Replacement SOHC
Removal Procedure
- Turn the ignition OFF.
- Raise the vehicle.
- Disconnect the knock sensor harness connector.
- Remove the knock sensor attachment bolt and the knock sensor.

Caution: Ensure that the vehicle is properly supported and squarely positioned. To help avoid personal injury when a vehicle is on a hoist, provide additional support for the vehicle on the opposite end from which the components are being removed.
Installation Procedure
- Install the knock sensor and attachment bolt with the larger metal contact area toward the engine block.
- Connect the knock sensor harness connector.

Notice: Use the correct fastener in the correct location. Replacement fasteners must be the correct part number for that application. Fasteners requiring replacement or fasteners requiring the use of thread locking compound or sealant are identified in the service procedure. Do not use paints, lubricants, or corrosion inhibitors on fasteners or fastener joint surfaces unless specified. These coatings affect fastener torque and joint clamping force and may damage the fastener. Use the correct tightening sequence and specifications when installing fasteners in order to avoid damage to parts and systems.
Important: The larger metal contact area of the knock sensor MUST be toward the engine block. DTC P0327 may result if the sensor is installed backwards.
Tighten
Tighten the knock sensor to 25 N·m (19 lb ft).
