Driver or Passenger Seat Back Cushion Cover and Pad Replacement SL2, SW2
Removal Procedure
Important: LHD shown; RHD similar.
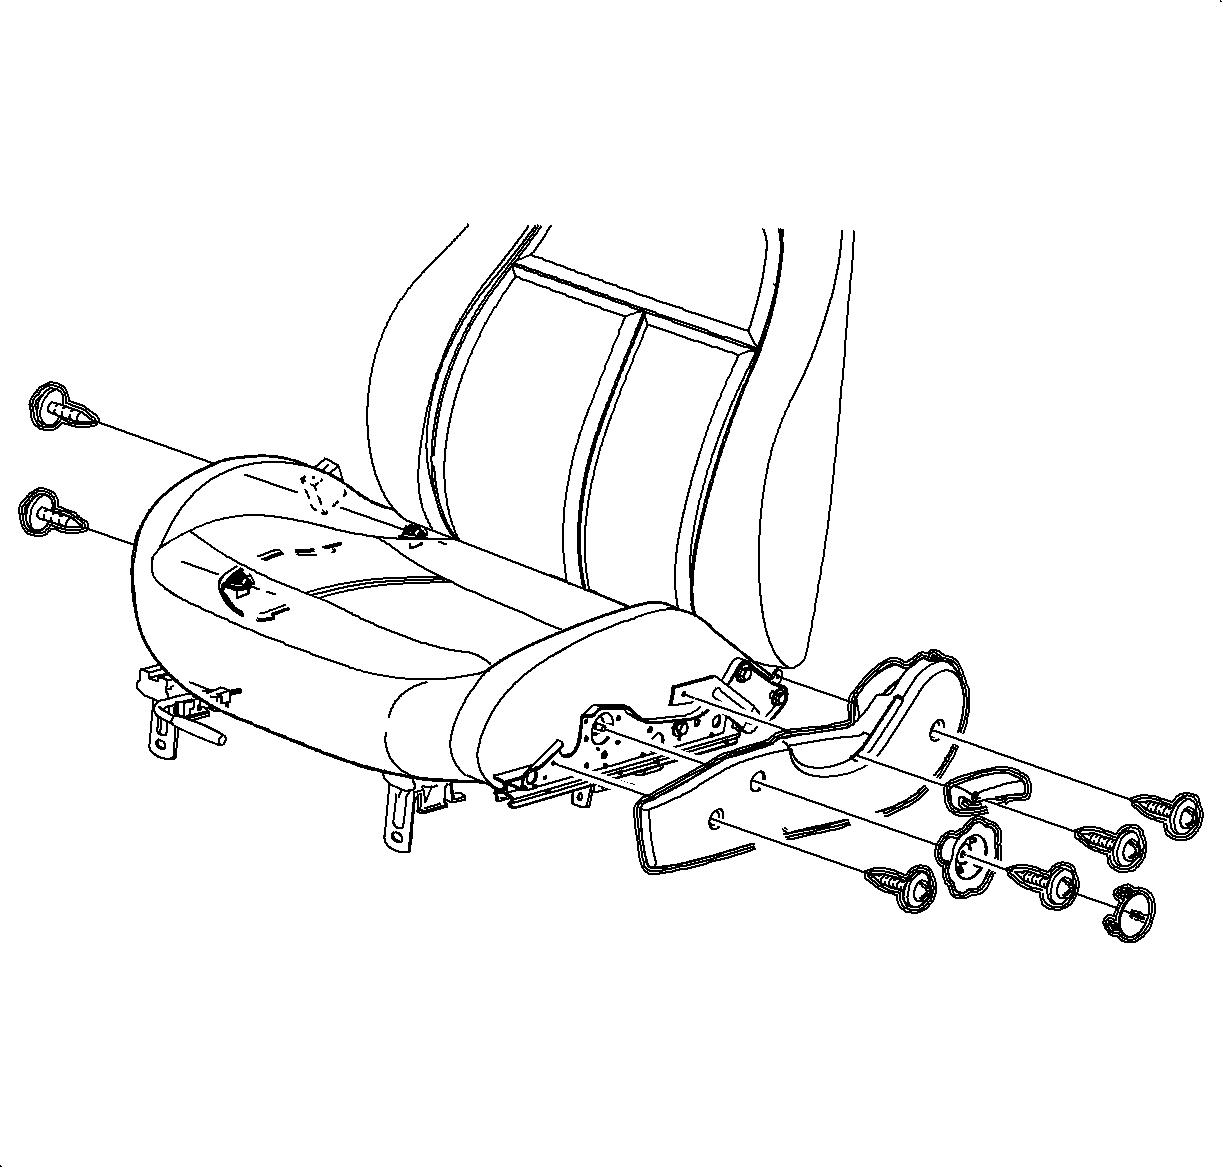
- Remove the seat from the vehicle. Refer to
Front Seat Replacement - Bucket
.
- Remove the recliner handle.
- On the driver's side only, rotate the riser knob to the lower seat cushion
and remove the riser knob.
- Remove the seat adjusters side covers.
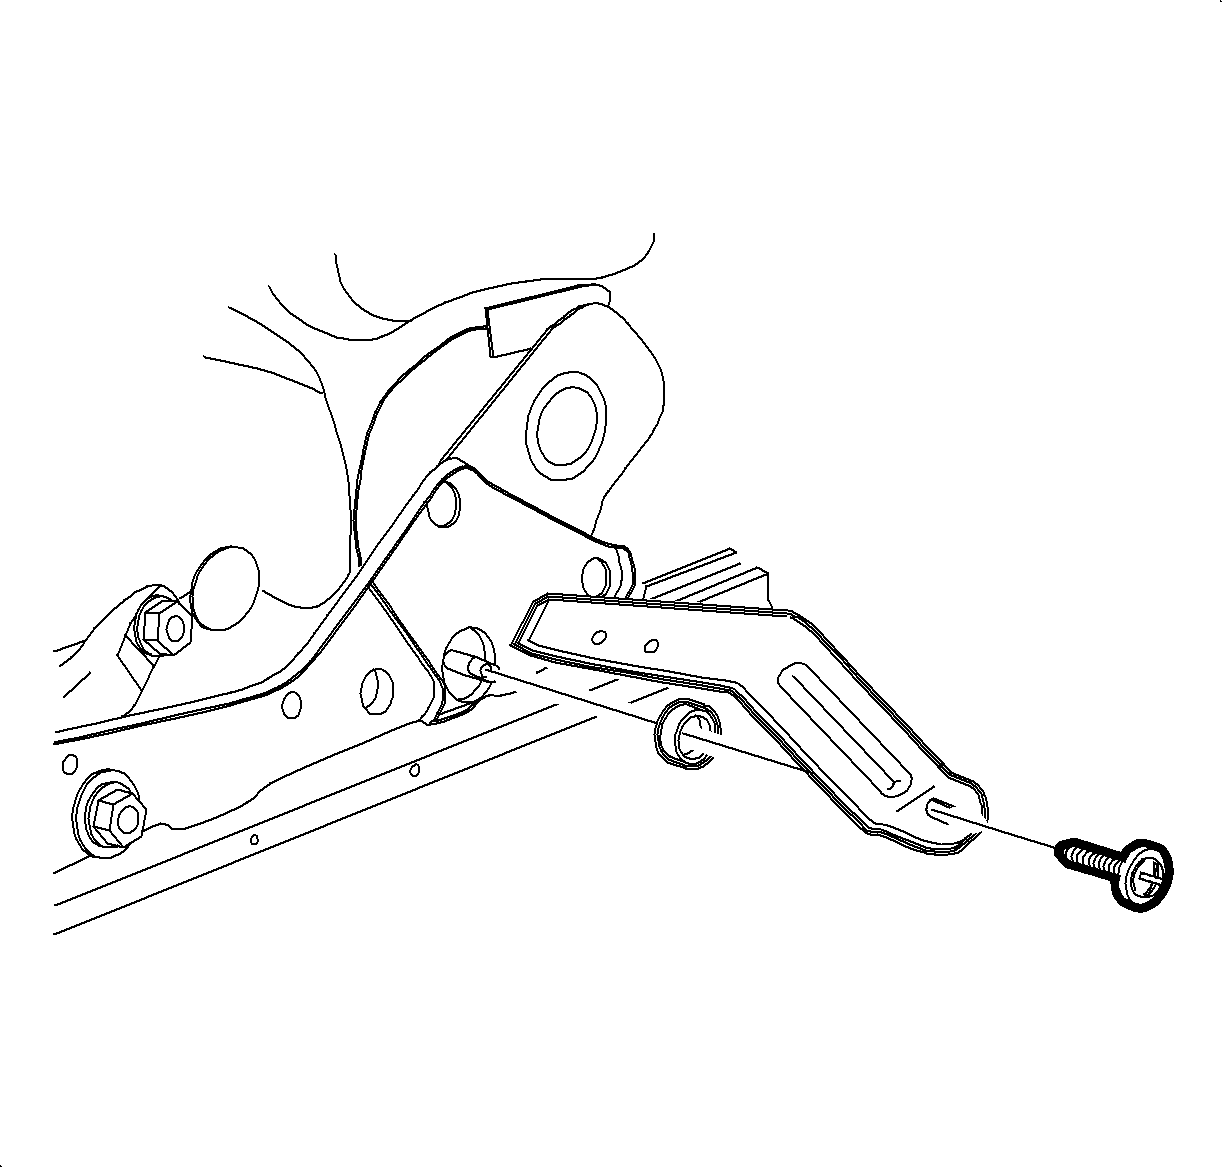
- Remove the recliner
lever.
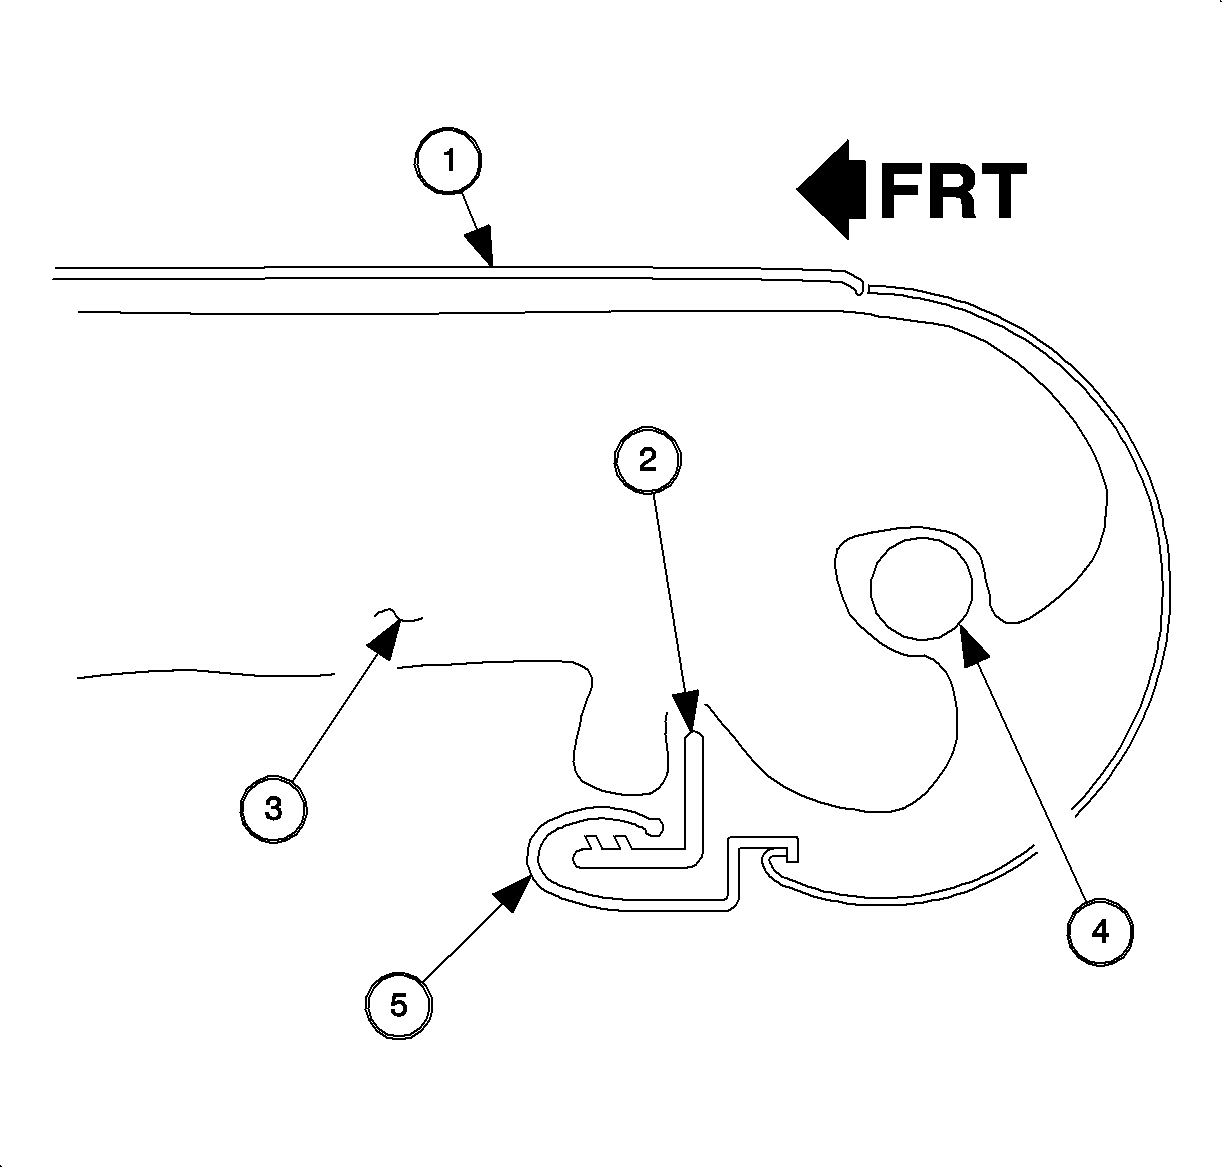
- Release
the seat cushion cover rear J-strip.
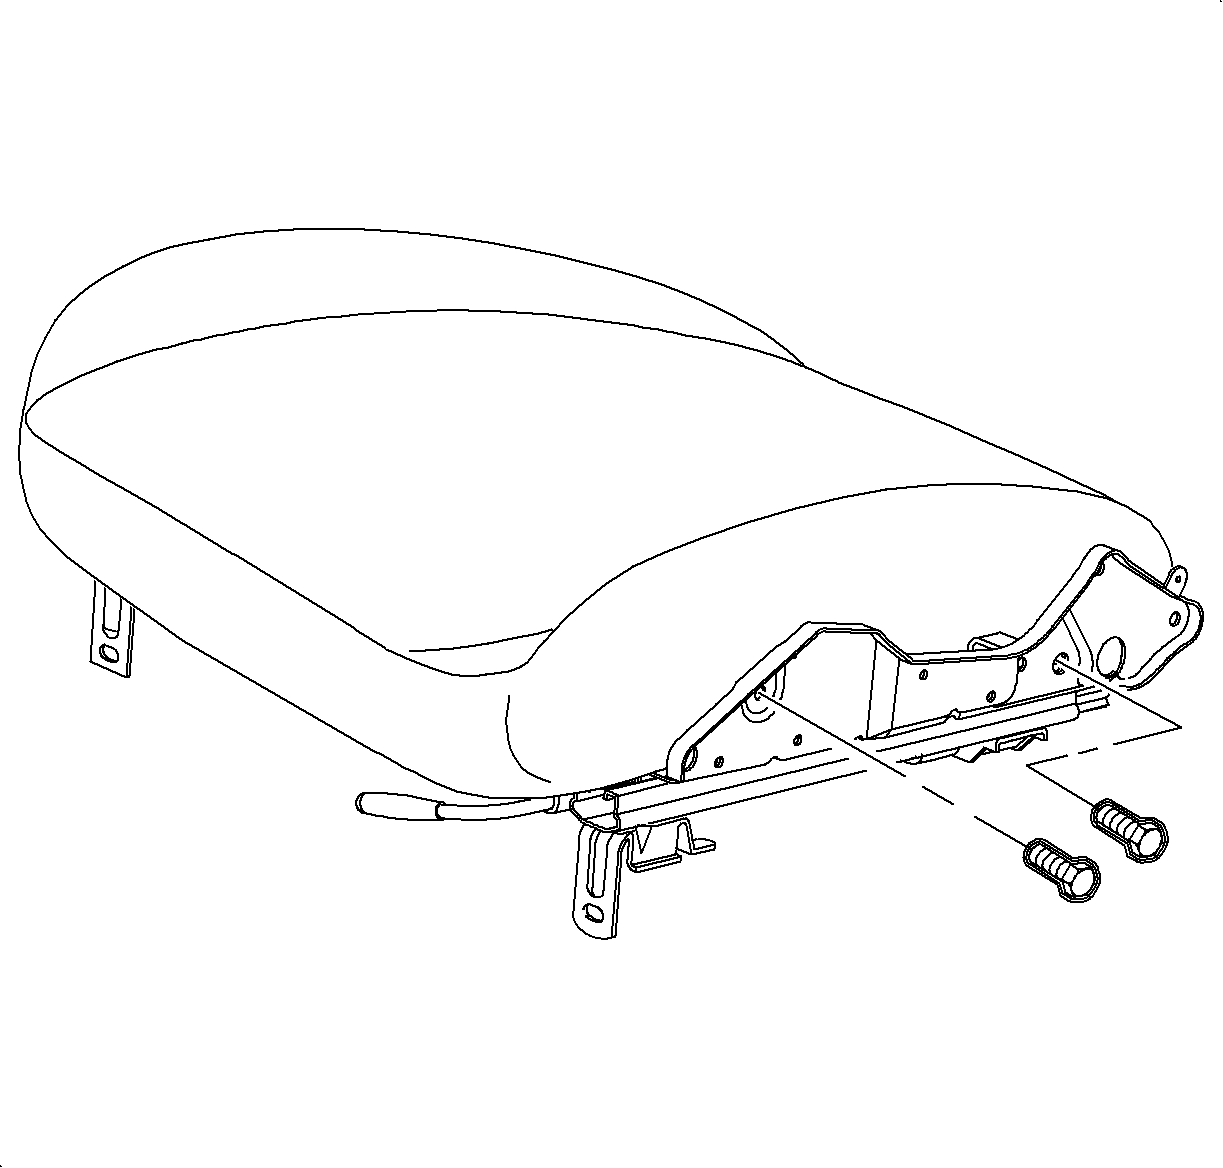
- On the passenger's seats, loosen the seat adjuster bolts to assist in the removal
of the seat back.
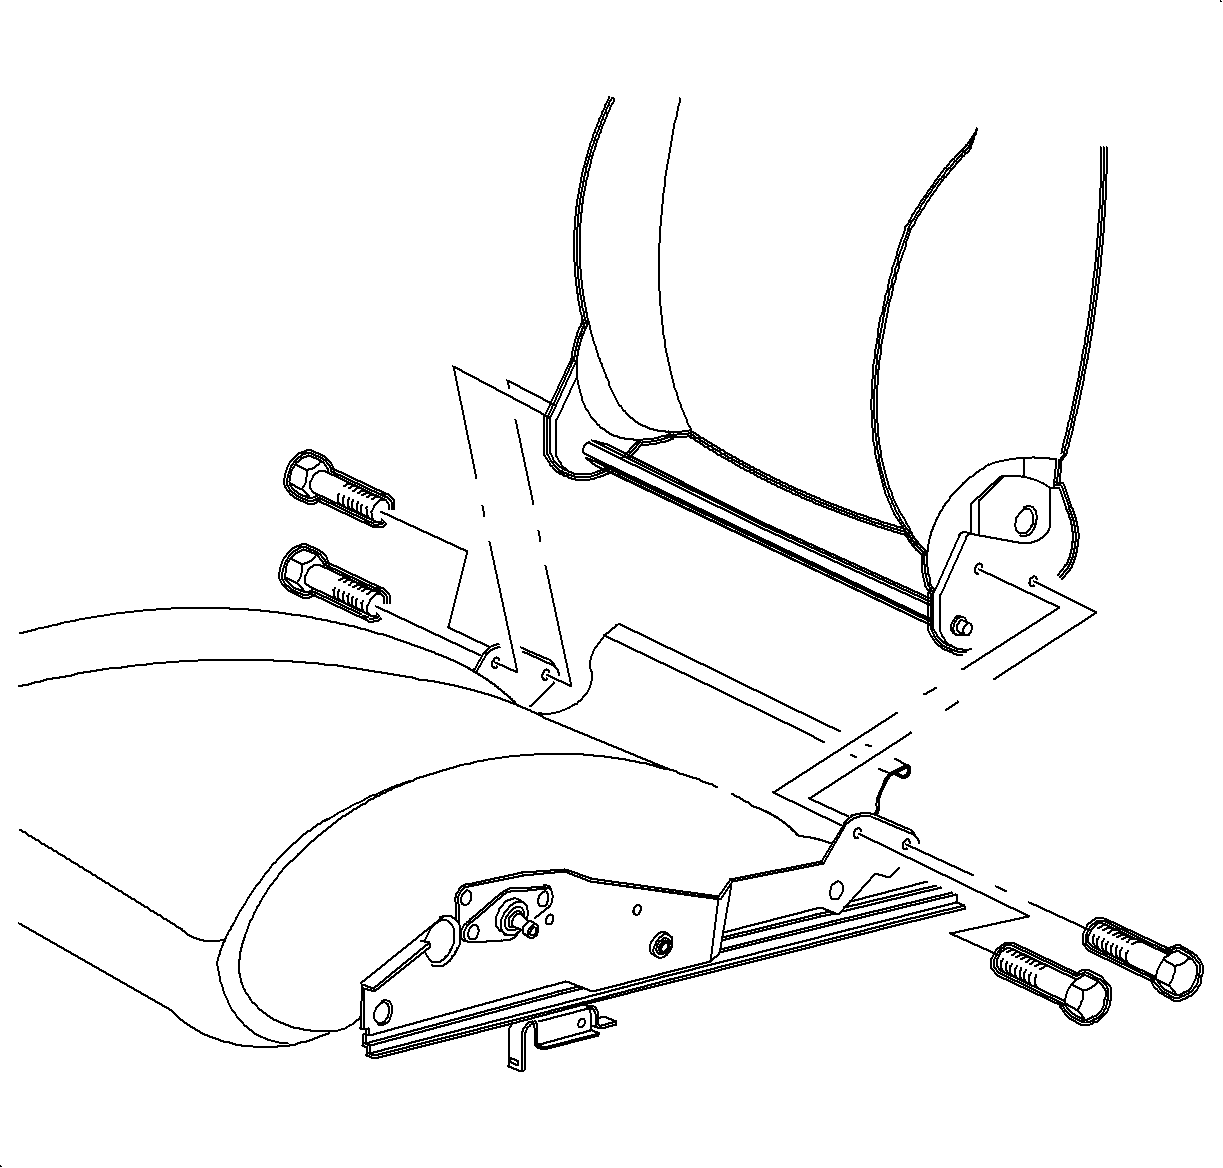
- Remove the bolts attaching the recliner mechanism to the adjusters.
- Remove the seat back assembly from the adjusters.
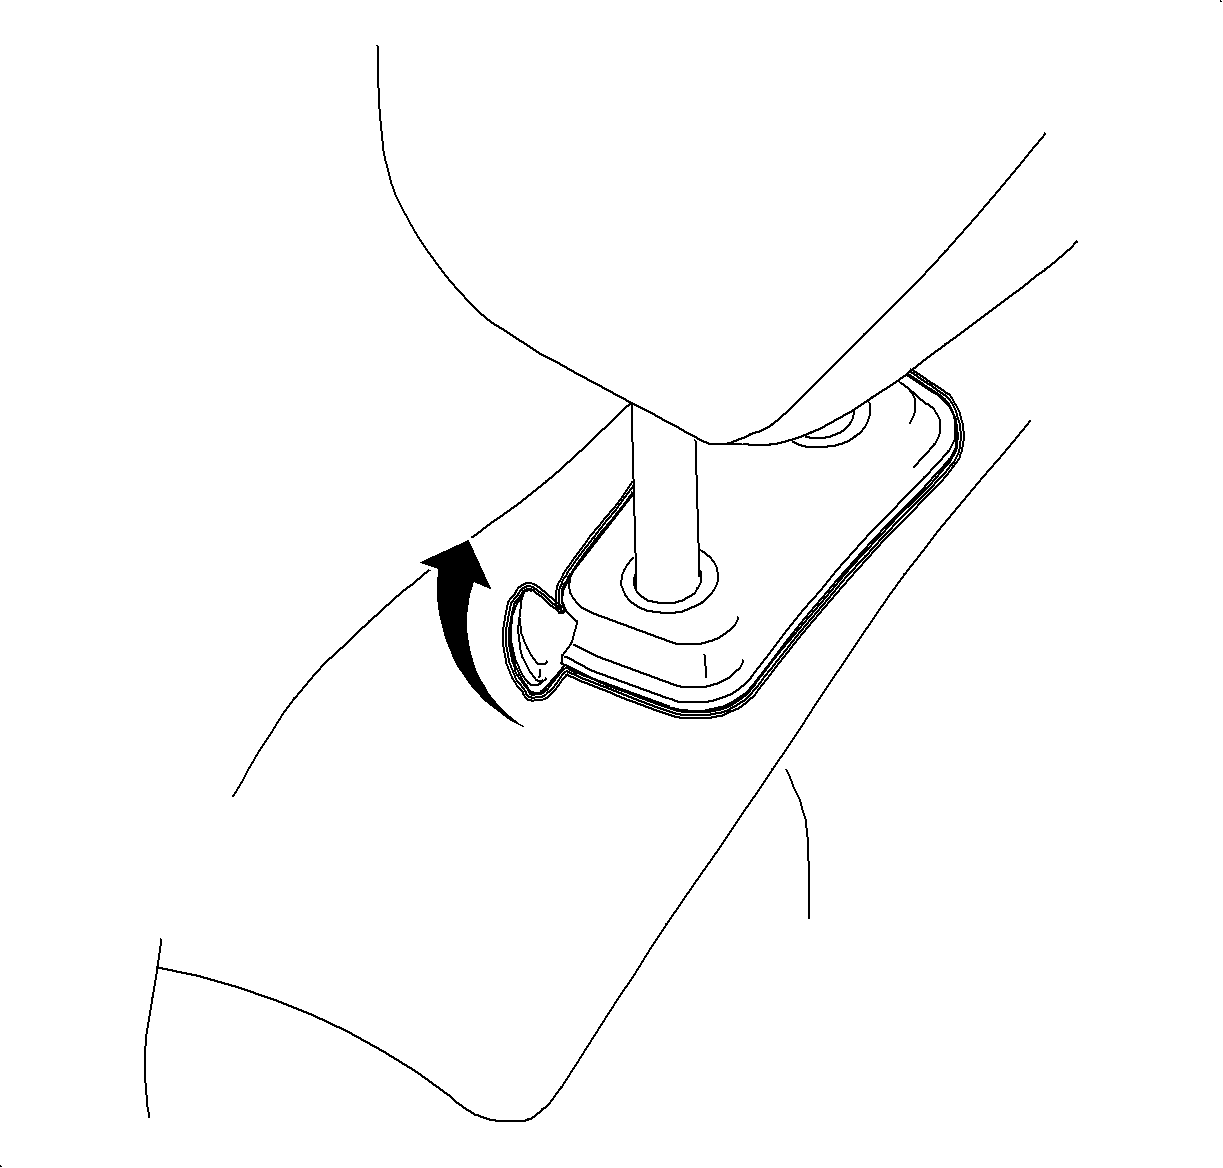
- Remove the headrest assembly.
| 10.1. | Raise the headrest assembly to the full-up position. |
| 10.2. | Push the headrest lever towards the rear of the vehicle. |
| 10.3. | Pull the headrest out of the seatback. |
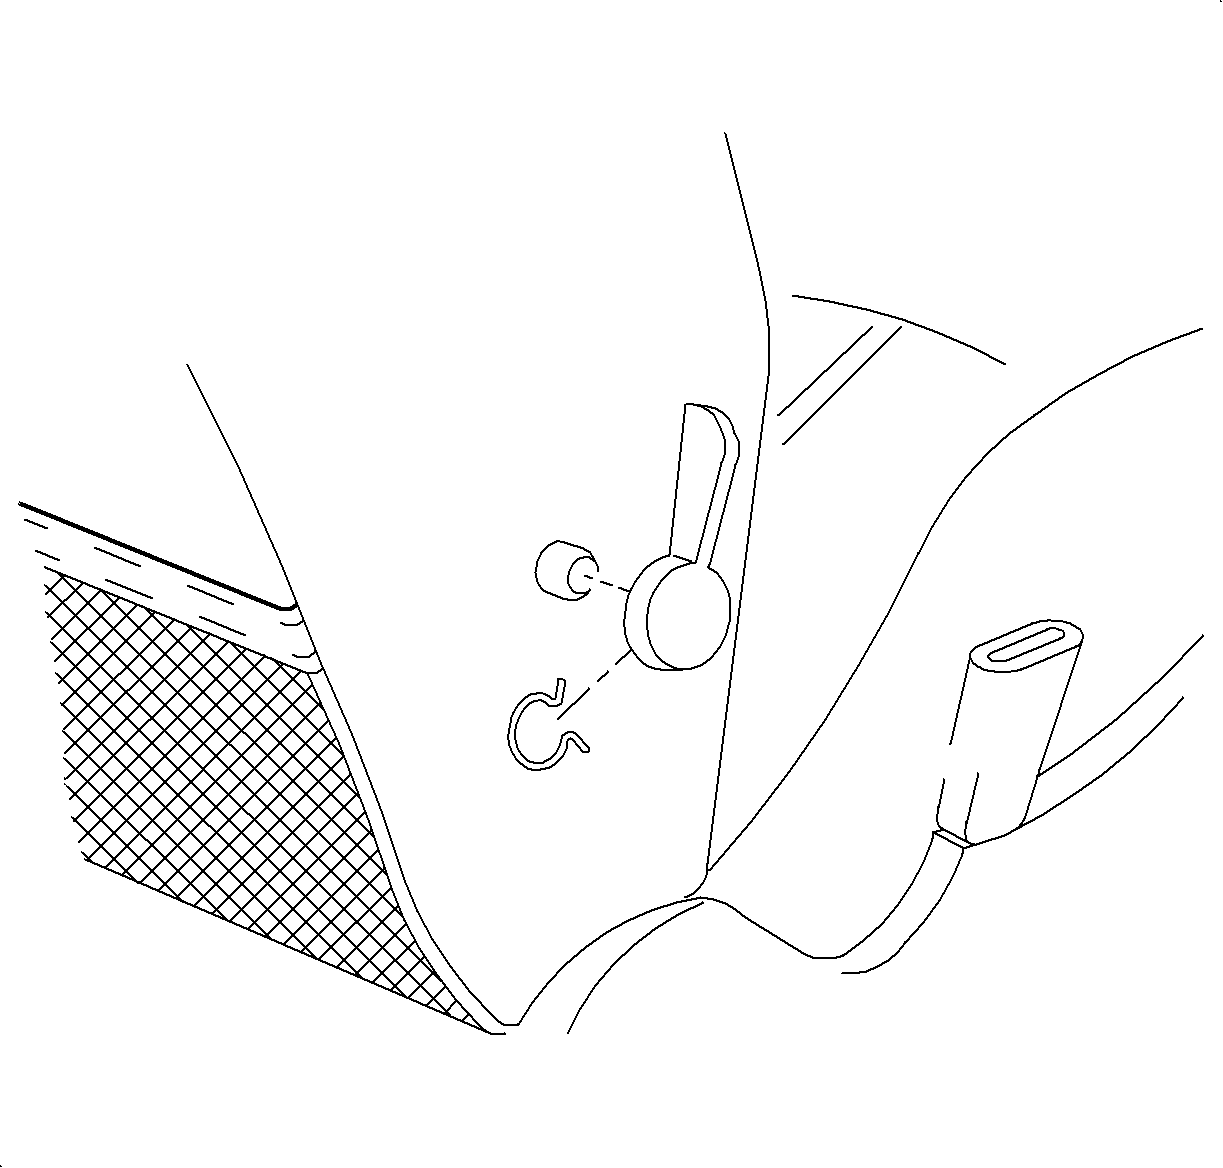
- Using a side window
crank removal tool, remove the lumbar adjuster handle.
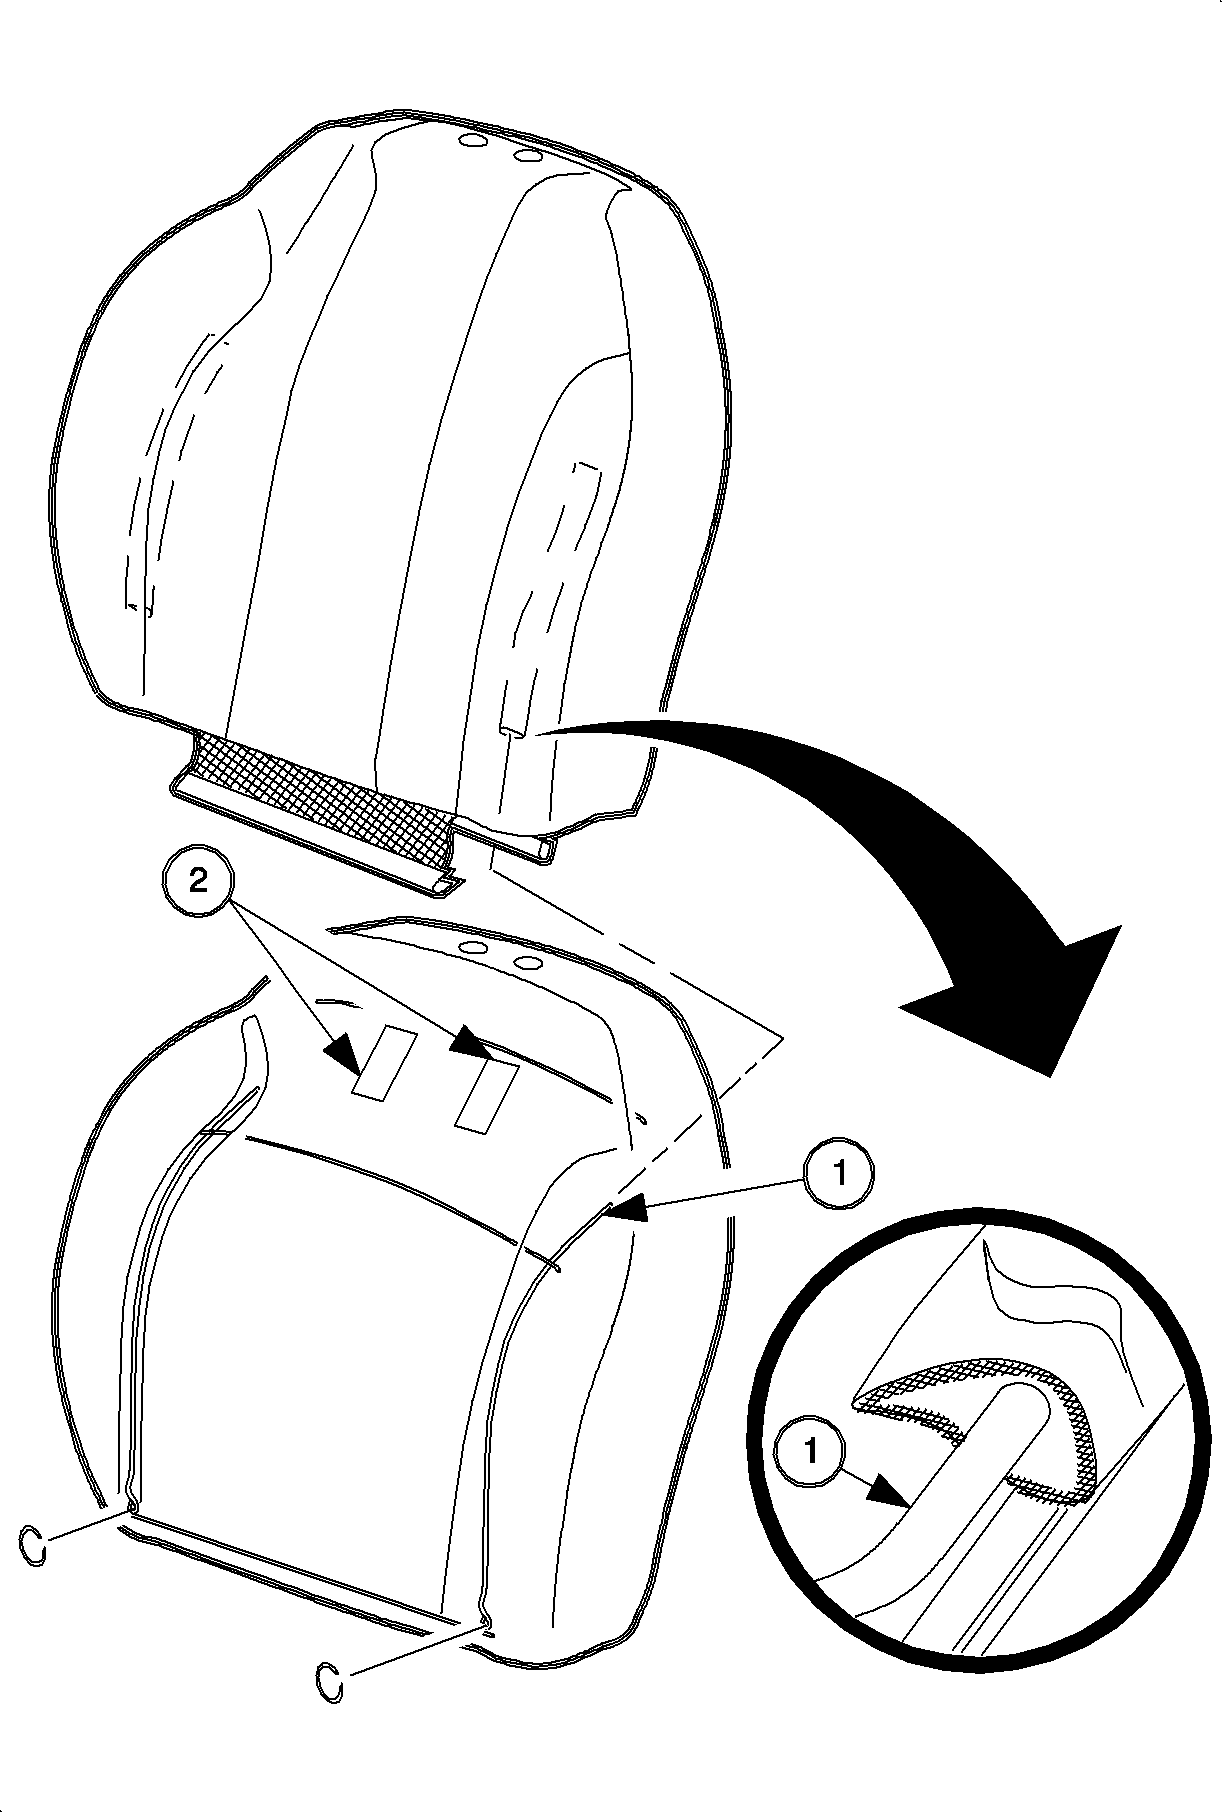
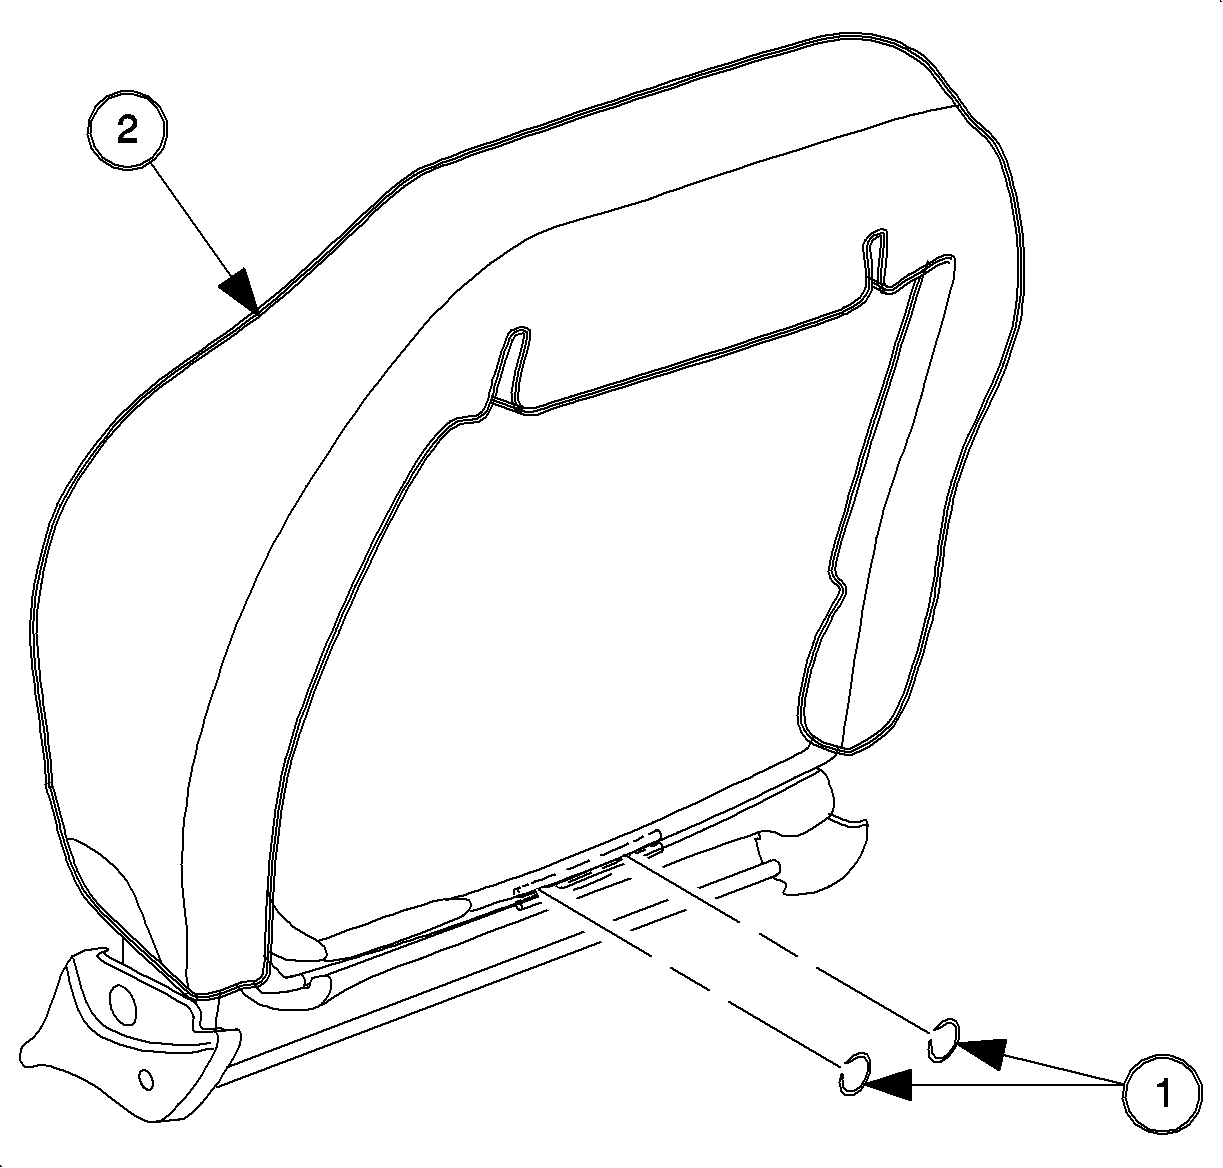
- Disengage the interlock strip at the bottom of the seat back assembly. Pull
the cover up to expose the hog rings in the foam pad. Remove the hog rings and the
listing wires.
| • | Listing wire in the seat cover (1) |
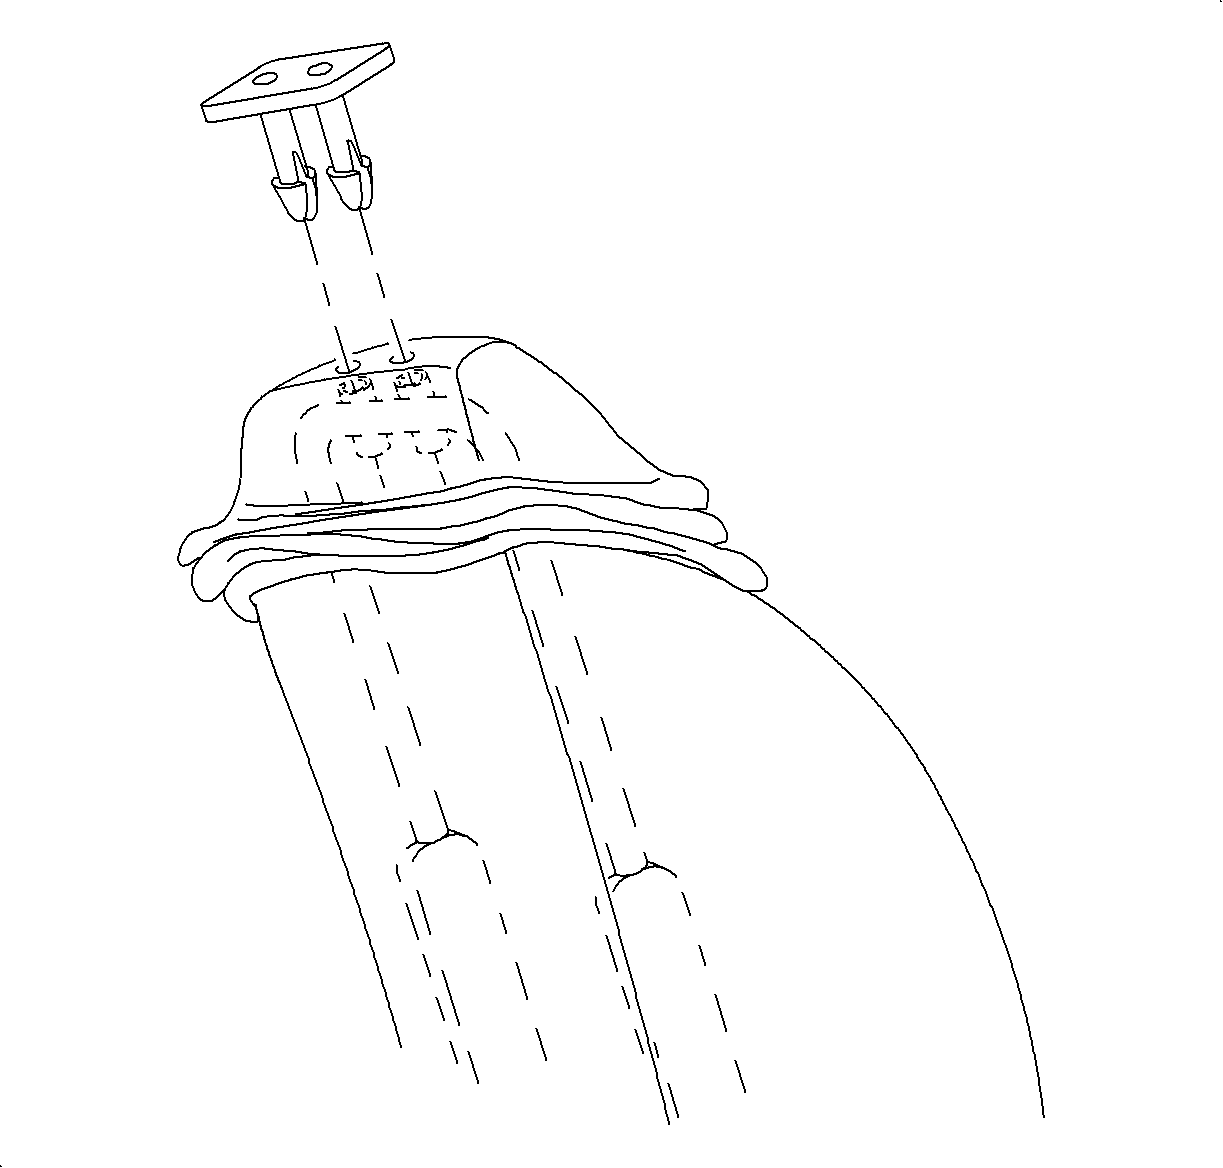
- Lift up the seat
back cover to expose the headrest bushing retaining pins. Working from the back of
the seat, remove the headrest bushing by pinching the inside ends and forcing the
bushing out from the inside.
- Continue to pull up on the cover until the cover is completely off of
the seat back frame.
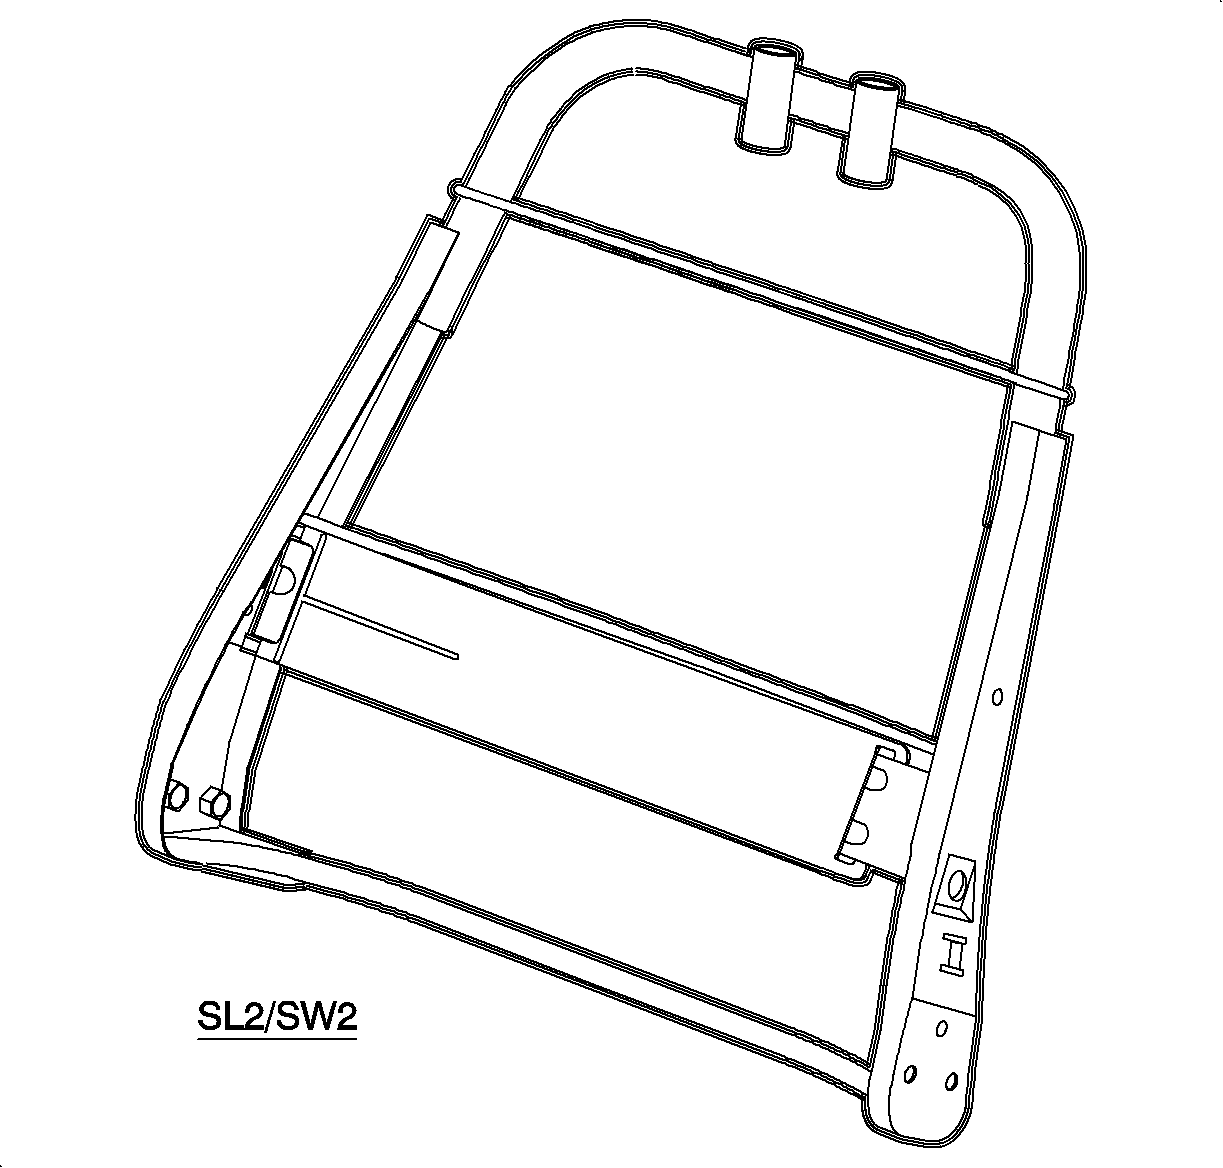
- If the pad is to be replaced, remove the hog rings attaching the pad to the
frame. Remove the pad.
| • | Hog ring to attach the pad to the frame (1) |
- On the driver's
side cloth covers, if the frame is to be replaced, transfer the lumbar unit to the
new frame prior to assembly of the seat back unit.
Installation Procedure
Important: LHD shown: RHD similar.

- 1. Position the seat back foam pad to the frame.
- Install the hog rings to attach the pad to the frame.
| • | Hog rings to attach the pad to the frame (1) |
- Install the seat
back cover onto the seat back. Check that the cover is centered on the seat back
foam pad and frame.

- Insert the listing wire from the old cover into the seat cover.

Important: Step 5 is a blind operation. It requires
that you reach between the cover and the foam pad.
- Place the top of the cover listing wires under the seat back pad listing wires
(1).
- To secure the seat back cover to the lower seat back pad, attach the seat
back cover listing wires to the seat back pad listing wires, using the new hog rings.
- Push down at the Velcro® (2) attachment to secure the seat back cover
to the pads.
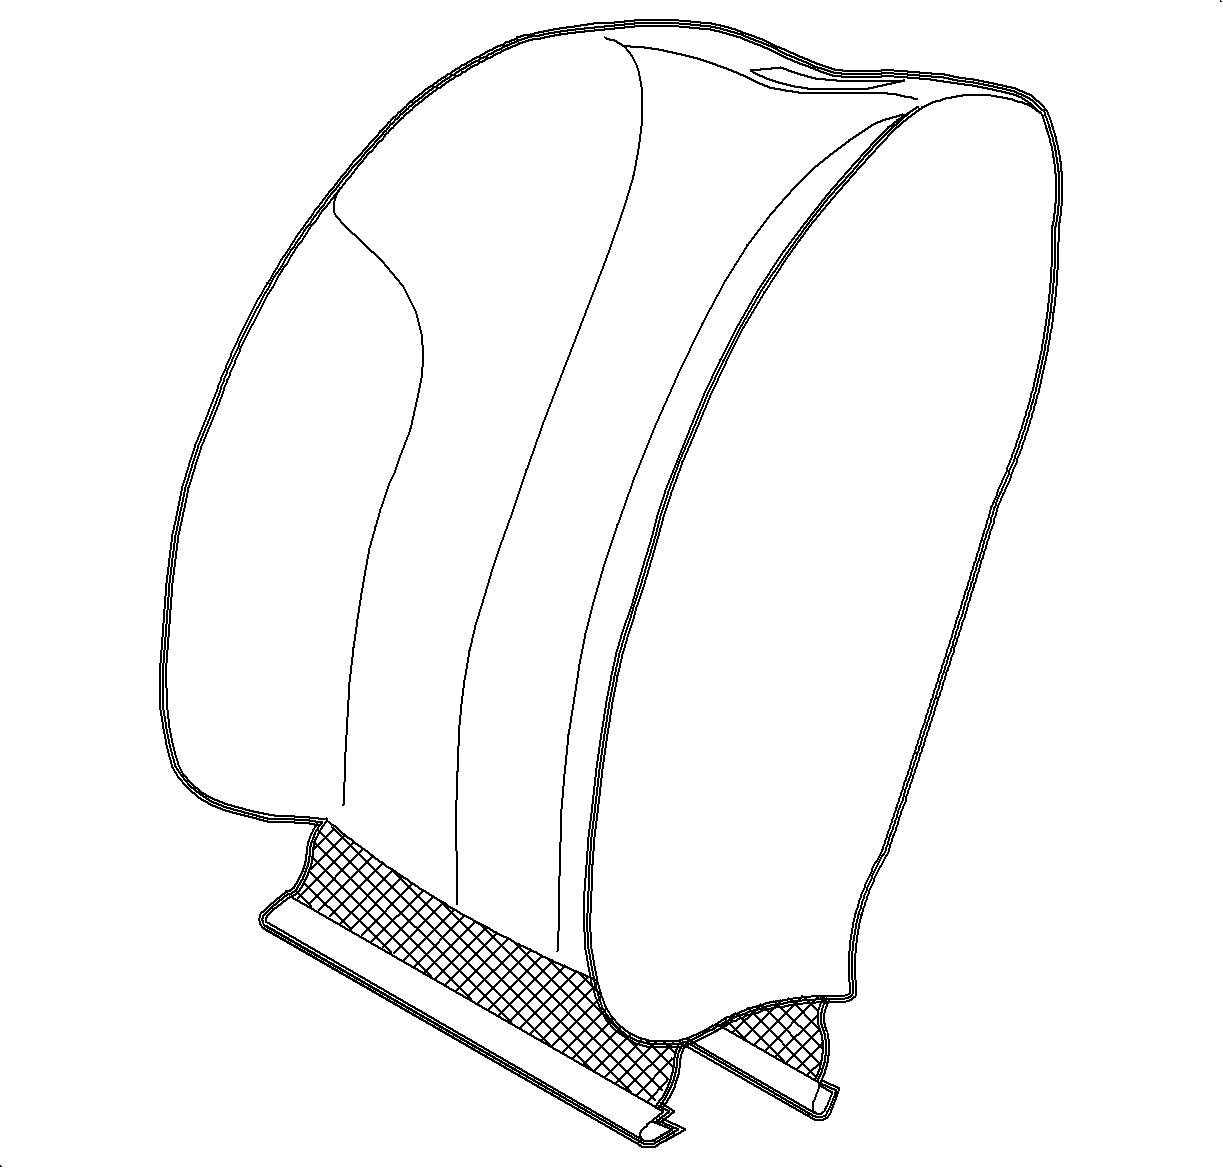
- Check the fit of the cover and pull on the cover where necessary to remove
wrinkles. Engage the interlock at the bottom of the cover.

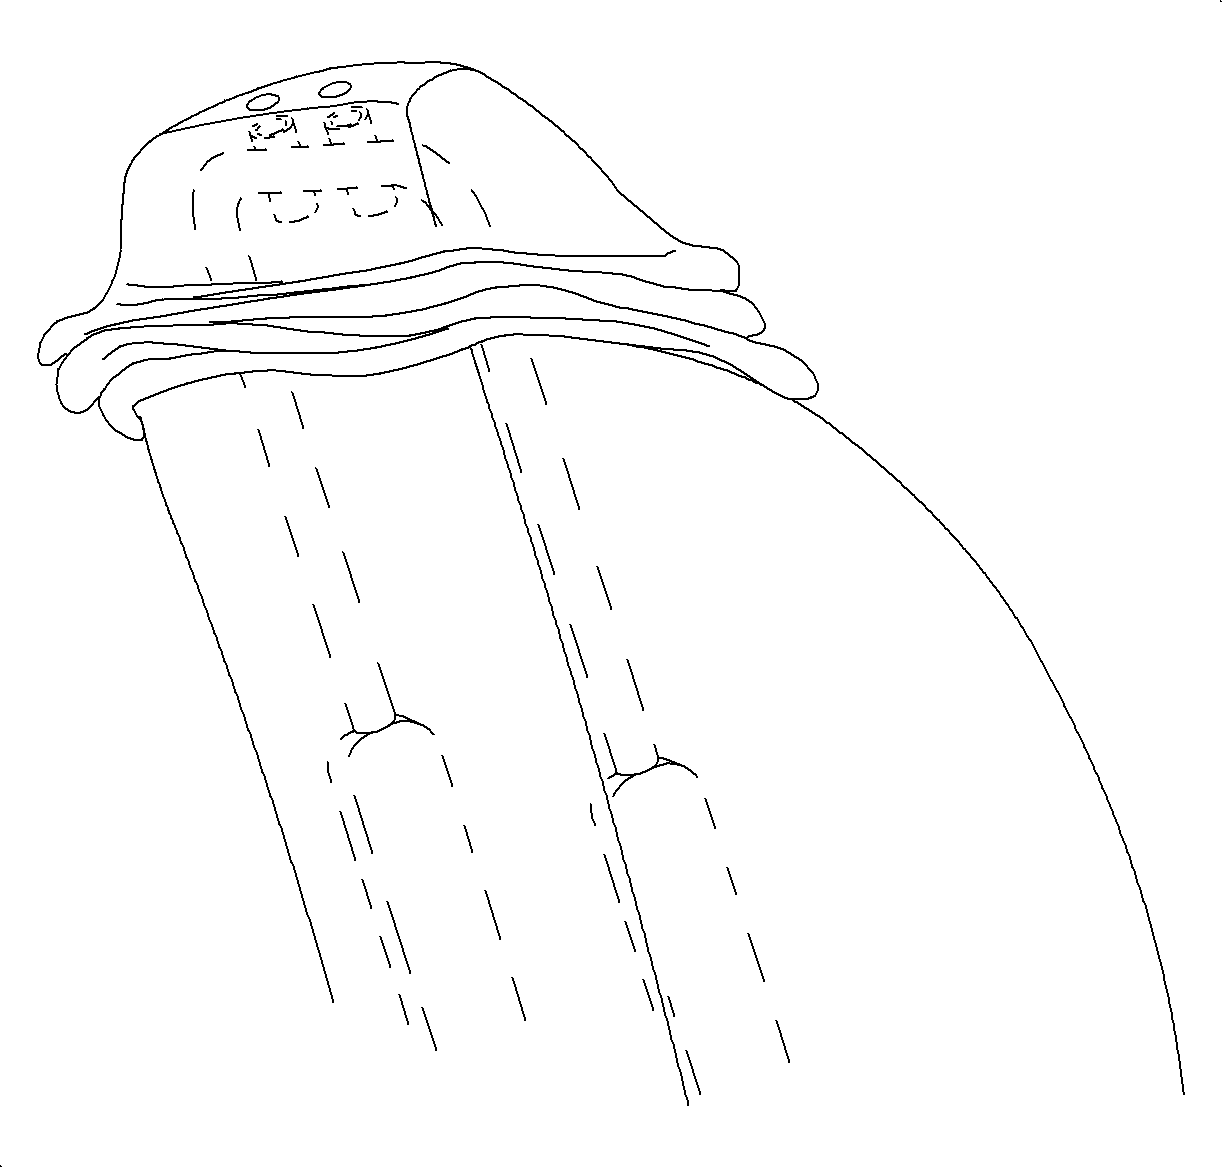
- Install the headrest
bushing into the seat back by aligning it into the seat back holes and pushing it
in firmly until it clicks.
- Install the headrest assembly

- On the driver's
side, assemble the lumbar handle and the clip and install the lumbar handle.
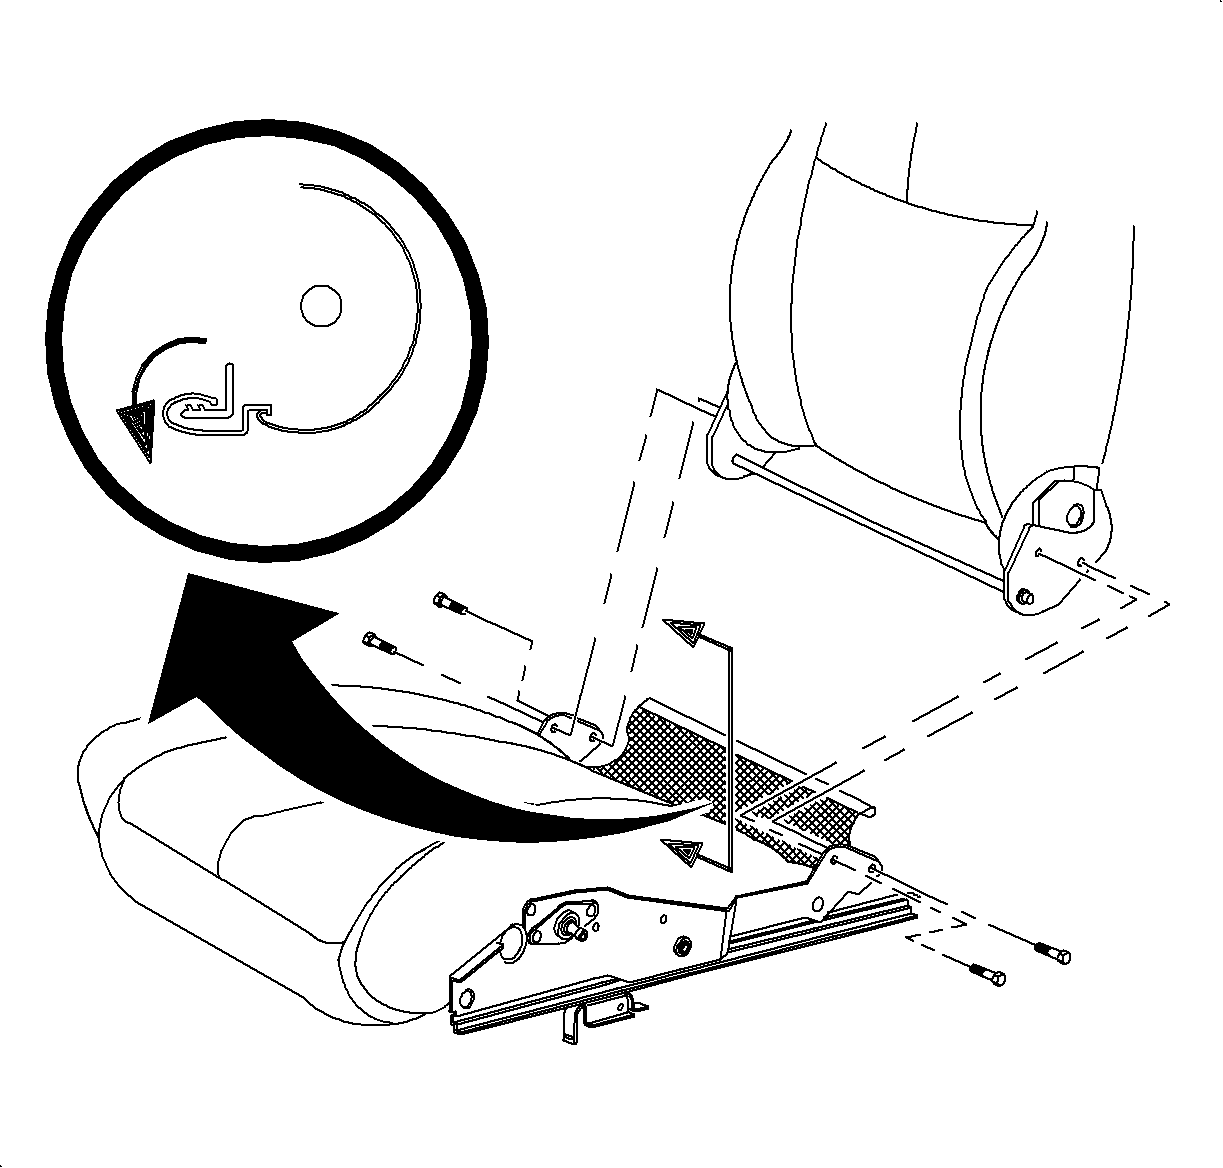
- Install the seat back assembly, with the recliners and the cross tube attached,
to the seat adjuster. Install the recliner to the seat adjuster bolts.
Tighten
Tighten the adjuster bolts to 27 N·m
(20 lb ft).
- Wrap the seat cushion cover rear flap to the cover up recliner cross tube
and engage the seat cushion cover rear J-strip to the seat cushion frame.

- On the passenger's seats, tighten the seat adjuster bolts.
Tighten
Tighten the seat adjuster bolts to 27 N·m
(20 lb ft).

- Install the recliner
lever.

- Install the seat adjusters side cover.
- On the driver's side, install the riser knob.
- Install the recliner handle.
- Install the seat into the car.
Front Seat Replacement - Bucket
.
Driver or Passenger Seat Back Cushion Cover and Pad Replacement SC2
Removal Procedure
Important: LHD shown; RHD similar

- Remove the seat from the vehicle. Refer to
Front Seat Replacement - Bucket
.
- Remove the recliner handle.
- On the driver's side only, rotate the riser knob to lower the seat cushion
and remove the riser knob.
- Remove the seat adjusters side covers.

- Remove the recliner
lever.

- Release
the seat cushion cover rear J-strip.

- On the passenger's seats, loosen the seat adjuster bolts to assist in the removal
of the seat back.

- Remove the bolts attaching the recliner mechanisms to the adjusters.
- Remove the seat back assembly from the adjusters.

- Remove the headrest assembly:
| • | Raise the headrest assembly to the full-up position. |
| • | Push the headrest lever toward the rear of the vehicle. |
| • | Pull the headrest out of the seatback. |

- Using a side window
crank removal tool, remove the lumbar adjuster handle.
- Disengage the interlock strip at the bottom of the seat back assembly. Pull
the cover up to expose the hog rings in the foam pad. Remove the hog rings.

- Lift up the seat
back cover to expose the headrest bushing retaining pins. Working from the back of
the seat, remove the headrest bushing by pinching the inside ends and forcing the
bushing out from the inside.
- Continue to pull up on the cover until the cover is completely off of
the seat back frame.

- If the pad is to be replaced, remove the hog rings attaching the pad to the
frame. Remove the pad.
| • | Hog ring to attach the pad to the frame. |

- On the driver's
side covers, if the frame is to be replaced, transfer the lumbar unit to the new
frame prior to the assembly of the seat back unit.
Installation Procedure
Important: LHD shown; RHD similar

- Position the seat back foam pad to the frame.
- Install the hog rings to attach the pad to the frame.

- Install the seat
back cover onto the seat back. Check that the cover is centred on the seat back foam
pad and frame.

- Insert the listing wire from the old cover into the new seat cover.
Important: Step 5 is a blind operation, it requires
that you reach between the cover and the foam pad.
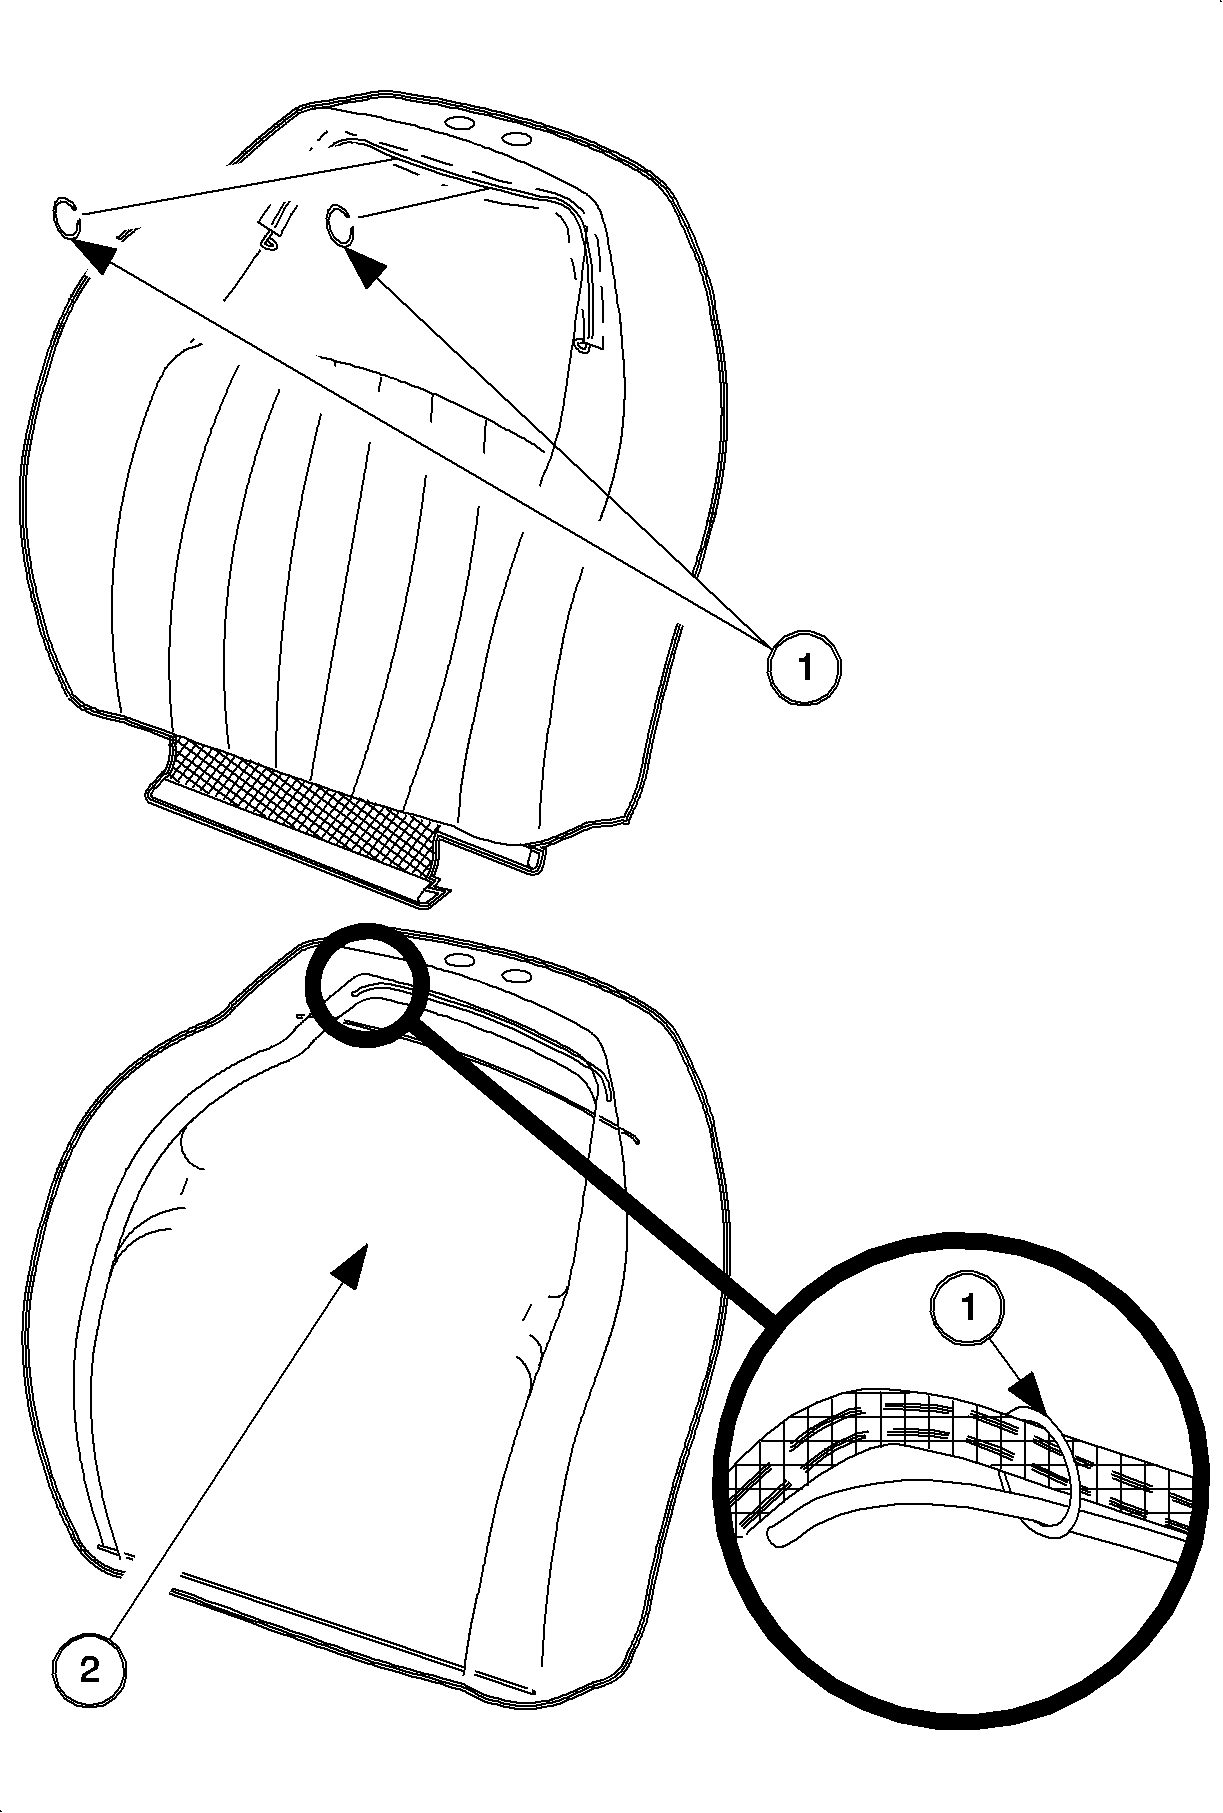
- Install the 2 hog rings (1) around the listing wire in the seat cover to the
listing wire in the seat back foam pad.
- Push down at the Velcro® (1) attachment to secure the seatback cover
to the pads.

- Check the fit of the cover and pull on the cover where necessary to remove
wrinkles. Engage the interlock at the bottom of the cover.

- Install the headrest
bushing into the seat back by aligning it into the seat back holes and pushing it
in firmly until "clicks".
- Install the headrest assembly.

- On the driver's
side, assemble lumbar handle and clip and install the lumbar handle.

- Install the seat back assembly, with the recliners and the cross tube attached,
to the seat adjuster. Install the recliner to the seat adjuster bolts.
Tighten
Tighten the seat adjuster bolts to 27 N·m
(20 lb ft).
- Wrap the seat cushion cover rear flap to cover up the recliner cross
tube and engage the seat cushion cover rear J-strip to the seat cushion frame.

- On the passenger's seats, tighten the seat adjuster bolts.
Tighten
Tighten the seat adjuster bolts to 27 N·m
(20 lb ft).

- Install the recliner
lever.

- Install the seat adjusters side cover.
- On the driver's side, install the riser knob.
- Install the recliner handle.
- Install the seat into the car. Refer to
Front Seat Replacement - Bucket
.


