For 1990-2009 cars only
Removal Procedure
- Raise the vehicle on a hoist. Refer to Lifting and Jacking the Vehicle in General Information.
- Remove the rear wheel and the tire assembly. Refer to Tire and Wheel Removal and Installation in Tires and Wheels.
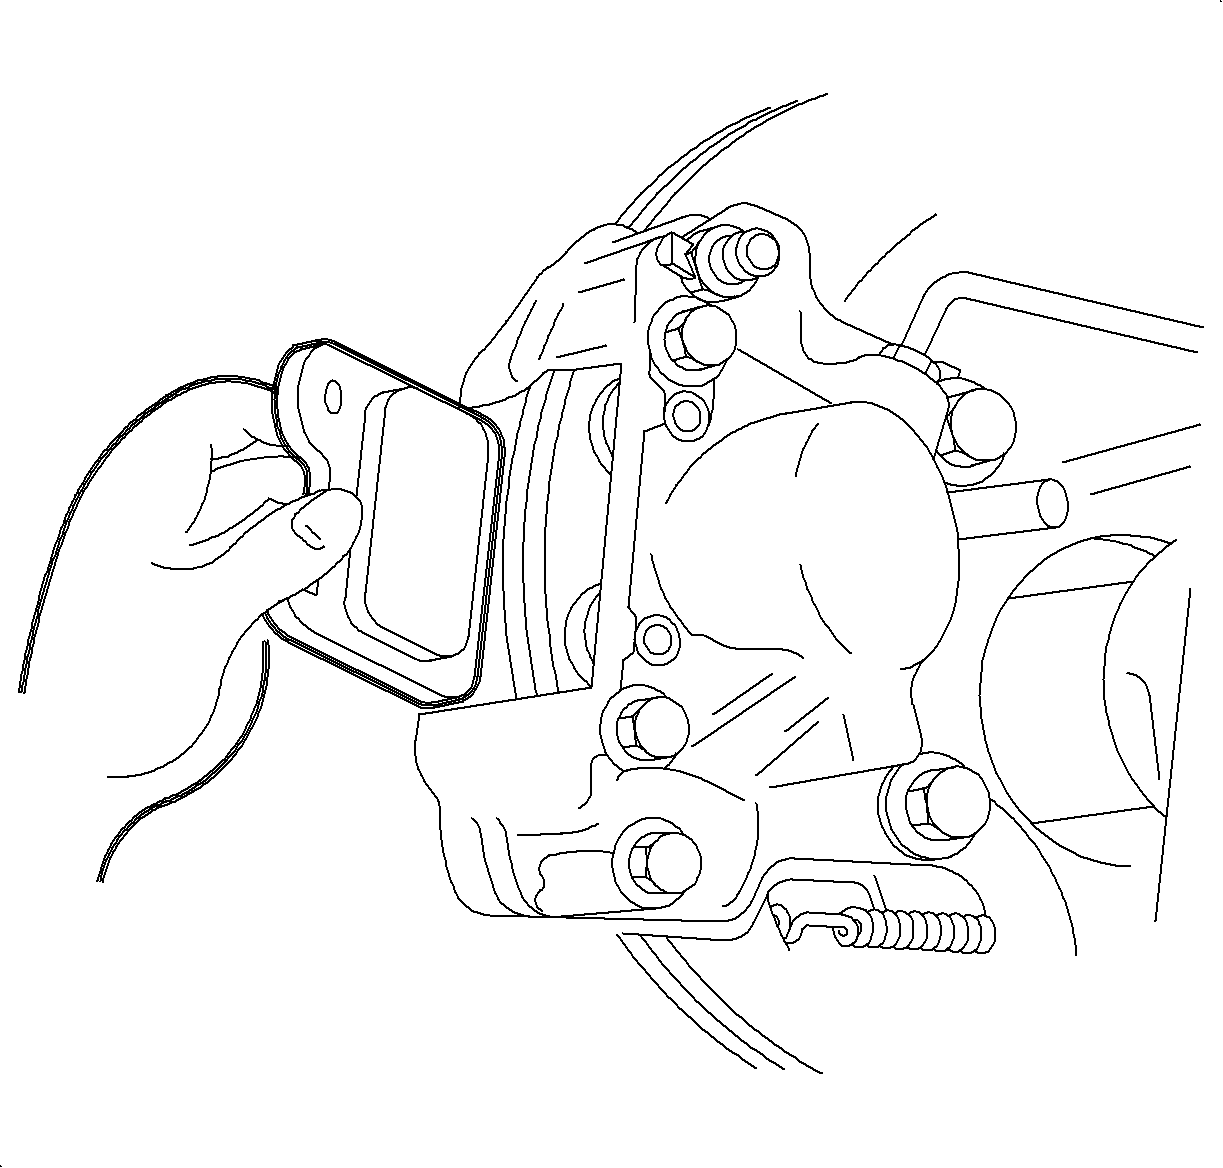
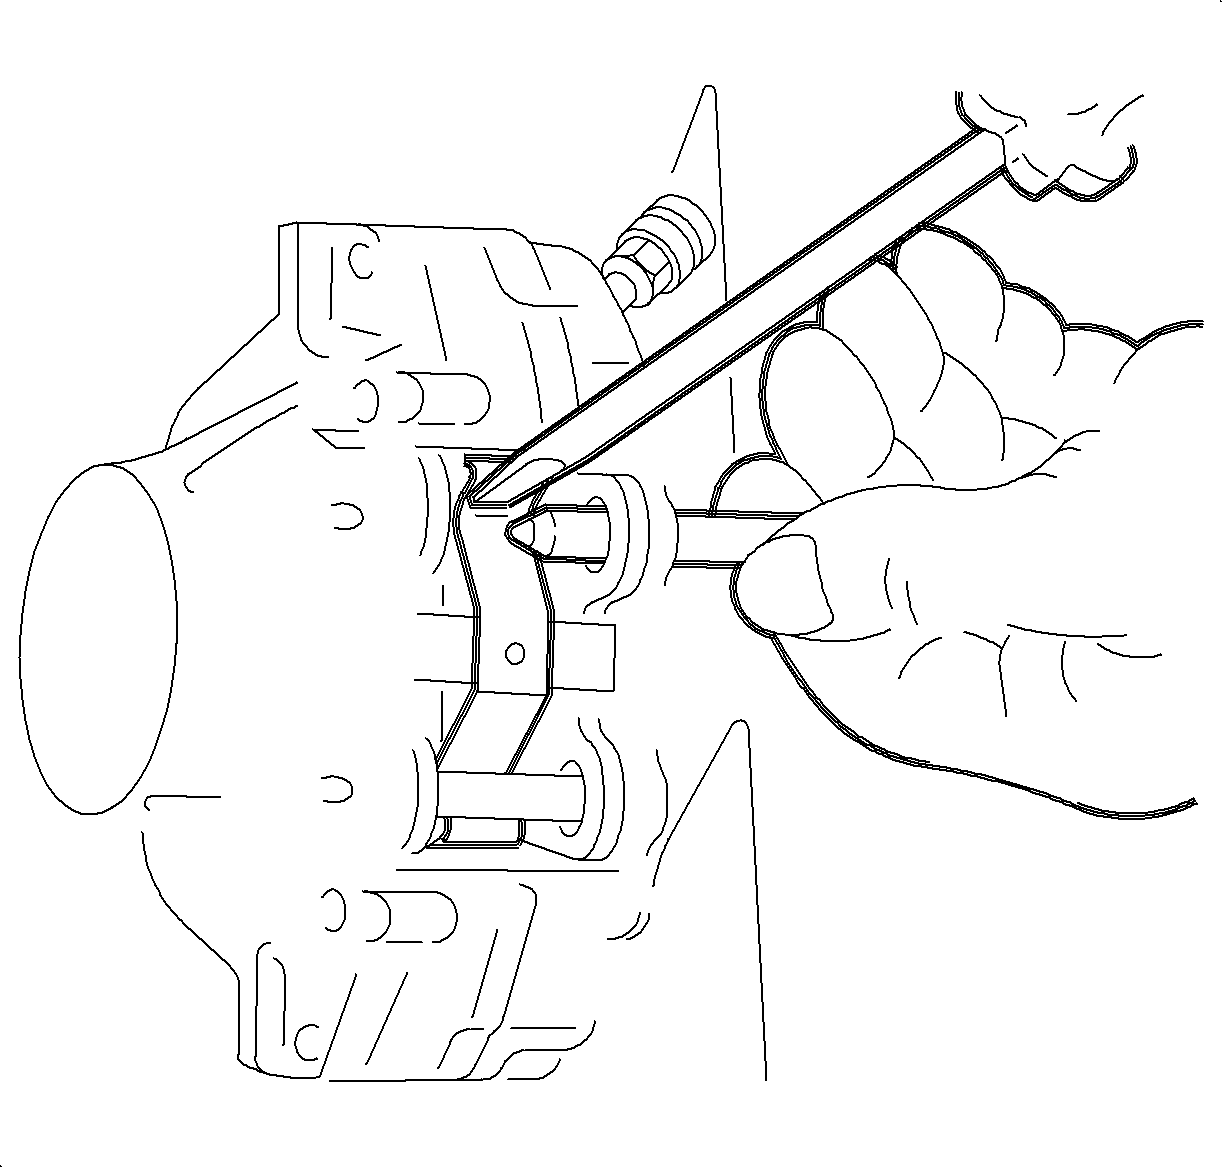
- Remove the brake pads. Refer to Rear Disc Brake Pads Replacement .
- Remove the brake pipe from the rear caliper. Plug the open brake pipe to prevent brake fluid loss and contamination.
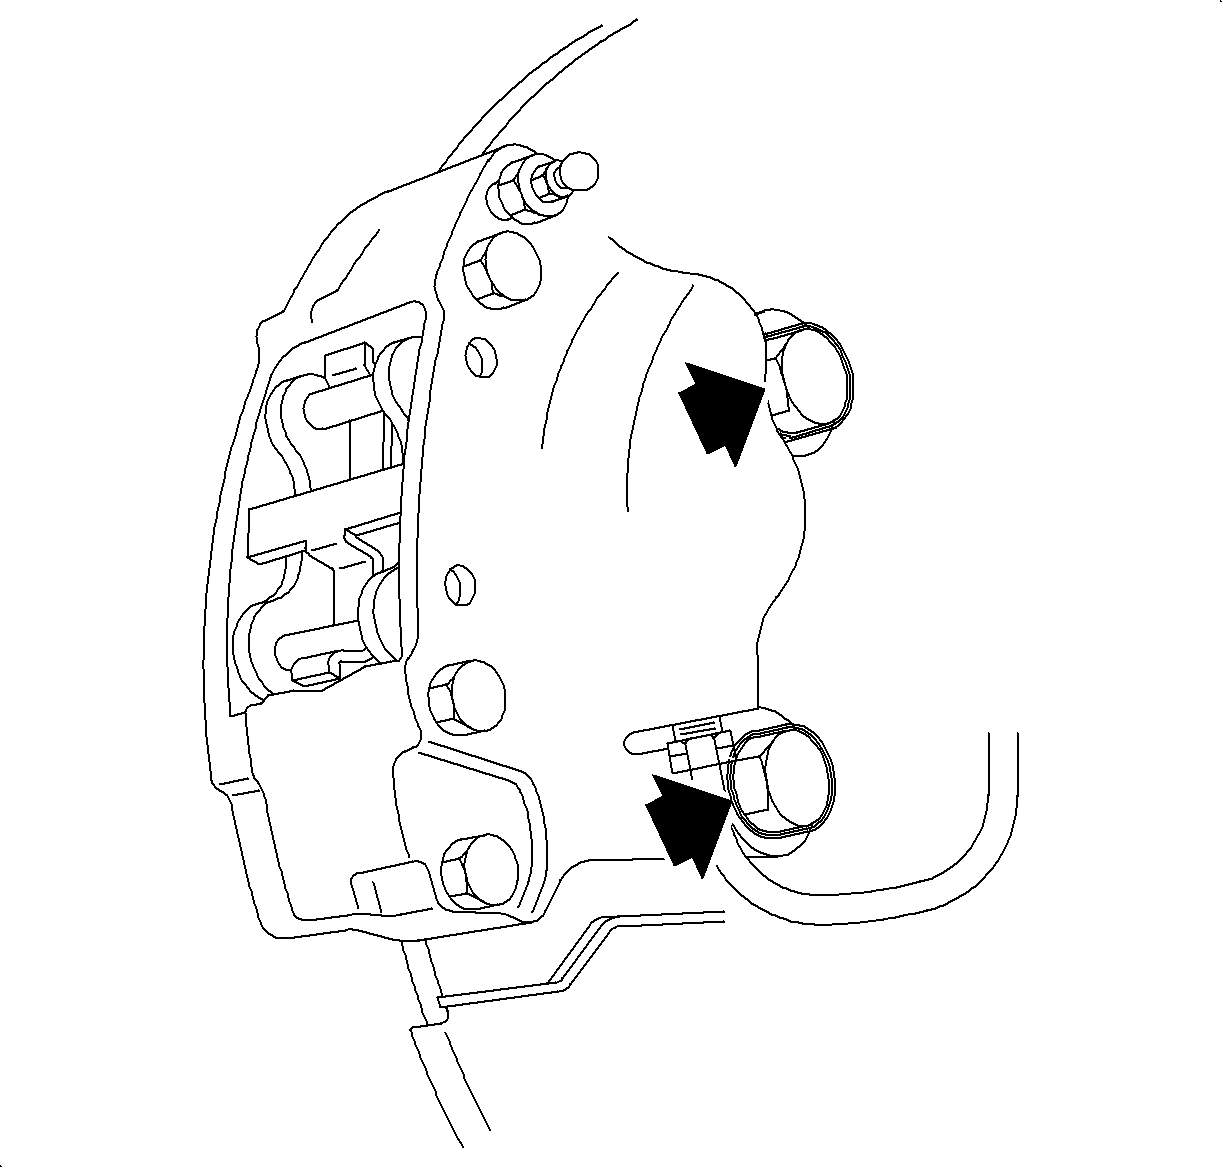
- Remove the caliper to the rear axle control arm fasteners.
- Remove the caliper assembly.
Caution: Refer to Vehicle Lifting Caution in the Preface section.
Caution: Refer to Brake Dust Caution in the Preface section.
Caution: Refer to Brake Fluid Irritant Caution in the Preface section.

Installation Procedure
- Clean the caliper-to-rear axle control arm fasteners thoroughly with brake and choke cleaner P/N 21007432 or equivalent.
- Apply LOCTITE 272® Threadlocker or equivalent to the caliper-to-rear axle control arm fasteners.
- Install the caliper assembly to the rear axle control arm and tighten.
- Install the brake pipe to the caliper assembly.
- Install the brake pads into the caliper. Refer to Rear Disc Brake Pads Replacement .
- Bleed the brakes. Refer to Hydraulic Brake System Bleeding in Hydraulic Brakes.
- Install the tire and wheel assembly. Refer to Tire and Wheel Removal and Installation in Tires and Wheels.
- Lower the vehicle from the hoist.
- Prior to operating the vehicle, press the brake a few times until the brake pads are seated against the rotor.
Important: If LOCTITE 272® Threadlocker or equivalent is not available, new caliper support bracket fasteners must be used.
Notice: Refer to Fastener Notice in the Preface section.

Tighten
Tighten the rear caliper-to-rear axle control arm
bolts to 80 N·m (59 lb ft).
Tighten
Tighten the brake pipe-to-rear caliper to 16 N·m
(12 lb ft).

Important: Never replace the brake pads on one side of the axle only. The left and right side brake pads must be replaced only as axle sets.

