For 1990-2009 cars only
Removal Procedure
- Disable the SIR. Refer to SIR Disabling and Enabling in SIR.
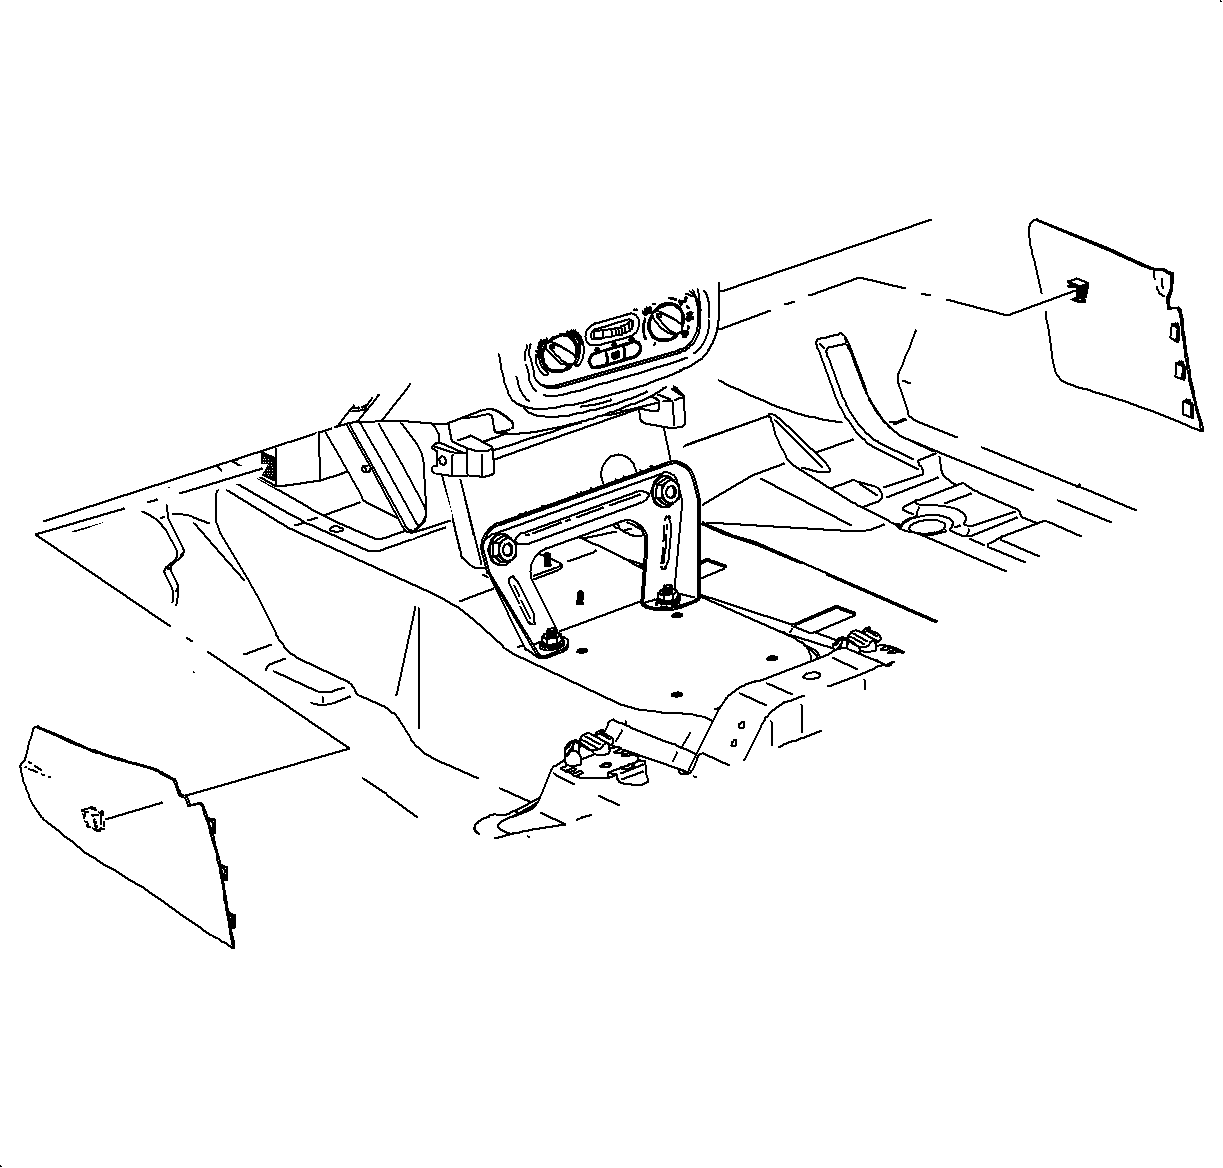
- Gently pull on the left and right side console extensions to remove the extensions.
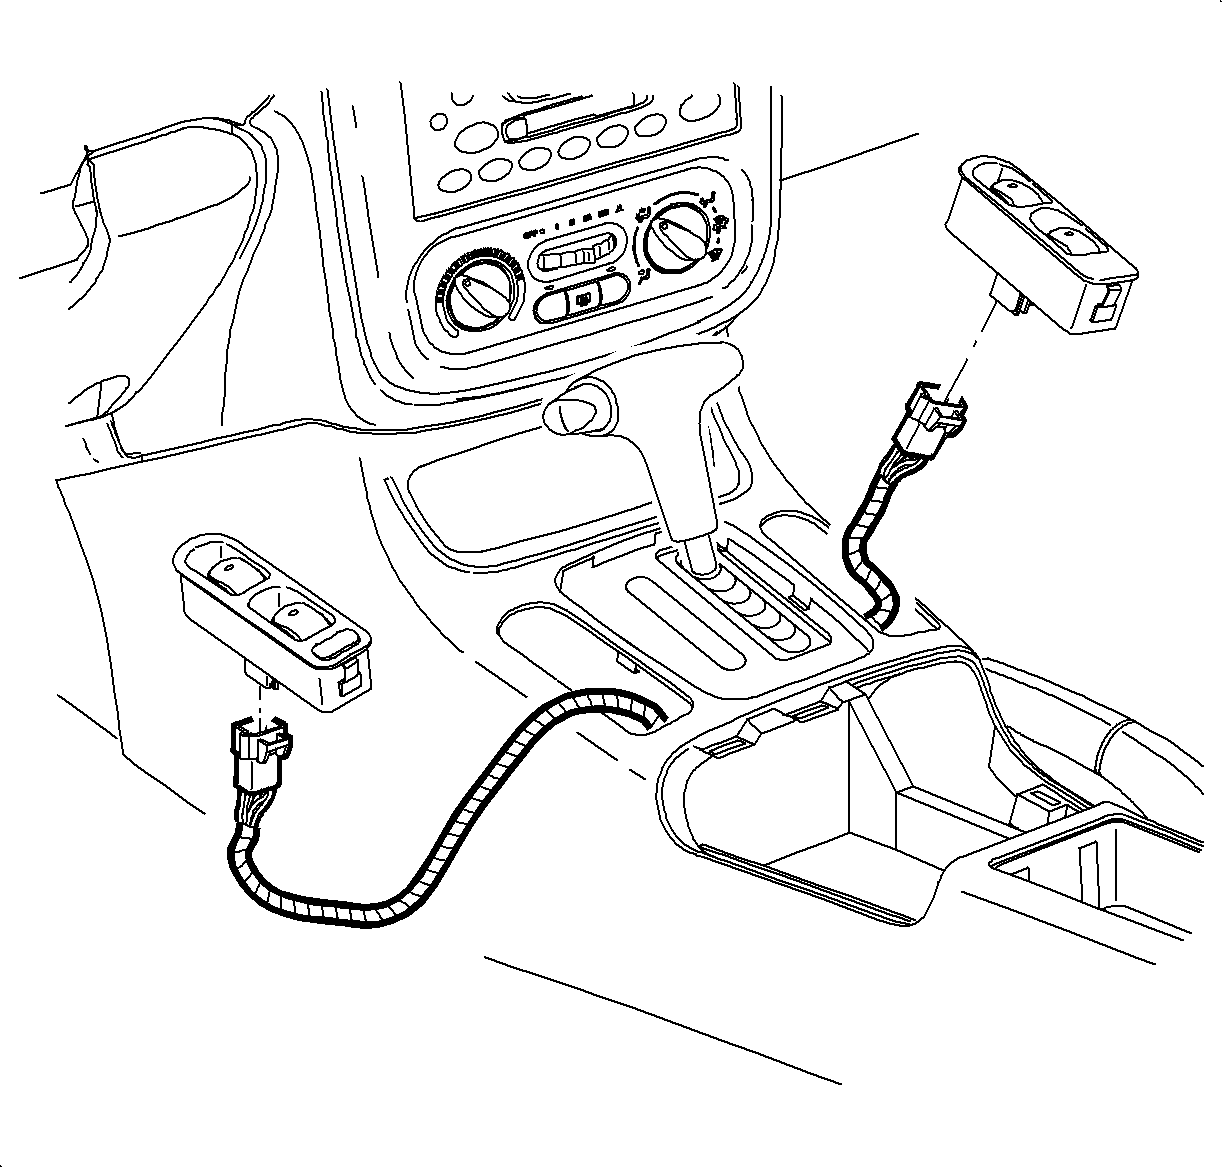
- Power Window Vehicles Only: Using a small flat-blade tool, gently pry upward on the rear portion of the power window switch to partially disengage the switch from the console.
- Disconnect the power window switch harness from the switch and remove the power window switch.
- Disengage the console park brake boot by squeezing the boot in while pulling upward.
- Lift the park brake boot over the park brake assembly.
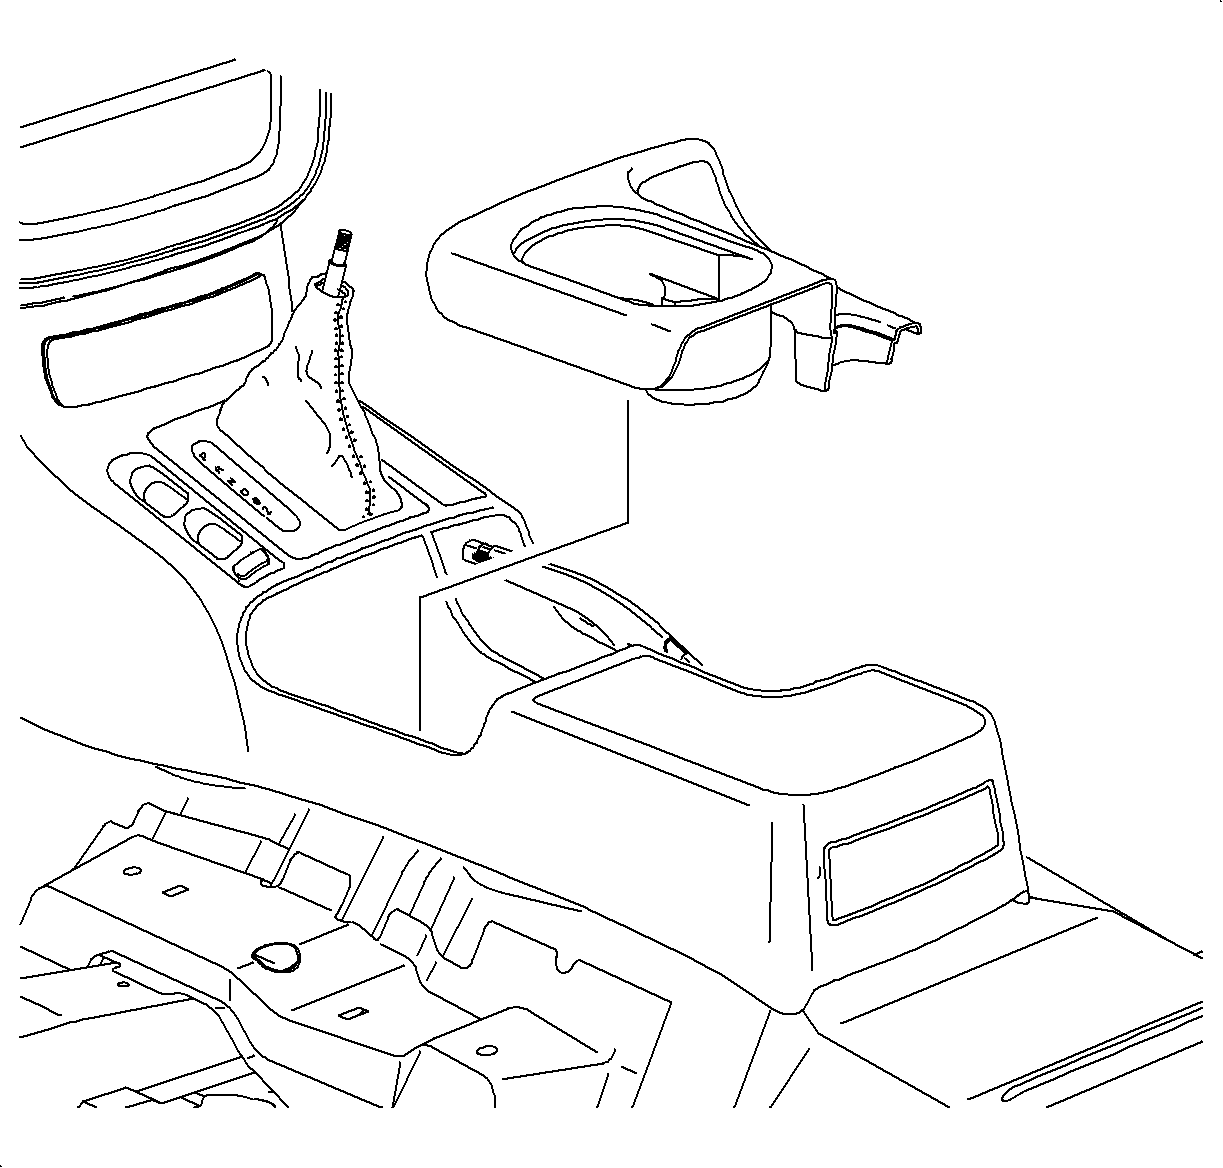
- Remove the front console tray by pulling upward on the tray assembly.
- Disconnect the console wiring harness from the main body harness.
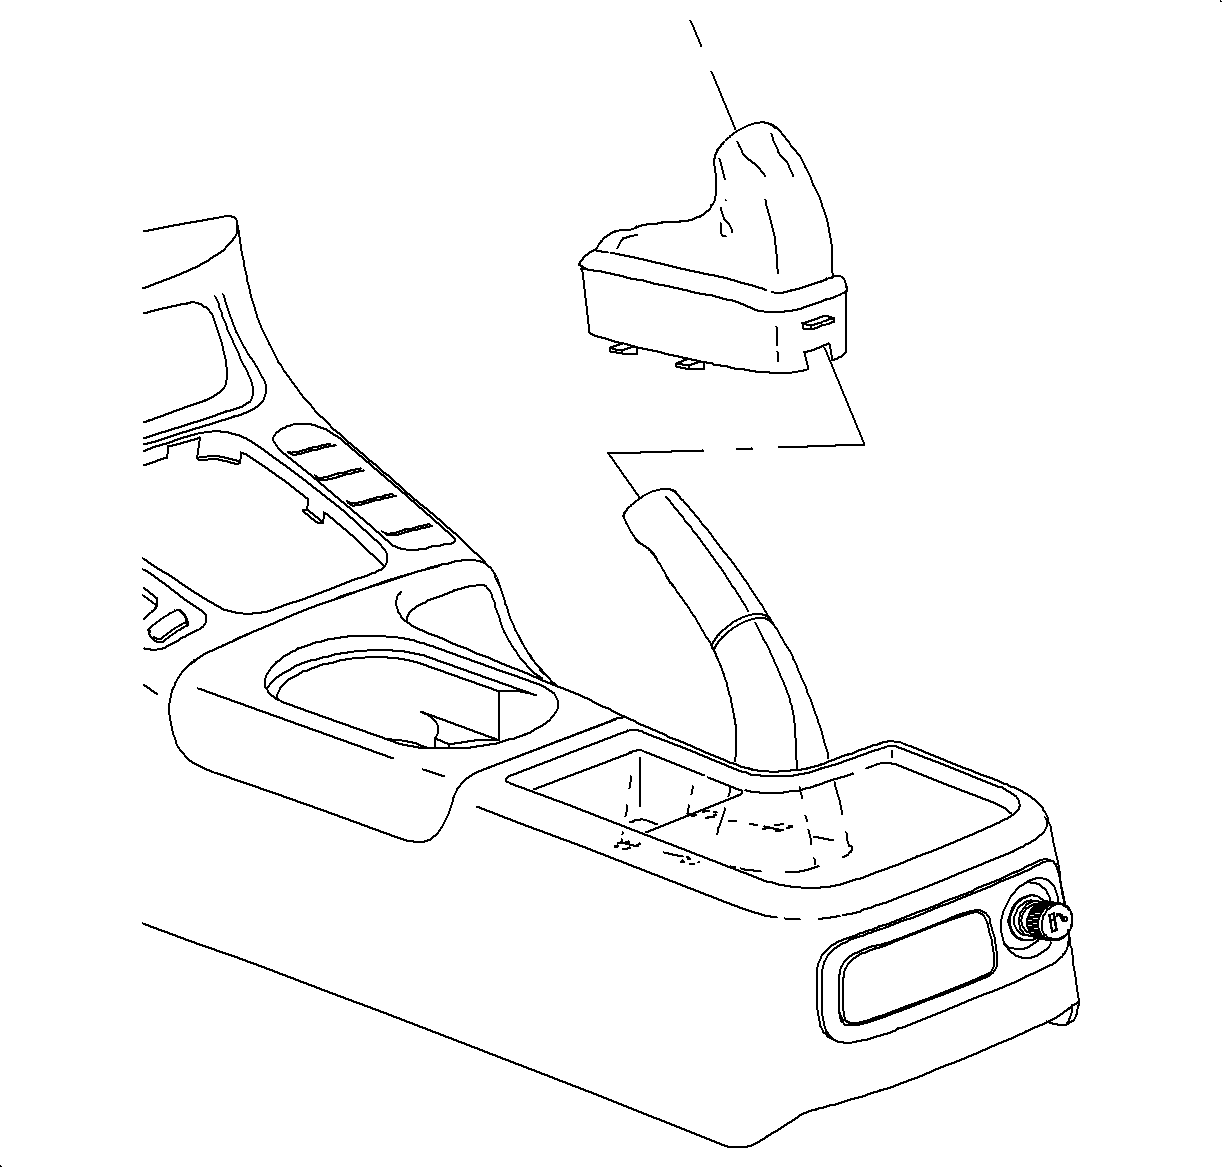
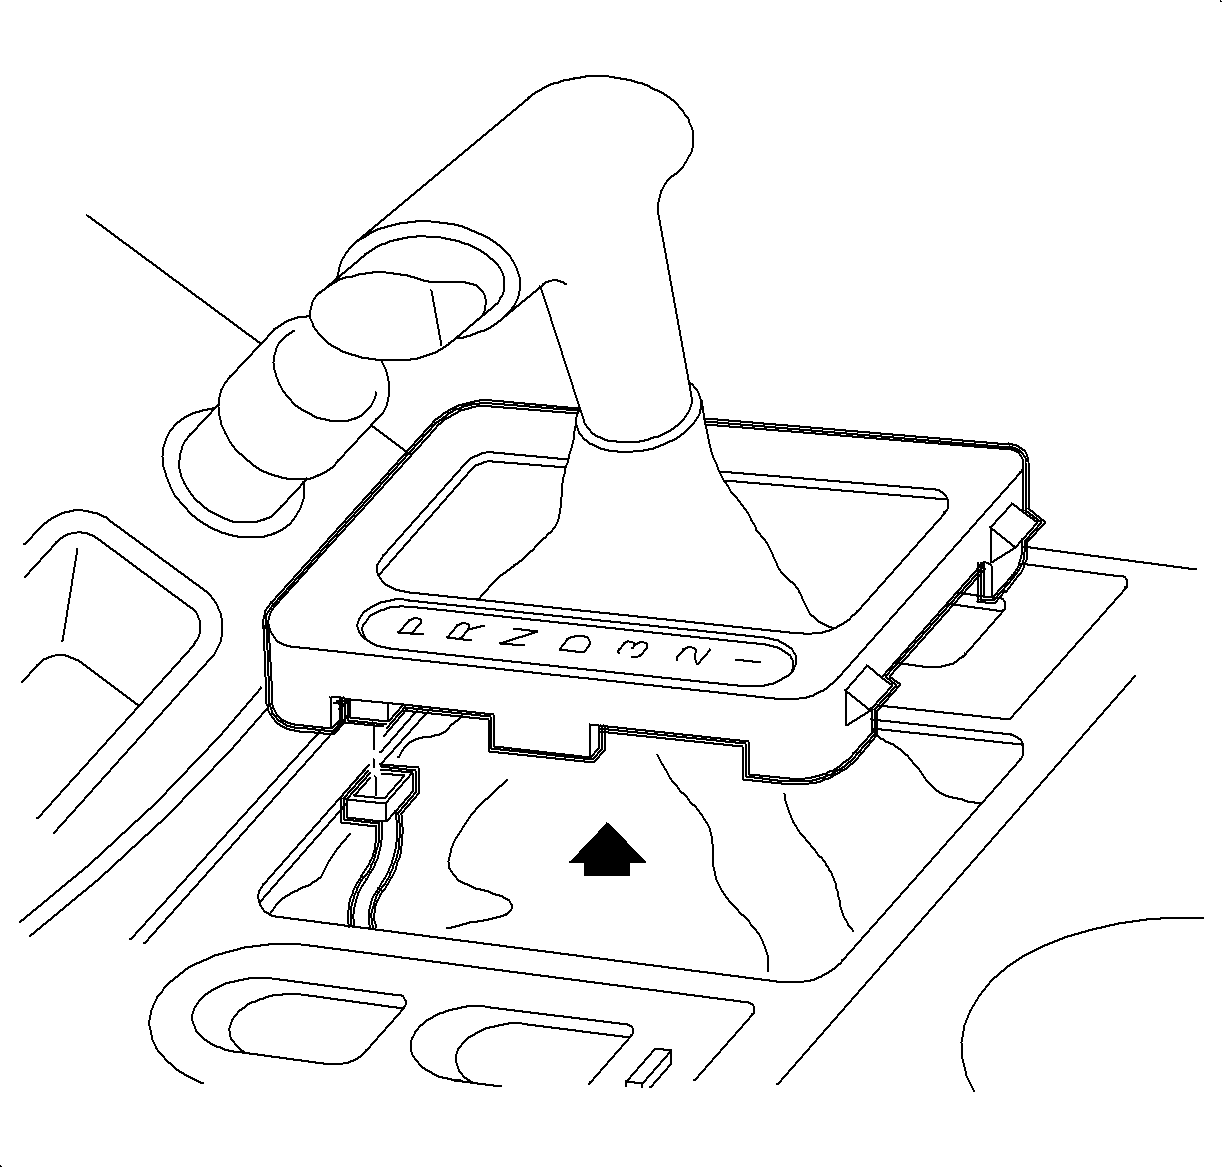
- Automatic Transaxle Vehicles Only: Pull up on the PRNDL cover to disengage the cover.
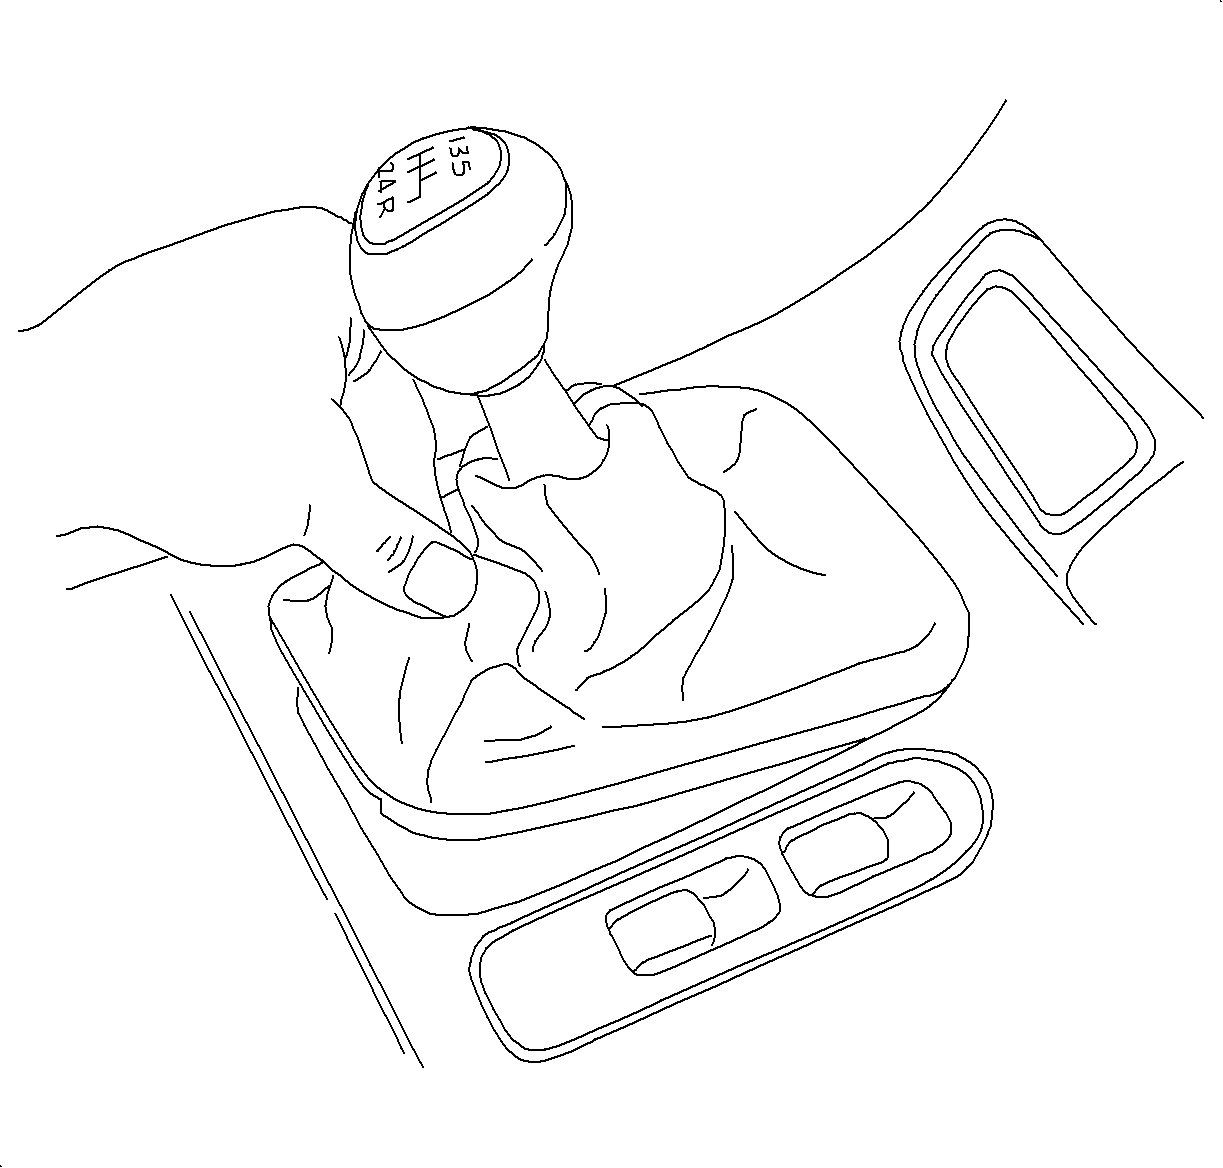
- 5-Speed Transaxle Vehicles Only: Pull up on the shifter boot to disengage the boot.
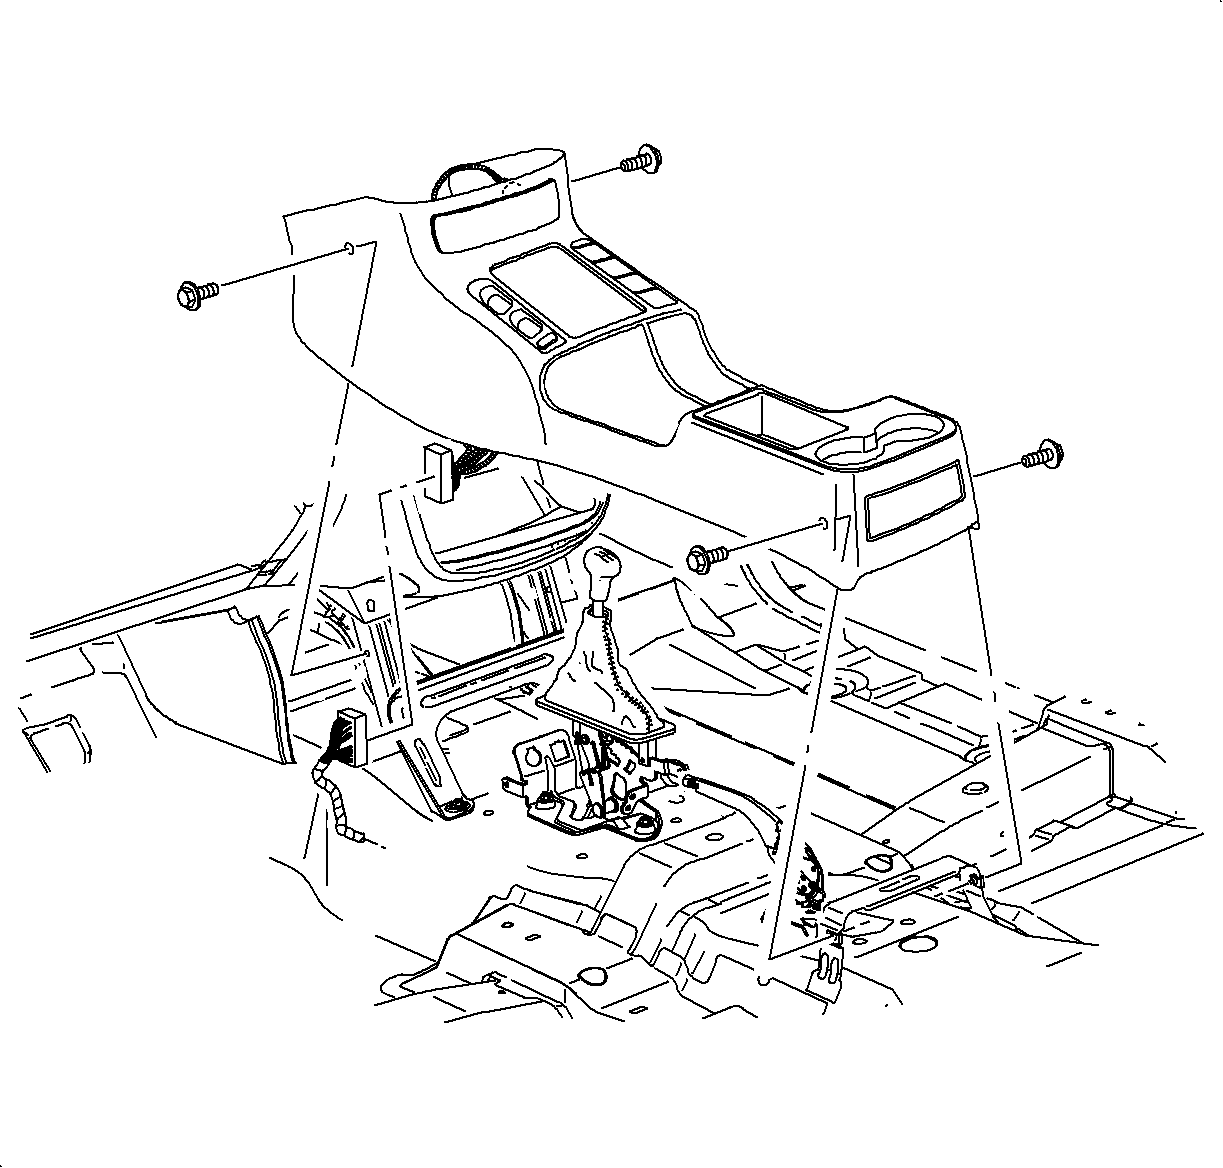
- Move the front seats to the forward most position and remove the console rear fasteners.
- Move the front seats to the rearward most position and remove the console front fasteners.
- Gently lift the console up and over the shifter or PRNDL cover and remove the console assembly.
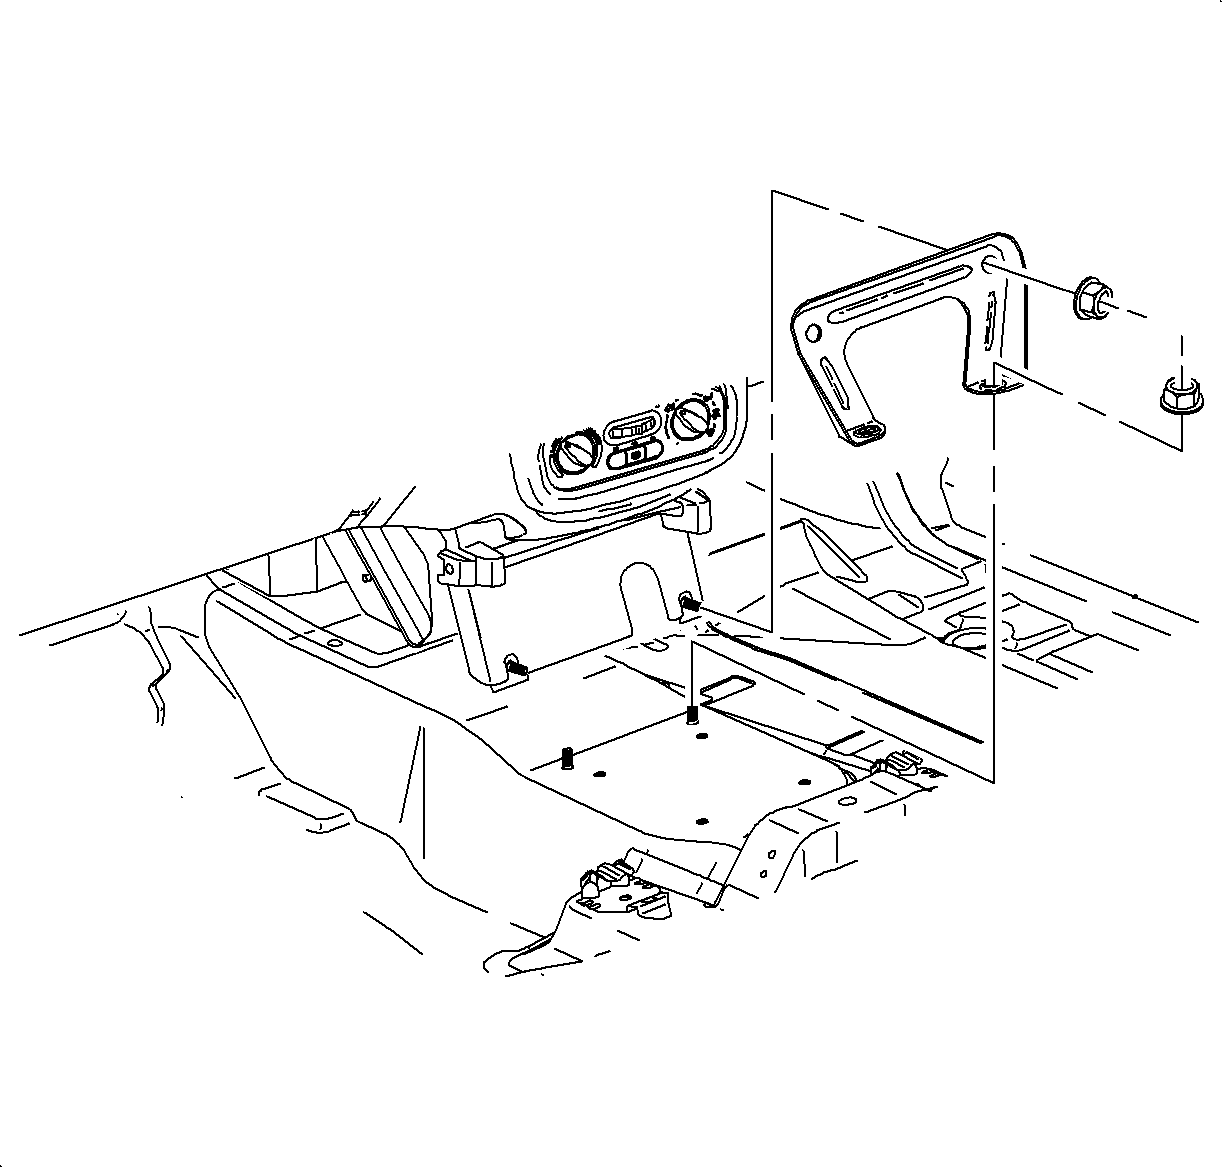
- Remove the I/P bracket.
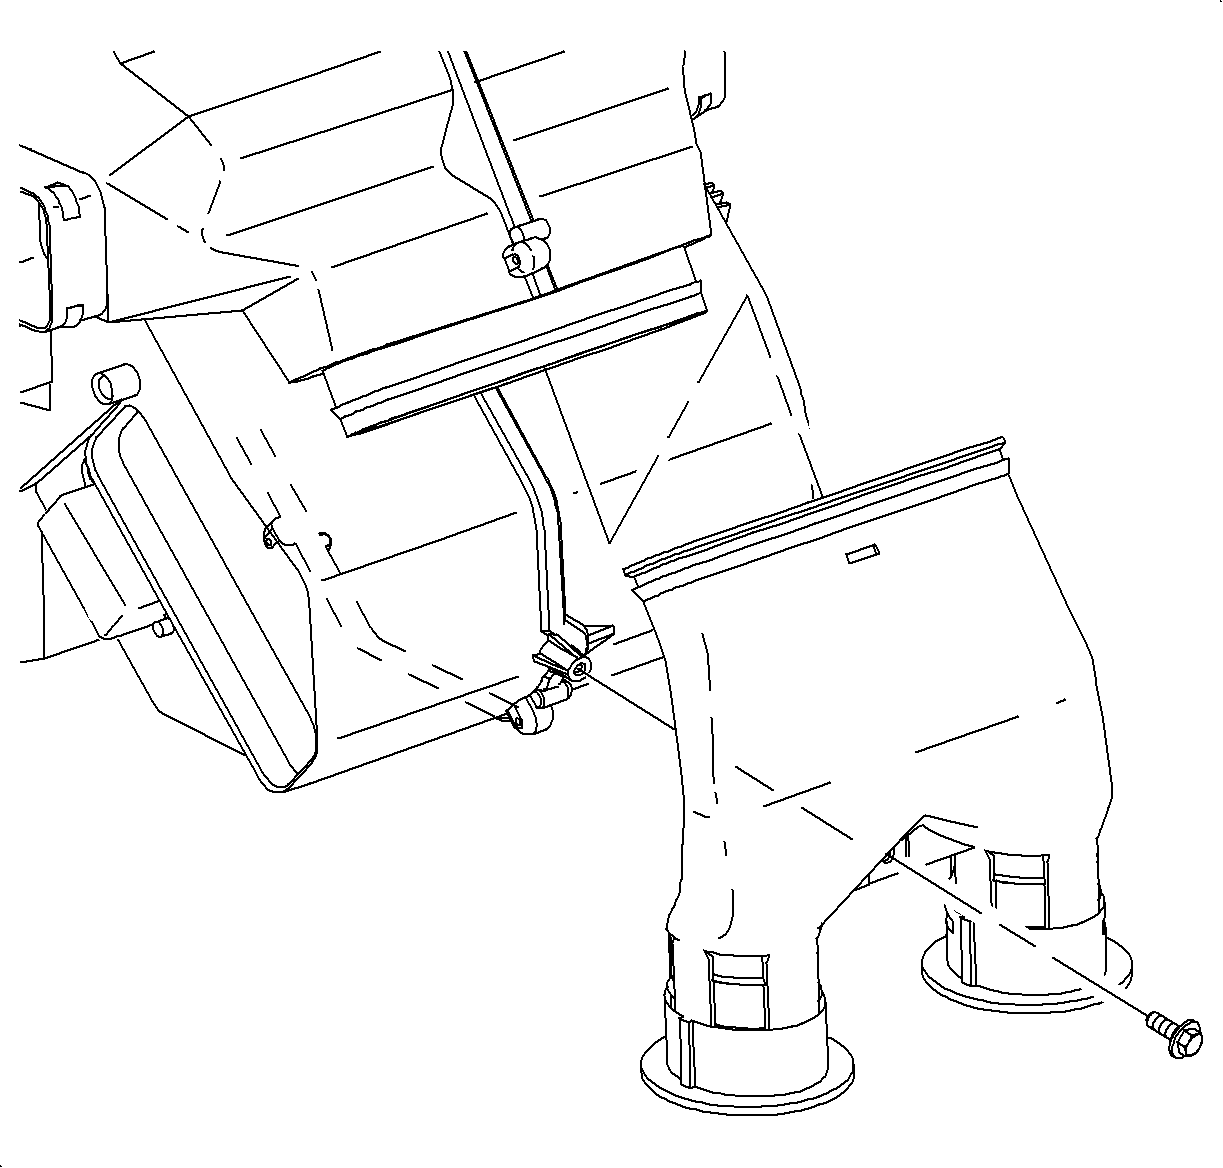
- Remove the connector duct retaining screw.
- Pull the connector duct downward and then rearward to remove the connector duct from the HVAC module.
Installation Procedure
- Push the connector duct adapters completely up onto the main duct.
- Install the connector duct onto the HVAC module.
- Install the connector duct to HVAC module screw.
- Pull both legs of the connector duct down to seal against the left and right rear seat heater ducts.
- Install the I/P bracket.
- Position the console into the vehicle. Route the shifter/PRNDL boot through the console opening.
- Install the console front fasteners.
- Move the front seats forward and install the console rear fasteners.
- Automatic Transaxle Vehicles Only: Snap the PRNDL cover into the console opening.
- 5-Speed Transaxle Vehicles Only: Snap the shifter boot into the console opening.
- Connect the console wiring harness to main body harness.
- Snap the console front tray into the console.
- Power Window Vehicles Only: Connect the power window harness to the power window switch and snap the switch into place.
- Snap the park brake boot into place.
- Install the console extensions.
- Enable the SIR. Refer to SIR Disabling and Enabling in SIR.
Notice: Refer to Fastener Notice in the Preface section.
Tighten
Tighten the HVAC center duct-to-HVAC module fastener to 1.0 N·m
(9 lb in).

Tighten
Tighten the I/P bracket nuts to 20 N·m (15 lb ft).

Tighten
Tighten the console fasteners to 2.2 N·m (22 lb in).
Tighten
Tighten the console fasteners to 2.2 N·m (22 lb in).


