Removal Procedure
- Disconnect the negative battery cable. Refer to Battery Negative Cable Disconnection and Connection in Engine Electrical.
- Recover the refrigerant. Refer to Refrigerant Recovery and Recharging .
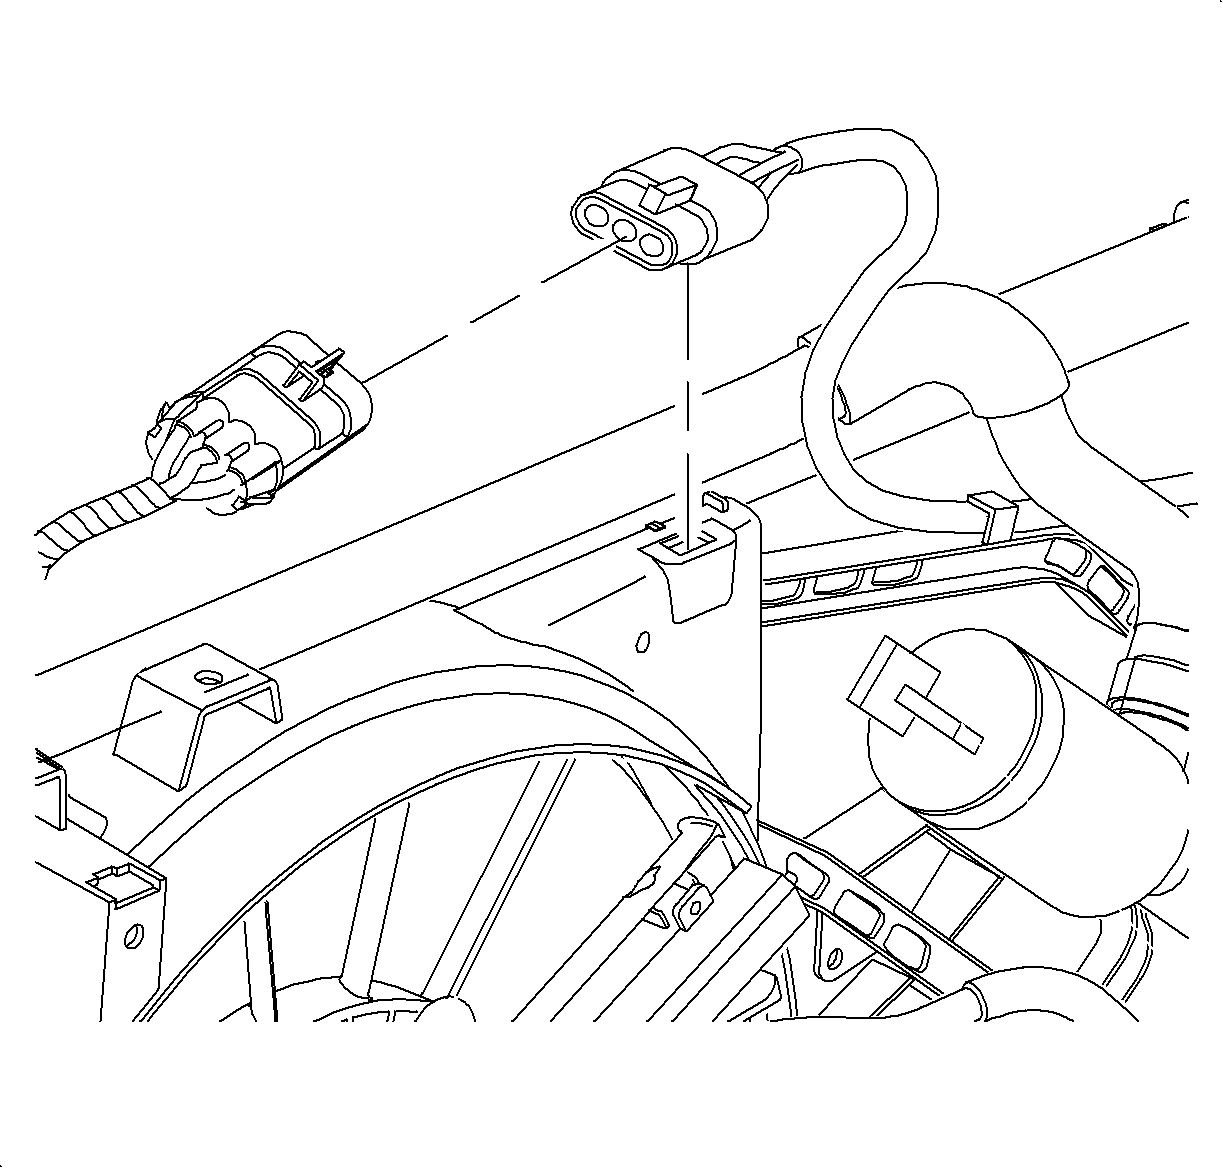
- Disconnect the pusher fan electrical connector.
- Remove the pusher fan harness from the puller fan shroud tabs and push the harness clear of the radiator end tank.
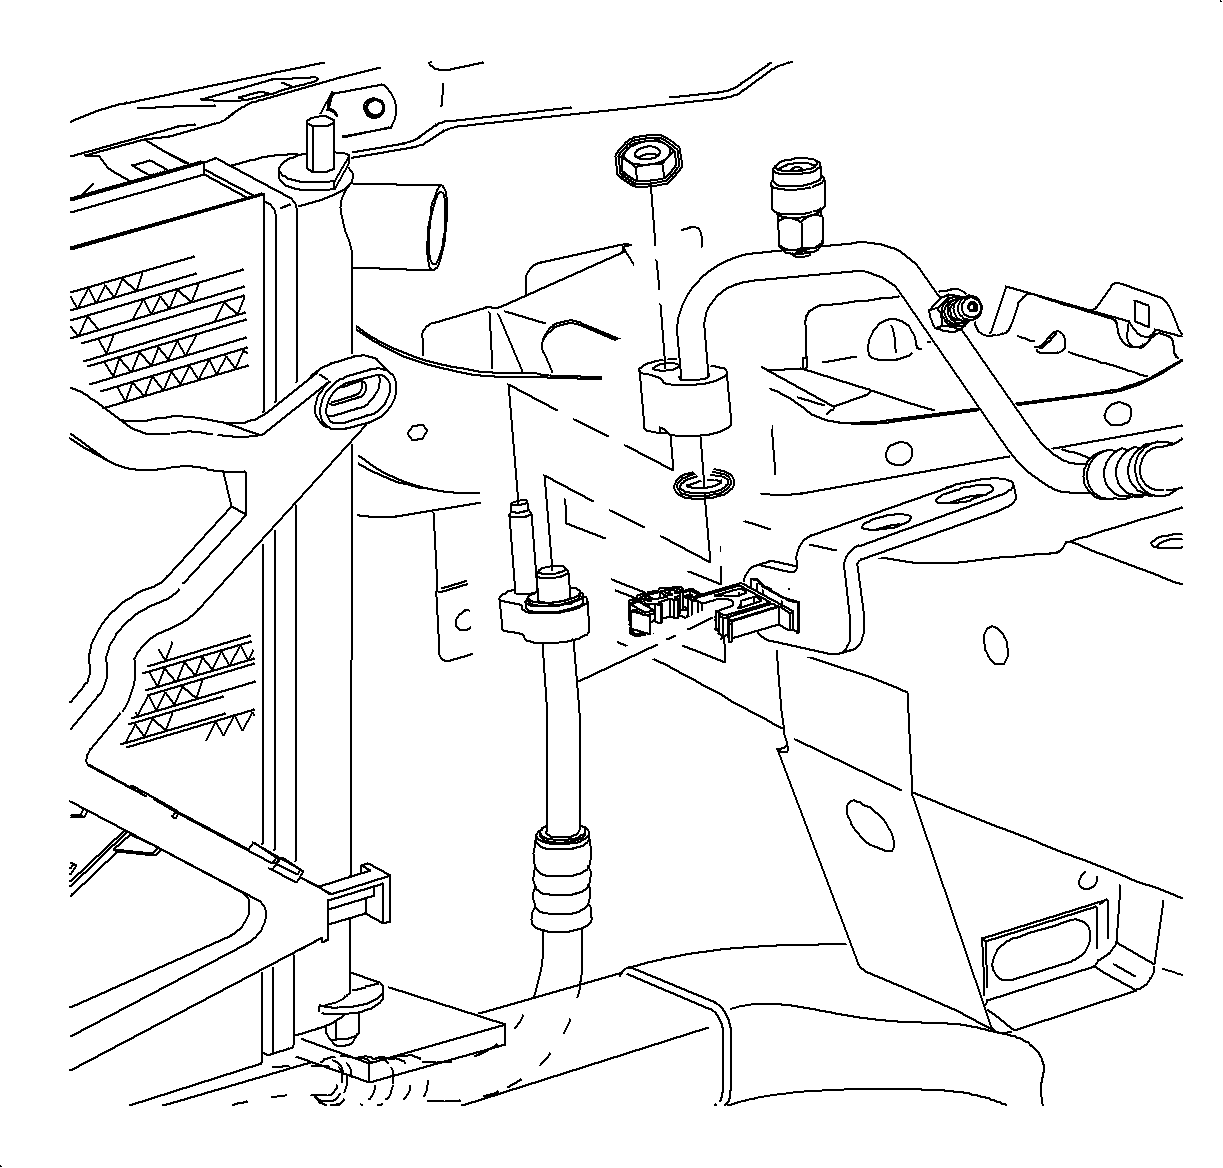
- Remove the nut that secures the condenser hose to the evaporator hose assembly.
- Install the caps on the condenser hose and on the evaporator hose assembly to prevent moisture entry and oil spillage.
- Raise the vehicle. Refer to Lifting and Jacking the Vehicle in General Information.
- Remove the gasket that separates the radiator from the condenser by pulling down on one end of the gasket and peeling back.
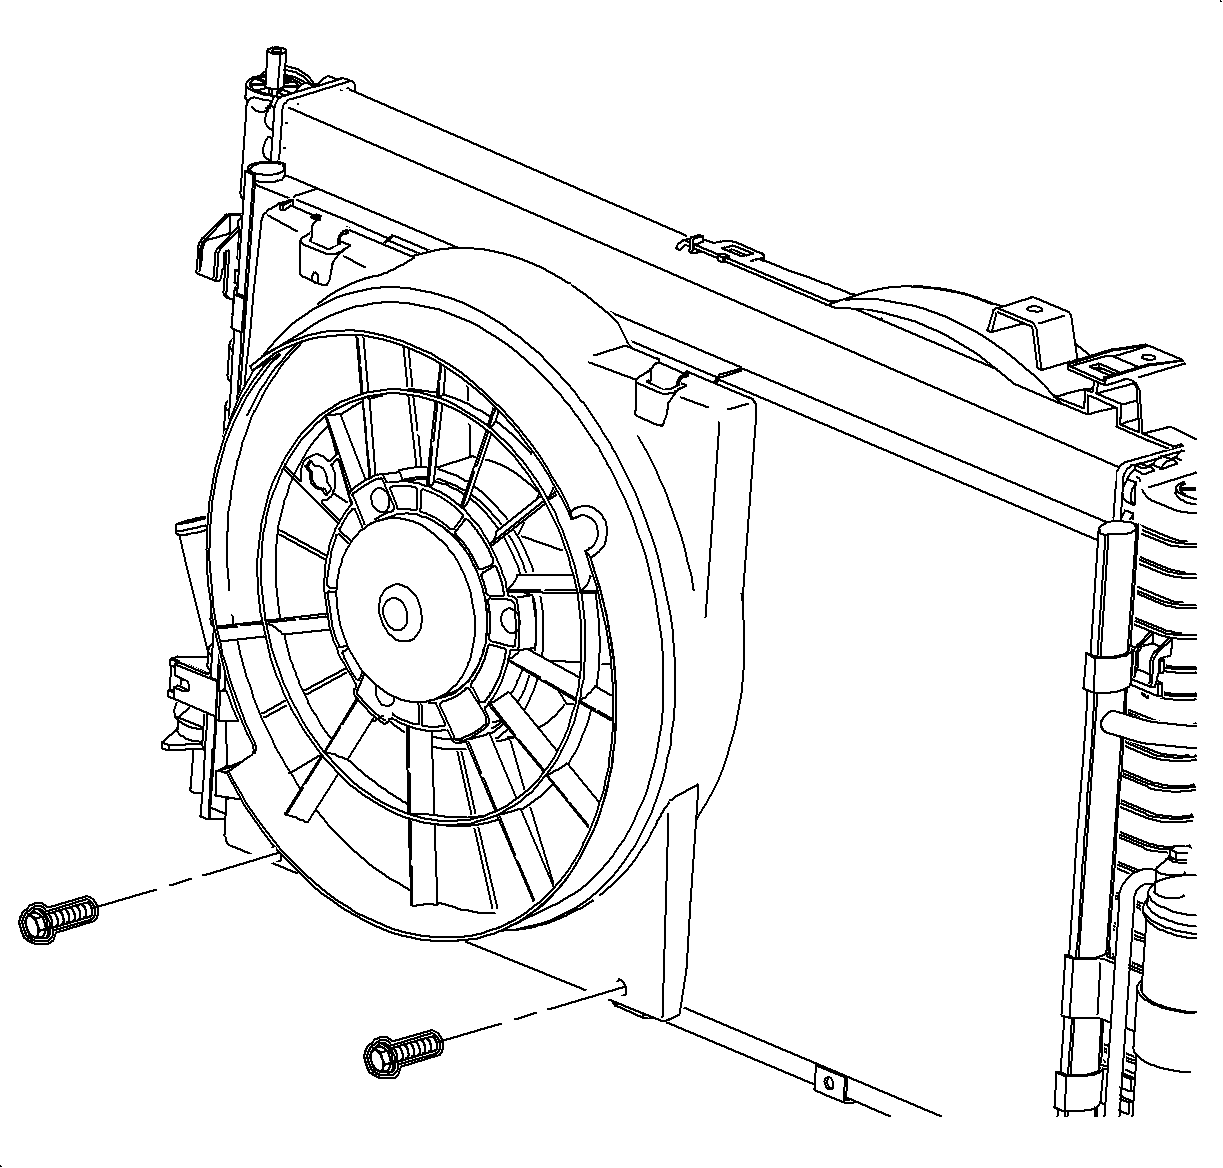
- Remove the retainer nuts and washers from the pusher fan.
- Remove the lower fan shroud by pulling the shroud forward and then down.
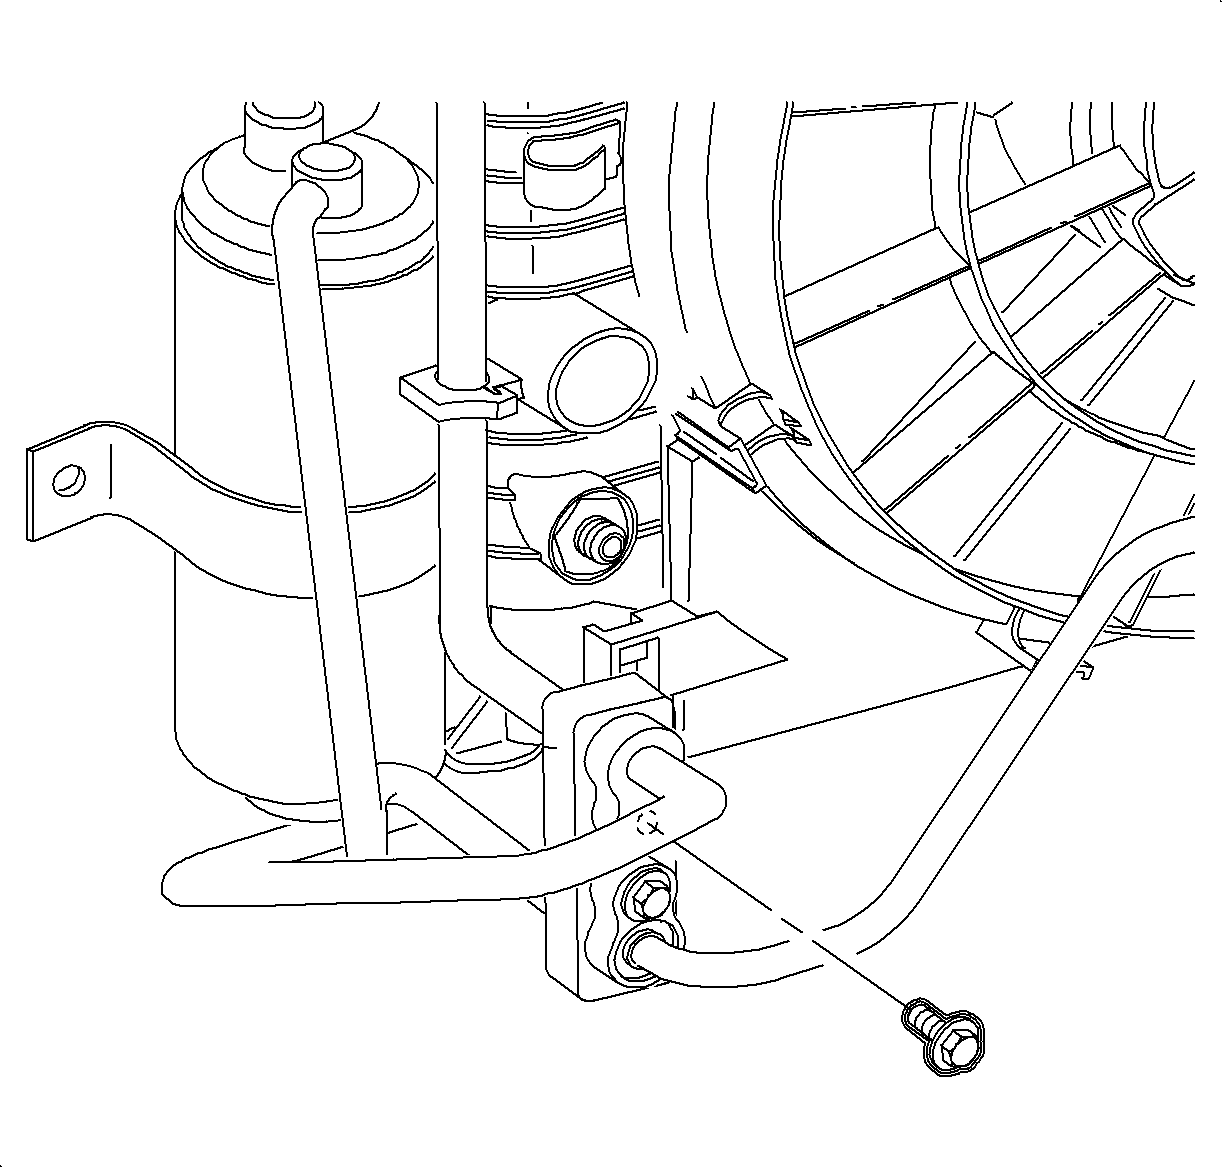
- Remove the bolt that secures the condenser hose to the condenser block fitting.
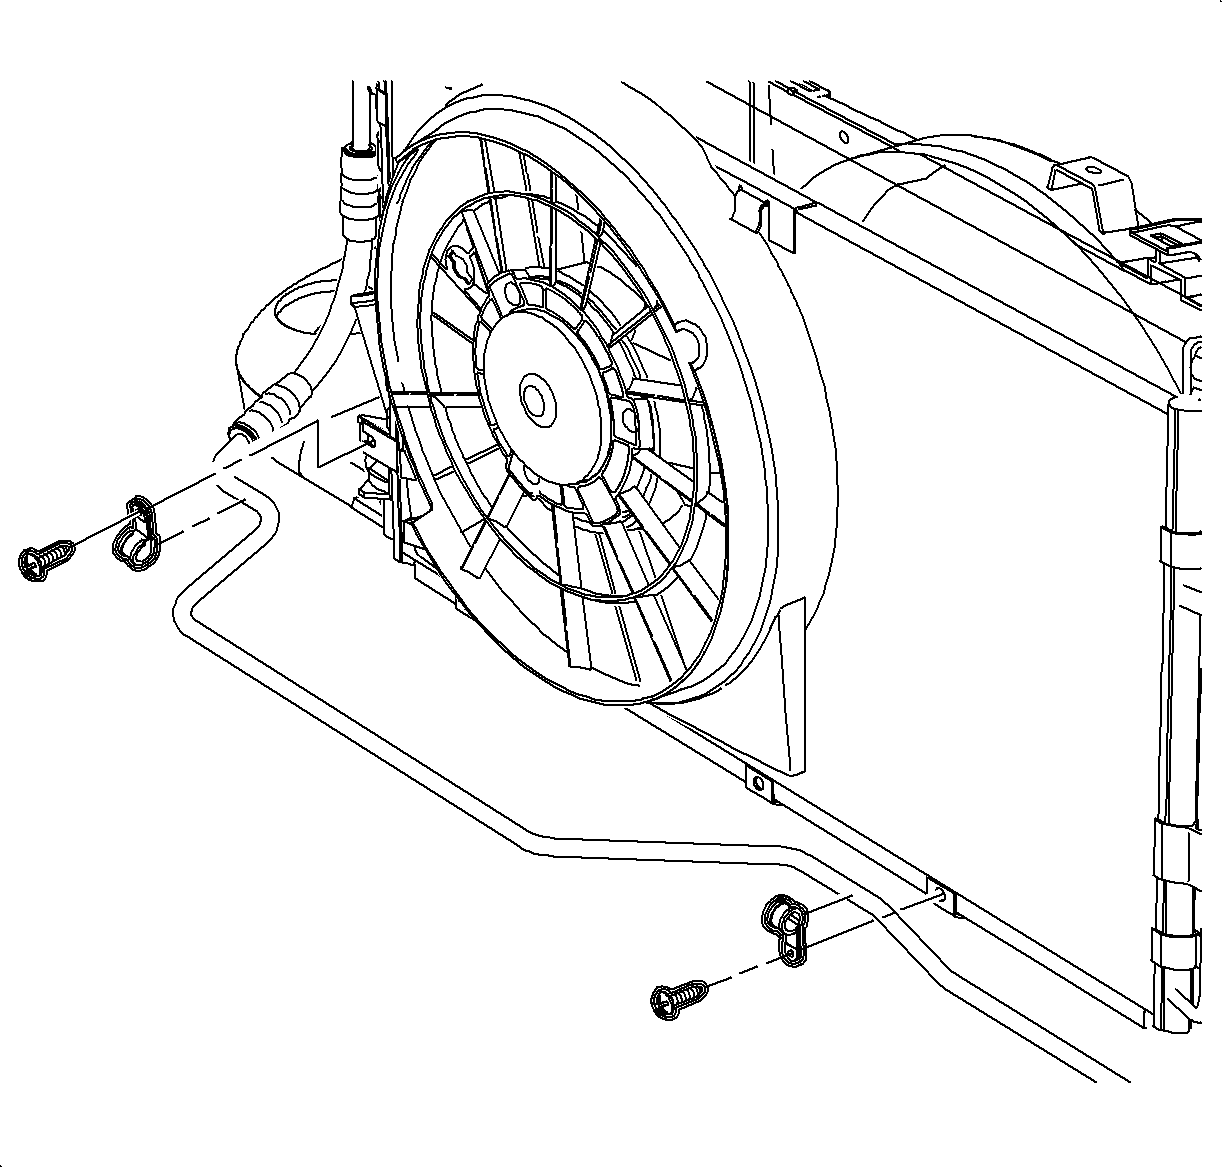
- Remove the fasteners that secure the hose clamp to the condenser and remove the condenser hose.
- Install the caps on the condenser hose and on the condenser block fitting to prevent moisture entry and oil spillage.
- Remove the bolt that secures the discharge line to the condenser block fitting.
- Install caps on the discharge line and condenser block fitting to prevent moisture entry and oil spillage.
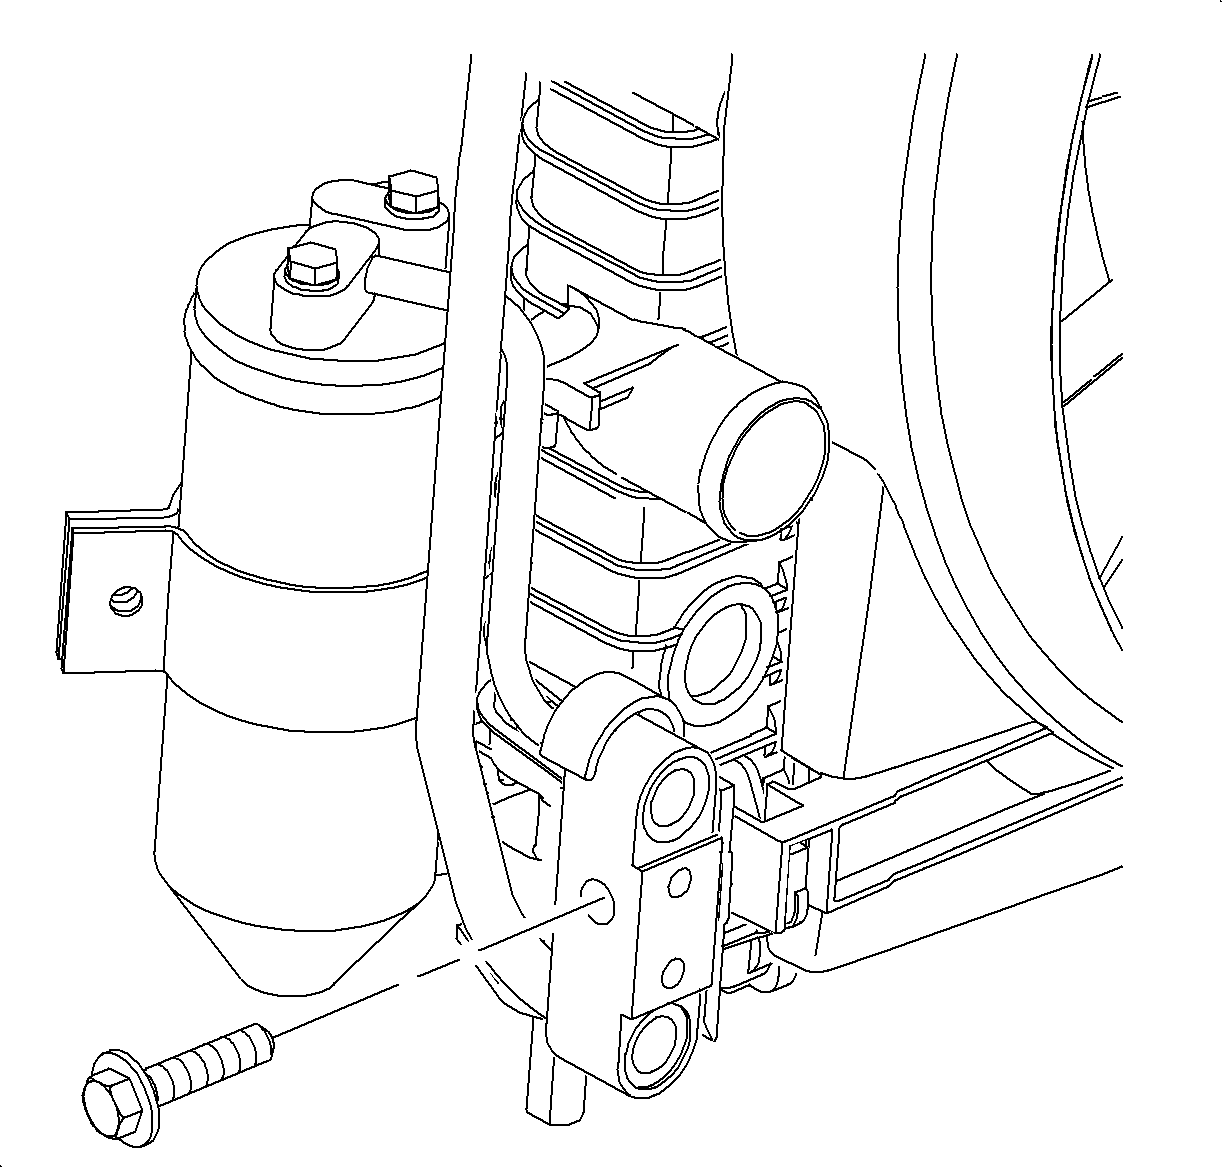
- Remove the bolt that secures the condenser block fitting to the radiator end tank.
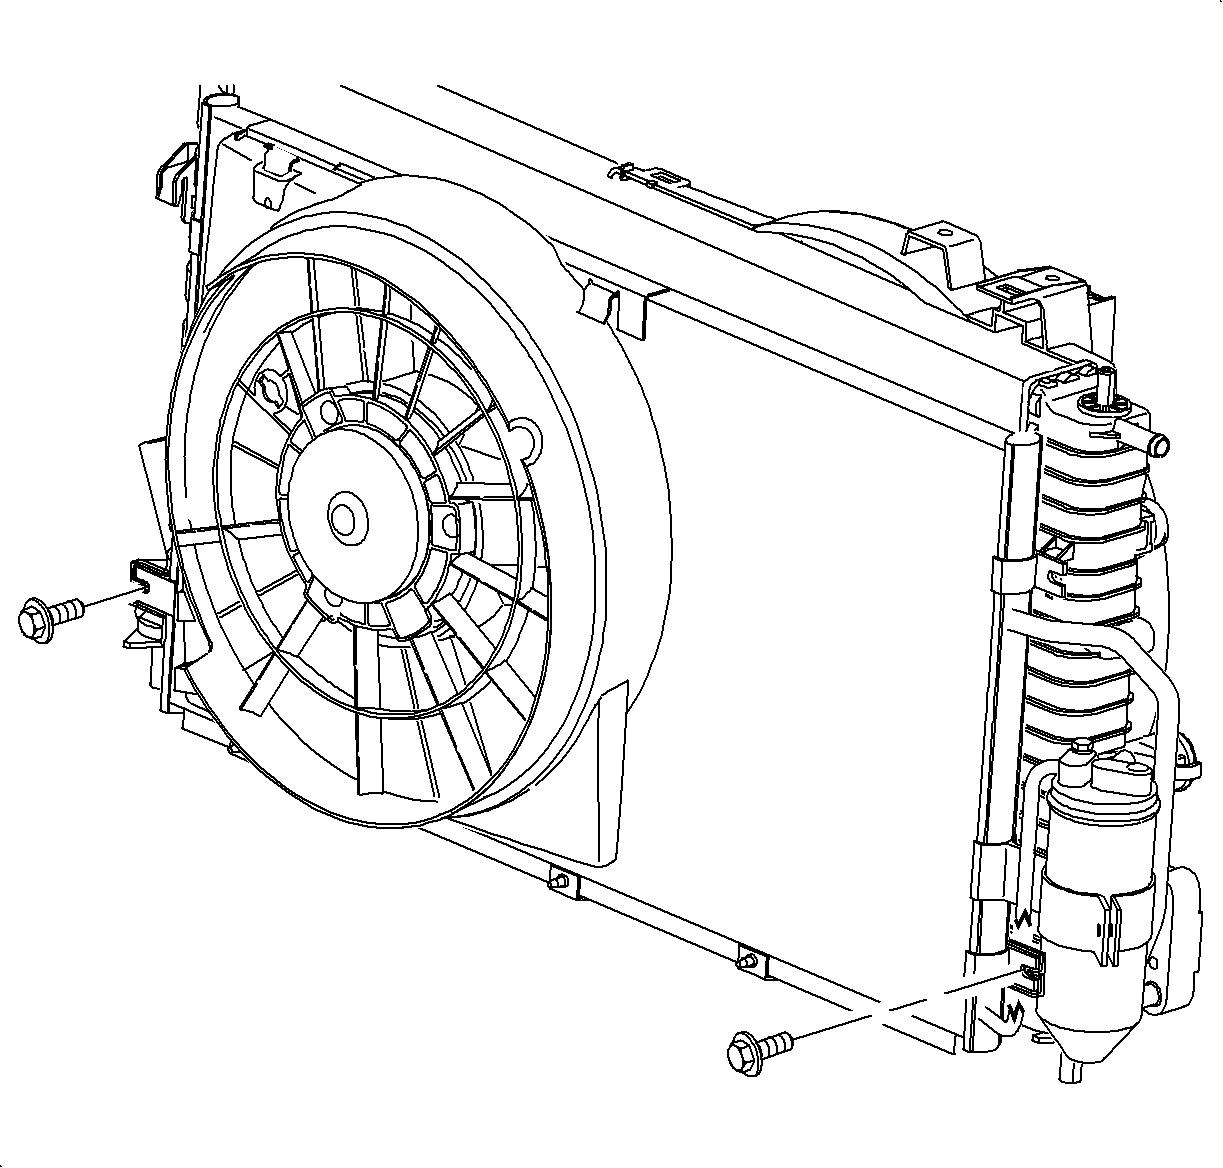
- Remove the condenser bolts.
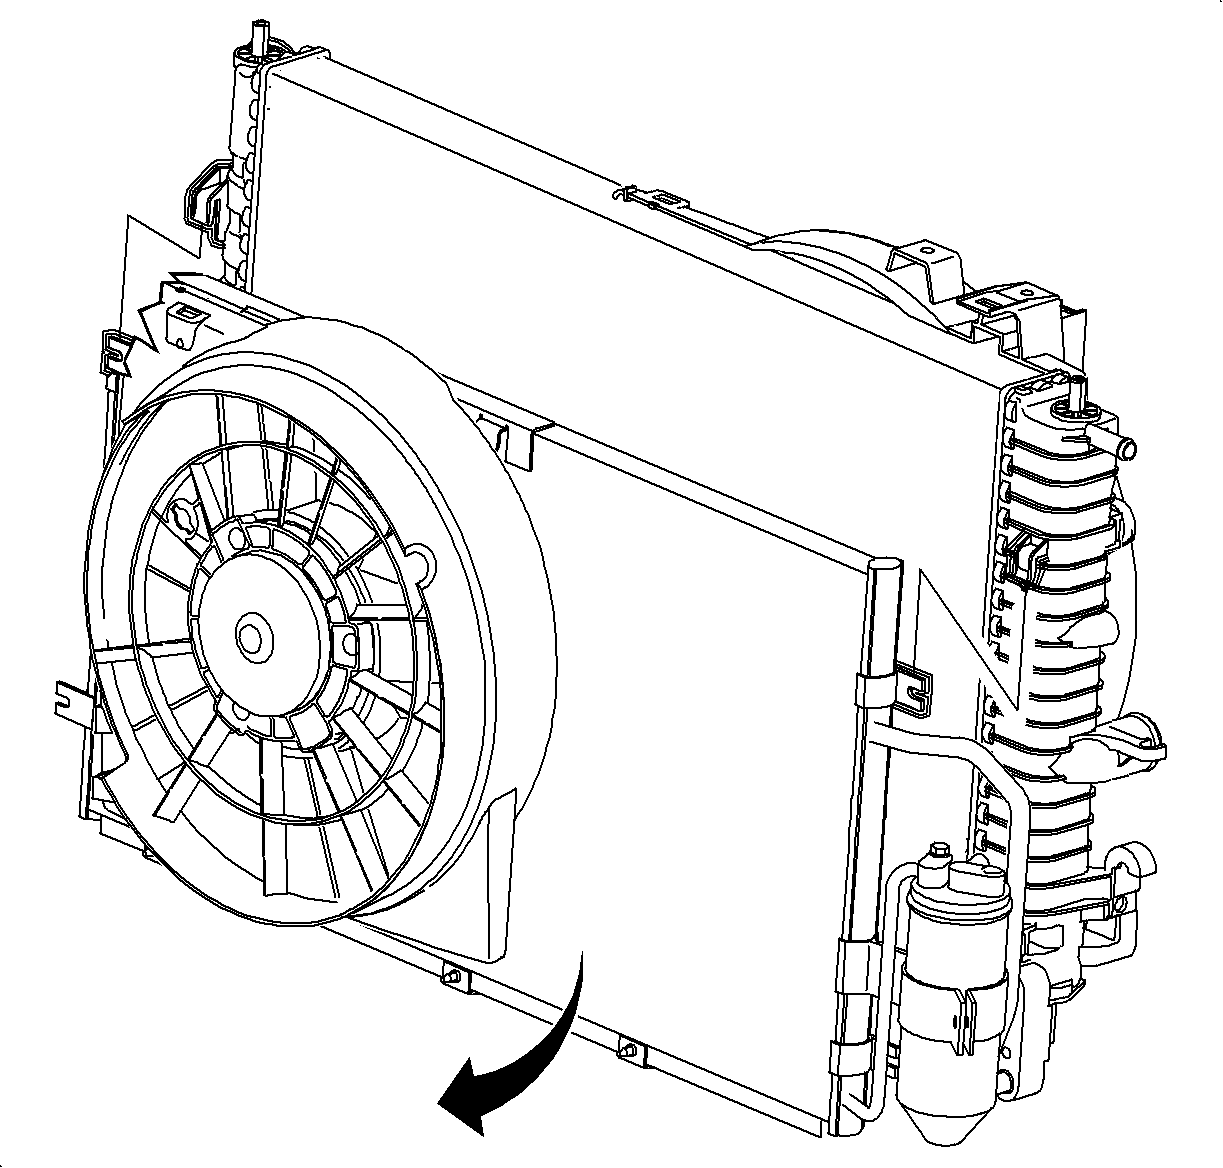
- Slide the condenser down then rotate the bottom forward to remove.
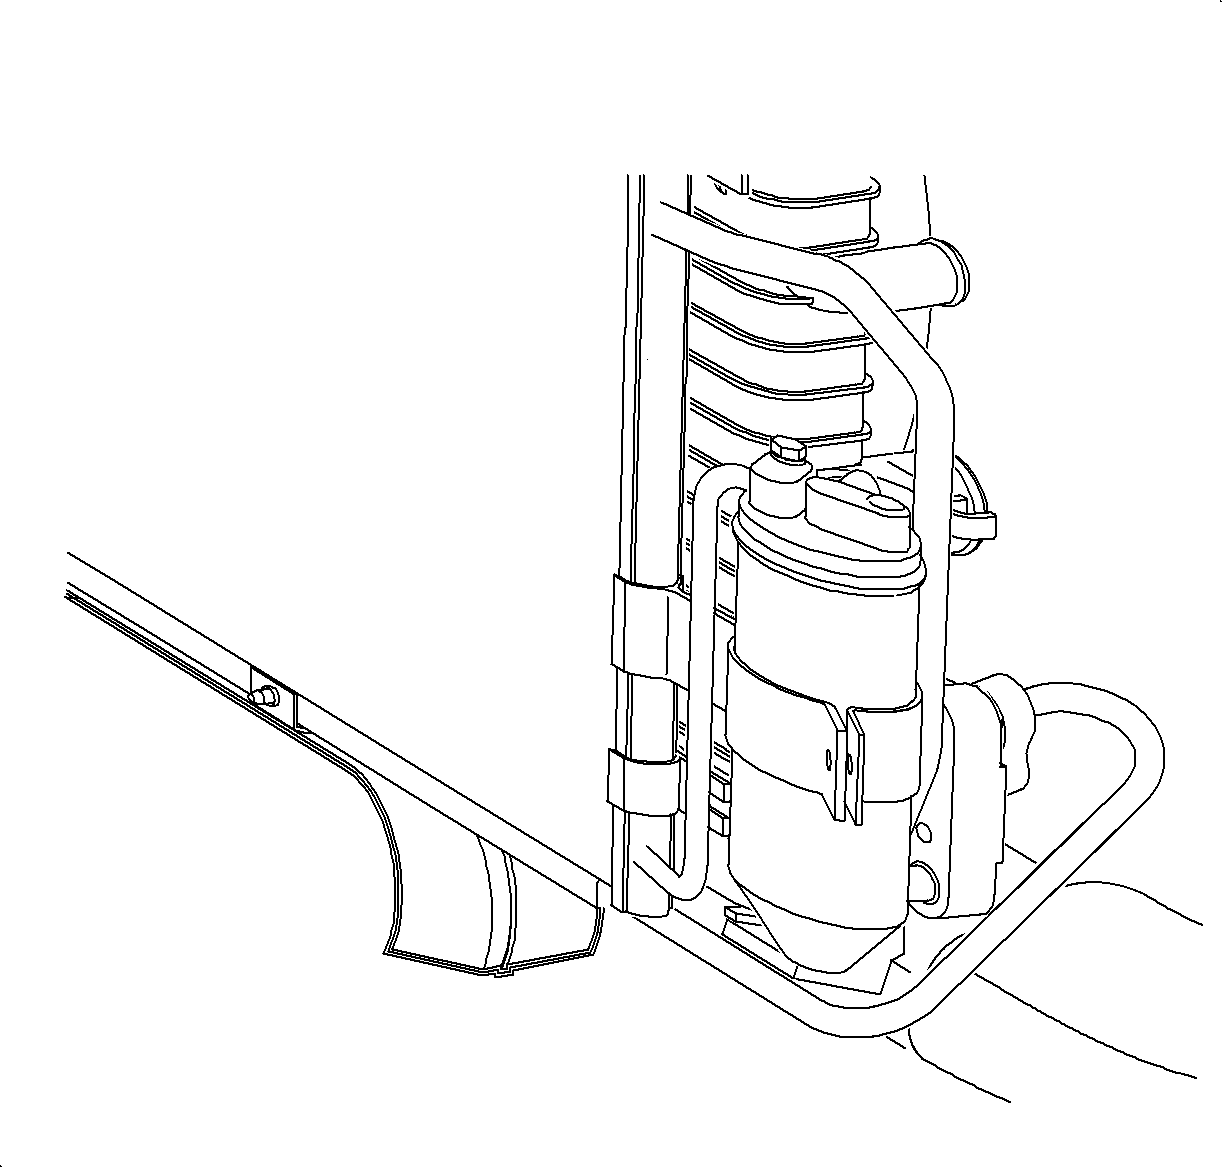
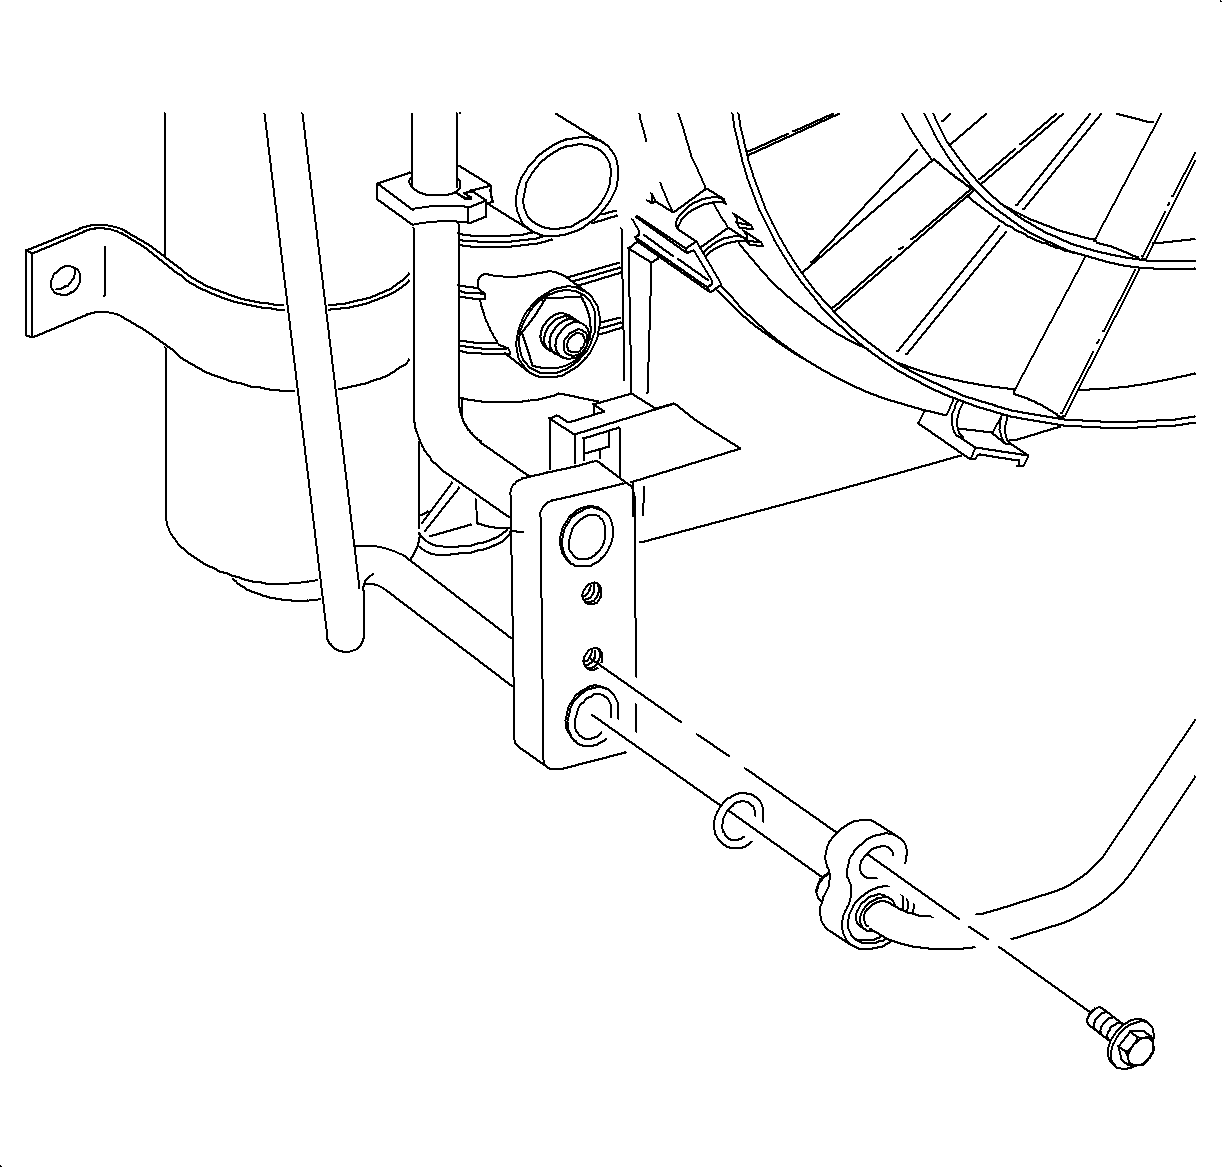
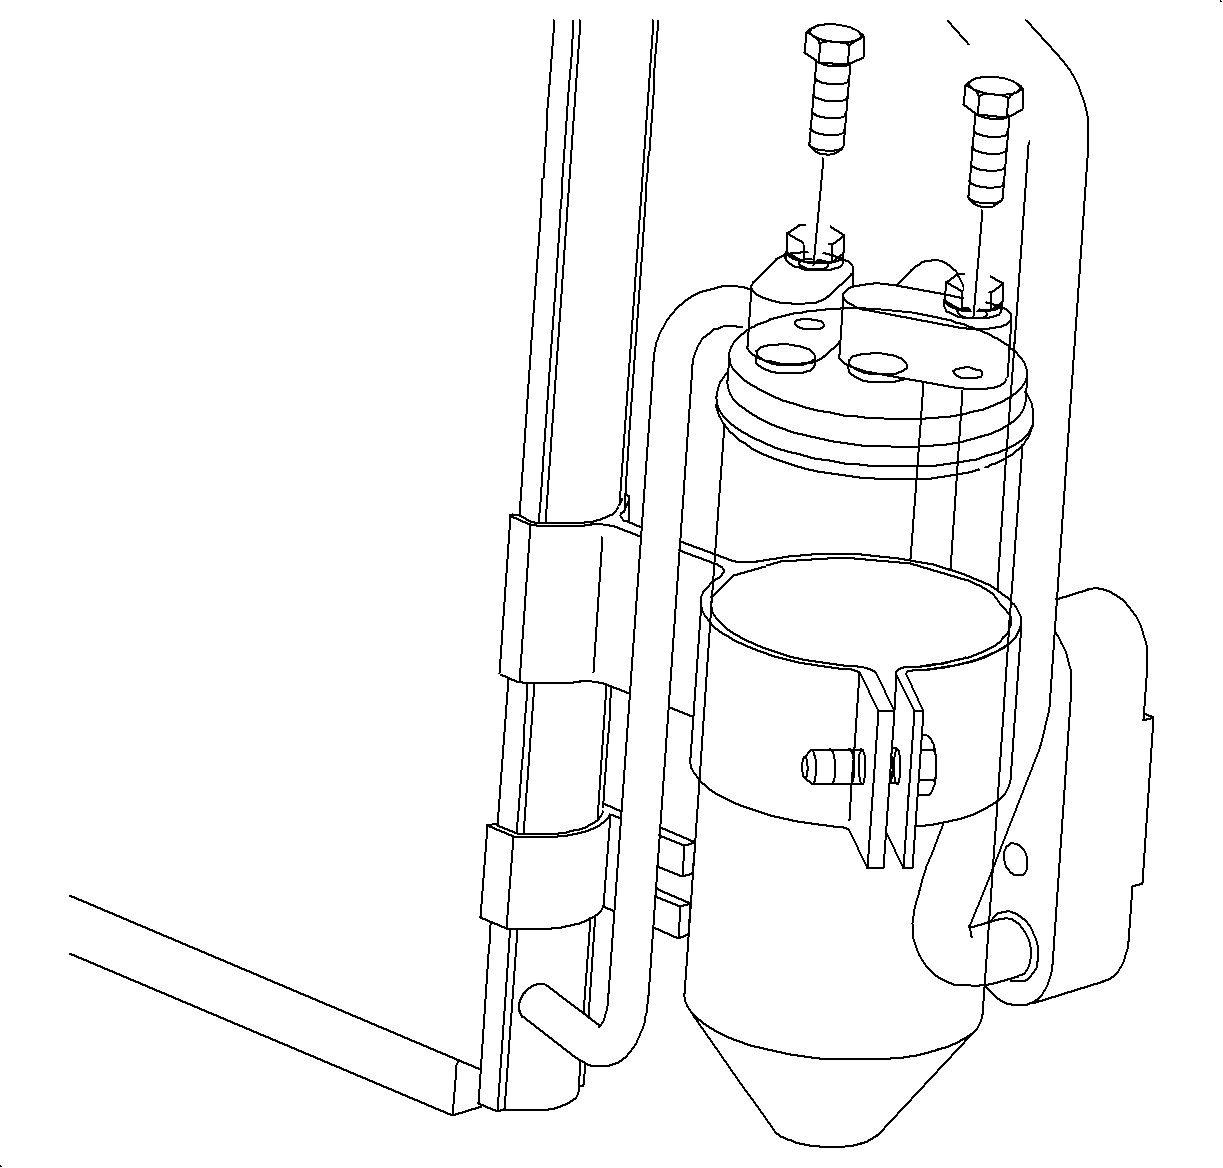
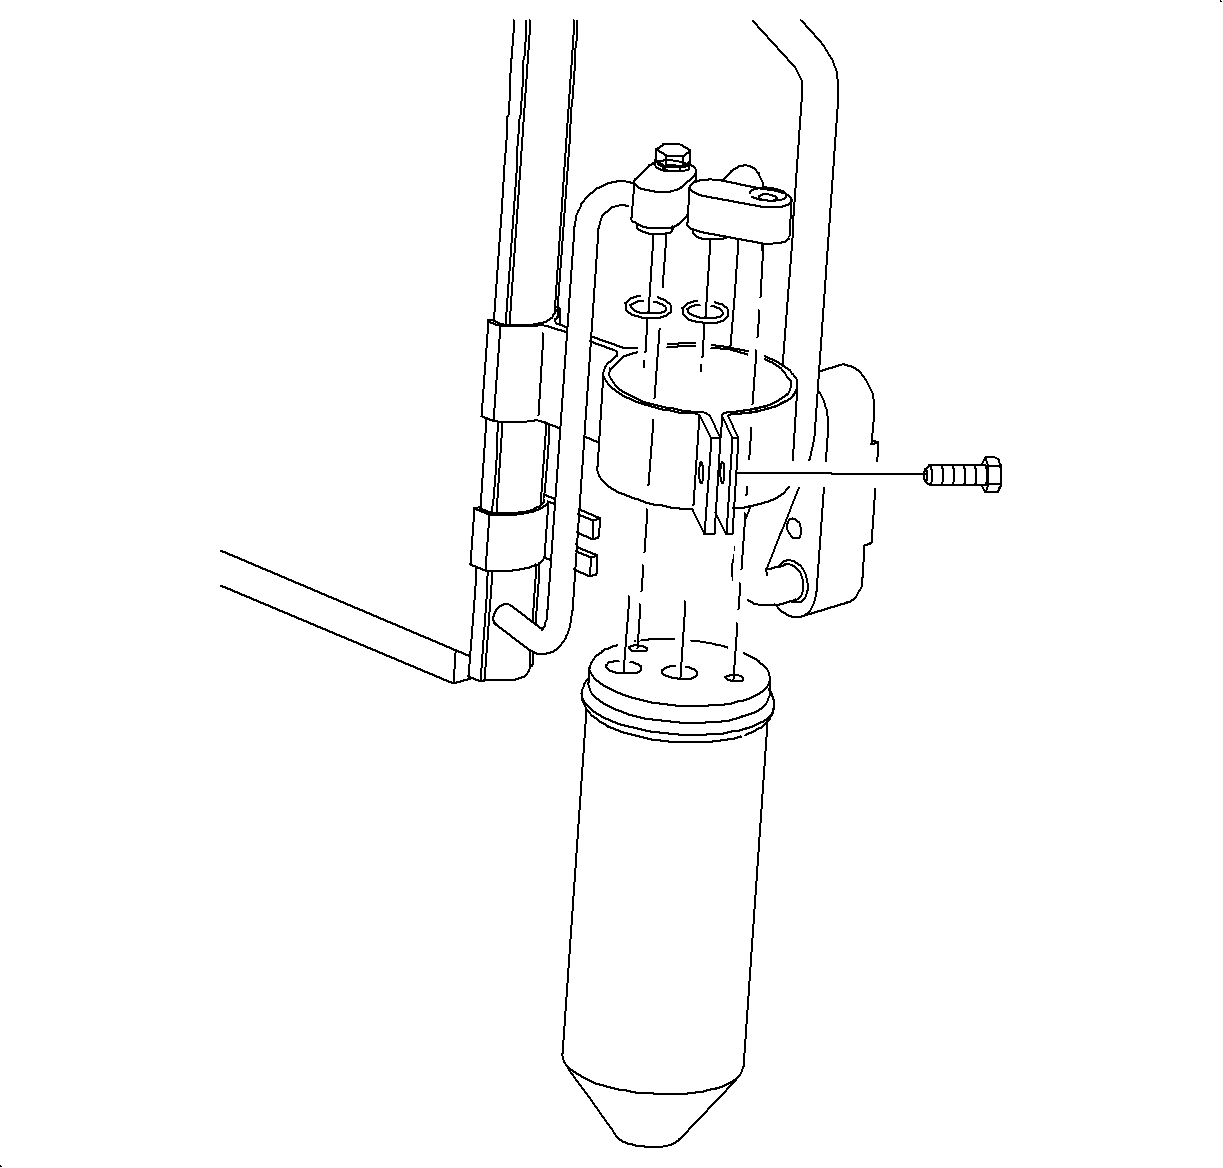
- Remove the bolts from the receiver dehydrator line fitting.
- Loosen the bolt from the receiver dehydrator clamp and remove the dehydrator.
Caution: Do not remove hoses or lines before system is fully discharged. System may be under pressure and contact with R134a may cause personal injury.
Installation Procedure
- If replacing the condenser, add PAG oil to the condenser. Refer to Refrigerant System Capacities for system capacity information.
- Install the receiver dehydrator into the clamp. Do NOT tighten the clamp.
- Install new O-rings to the receiver dehydrator. Refer to O-Ring Replacement .
- Tighten the receiver dehydrator block bolts
- Tighten the receiver dehydrator clamp bolt.
- Install the condenser to the radiator by sliding the condenser tabs under the radiator brackets.
- Install the bolts that secure the condenser to the radiator.
- Install the condenser block to the radiator end tank bolt.
- Remove the condenser hose to the condenser cap and plug.
- Install a new seal washer. Refer to Sealing Washer Replacement .
- Remove the condenser block cap and install the discharge line.
- Install the discharge hose to the condenser block fitting and install the bolt.
- Install the condenser hose to the condenser block fitting and install the bolt.
- Install the condenser hose clamps onto the condenser studs and install the bolts.
- Install the gasket that separates the radiator from the condenser.
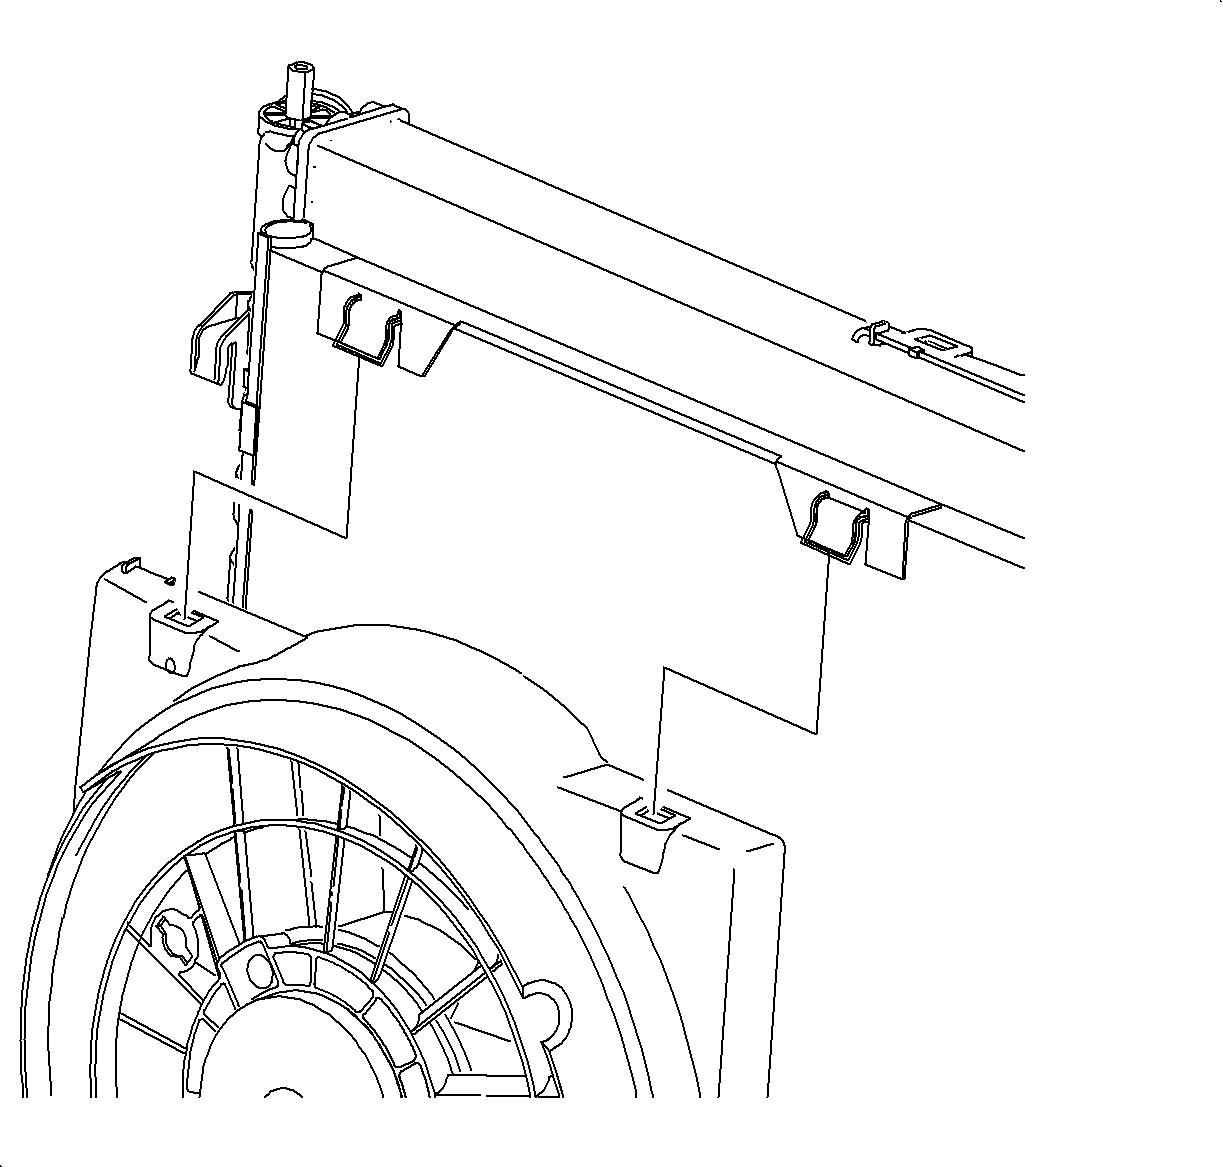
- Slide the upper pusher fan shroud under the retaining tabs located at the upper edge of the condenser.
- Rotate the lower fan shroud onto the lower mounting studs and install the retaining nuts.
- Route the pusher fan electrical harness around the outside of the radiator end tank, below the upper radiator hose.
- Lower the vehicle.
- Remove the evaporator hose assembly and the condenser hose caps.
- Install new seal washers. Refer to Sealing Washer Replacement .
- Install the evaporator hose assembly to the condenser hose and install the nut.
- Install the condenser hose into the rail clamp.
- Install the pusher fan harness into the mounting tabs on the puller fan shroud.
- Connect the pusher fan electrical connector.
- Connect the negative battery cable. Refer to Battery Negative Cable Disconnection and Connection in Engine Electrical.
- Evacuate and recharge the A/C system. Refer to Refrigerant Recovery and Recharging .
- Using J 39400-A , leak test the fittings of the component.

Notice: Refer to Fastener Notice in the Preface section.

Tighten
Tighten the bolts to 3 N·m (27 lb in).
Tighten
Tighten the bolt to 5 N·m (44 lb in).
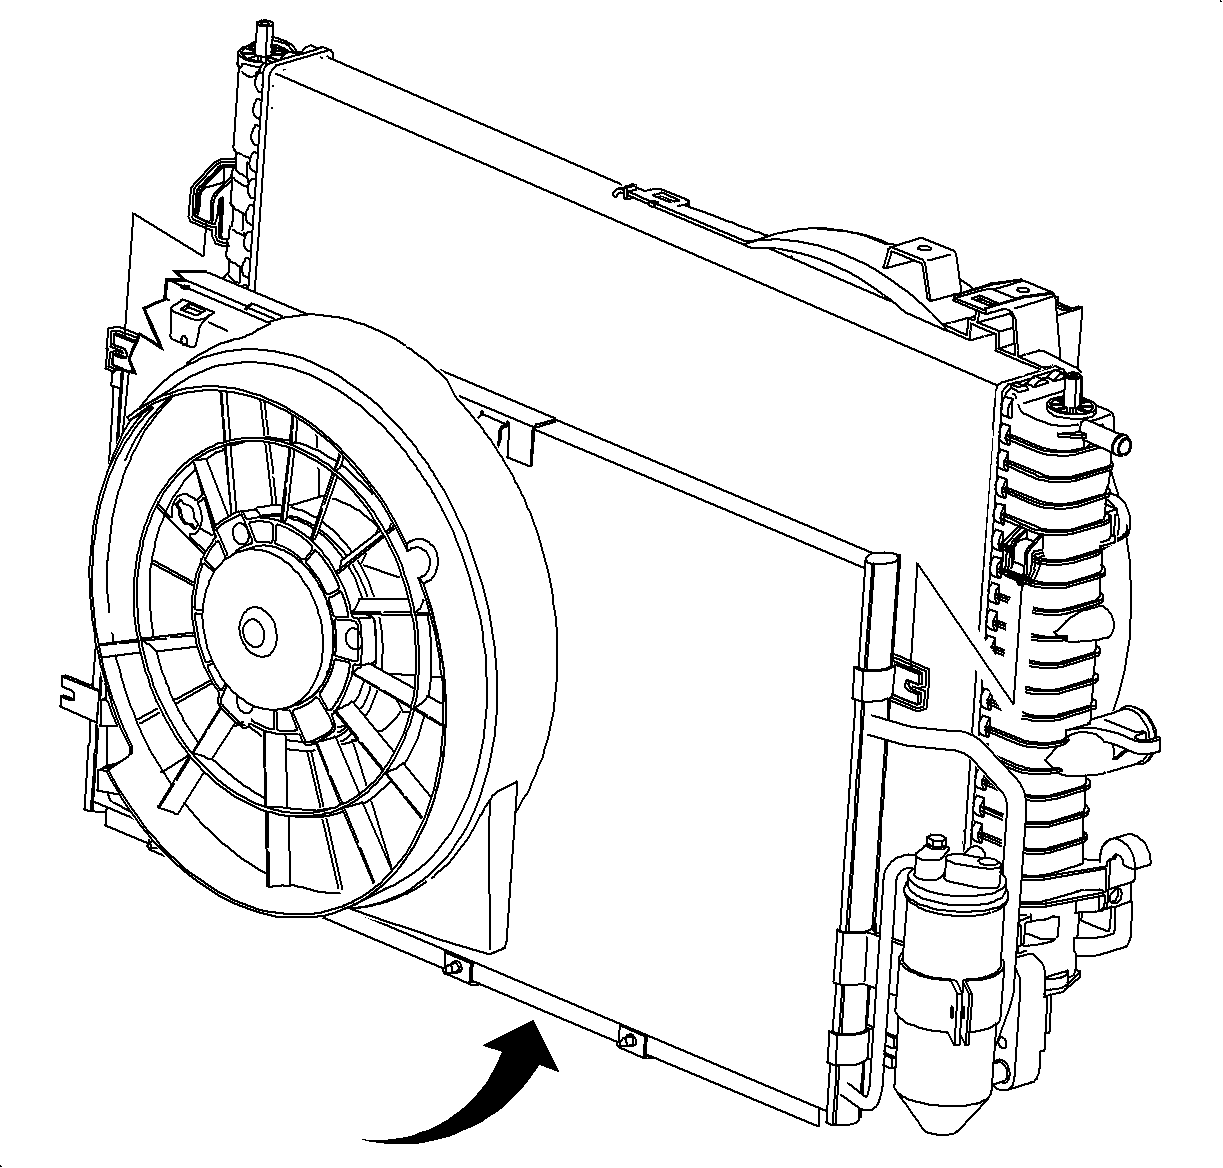
Important: The condenser block must be engaged to the radiator end tank bracket before sliding the condenser upward.

Tighten
Tighten the bolts to 5 N·m (44 lb in).

Tighten
Tighten the bolt to 5 N·m (44 lb in).

Tighten
Tighten the bolt to 20 N·m (15 lb ft).

Tighten
Tighten the bolt to 20 N·m (15 lb ft).
Tighten
Tighten the bolts to 5 N·m (44 lb in).

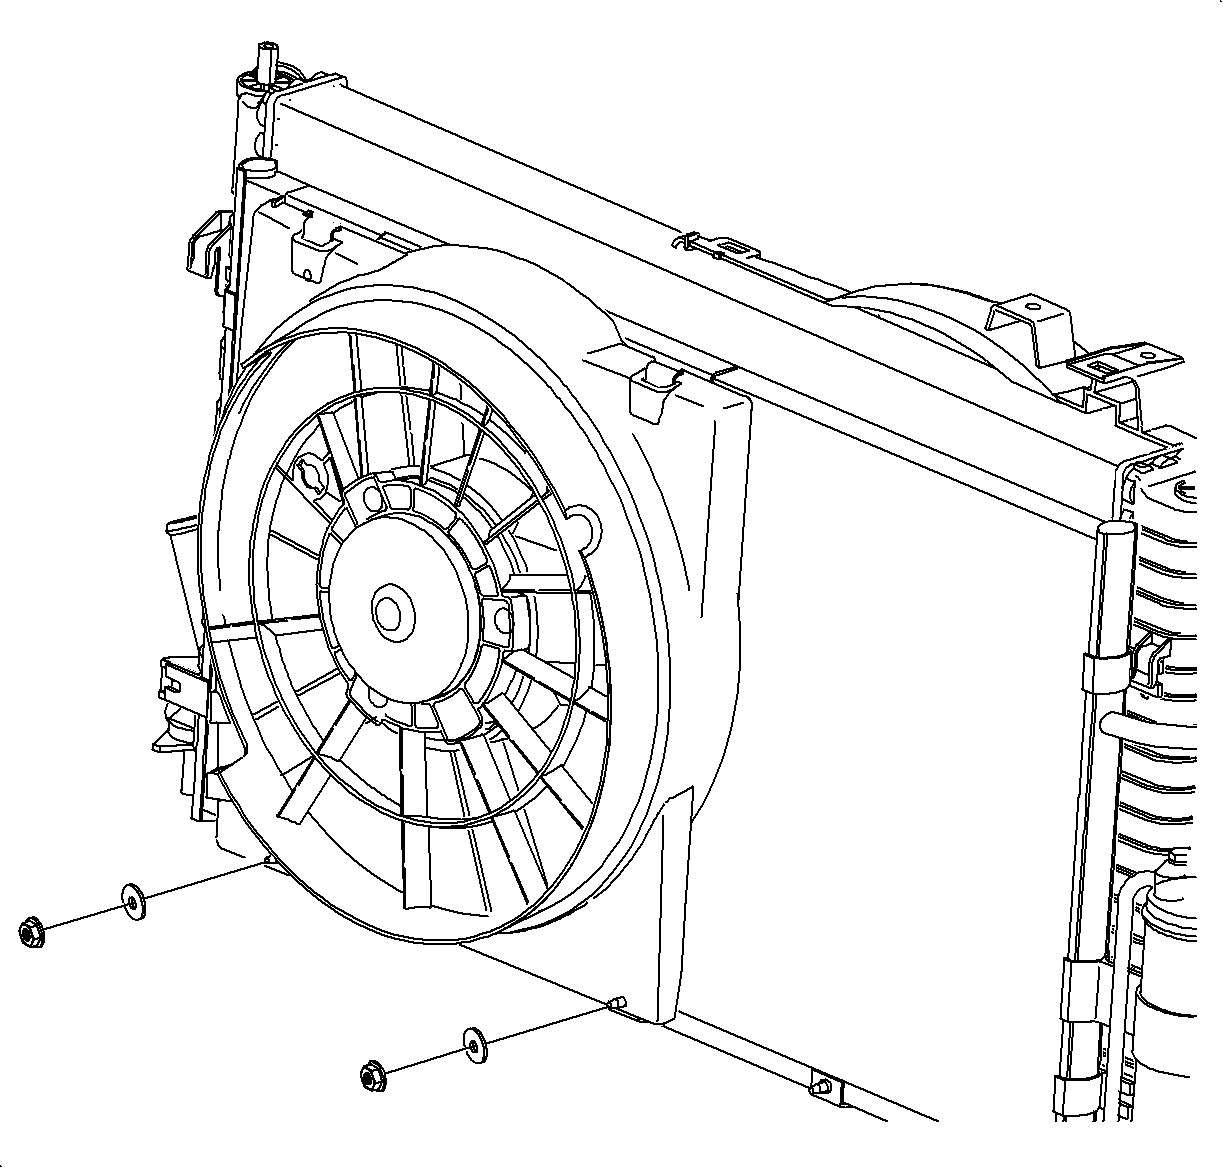
Tighten
Tighten the nuts to 5 N·m (44 lb in).
Notice: Position pusher fan electrical harness in shroud indentation to prevent harness damage.

Tighten
Tighten the nut to 12 N·m (9 lb ft).

