For 1990-2009 cars only
Removal Procedure
- Gently pull on the left and the right side console extensions to remove the extensions.
- Disconnect the electrical connector from the power window switch.
- Remove the power window switch from the front floor console trim plate. To avoid damage to the front floor console trim plate, use a small flat bladed tool on the back side of the power window switch to release the retaining cups.
- Using a small flat blade screwdriver, gently pry upward on the front portion of the power window switch to partially disengage the switch from the console.
- Disconnect the power window switch harness from the switch and remove the power window switch.
- Disengage the console park brake boot by squeezing the side of the boot while pulling upward.
- Lift the park brake boot over the park brake assembly and remove the boot.
- Remove the front console tray by pulling upward on the tray assembly.
- Disconnect the console wiring harness from the main body harness.
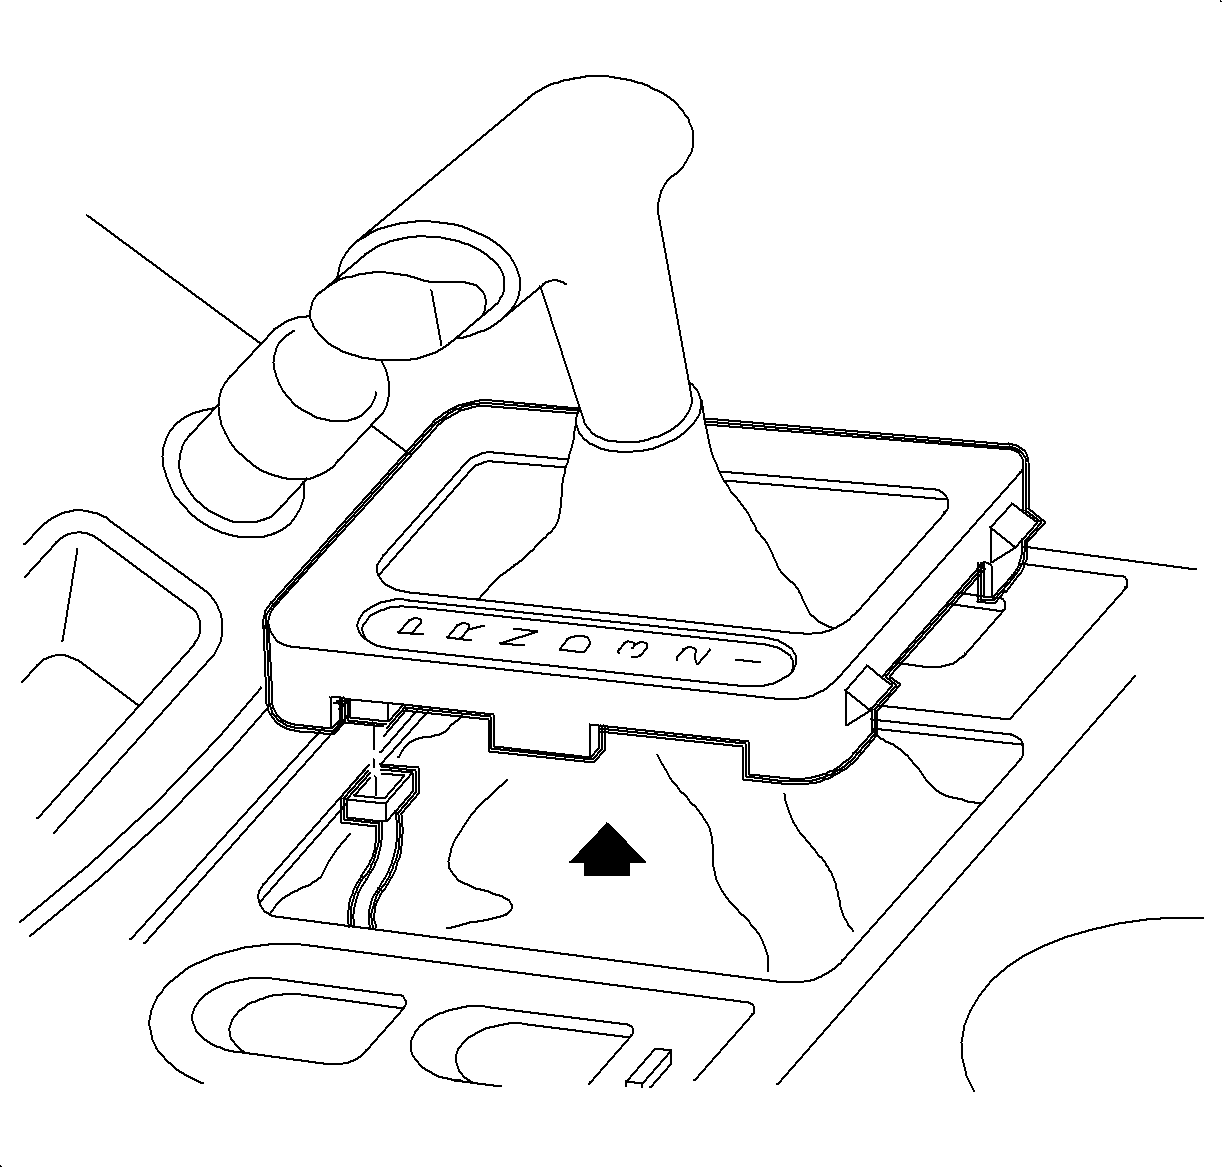
- Pull up on the PRNDL cover to disengage the cover, on automatic transaxles.
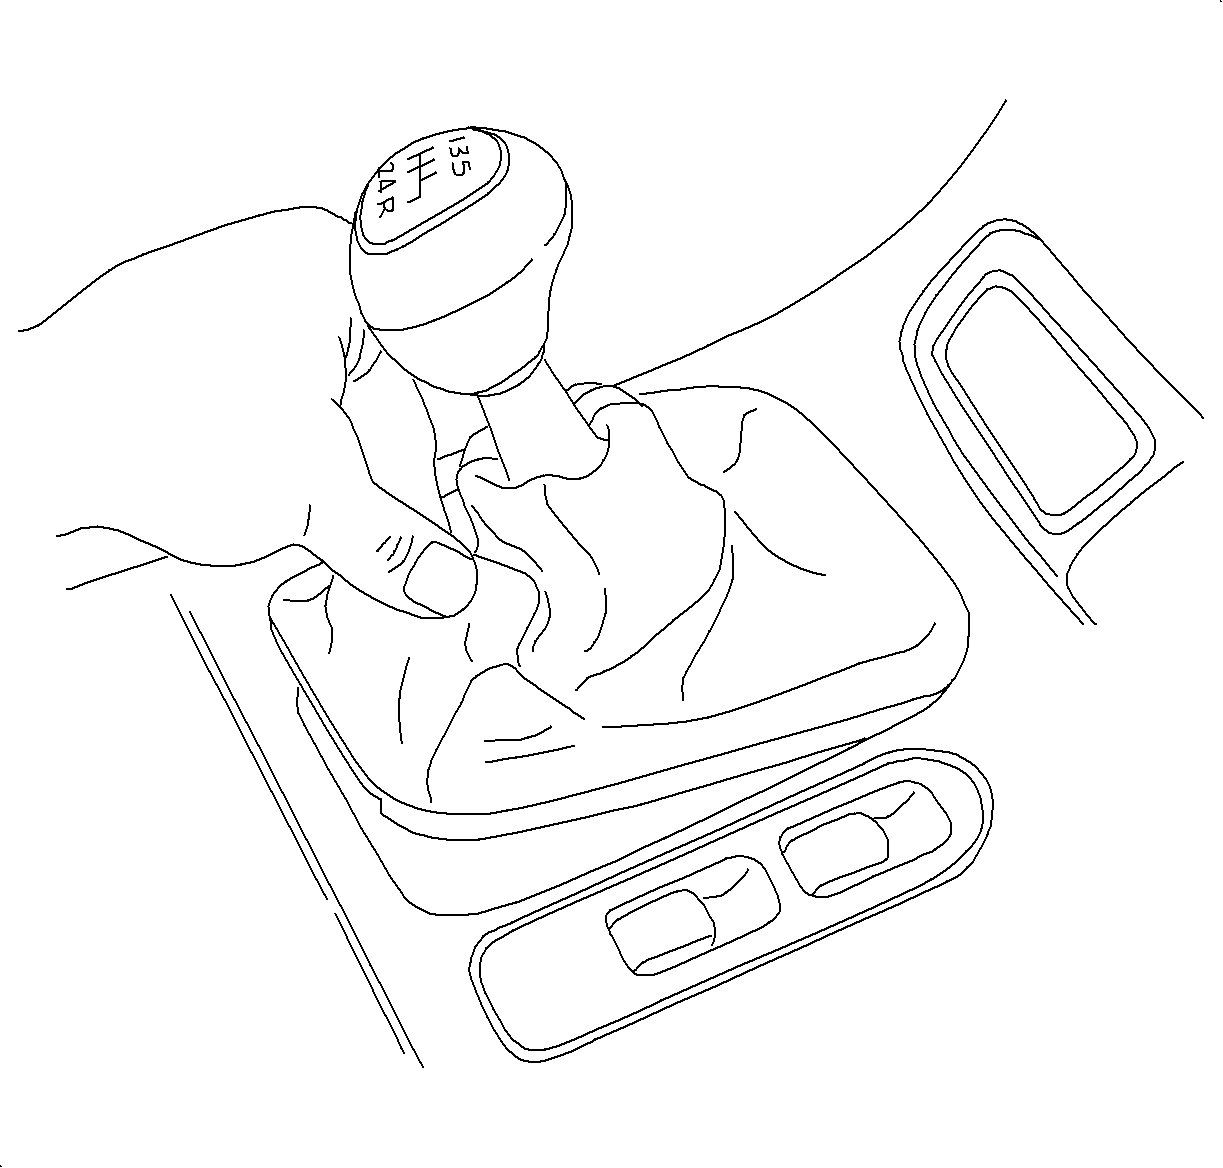
- Pull up on the shifter boot to disengage the boot, on 5-speed transaxles.
- Move the front seats to the forward most position and remove the console rear fasteners.
- Move the front seats to the rear most position and remove the console front fasteners.
- Gently lift the console up and over the shifter or PRNDL cover and remove the console assembly.
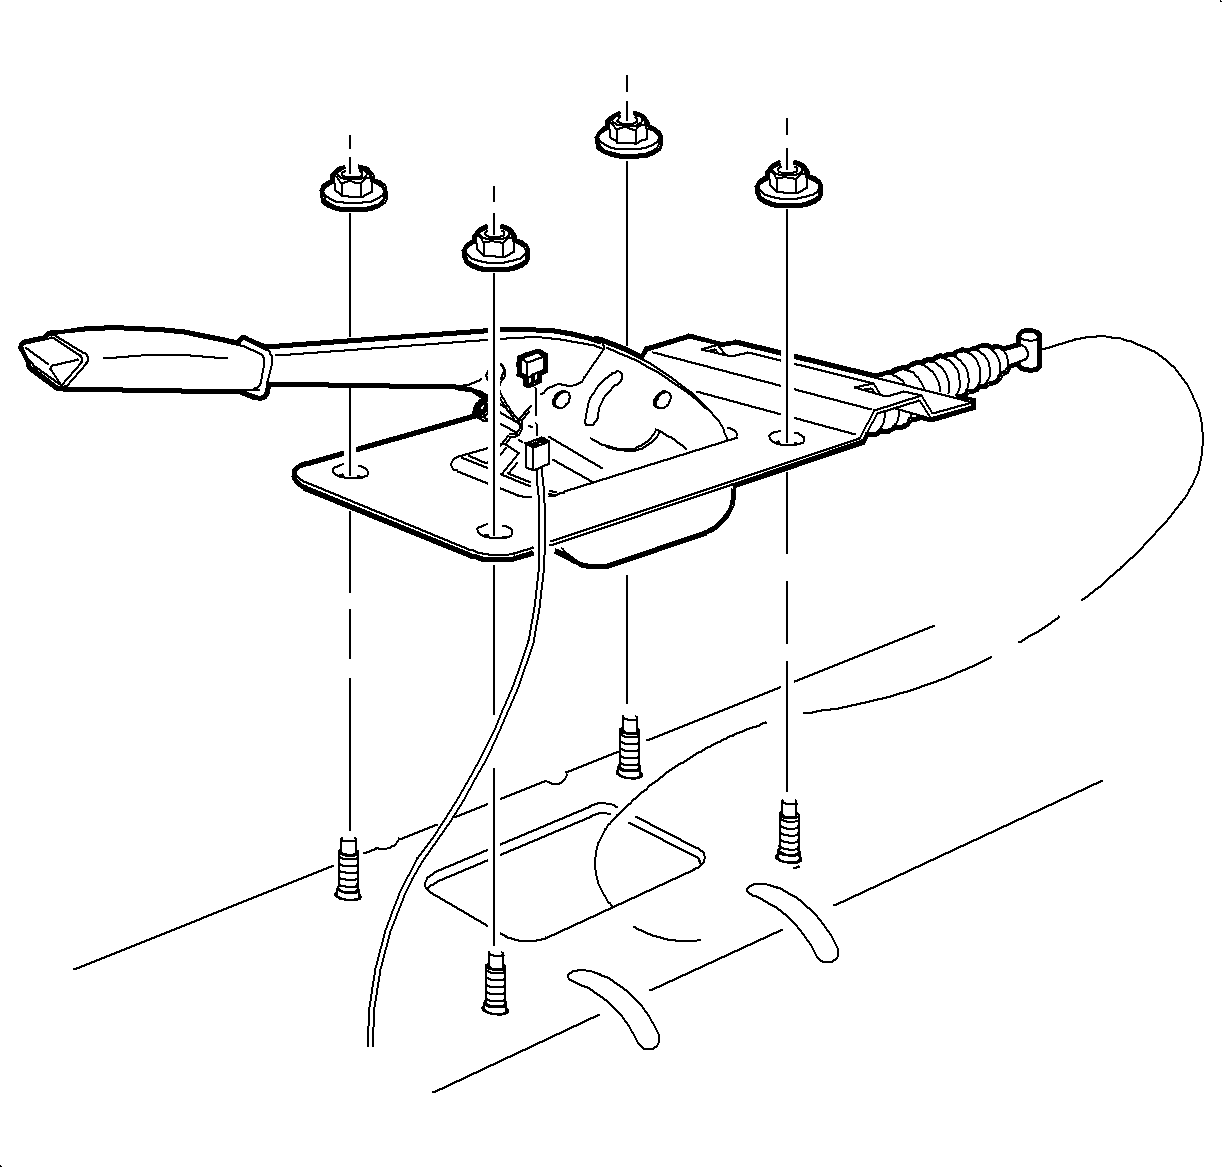
- Remove the park brake adjuster nut.
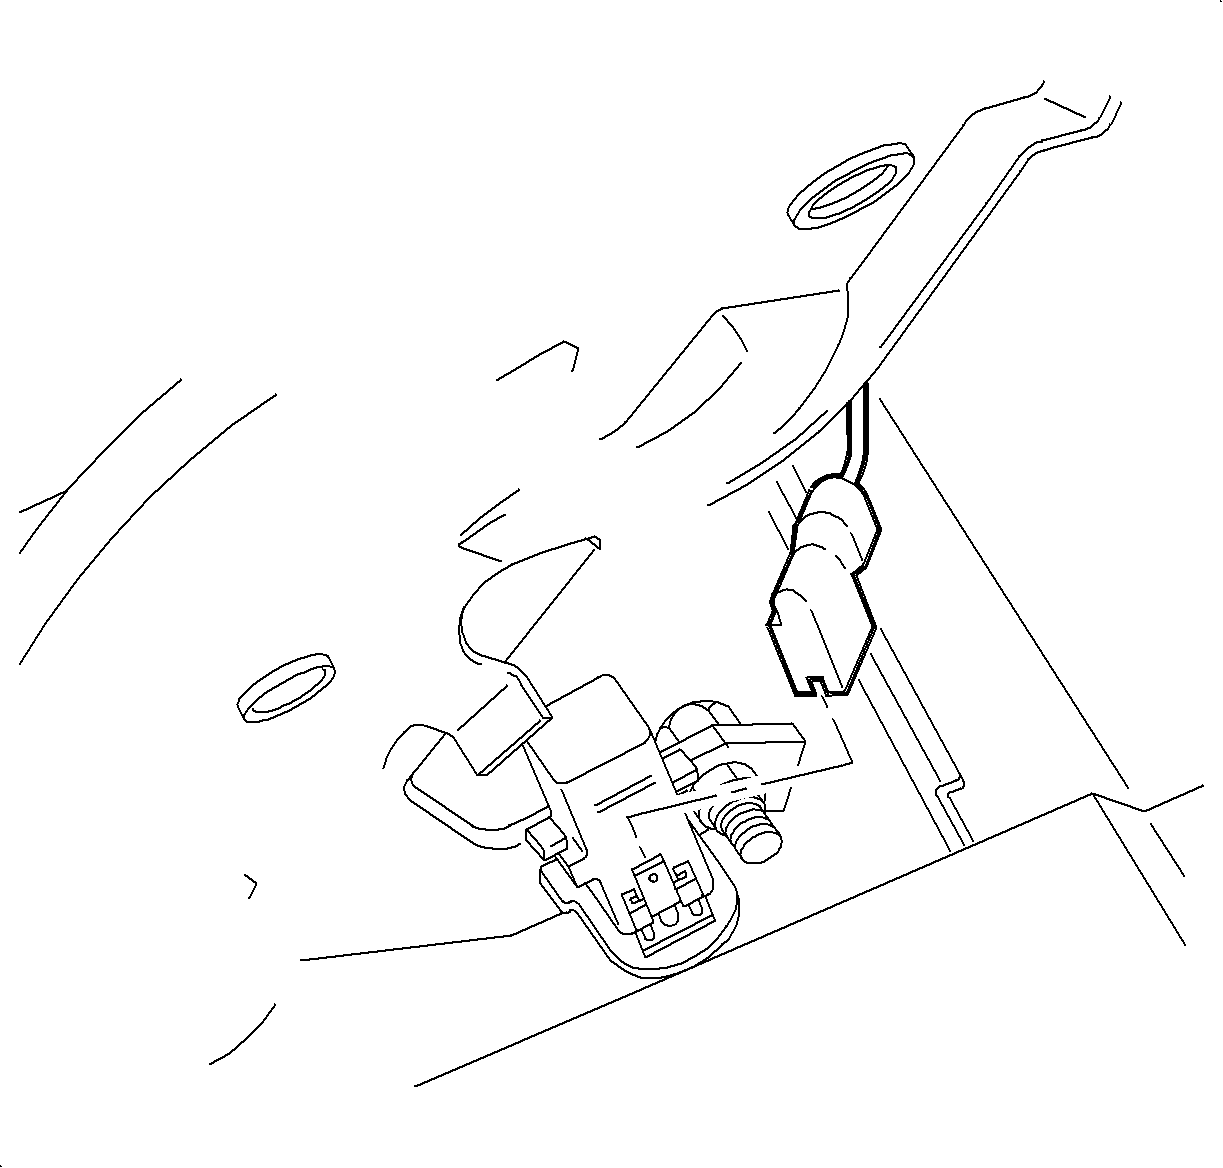
- Disconnect the park brake warning switch electrical connector.
- Remove the park brake lever-to-floor pan nuts.
- Carefully remove the park brake lever from the vehicle while guiding the cable through the lever.


Important: Keep tension on the park brake cable so it does not disengage from the equalizer.
Installation Procedure
- Position the brake lever into the vehicle while guiding the park brake cable into the lever.
- Tighten the park brake lever-to-floor pan nuts.
- Connect the park brake warning switch electrical connector.
- Install the park brake adjuster nut.
- Position the console into the vehicle. Route the shifter/PRNDL boot through the console opening.
- Install the front console fasteners.
- Move the front seats forward and install the console rear fasteners.
- Snap the PRNDL cover into the console opening, on automatic transaxles.
- Snap the shifter boot into the console opening, on 5-speed transaxles.
- Connect the console wiring harness to the main body harness.
- Snap the console front tray into the console.
- Connect the power window harness to the power window switch and snap the switch into place.
- Install the console park brake lever boot.
- Install the console extensions.
- Adjust the parking brake. Refer to Park Brake Adjustment .

Notice: Refer to Fastener Notice in the Preface section.
Tighten
Tighten the park brake lever-to-floor pan nuts to 10 N·m (89 lb in).

Tighten
Tighten the front console fasteners to 2.5 N·m (22 lb in).
Tighten
Tighten the rear console fasteners to 2.5 N·m (22 lb in).


