Removal Procedure
- Ensure that the fuel level in the tank is less than 1/4 full. If necessary, drain the fuel tank to at least this level. Refer to Fuel Tank Draining .
- Position the vehicle on the hoist.
- Disconnect the negative battery cable.
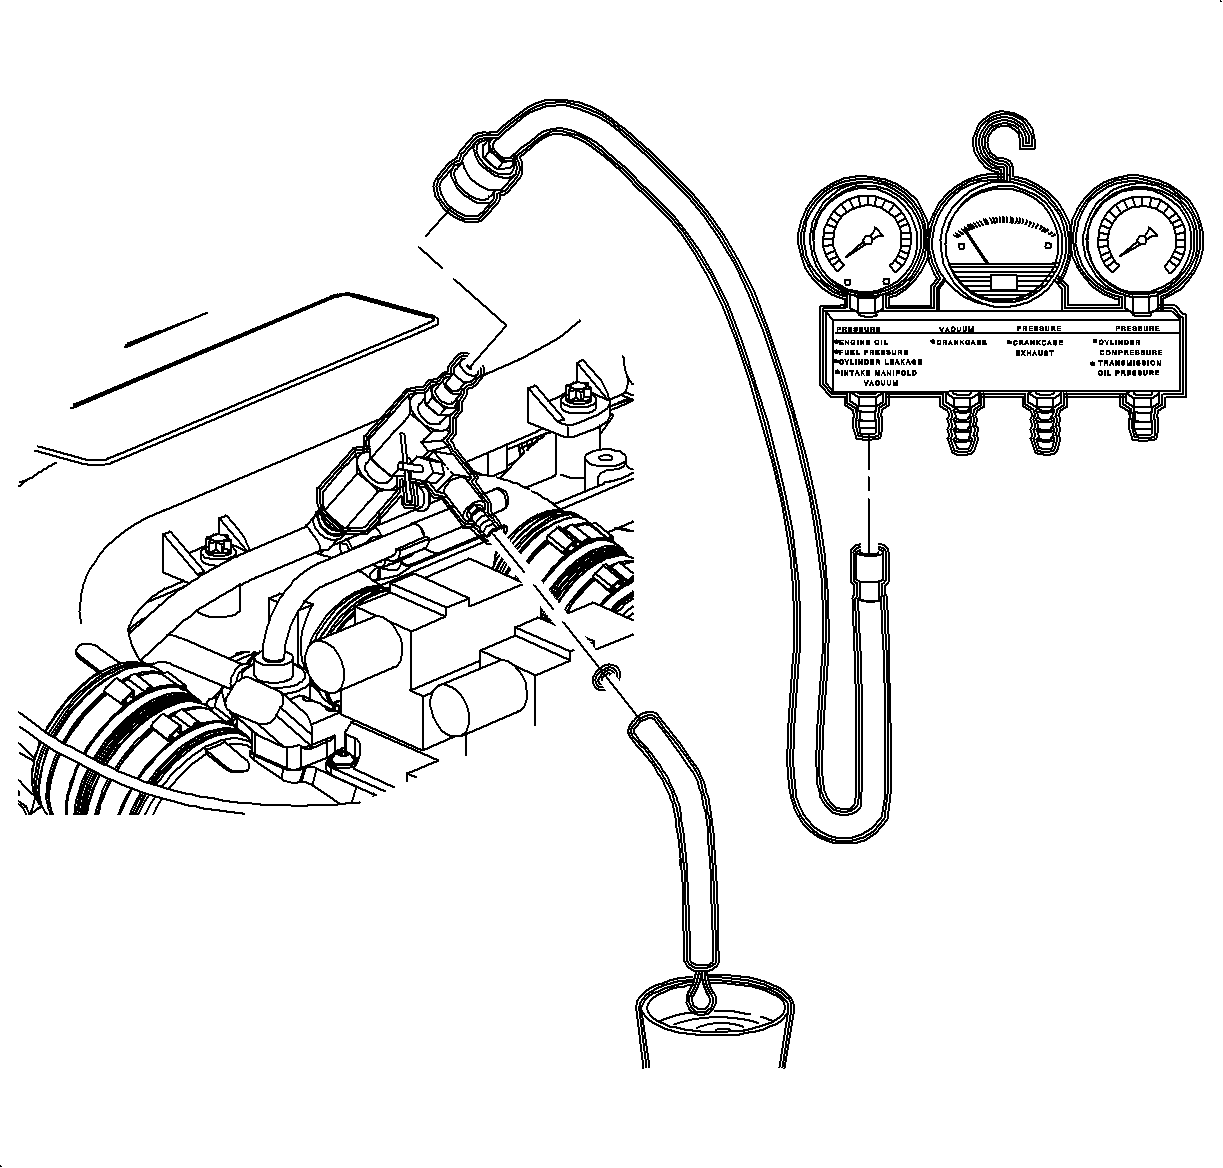
- Relieve the fuel system pressure. Refer to Fuel Pressure Relief .
- Raise the vehicle to a comfortable working position.
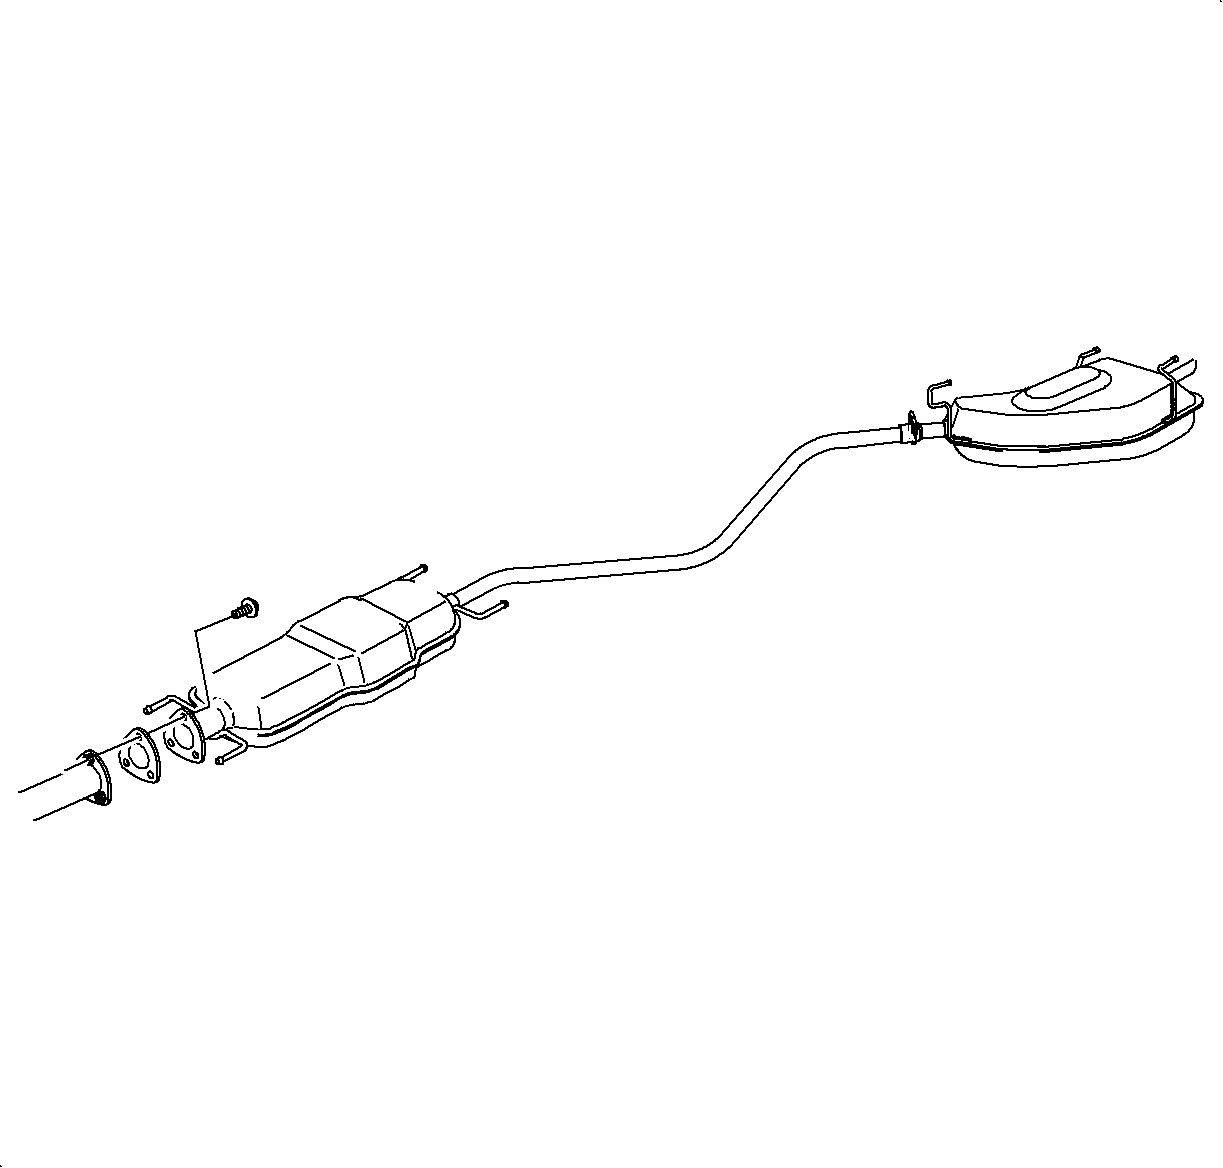
- Remove the exhaust system intermediate pipe with the muffler.
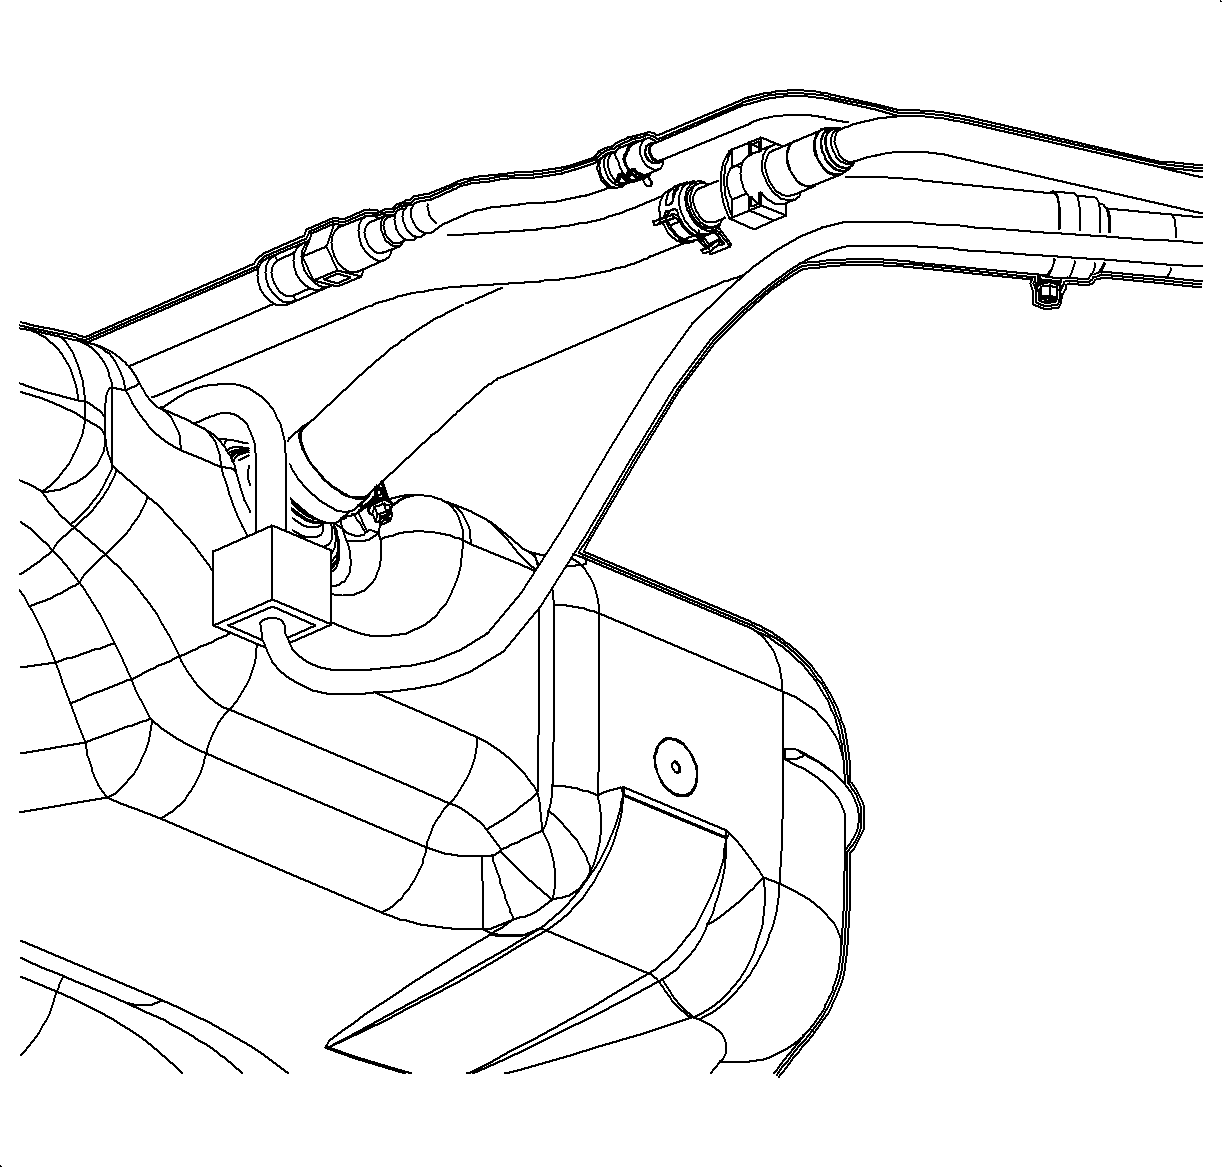
- Remove the rear heat shield retaining bolts.
- Remove the fuel filler pipe lower bracket attachment screw.
- Disconnect the EVAP canister vent hose.
- Loosen the fuel filler pipe hose clamp closest to the fuel tank.
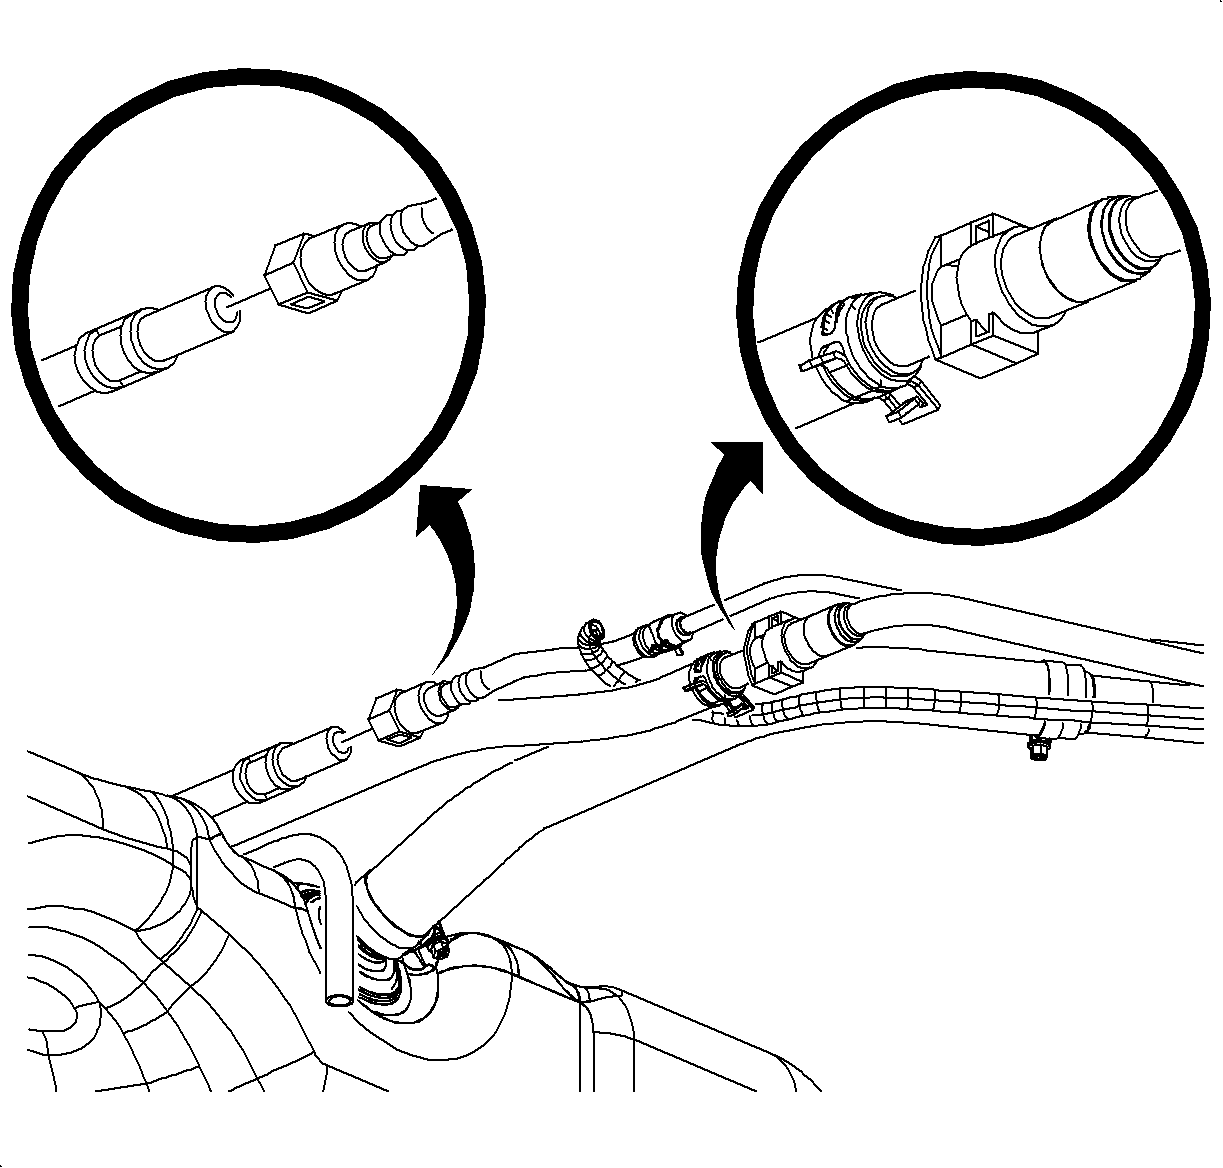
- Disconnect the quick connect at the recirc line.
- Disengage the filler pipe hose from the fuel tank.
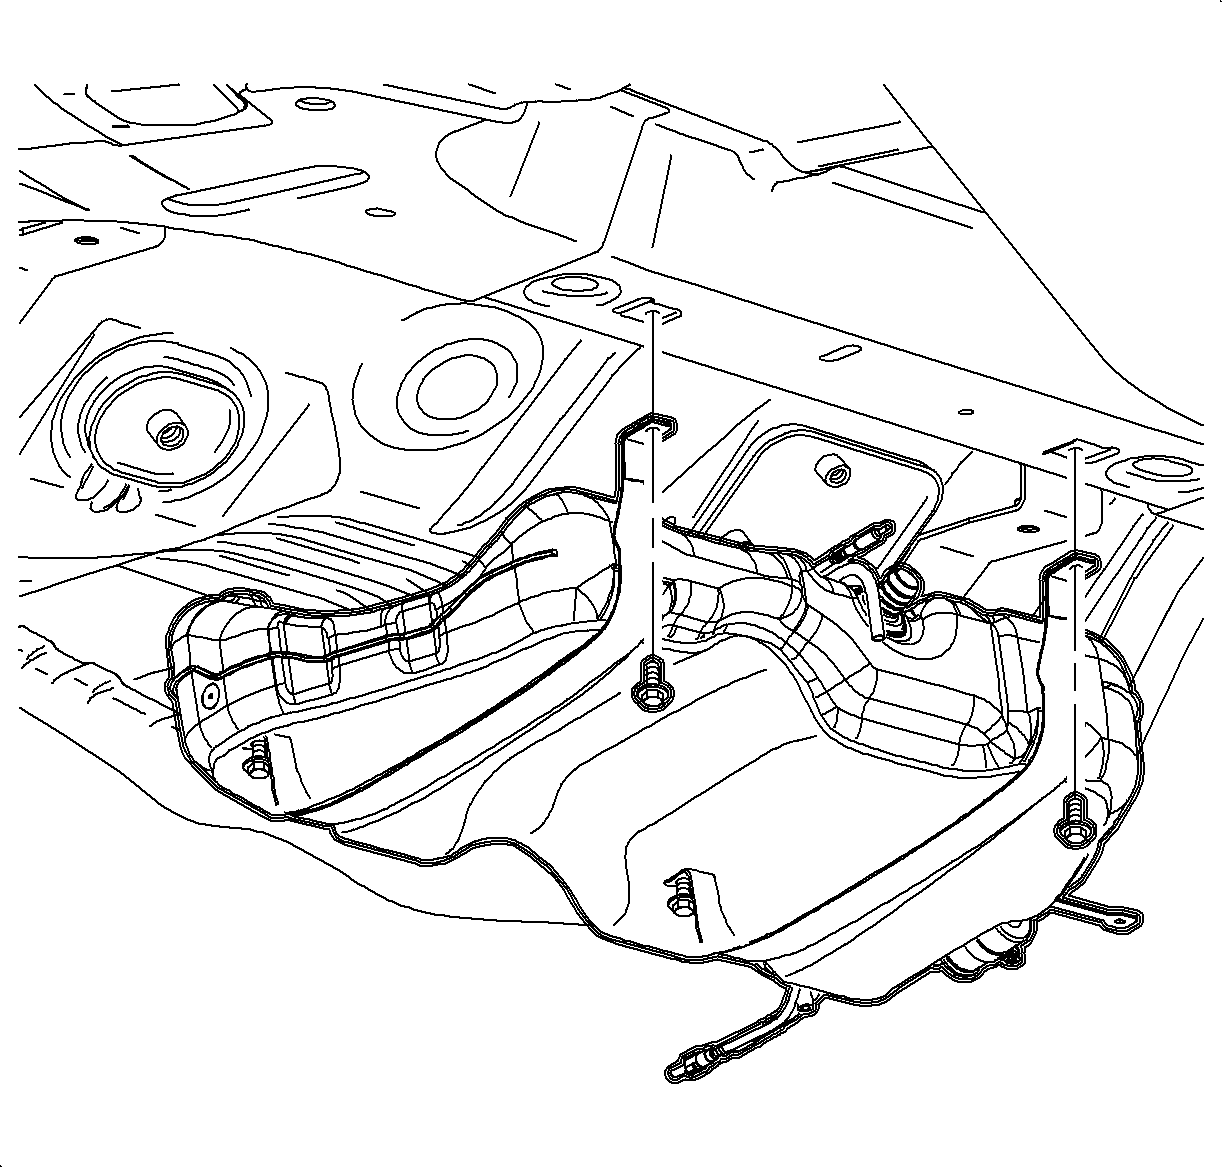
- Remove the tank grounding strap attachment nut located near the fuel filter.
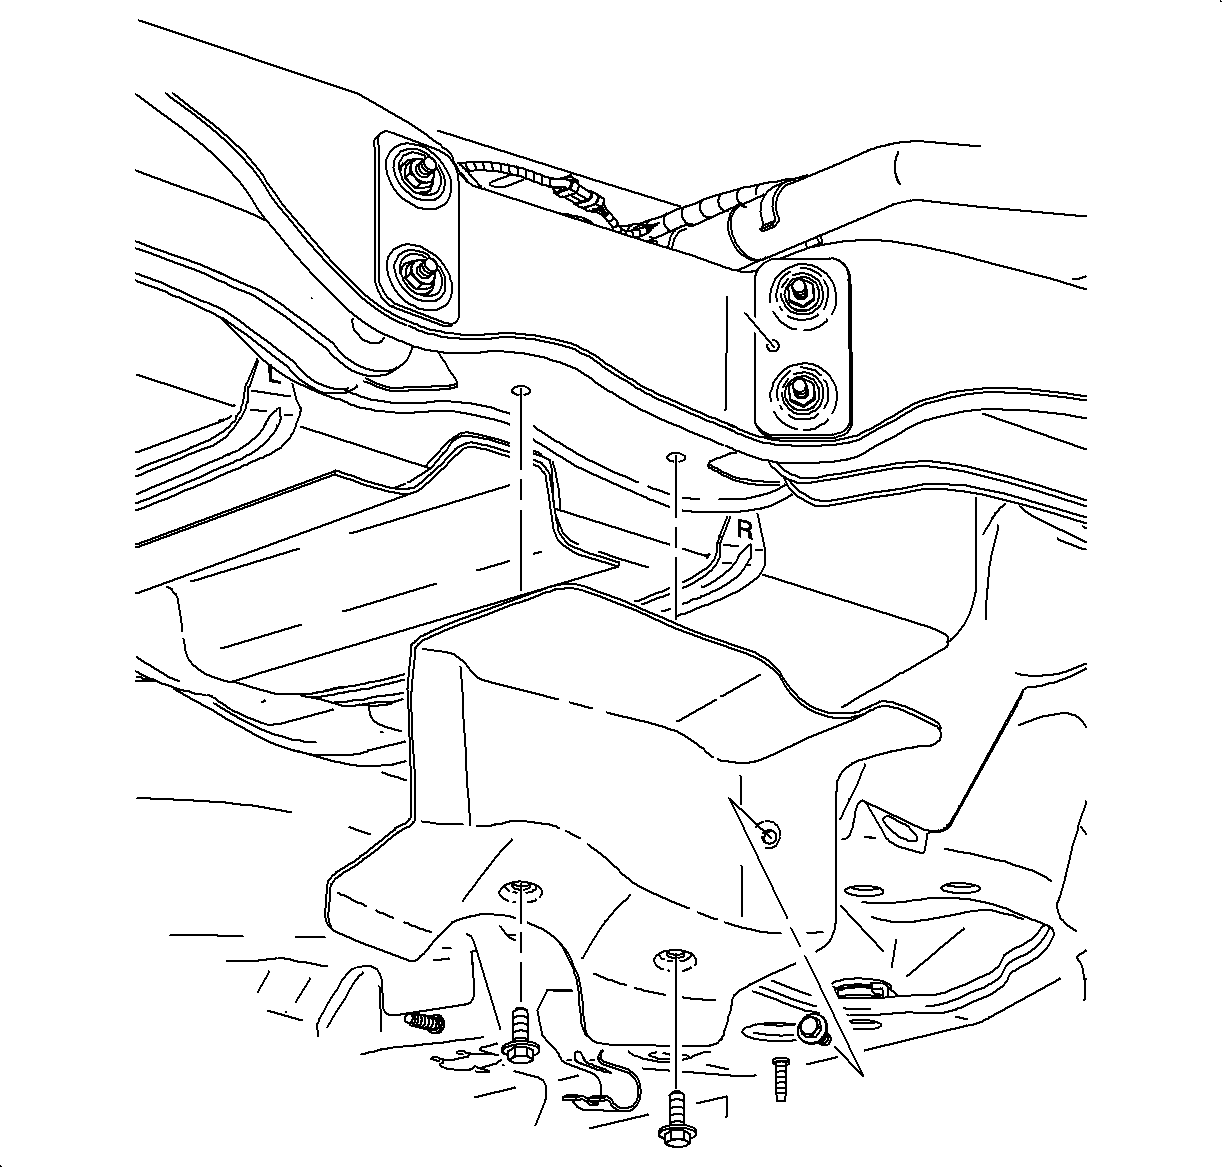
- Remove the fuel tank strap bracket and fuel line stone chip guard, protecting the fuel line connections between the fuel tank and the chassis fuel bundle.
- Disconnect the fuel feed line after the fuel filter.
- Disconnect the fuel return and EVAP canister purge lines between the tank and the chassis fuel bundle.
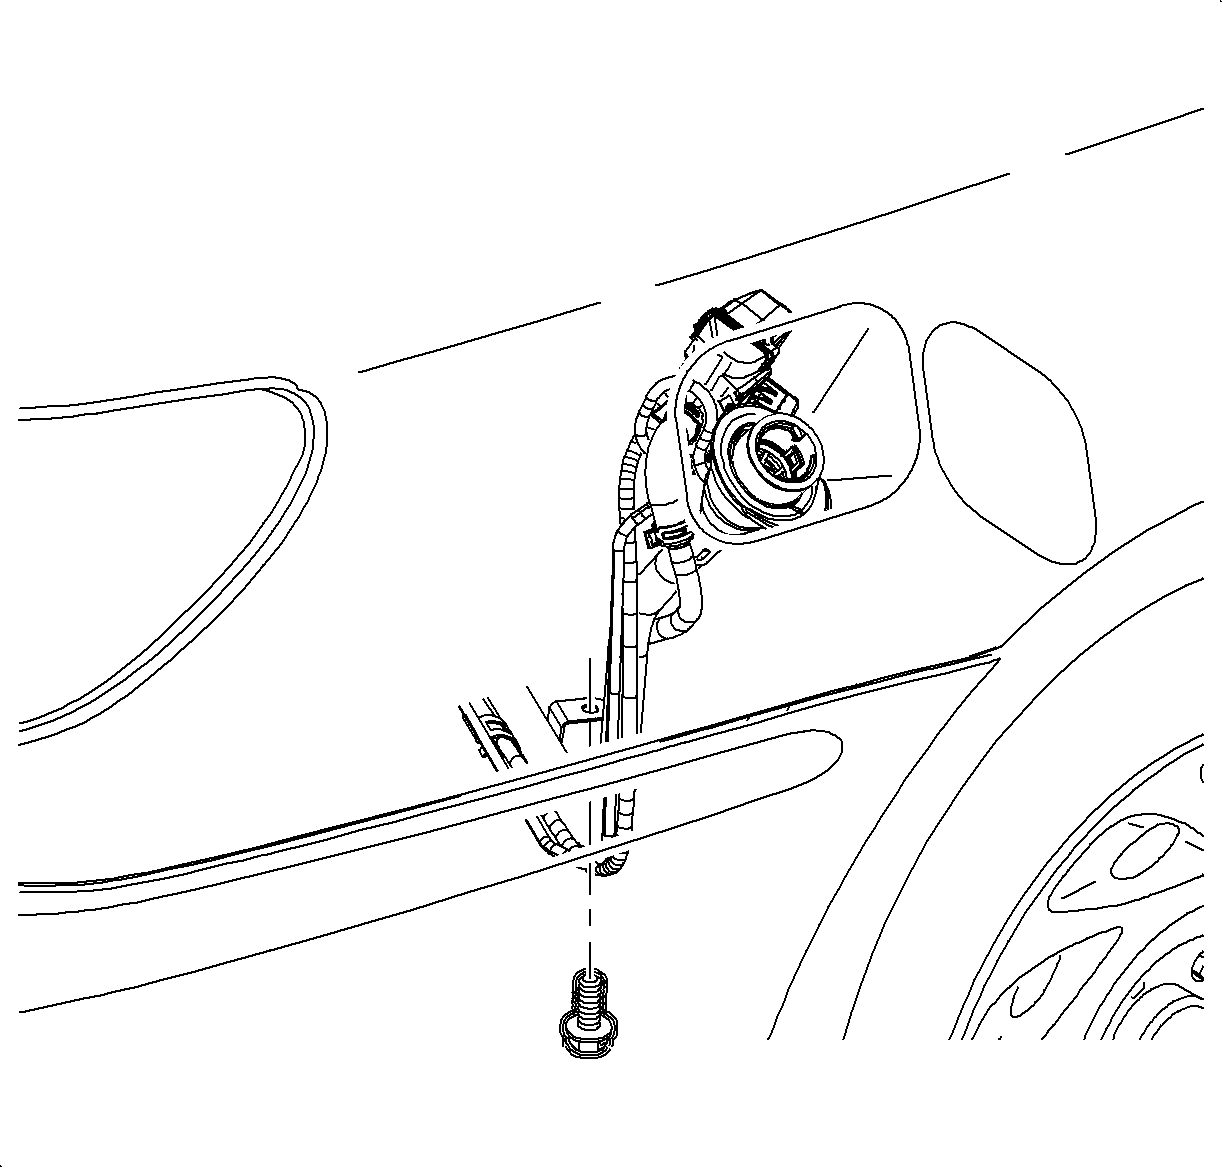
- Disconnect the fuel tank electrical connections.
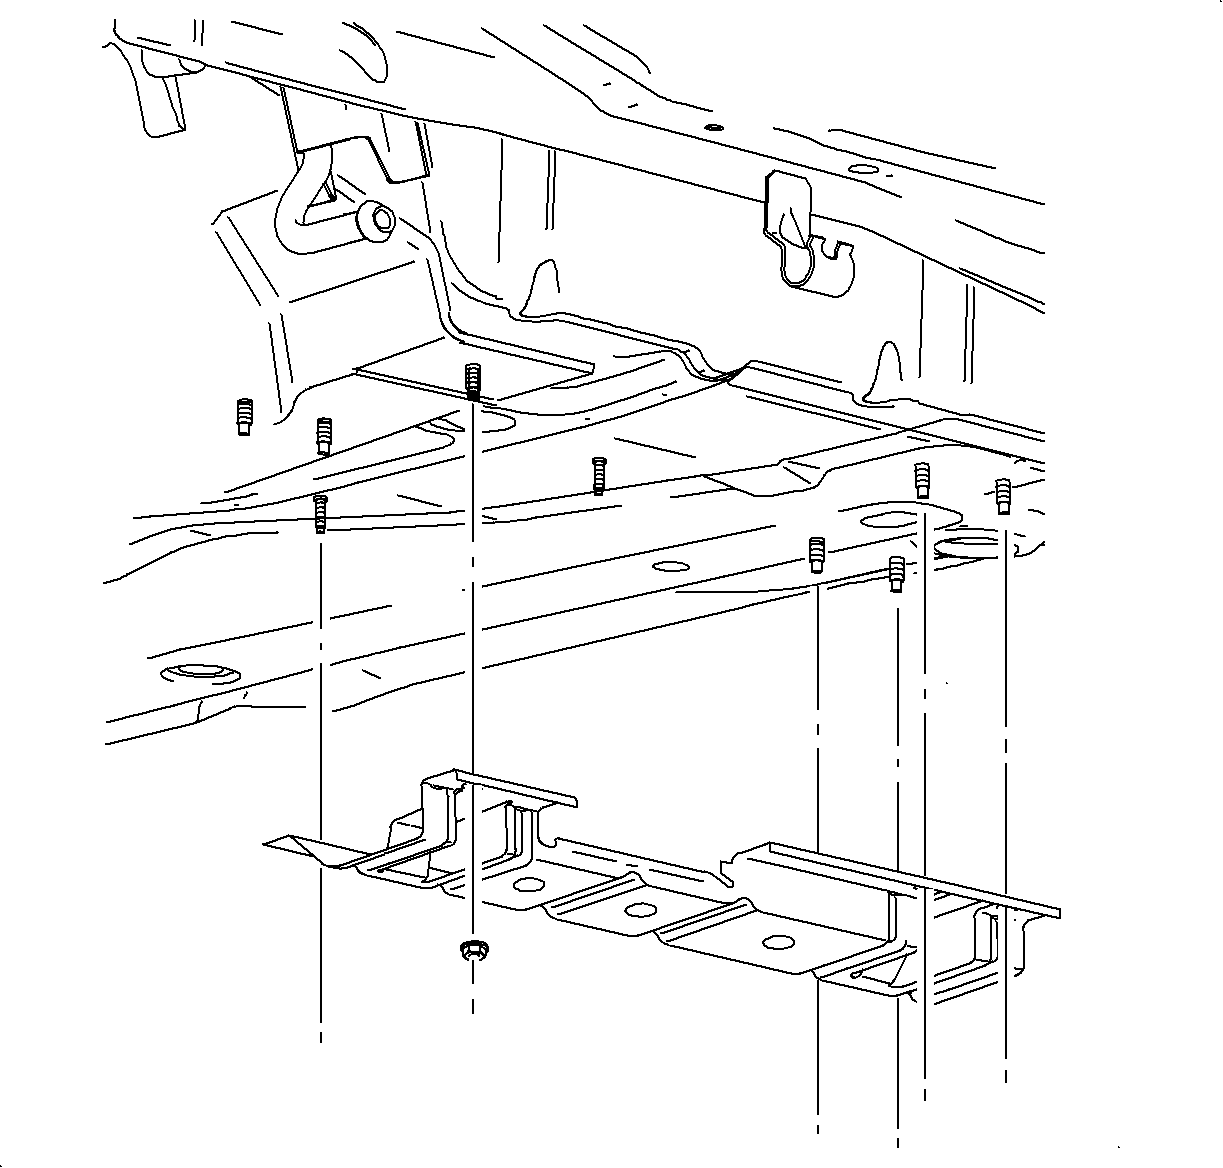
- Loosen the front tank strap bolts, but do not remove.
- With the aid of an assistant, remove the 2 rear tank retaining strap bolts.
Caution: Refer to Gasoline/Gasoline Vapors Caution in the Preface section.
Caution: Refer to Vehicle Lifting Caution in the Preface section.
Caution: Refer to Relieving Fuel Pressure Caution in the Preface section.
Caution: Refer to Relieving Fuel Pressure Caution in the Preface section.
Important: If there are more than 11.4 liters (3 gallons) of fuel in the tank, insert a suitable siphon hose into the tank filler neck and remove the remaining fuel into a certified fuel handling cart.
Caution: Refer to Relieving Fuel Pressure Caution in the Preface section.
| 19.1. | Lower the rear half of the tank and slide the fuel tank down and out rearward. |
| 19.2. | Remove the fuel tank from the vehicle. |
Installation Procedure
- With the aid of an assistant, position the fuel tank with the heat shield and straps under the vehicle.
- Attach the electrical connectors to the fuel pump and the tank pressure sensor.
- Reposition the fuel tank mounting straps and shield around the tank and install the strap mounting bolts to the underbody.
- Install new retainers into the female portion of the quick-connect fittings on the underbody fuel and EVAP canister purge lines.
- Connect the fuel feed return and vapor lines.
- Install the fuel tank grounding attachment nut located near the fuel filter.
- Loosely install the filler pipe lower bracket attachment screw, but do not tighten.
- Install the fill neck to the fuel tank.
- Tighten the hose clamp on the filler pipe to fuel tank connecting hose.
- Connect the EVAP canister vent pipe at the quick connect to canister vent hose.
- Tighten the lower attachment screw on the filler pipe to the underbody.
- Install the heat shield.
- Install the fuel tank strap bracket and fuel line stone chip guard.
- Install the intermediate pipe with the muffler.
- Add fuel and connect the negative battery cable.
- Prime fuel system.
Notice: Refer to Fastener Notice in the Preface section.
Tighten
Tighten the fuel tank mounting strap to 20 N·m
(15 lb ft).
Important: Replace plastic fuel line retainers whenever the fuel supply or return line is disconnected at the fuel rail. Install the new retainer into the female cavity of the connection. Care must be taken to ensure that the locking tab is centered in the window of the female cavity. Firmly press the female connection onto the male end until a click is heard, then pull back to confirm engagement. Pinched, kinked, or damaged fuel lines must be replaced.
Important: Lubricate the male ends of the filter with clean engine oil to ease installation.
Tighten
Tighten the fuel tank grounding attachment nut to
4.5 N·m (40 lb in).
Important: Ensure that the EVAP vent solenoid pipe is installed in position on the filler pipe bracket.
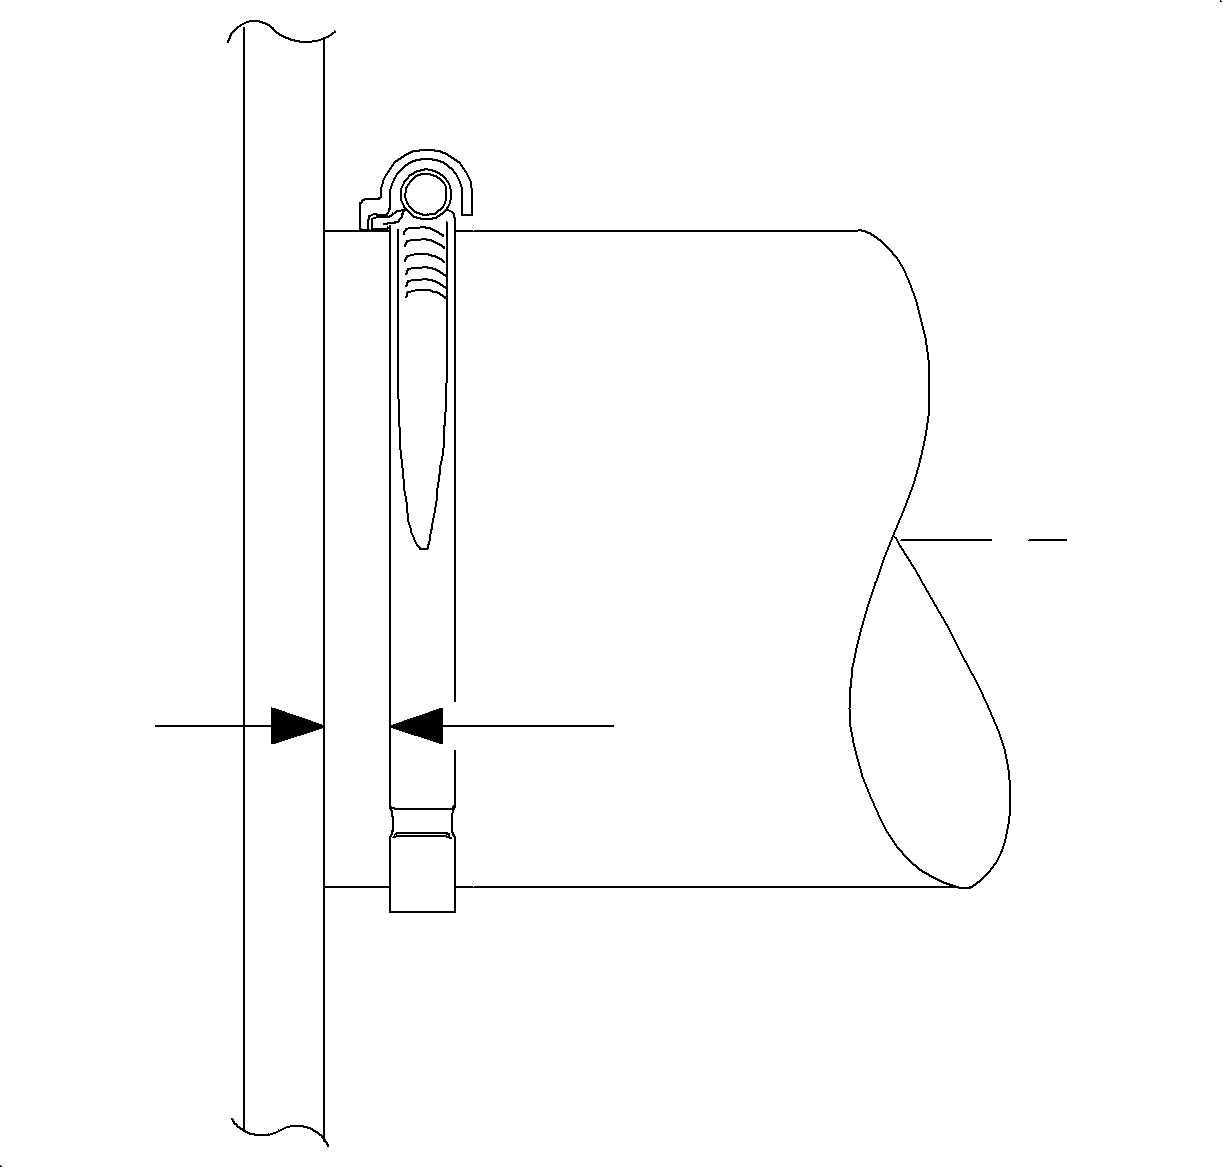
Important: Ensure that the fuel pipe connecting hose is installed until it touches the fuel tank body. The hose clamp should be located within 6 mm (1/4 in) of the end of the connector hose.
Tighten
Tighten the fuel fill neck-to-fuel tank clamp to
5 N·m (44 lb in).
Tighten
Tighten the fuel fill pipe-to-body (lower) to 13 N·m
(9.5 lb ft).
Tighten
Tighten the rear heat shield to 8 N·m
(71 lb in).
Tighten
Tighten the fuel tank stone guard-to-body to 10 N·m
(89 lb in).
Tighten
Tighten the battery terminal bolts to 17 N·m
(13 lb ft).
| 16.1. | Cycle the ignition ON for 5 seconds and then OFF for 10 seconds. |
| 16.2. | Repeat the previous step twice. |
| 16.3. | Crank the engine until it starts. The maximum starter motor cranking time is 20 seconds. |
| 16.4. | If the engine does not start, repeat steps 16.1-16.3. |
