For 1990-2009 cars only
Tools Required
| • | J 44655 TXV Installation Tool |
| • | J 39400-A Halogen Leak Detector |
| • | J 43600 ACR 2000 Air Conditioning Service Center |
Removal Procedure
- Recover the refrigerant. Refer to Refrigerant Recovery and Recharging .
- Remove the nut that secures the evaporator hose assembly to the TXV.
- Remove the evaporator hose assembly from the TXV.
- Install a cap on the evaporator hose assembly to prevent oil spillage.
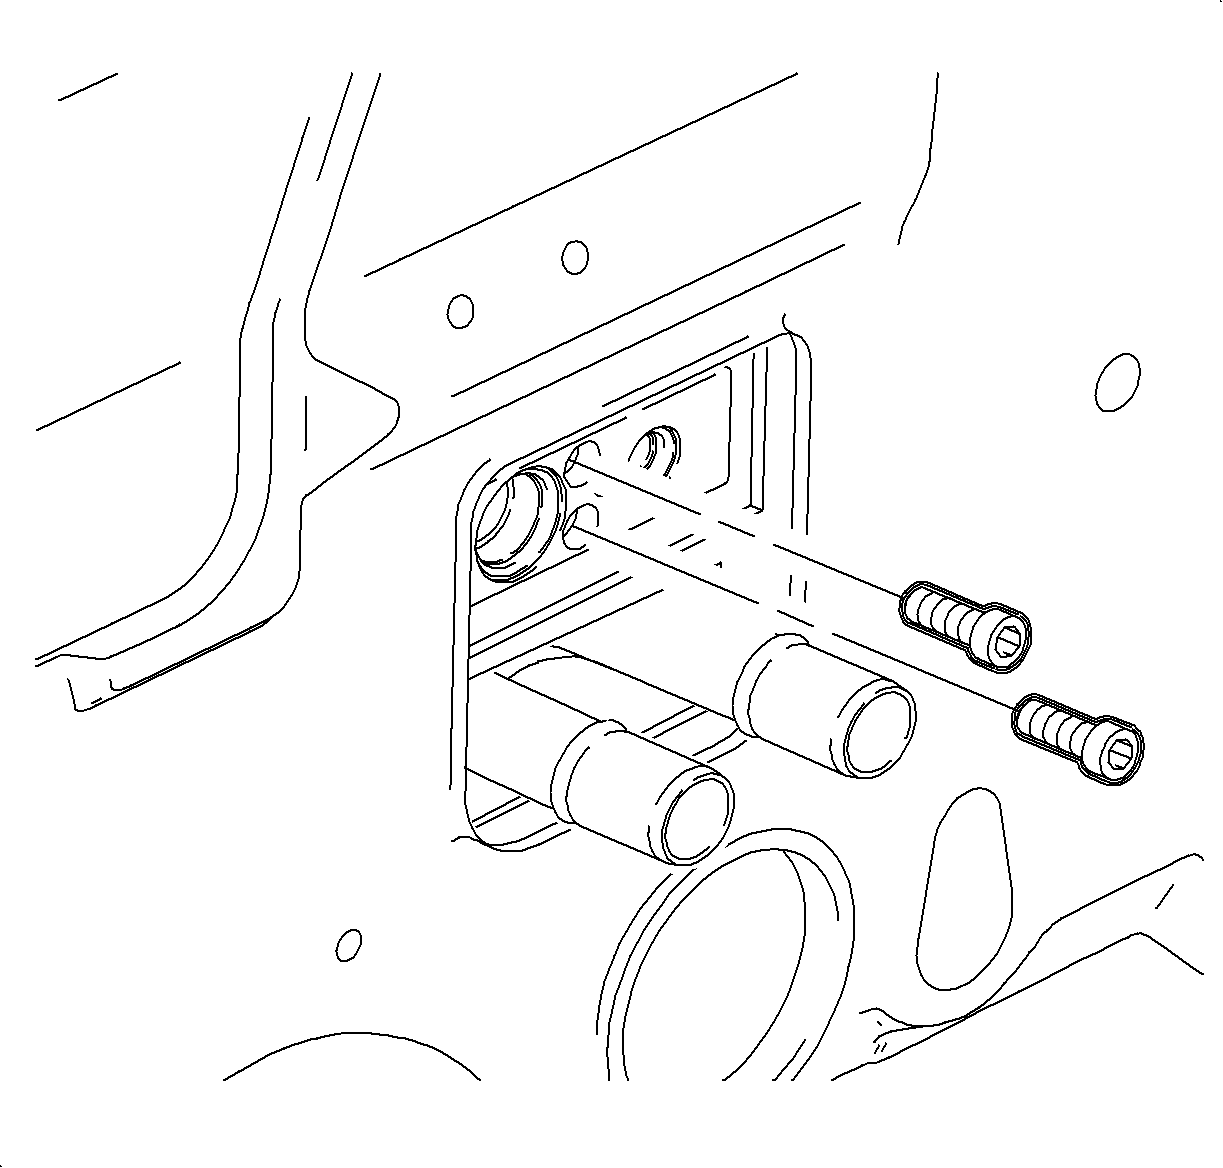
- Remove the TXV retaining bolts.
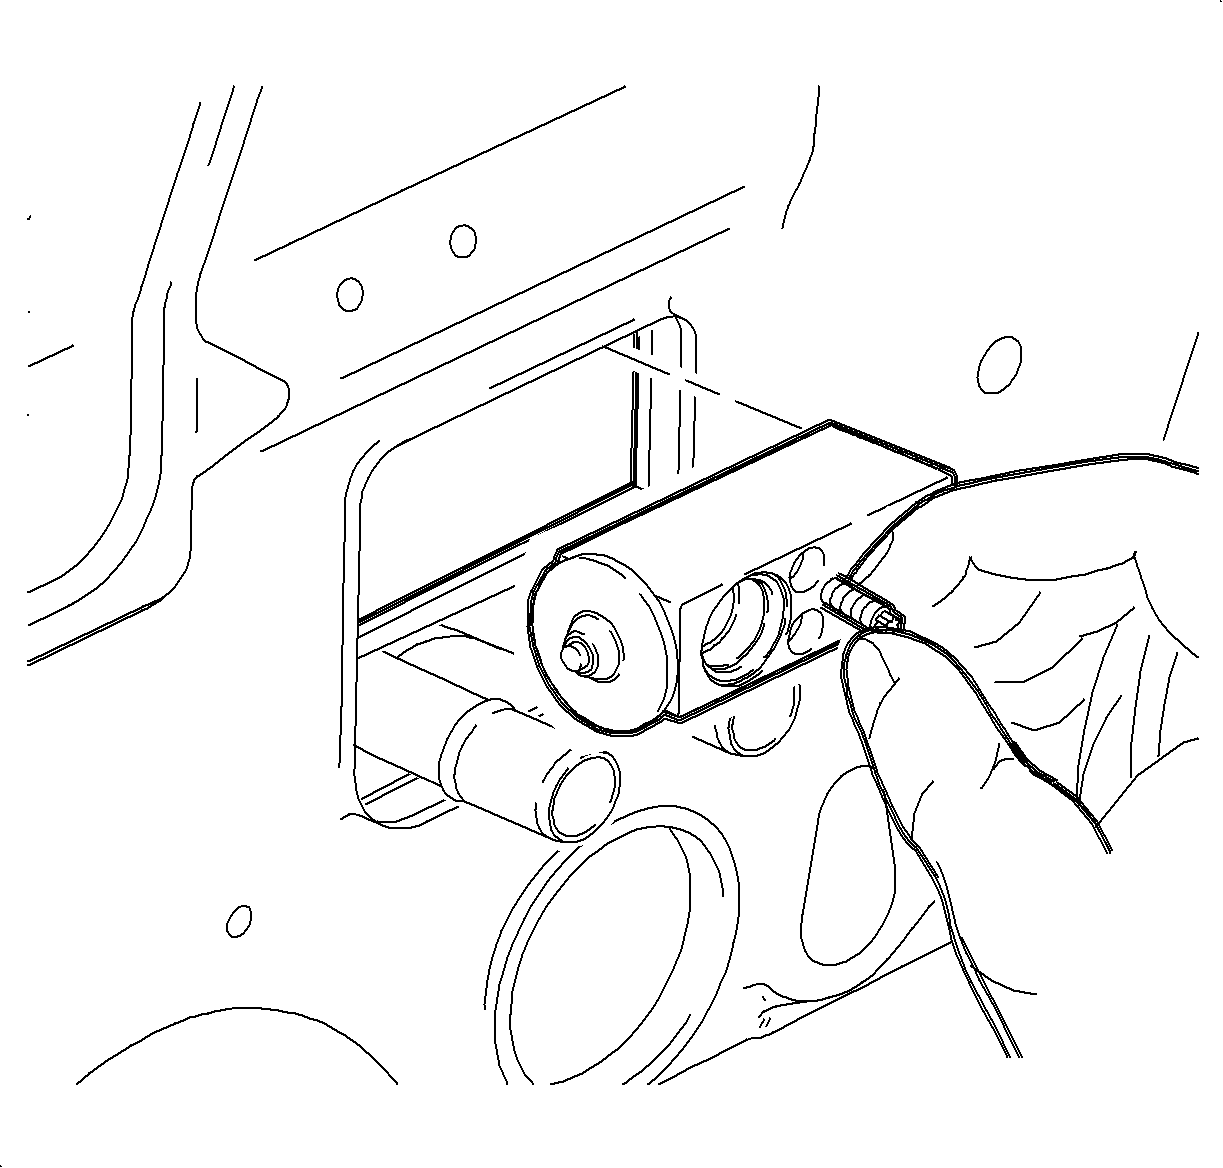
- Remove the TXV from the evaporator.
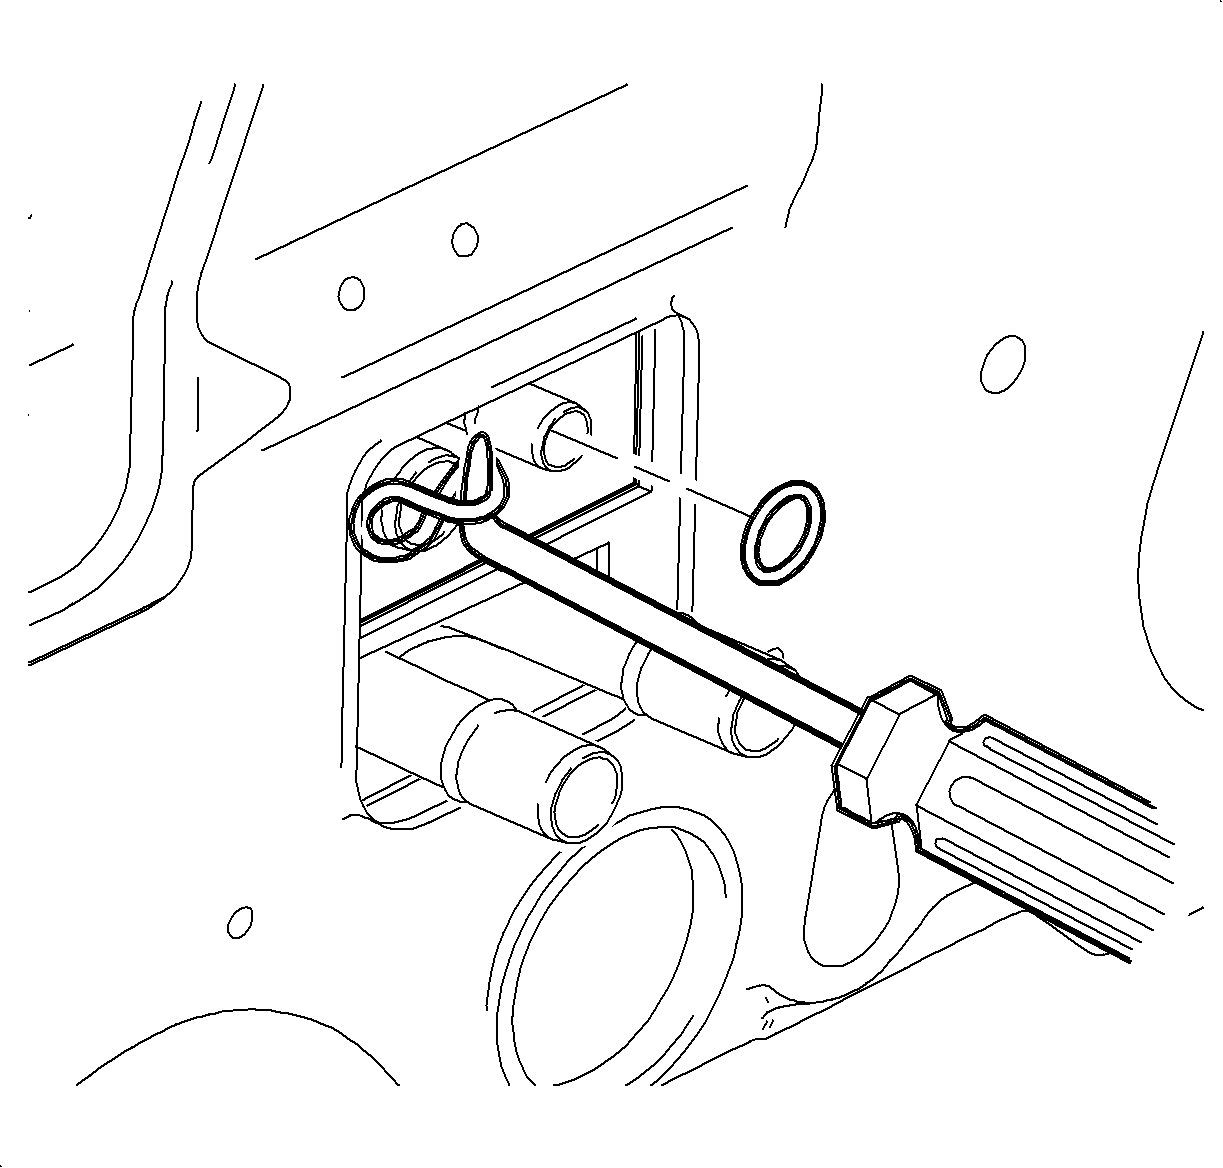
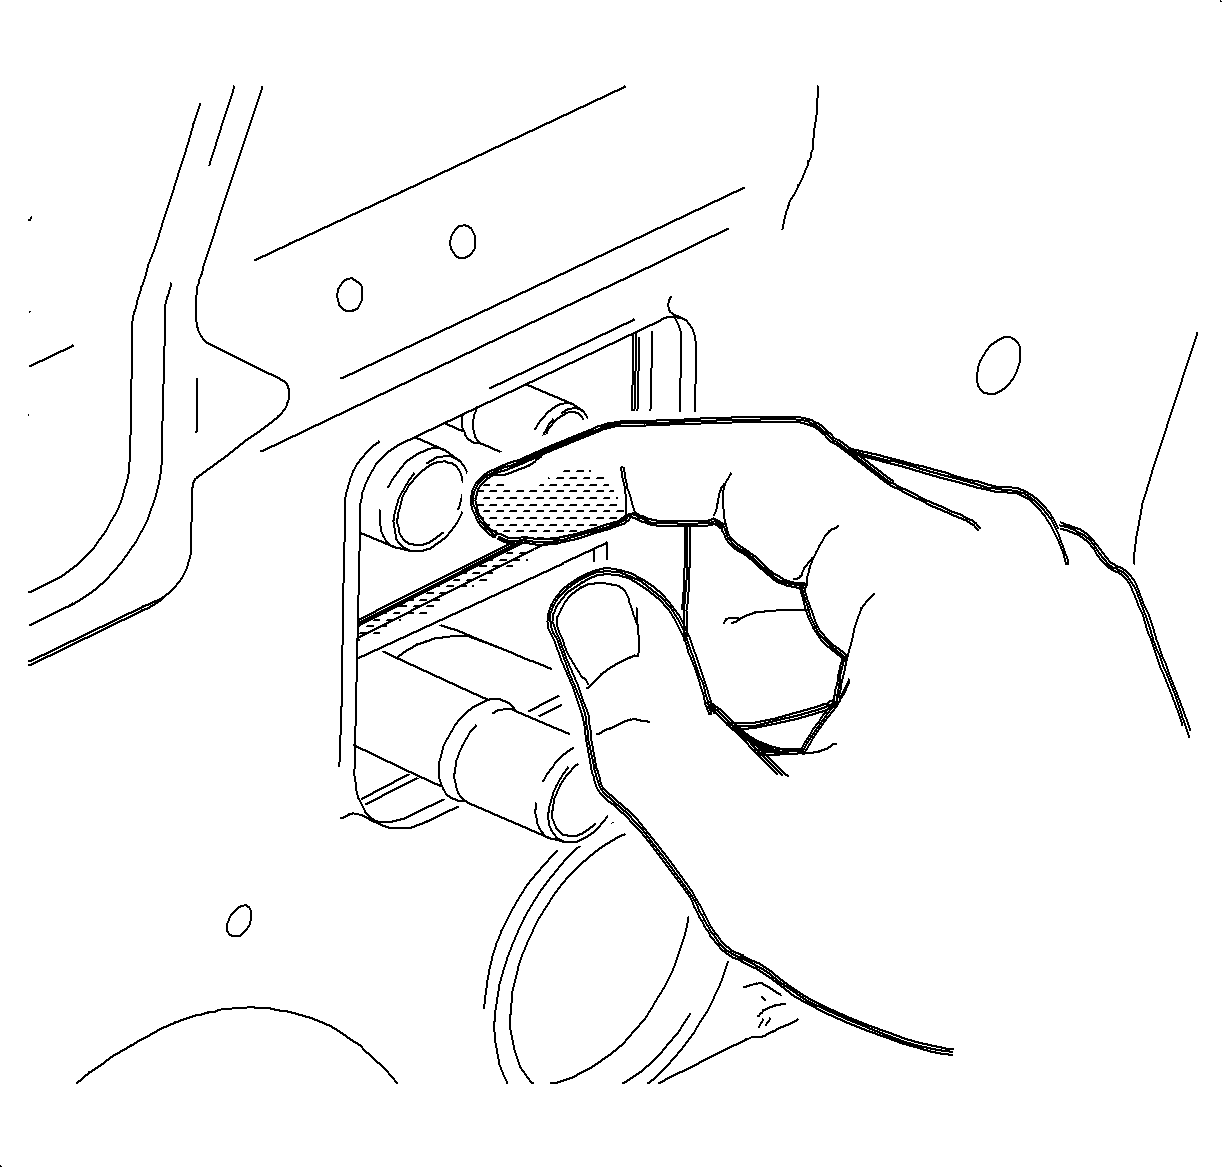
- Using your fingers or a plastic tool, remove the O-rings from the evaporator pipes. Use a mirror to view the O-rings on the evaporator core.
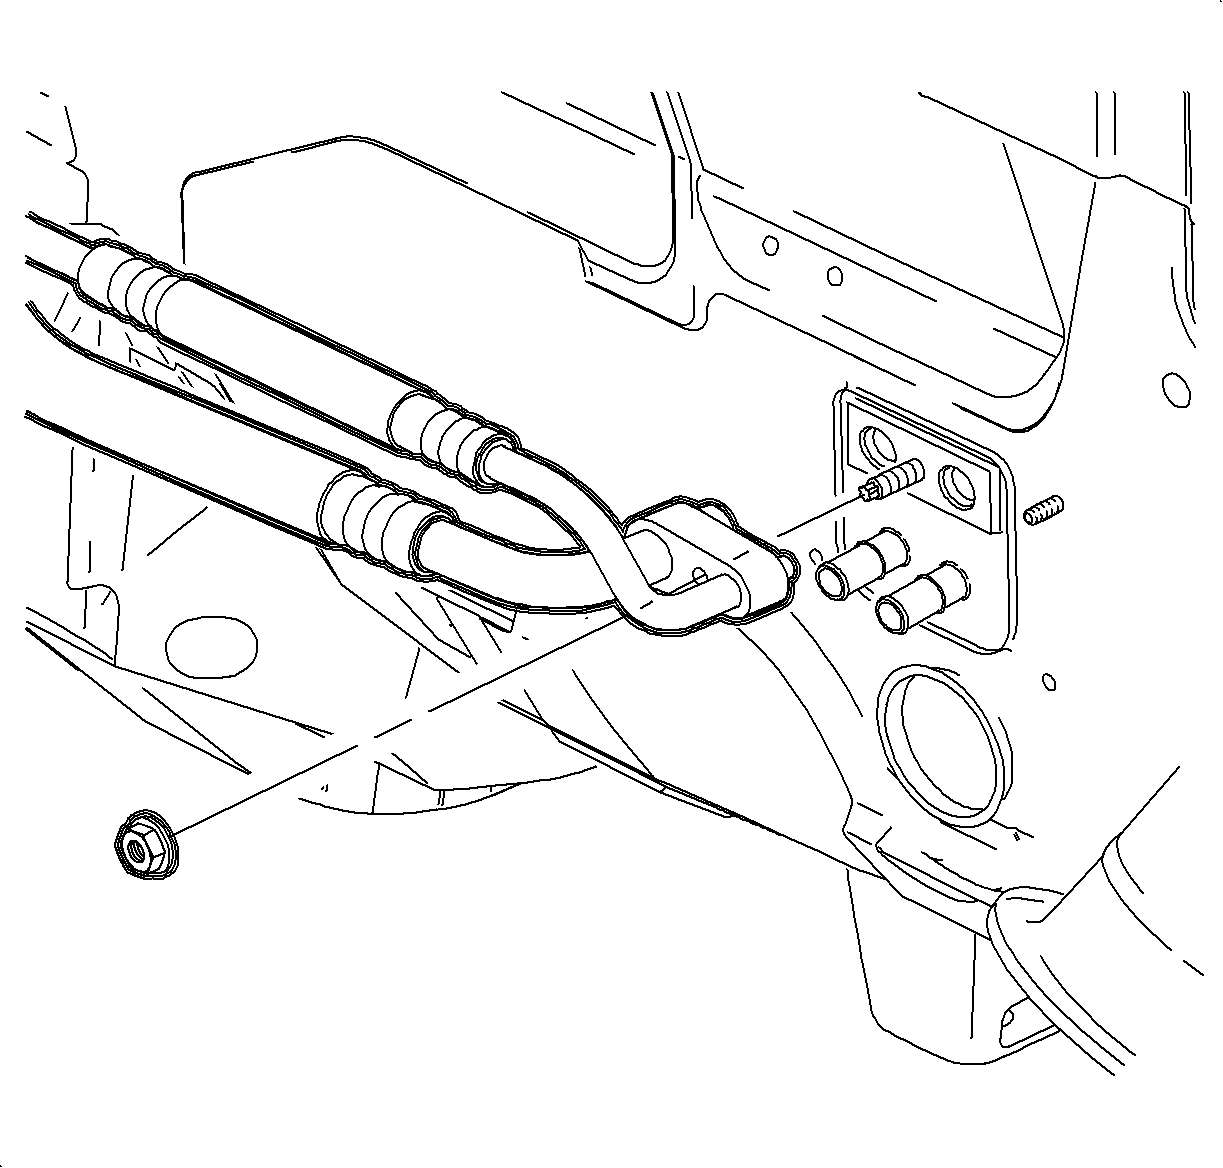
Caution: Do not remove hoses or lines before system is fully discharged. System may be under pressure and contact with R134a may cause personal injury.
Installation Procedure
- Install new O-rings to the evaporator pipes. Refer to O-Ring Replacement .
- Install the TXV using J 44655 to support the evaporator pipes and mounting flange while installing the TXV.
- Ensure that the TXV is completely installed. The TXV should be almost flush with the edge of the bevel of the foam seal.
- Thread by hand the bolts that secure the TXV to the evaporator core block.
- Install new O-rings to the evaporator hose assembly block. Refer to O-Ring Replacement .
- Install the evaporator hose assembly block to the TXV.
- Install the nut that secures the evaporator hose assembly to TXV.
- Evacuate and recharge the A/C system. Refer to Refrigerant Recovery and Recharging .
- Using J 39400-A , leak test the fittings of the component.
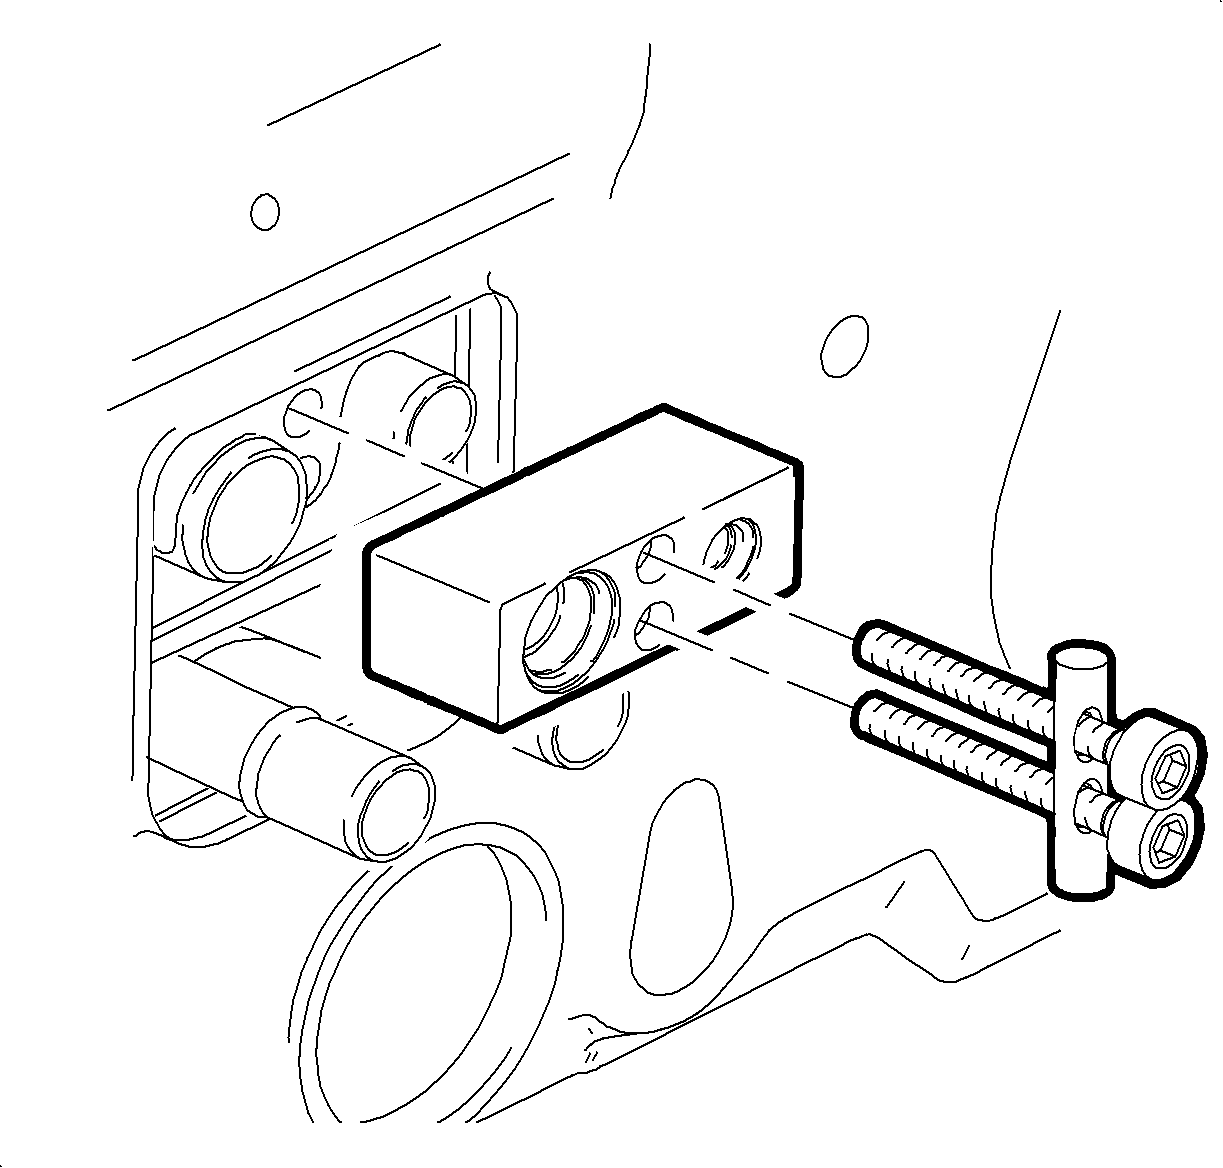
| 2.1. | Orient the TXV with the dome-shaped end toward the passenger side of the vehicle |
| 2.2. | Install the cap screws through the T-handle and through the TXV |
| 2.3. | Thread the 2 cap screws into the evaporative core flange |
| 2.4. | Pull the T-handle back against the cap screws and carefully install and seat the TXV into position |
| 2.5. | Carefully remove cap screws and T-handle |

Notice: Refer to Fastener Notice in the Preface section.
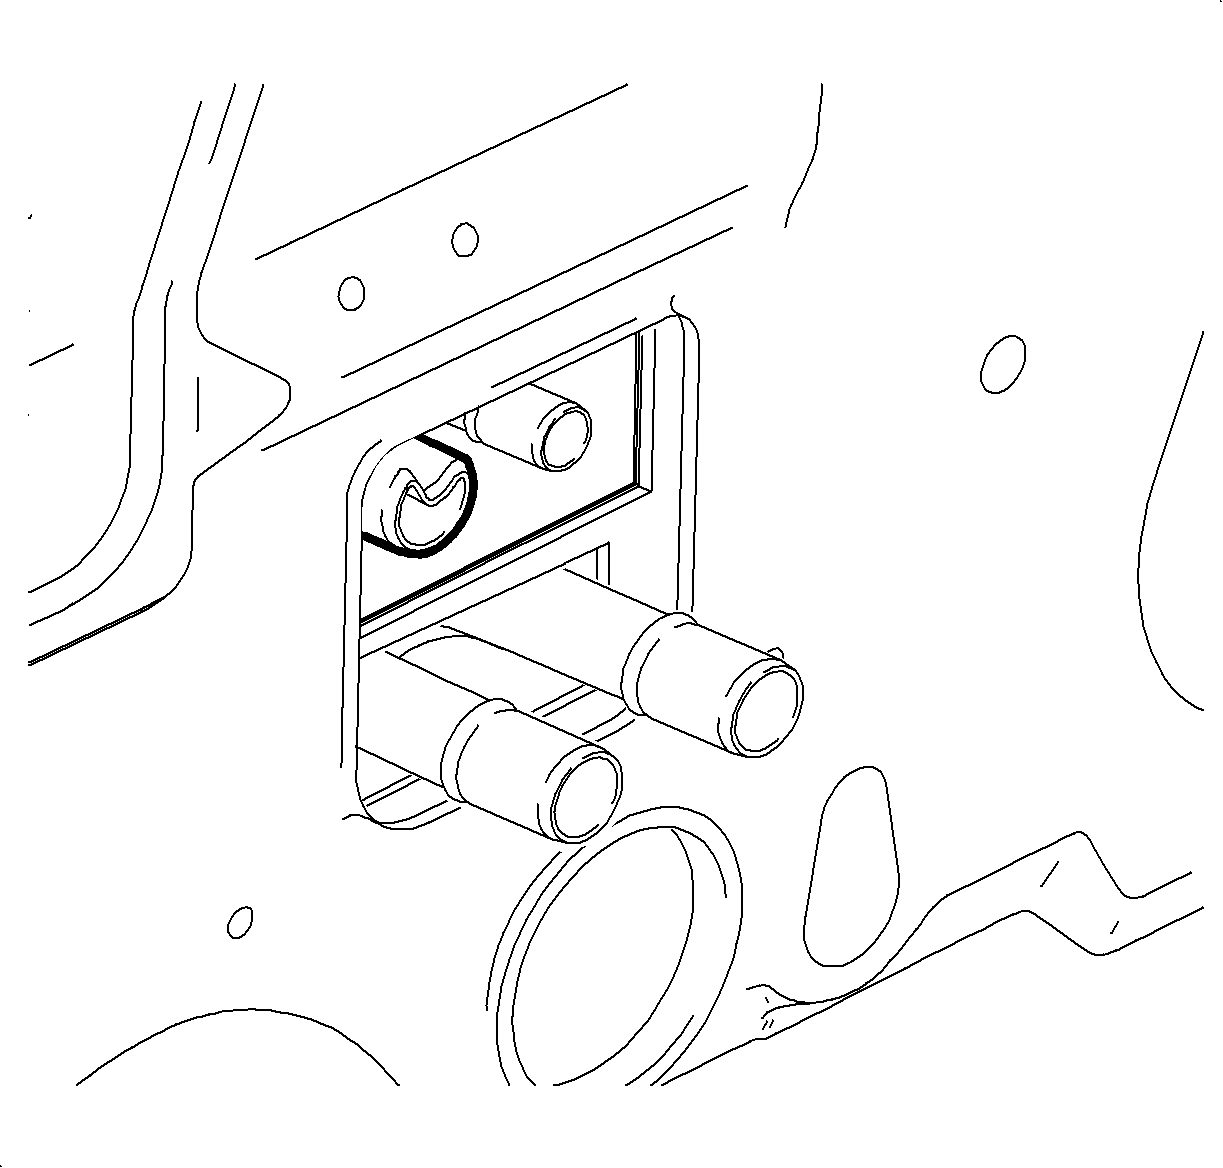
Notice: Improper installation of TXV to evaporator pipes will damage pipes and require evaporator core replacement.
Important: The bolts should thread in easily. Do NOT use force. If the bolts do not thread in easily, verify that the TXV is properly installed onto both pipes and fully seated to the block.
Tighten
Tighten the bolts to 7 N·m (62 lb in).

Tighten
Tighten the nut to 7 N·m (62 lb in).
