For 1990-2009 cars only
Tools Required
J 45400 Strut Spring Compressor
Removal Procedure
- Raise the vehicle on the hoist.
- Remove the wheel and tire assembly corresponding to the shock being removed.
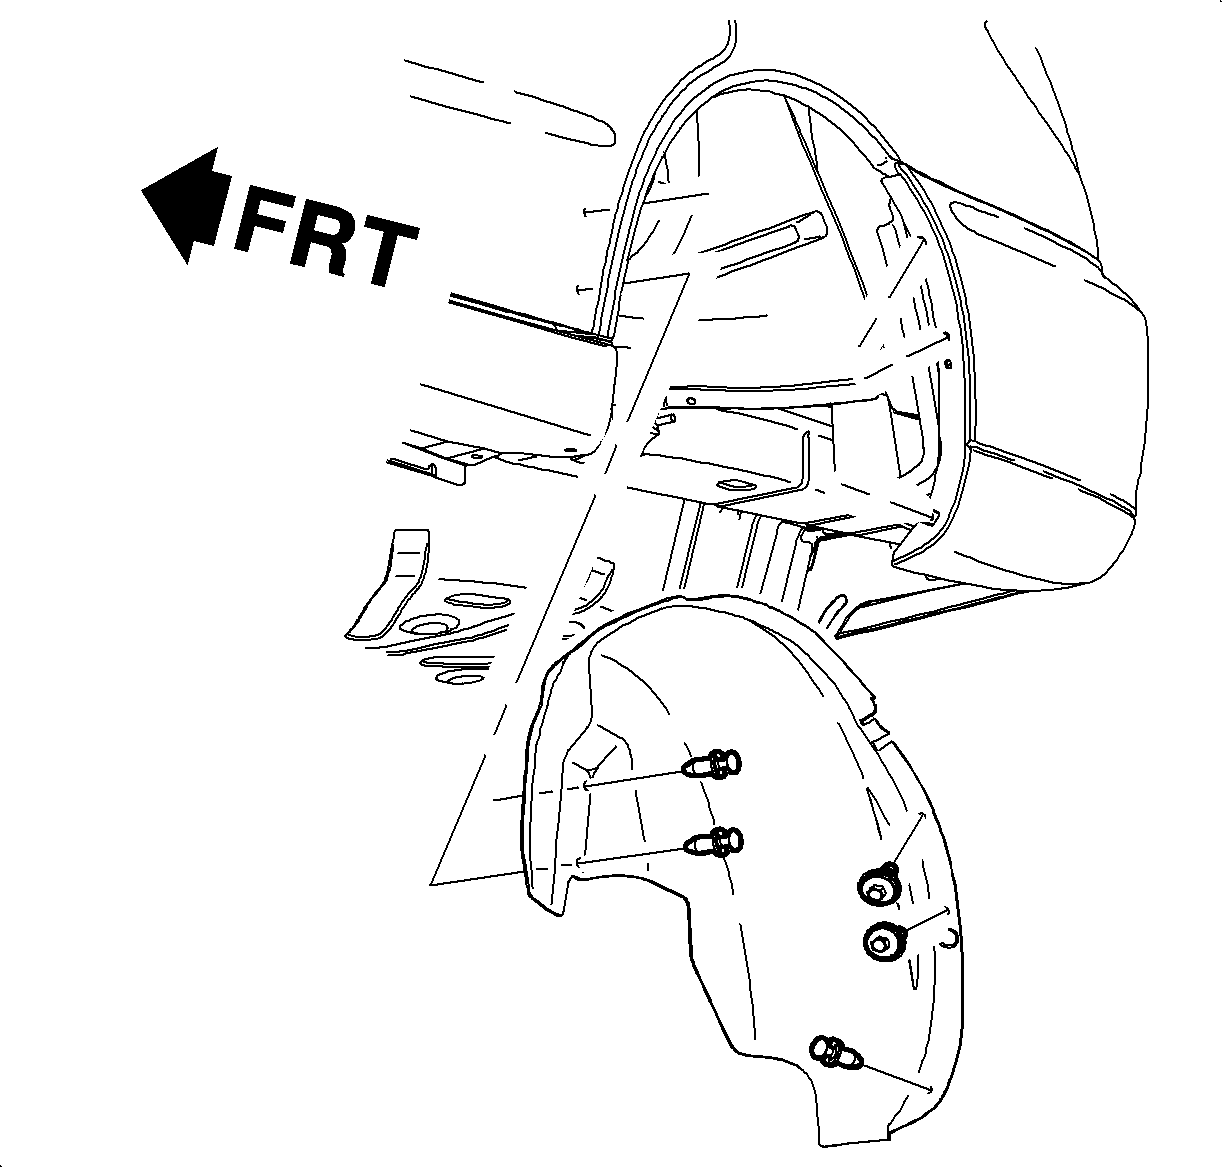
- Remove the inner wheelhouse liner.
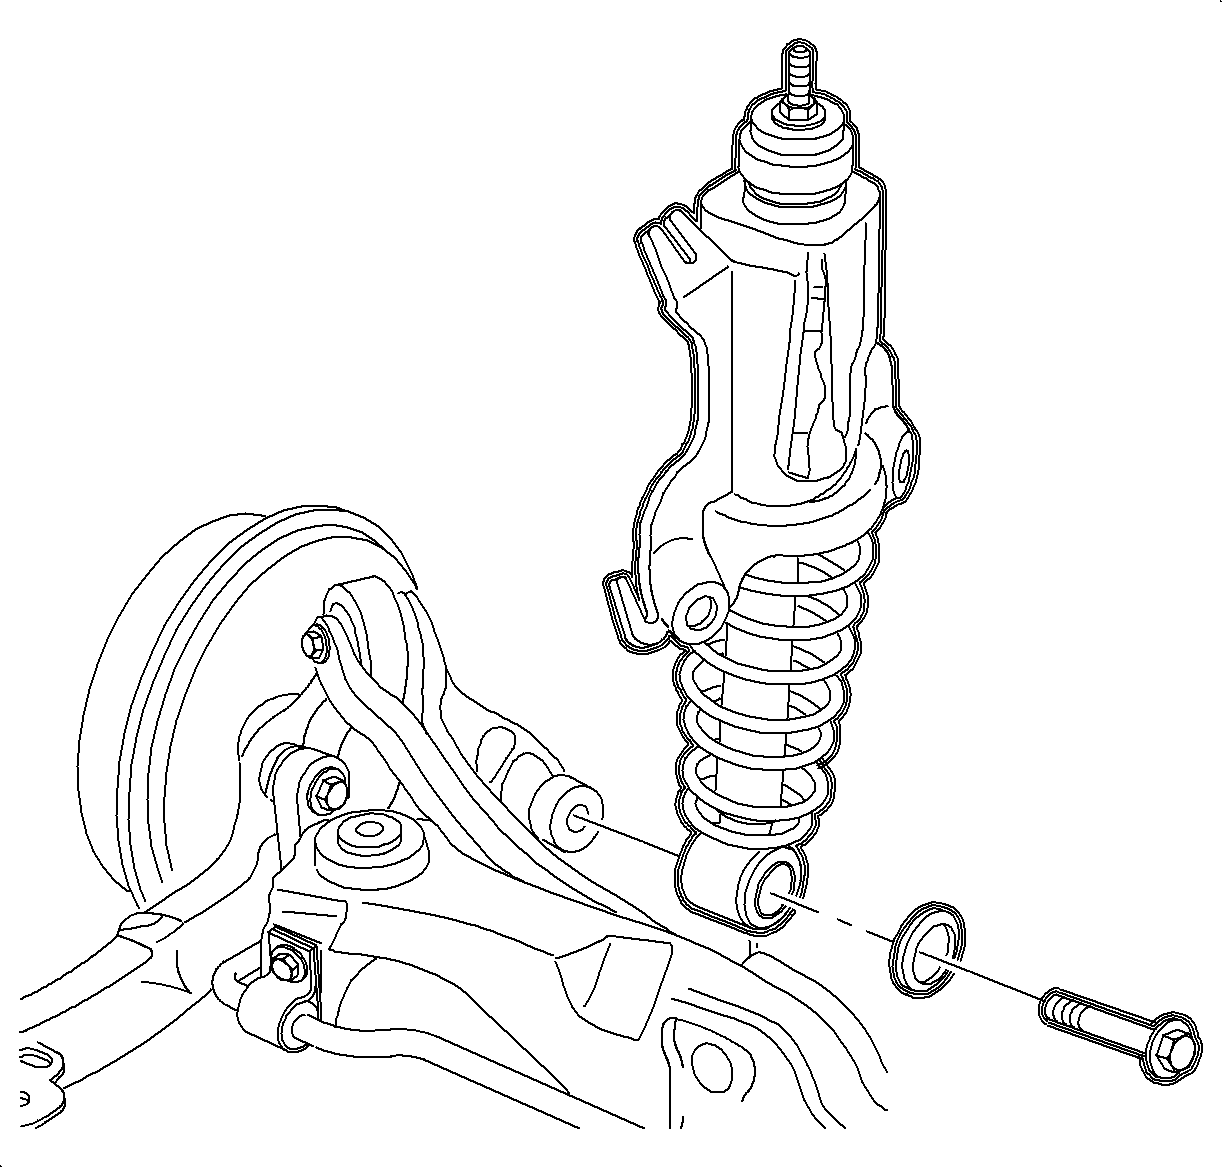
- Remove the shock-to-knuckle attachment bolt and discard.
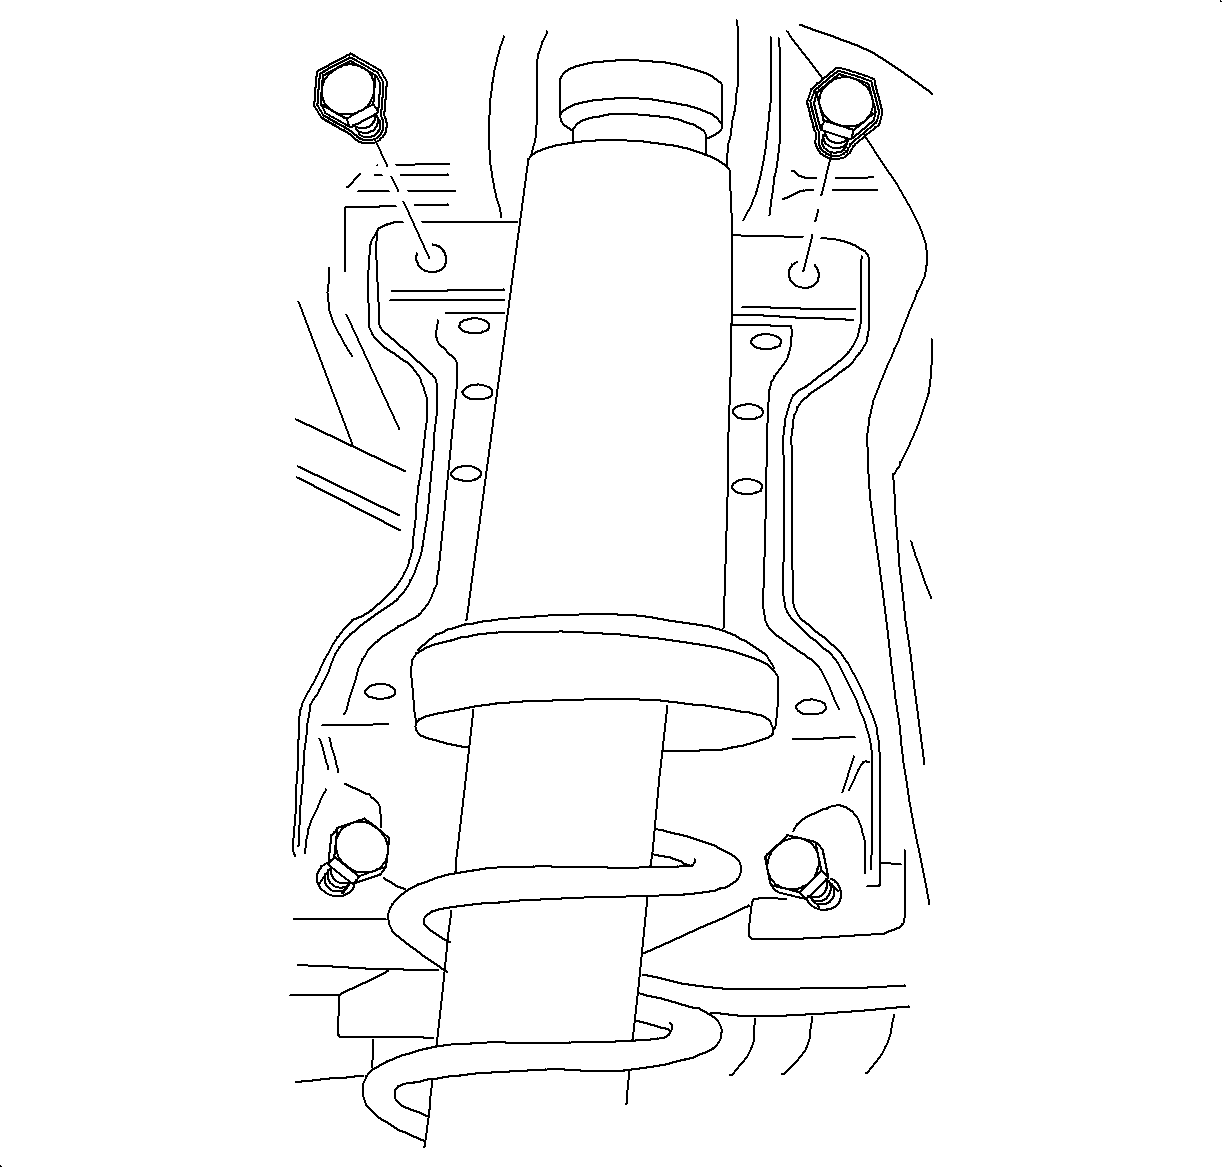
- Remove the upper carrier assembly to the body bolts.
- Loosen the lower carrier assembly to the body bolts until the carrier assembly slides out.
Caution: Refer to Vehicle Lifting Caution in the Preface section.


Installation Procedure
- Attach the carrier to the body with the carrier-to-body bolts.
- Install the carrier assembly to the knuckle using a new bolt.
- Install the wheelhouse liner assembly.
- Install the wheel and tire assemblies onto the hub.
- Install the wheel bolts and tighten in a star pattern.

Tighten
Tighten the rear shock carrier-to-body bolts to 55 N·m (40 lb ft).

Important: New nuts and bolts must be used. Tighten retention of old nuts and bolts may not be sufficient.
Tighten
Tighten the rear shock absorber-to-knuckle to 150 N·m (110 lb ft)
+ 30-45 degrees.

Notice: Refer to Wheel Installation Caution in the Preface section.
| 5.1. | Hand tighten all five wheel bolts. |
| 5.2. | Use a torque wrench to tighten the wheel bolts using a star pattern. |
Tighten
Tighten the wheel bolts first pass to 63 N·m (46 lb ft).
| 5.3. | Use a torque wrench to final tighten the wheel bolts using a star pattern. |
Tighten
Tighten the wheel bolts final pass to 125 N·m (92 lb ft).
