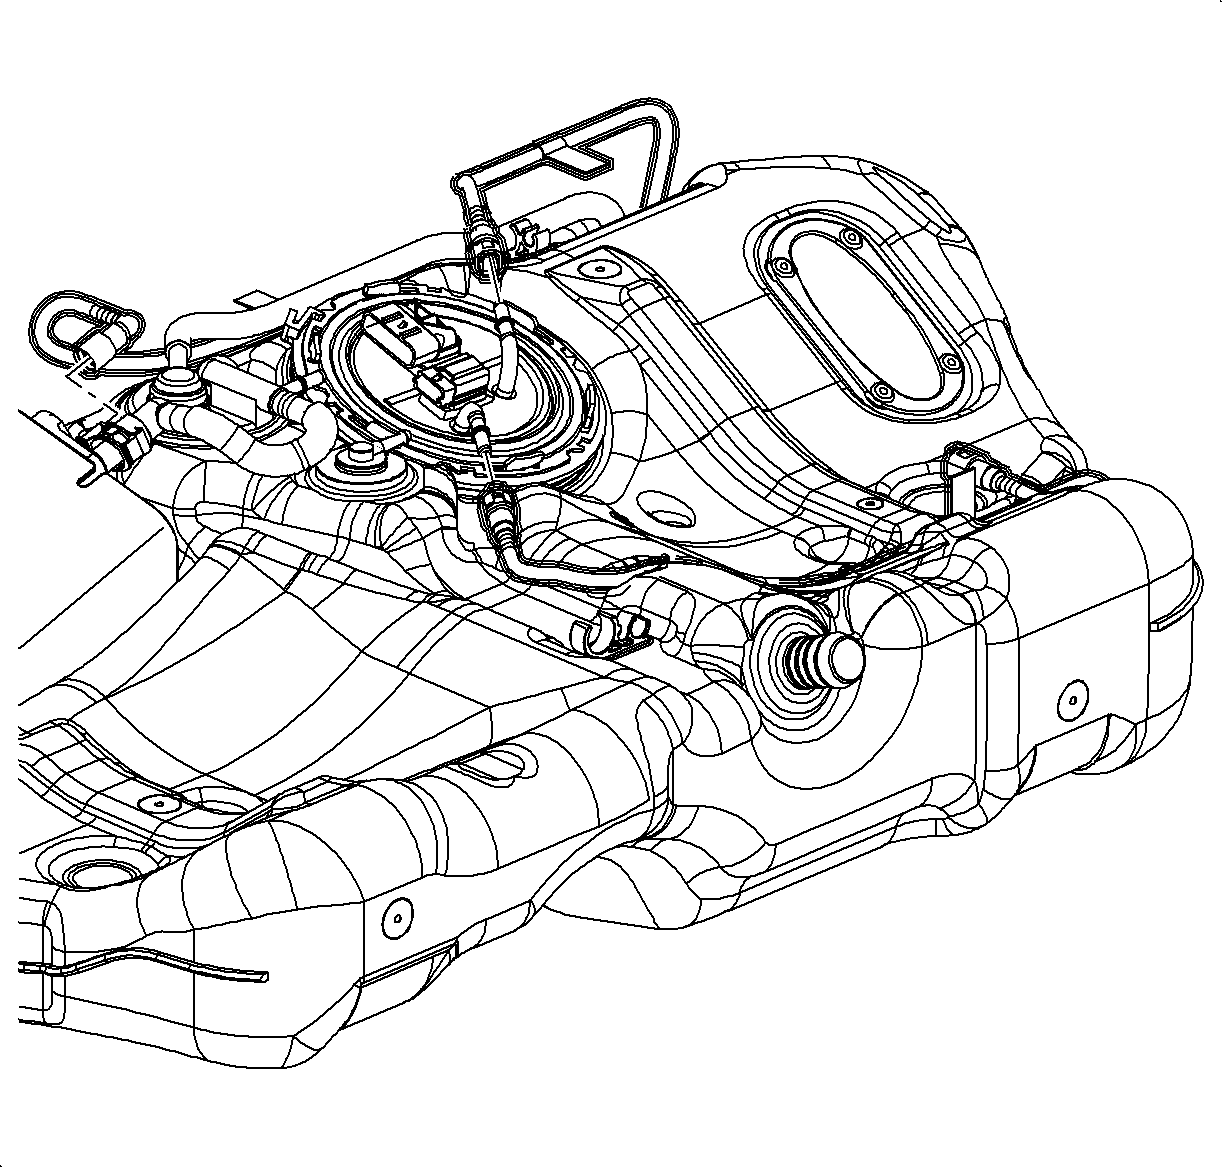
For 1990-2009 cars only
Tools Required
J 43827 Fuel Sending Unit Wrench
J 43914 Universal Clamp Pliers
J44078 Fuel Clamp Pliers
Removal Procedure
- Remove the fuel tank. Refer to Fuel Tank Removal procedure in this section.
- Disconnect the fuel lines from the fuel pump module cover.
- Use the J 43827 and remove the fuel pump module retaining ring. A 1.3 cm (0.5 in) breaker bar, approximately 46 cm (18 in) long, will easily loosen and remove the lock ring.
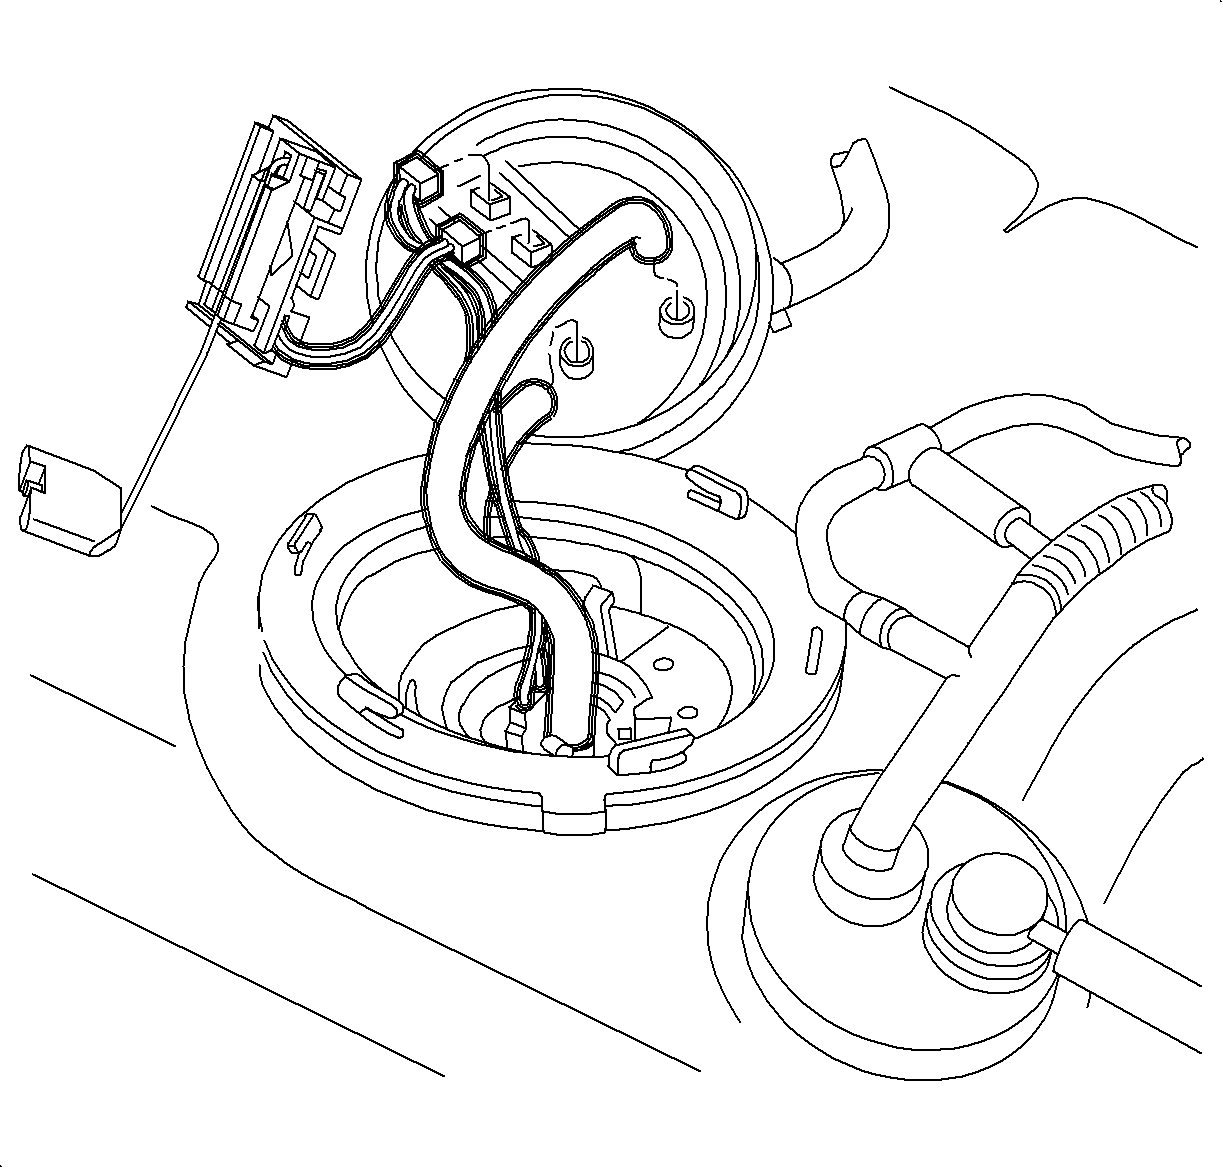
- Disconnect the fuel pump and fuel level sender electrical connectors from the fuel pump module cover.
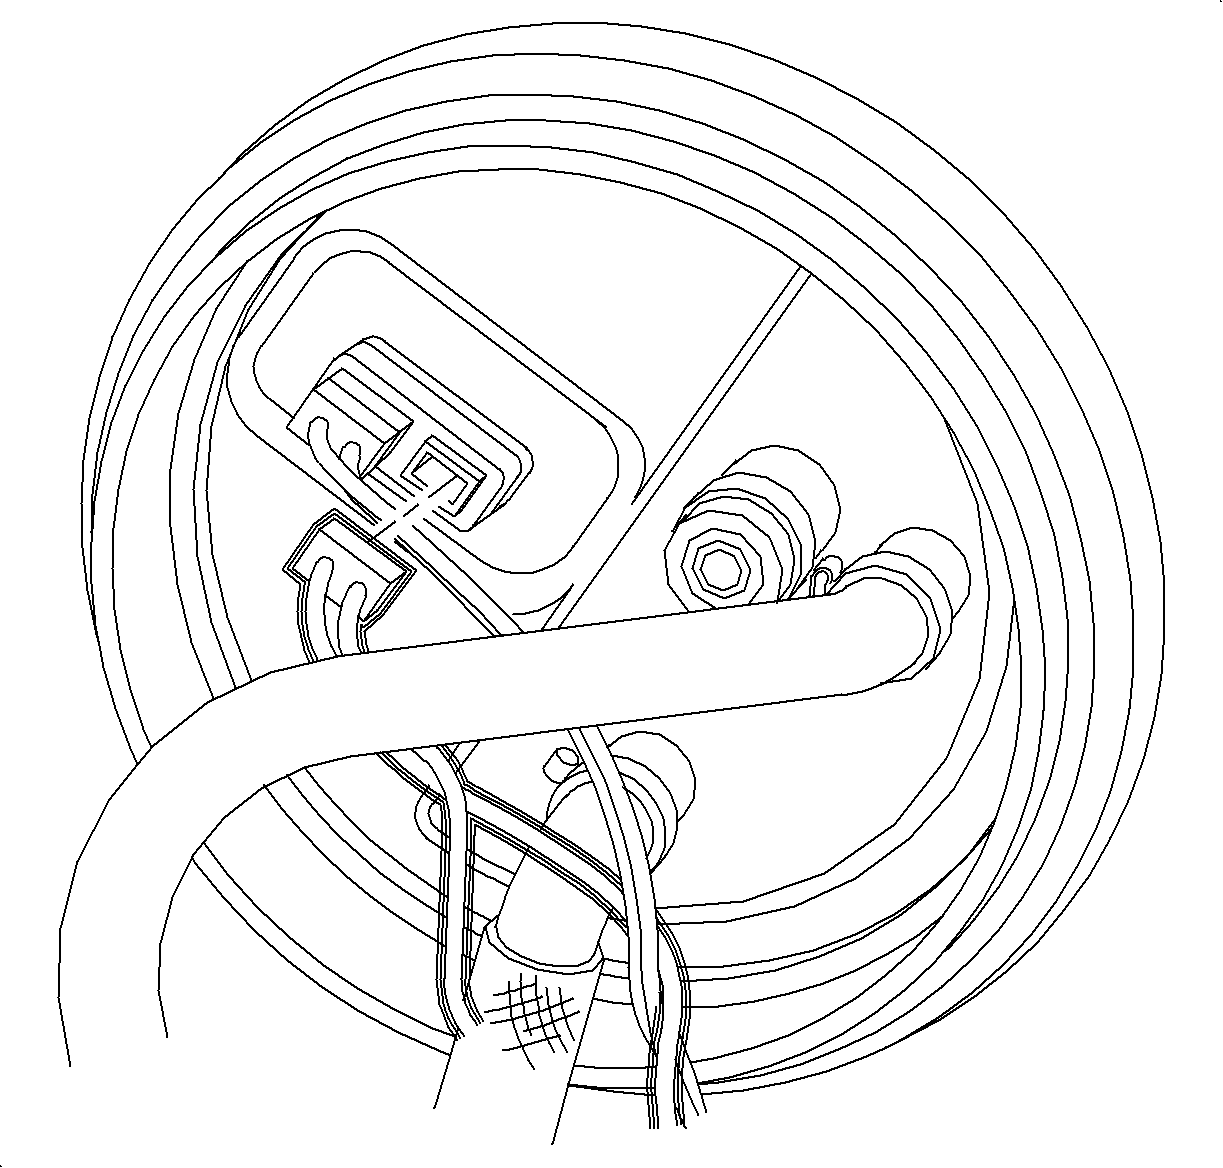
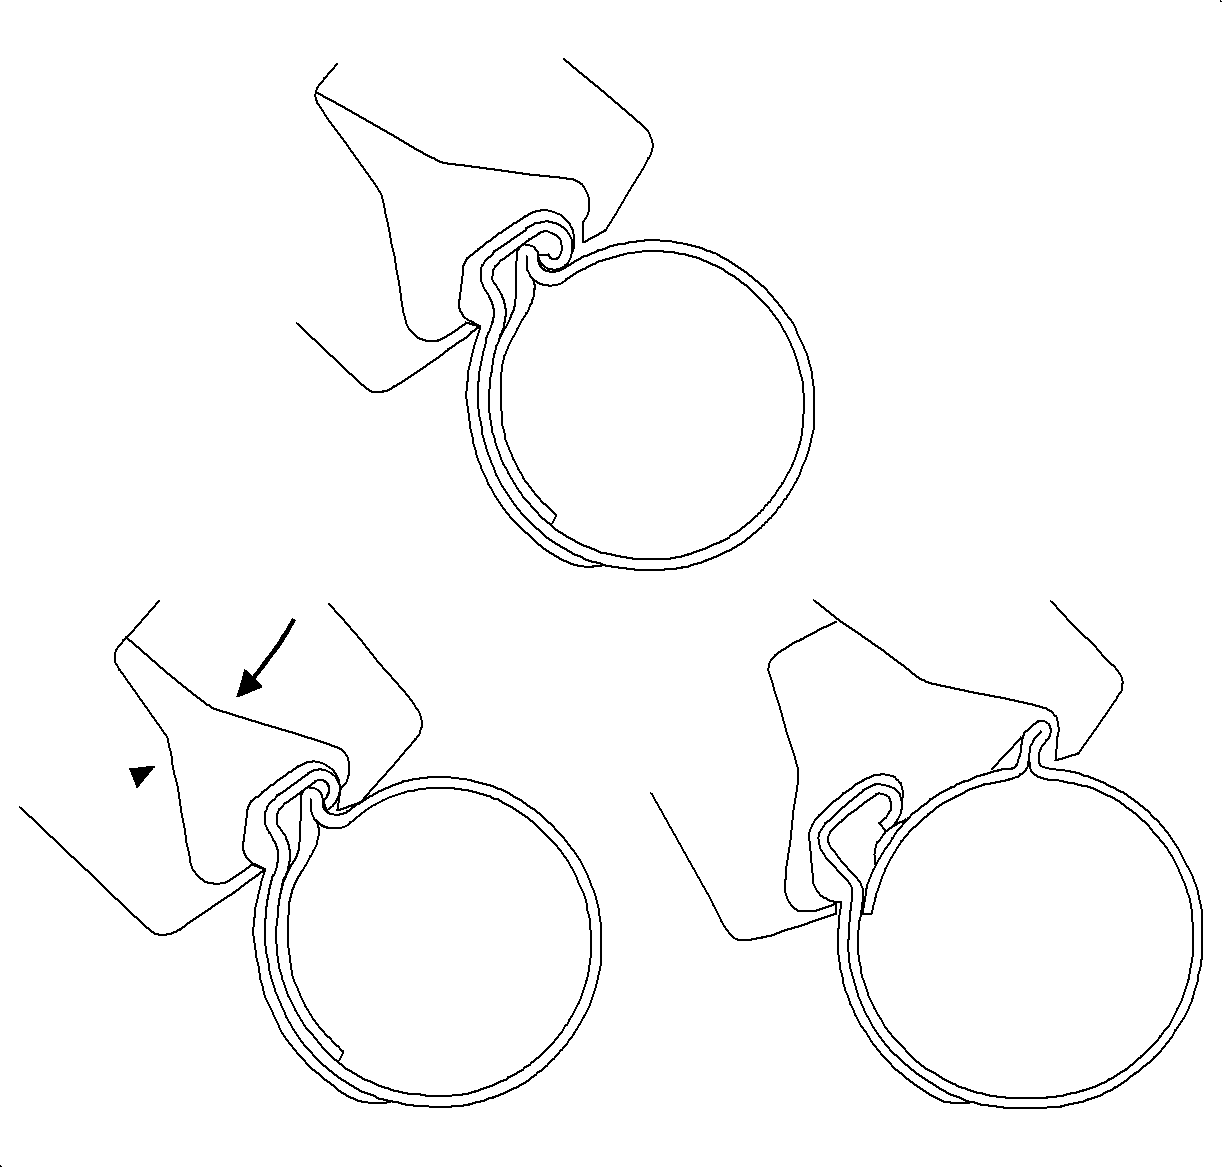
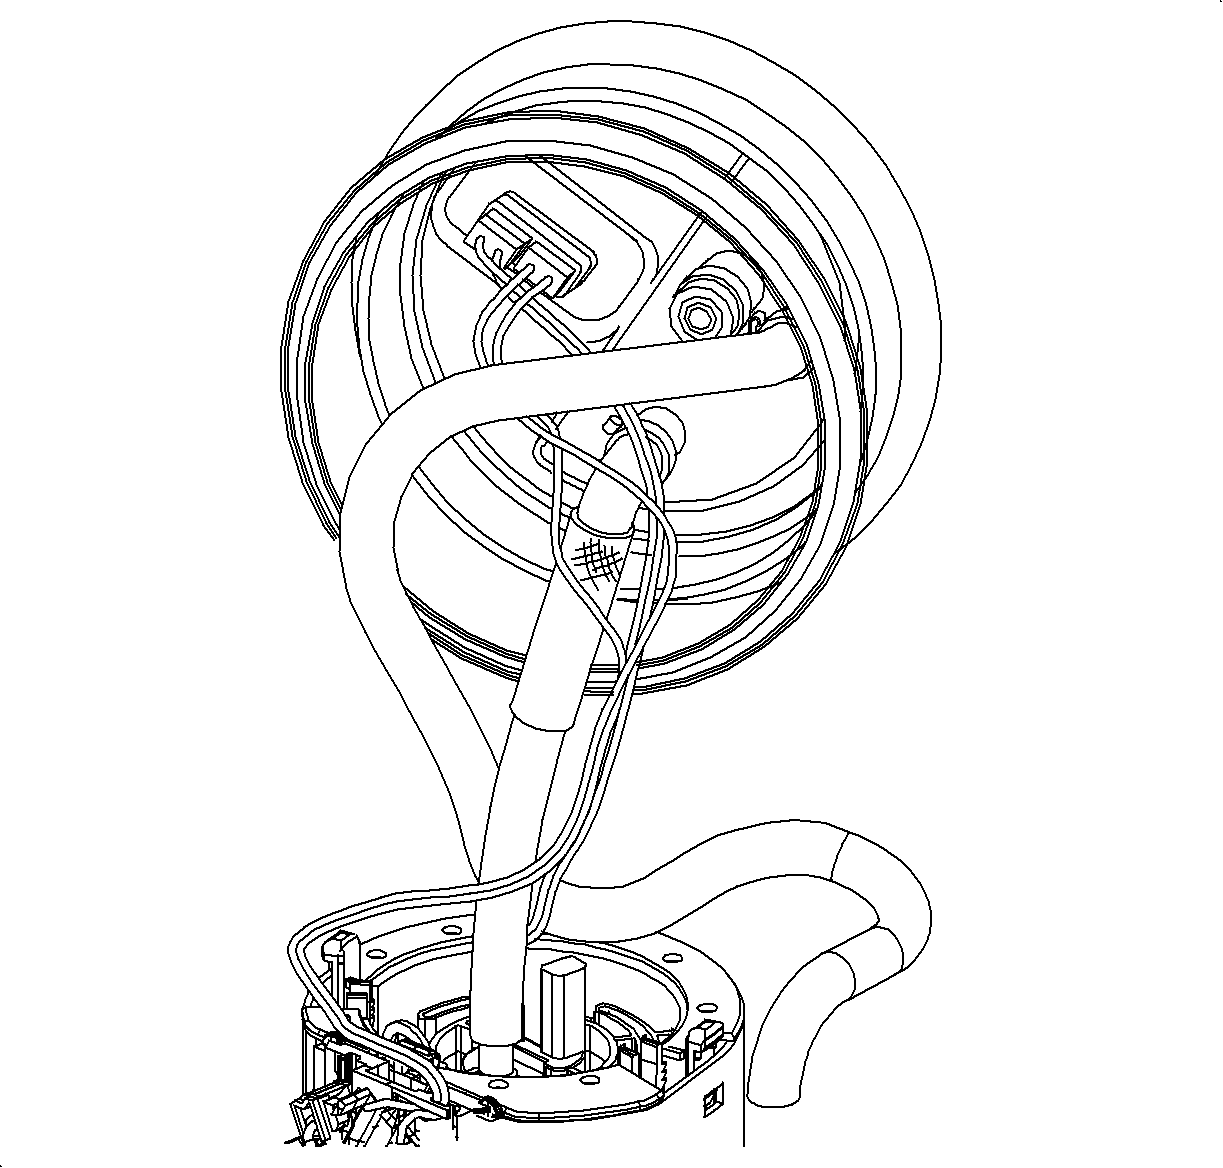
- Remove the fuel feed lines from the bottom of the fuel pump cover using the J 43914 .
- Discard the fuel pump to fuel tank seal.
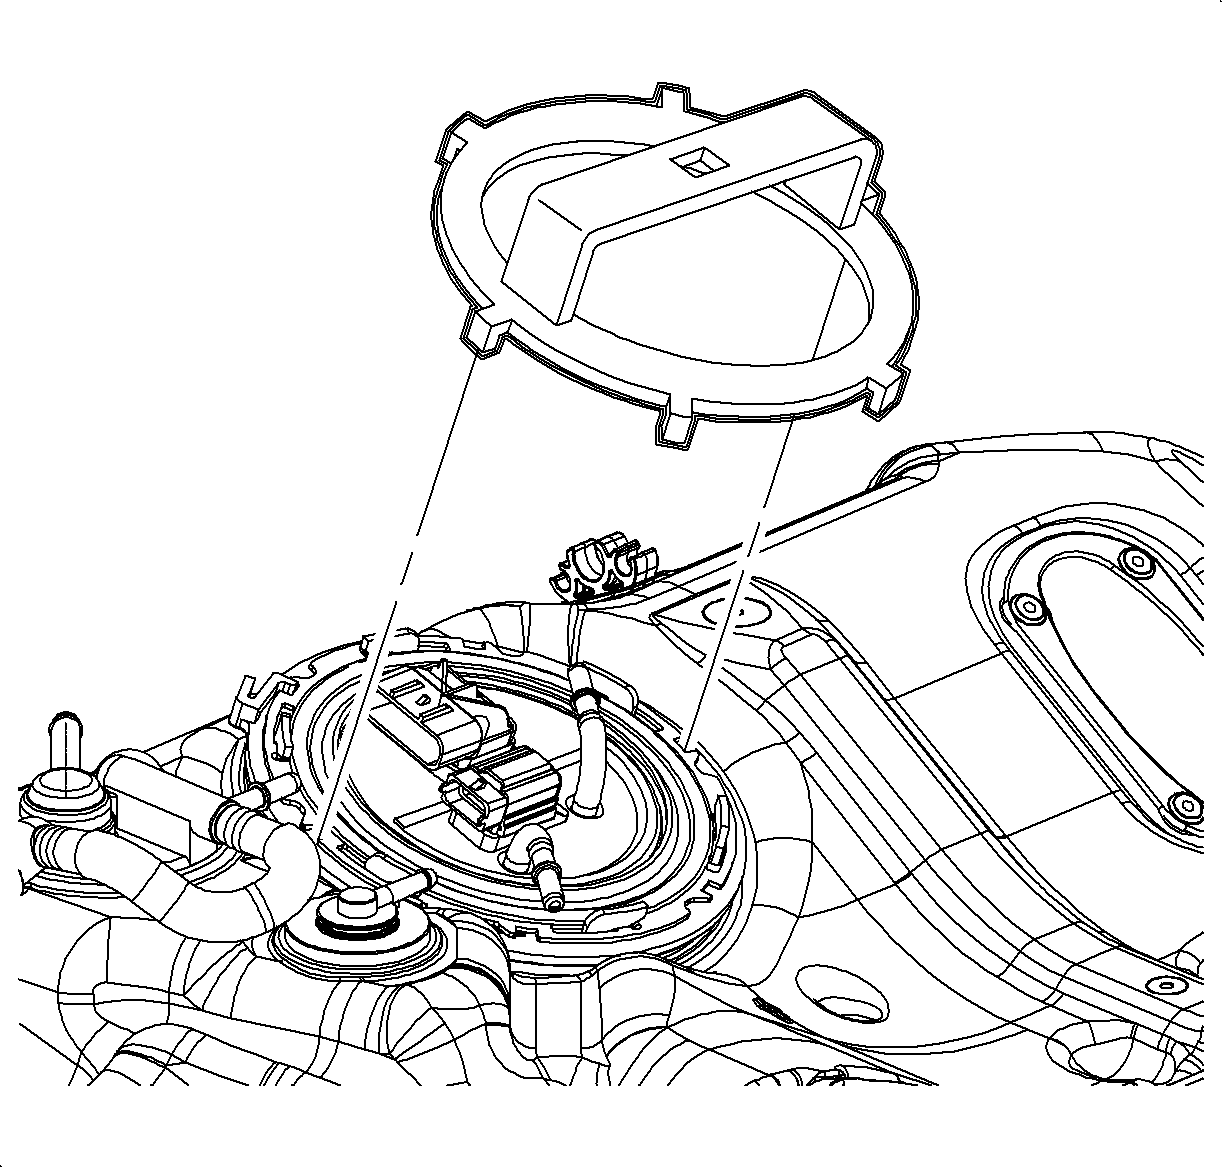
Caution: Refer to Relieving Fuel Pressure Caution in the Preface section.
Notice: Clean all fuel pipe and hose connections and surrounding areas before disassembling to avoid possible contamination of the fuel system. Spray the fuel pump module cam-lock ring tang with penetrating oil prior to attempting removal.
Notice: Refer to Retainer Ring Damage Notice in the Preface section.
Installation Procedure
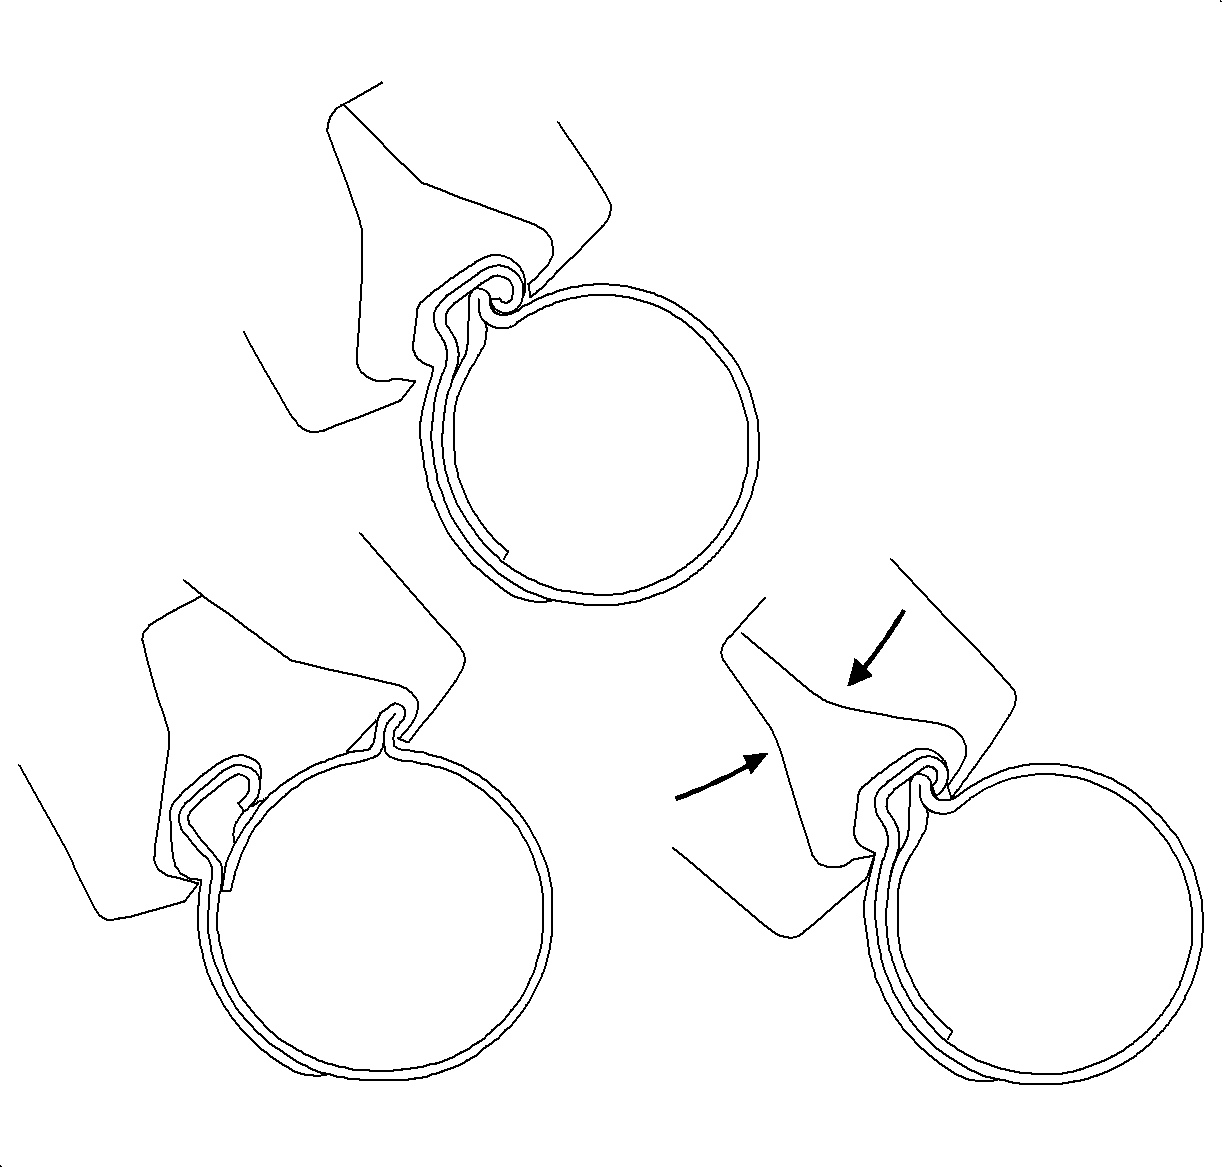
- Connect the fuel feed lines to the bottom of fuel pump cover using the J44078 .
- Connect the fuel level sender and fuel pump electrical connectors to the bottom of fuel pump cover.
- Install the new fuel pump to tank seal and lubricate the fuel pump to tank seal with clean engine oil.
- Use the J 43827 to install the fuel pump cover lock ring. The bumps on the lock ring need to be facing away from the tank.
- Connect the fuel lines and wiring harness.
- Install the fuel tank. Refer to Fuel Tank Installation procedure in this section.

Notice: Refer to Retainer Ring Damage Notice in the Preface section.

