For 1990-2009 cars only
Removal Procedure
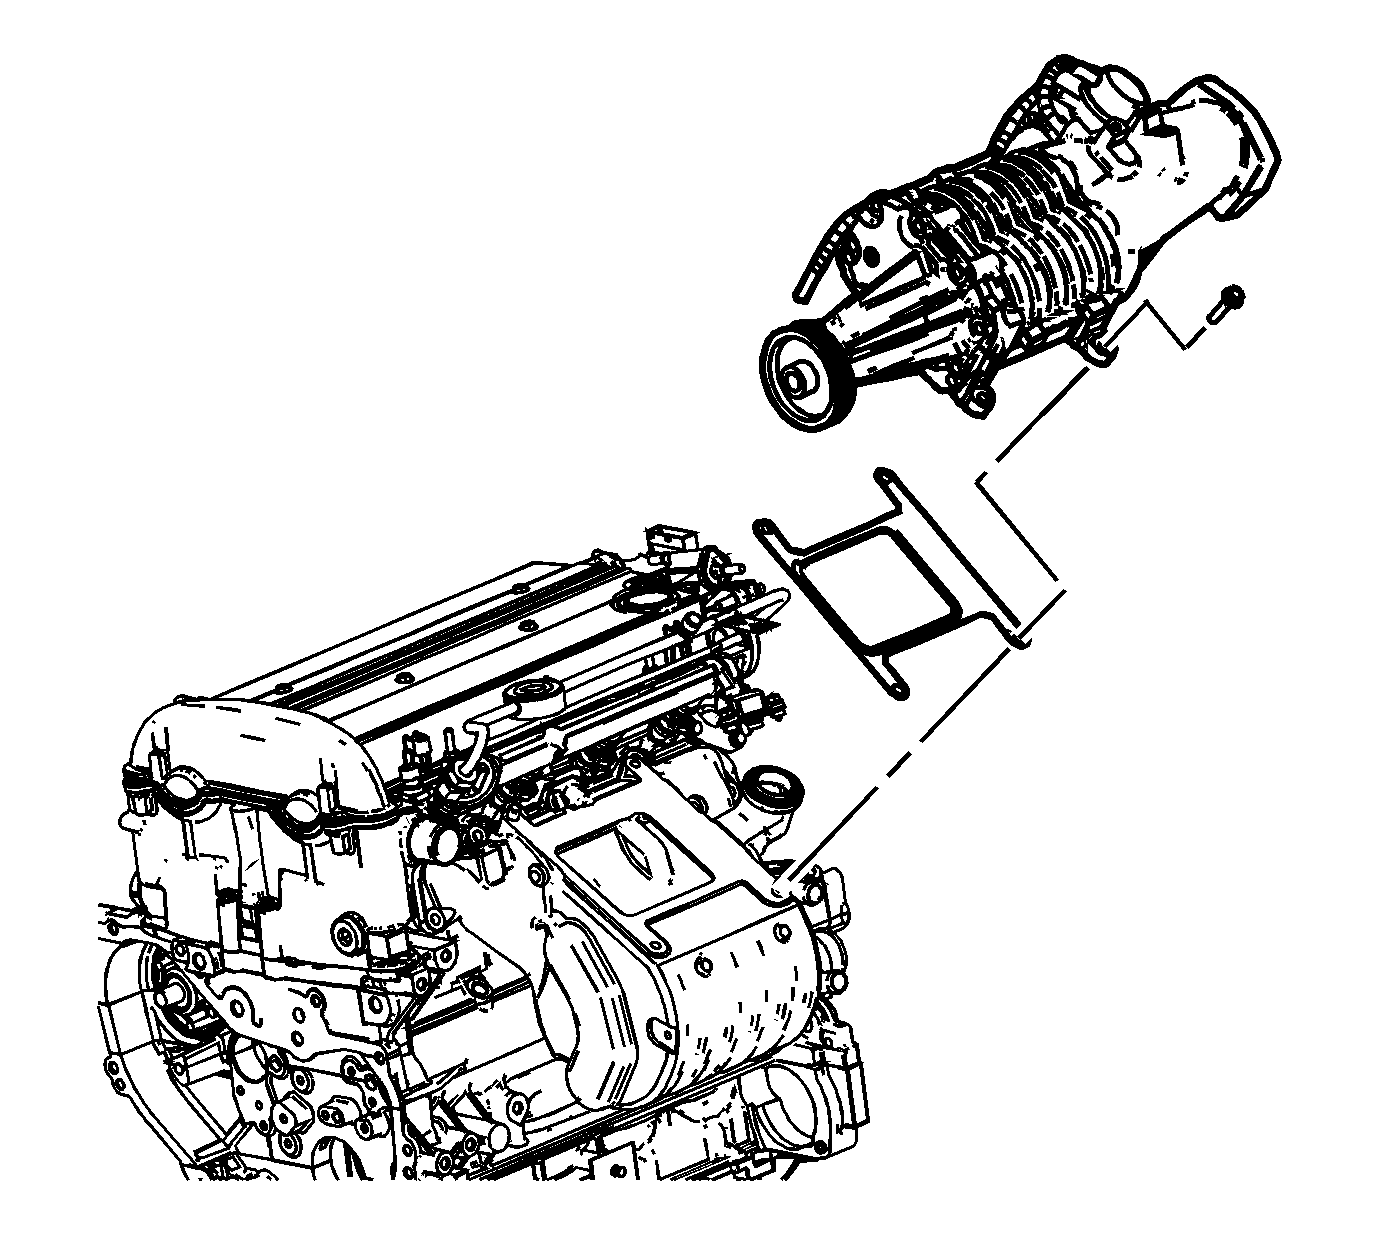
- Remove the supercharger. Refer to Supercharger Replacement .
- Remove the generator. Refer to Generator Replacement .
- Drain the charged air cooling system. Refer to Charge Air Cooling System Draining and Filling .
- Disconnect the charged air cooling system inlet and outlet hoses.
- Remove the charged air coolant pump.
- Remove the cooling fan assembly. Refer to Fan Shroud Replacement .
- Remove the AC compressor bolts and reposition the compressor to access the oil level indicator tube.
- Remove the oil level indicator tube bolt.
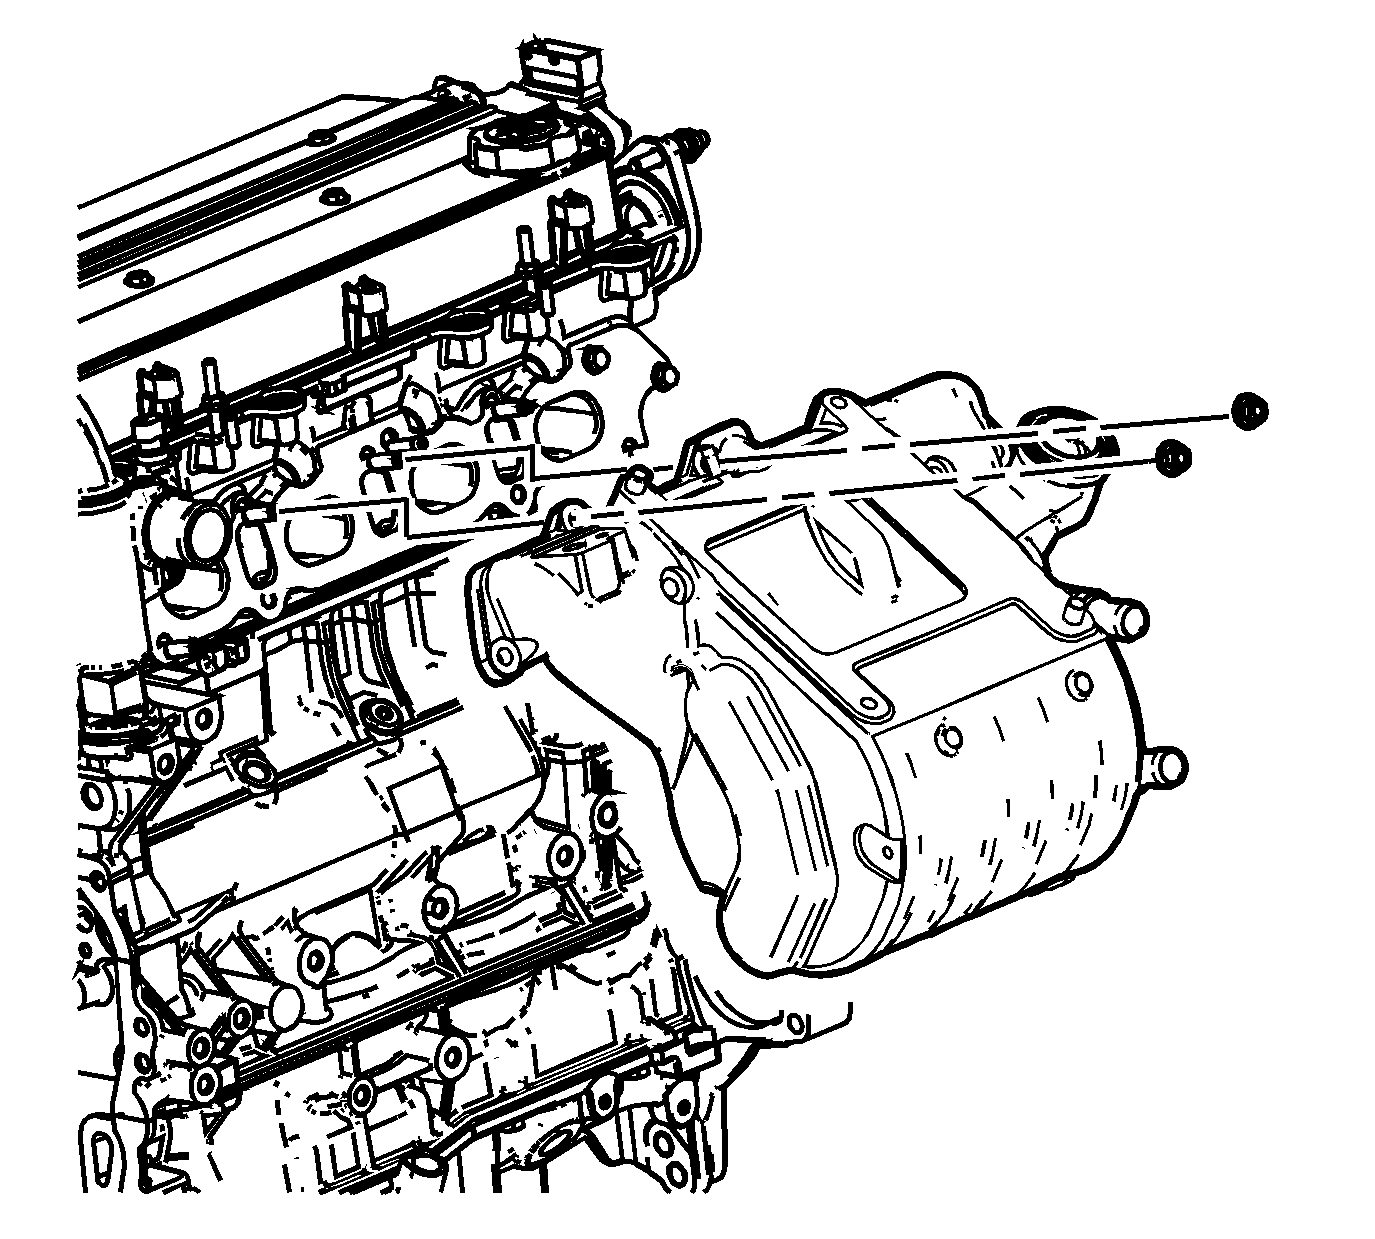
- Remove the intake manifold nuts and bolts.
- Remove the intake manifold.
- If applicable, remove the intake manifold gasket.


Important: Be sure to remove all fasteners before attempting to remove the intake manifold.
Important: The intake manifold gasket is reusable, only replace the gasket if damage has occurred.
Installation Procedure
- If applicable, install the intake manifold gasket.
- Install the intake manifold.
- Install the intake manifold nuts and bolts.
- Install the oil level indicator tube and bolt.
- Reposition the AC compressor and install the bolts.
- Install the cooling fan assembly. Refer to Fan Shroud Replacement .
- Install the charged air coolant pump. Refer to Charge Air Cooler Coolant Pump Replacement .
- Install the generator. Refer to Generator Replacement .
- Connect the charged air cooling system inlet and outlet hoses.
- Fill the charged air cooling system. Refer to Charge Air Cooling System Draining and Filling .
- Install the supercharger. Refer to Supercharger Replacement .
Notice: Refer to Fastener Notice in the Preface section.

Tighten
Tighten the intake manifold nuts and bolts to 22 N·m (16 lb ft).

Tighten
Tighten the oil level indicator tube bolt to 10 N·m (89 lb in).
Tighten
Tighten the bolts to 22 N·m (16 lb ft).
