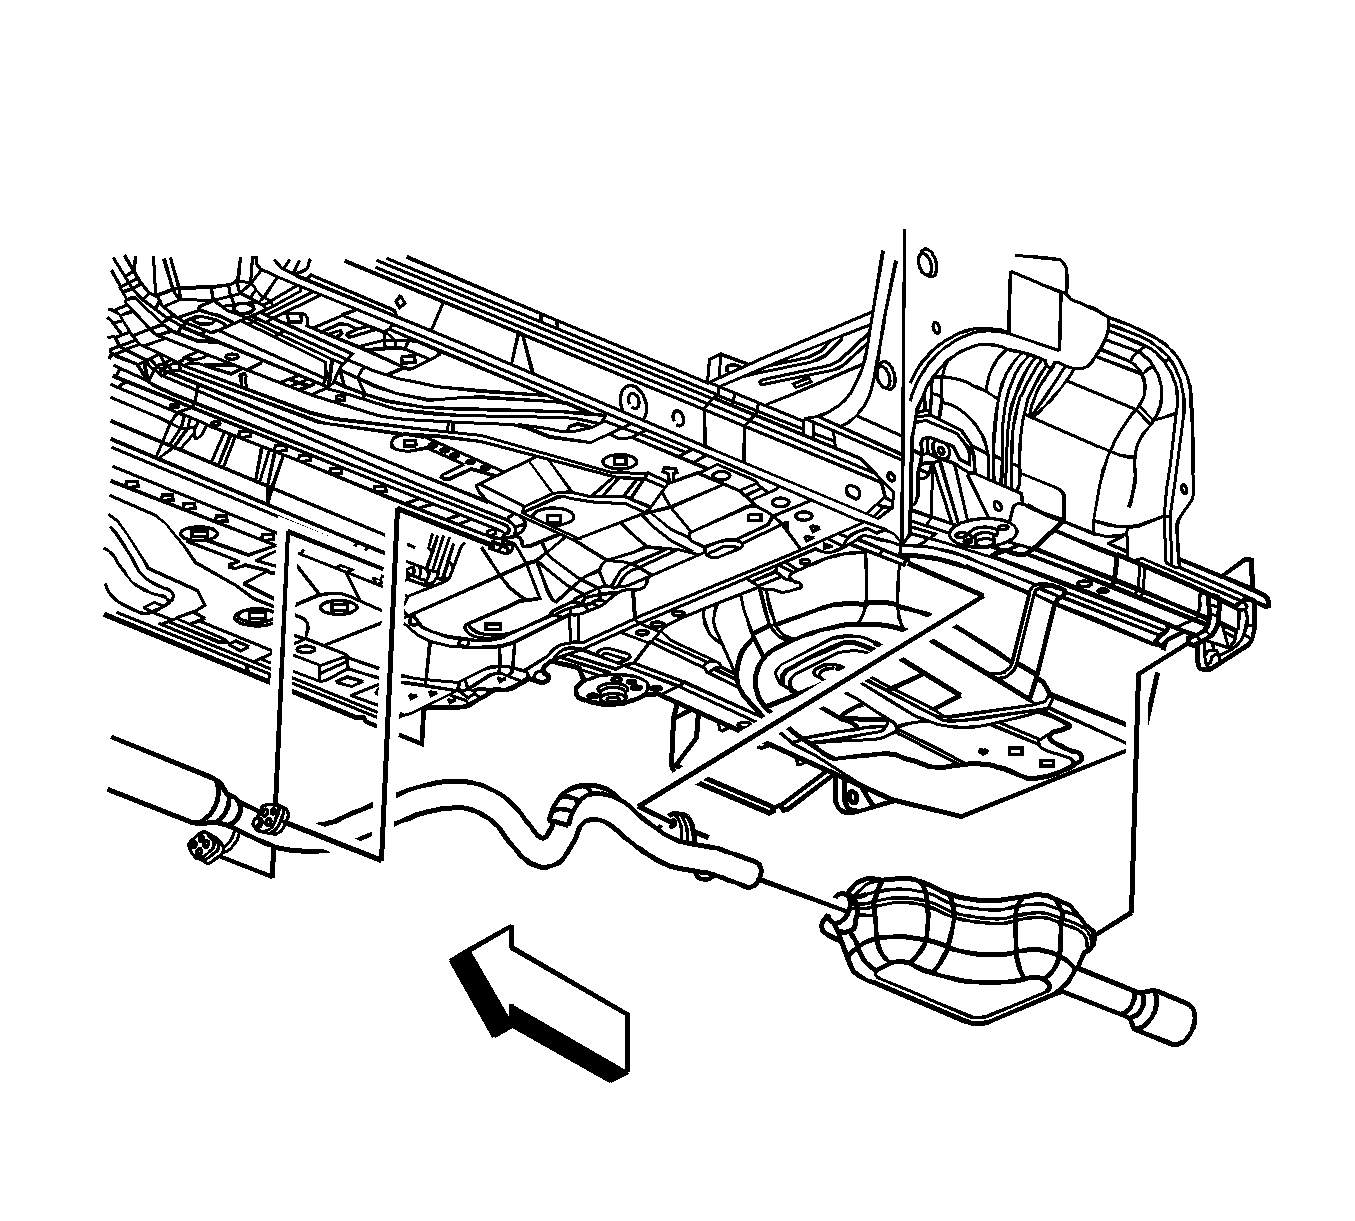
Exhaust Pipe Replacement LSJ
Tools Required
SA9168NE Exhaust and Tailpipe Cutter
Removal Procedure
Notice: Do not over-flex or damage the flex joint when moving the flex joint from the normal mounting position.
Important: A service exhaust muffler will be needed when replacing the exhaust extension pipe on an originally equipped, welded system.
- Raise and support the vehicle. Refer to Lifting and Jacking the Vehicle in General Information.
- Support the exhaust muffler.
- Cut the exhaust extension pipe just forward of the weld at the front of the exhaust muffler using the SA9168NE .
- Release the muffler insulator from the underbody hanger and remove the exhaust muffler.
- Support the catalytic converter pipe.
- Remove the catalytic converter pipe-to-exhaust extension pipe nuts.
- Release the exhaust extension pipe insulators from the underbody hangers, and support the extension pipe.
- Separate the extension pipe from the converter pipe and remove the extension pipe from the vehicle.
- Clean the converter pipe flange surface of any remaining gasket material.


Installation Procedure
- Install a NEW exhaust gasket to the service exhaust extension pipe. The gasket is designed to be retained to the flange by the flange studs.
- Install the catalytic converter pipe-to-exhaust extension pipe nuts.
- Position the extension pipe to the vehicle.
- Connect the extension pipe to the converter pipe, and support the extension pipe.
- Install the exhaust extension pipe insulators to the underbody hangers.
- Install the service muffler to the vehicle.
- Slide the muffler inlet pipe over the extension pipe, then install the muffler insulator to the underbody hanger.
- Install a service muffler clamp to the muffler inlet pipe. Position the clamp approximately 19 mm (¾ in), from the edge of the muffler inlet, with the clamp nuts oriented away from the evaporative emission (EVAP) canister.
- Align the muffler and tailpipe to the vehicle underbody and rear bumper fascia.
- While maintaining muffler positioning, tighten the exhaust clamp nuts.
- Lower the vehicle.

Notice: Refer to Fastener Notice in the Preface section.
Tighten
Tighten the nuts to 30 N·m (22 lb ft).


Tighten
Tighten the nuts to 45 N·m (33 lb ft).
Exhaust Pipe Replacement L61
Tools Required
SA9168NE Exhaust and Tailpipe Cutter
Removal Procedure
Notice: Do not over-flex or damage the flex joint when moving the flex joint from the normal mounting position.
Important: A service exhaust muffler will be needed when replacing the exhaust extension pipe on an originally equipped, welded system.
- Raise and support the vehicle. Refer to Lifting and Jacking the Vehicle in General Information.
- Support the exhaust muffler.
- Cut the exhaust extension pipe just forward of the weld at the front of the exhaust muffler using the SA9168NE .
- Release the muffler insulator from the underbody hanger and remove the exhaust muffler.
- Support the catalytic converter pipe.
- Remove the catalytic converter pipe-to-exhaust extension pipe nuts.
- Release the exhaust extension pipe insulators from the underbody hangers, and support the extension pipe.
- Separate the extension pipe from the converter pipe and remove the extension pipe from the vehicle.
- Clean the converter pipe flange surface of any remaining gasket material.


Installation Procedure
- Install a NEW exhaust gasket to the service exhaust extension pipe. The gasket is designed to be retained to the flange by the flange studs.
- Position the extension pipe to the vehicle.
- Connect the extension pipe to the converter pipe, and support the extension pipe.
- Install the exhaust extension pipe insulators to the underbody hangers.
- Install the catalytic converter pipe-to-exhaust extension pipe nuts.
- Install the service muffler to the vehicle.
- Slide the muffler inlet pipe over the extension pipe, then install the muffler insulator to the underbody hanger.
- Install a service muffler clamp to the muffler inlet pipe. Position the clamp approximately 19 mm (¾ in), from the edge of the muffler inlet, with the clamp nuts oriented away from the evaporative emission (EVAP) canister.
- Align the muffler and tailpipe to the vehicle underbody and rear bumper fascia.
- While maintaining muffler positioning, tighten the exhaust clamp nuts.
- Lower the vehicle.

Notice: Refer to Fastener Notice in the Preface section.

Tighten
Tighten the nuts to 30 N·m (22 lb ft).


Tighten
Tighten the nuts to 45 N·m (33 lb ft).
