For 1990-2009 cars only
Removal Procedure
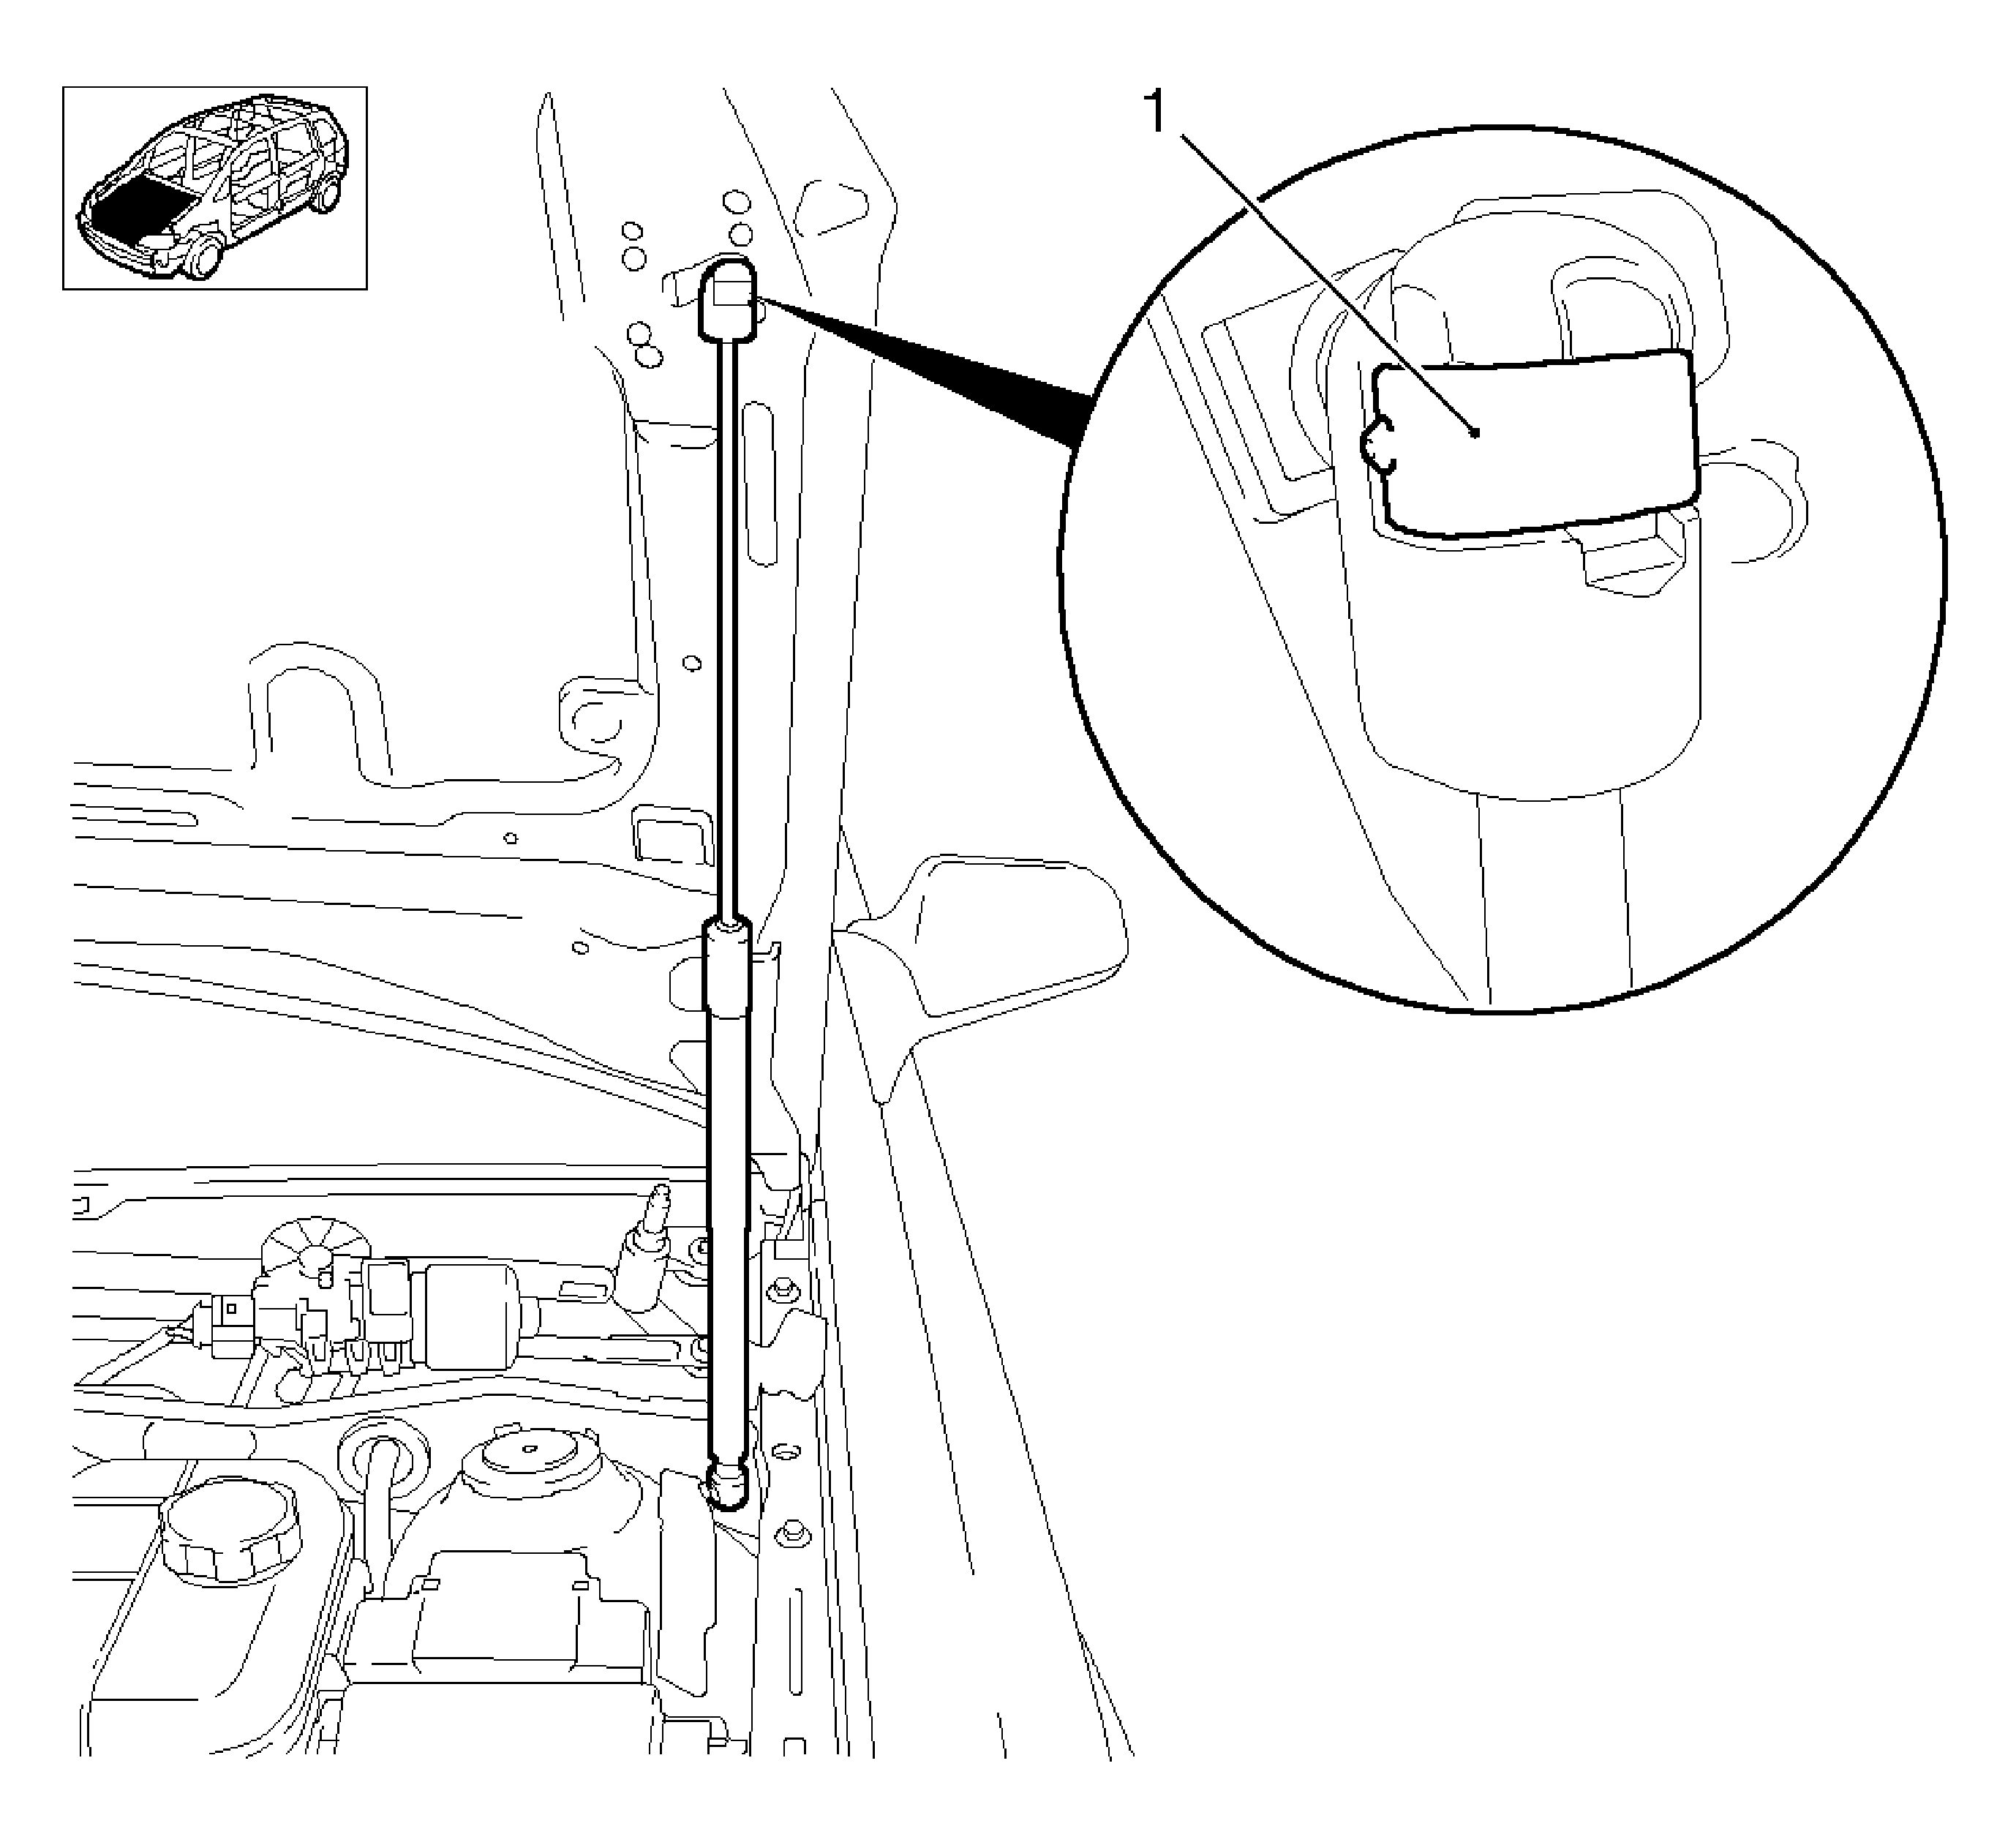
- Remove the hood strut from the hood.
- Remove the hood.

Caution: When a hood hold open device is being removed or installed, provide alternate support to avoid the possibility of damage to the vehicle or personal injury.
Release the retaining clip (1).

| • | Remove the hood strut. |
| • | Remove the 4 bolts (1). |
Installation Procedure
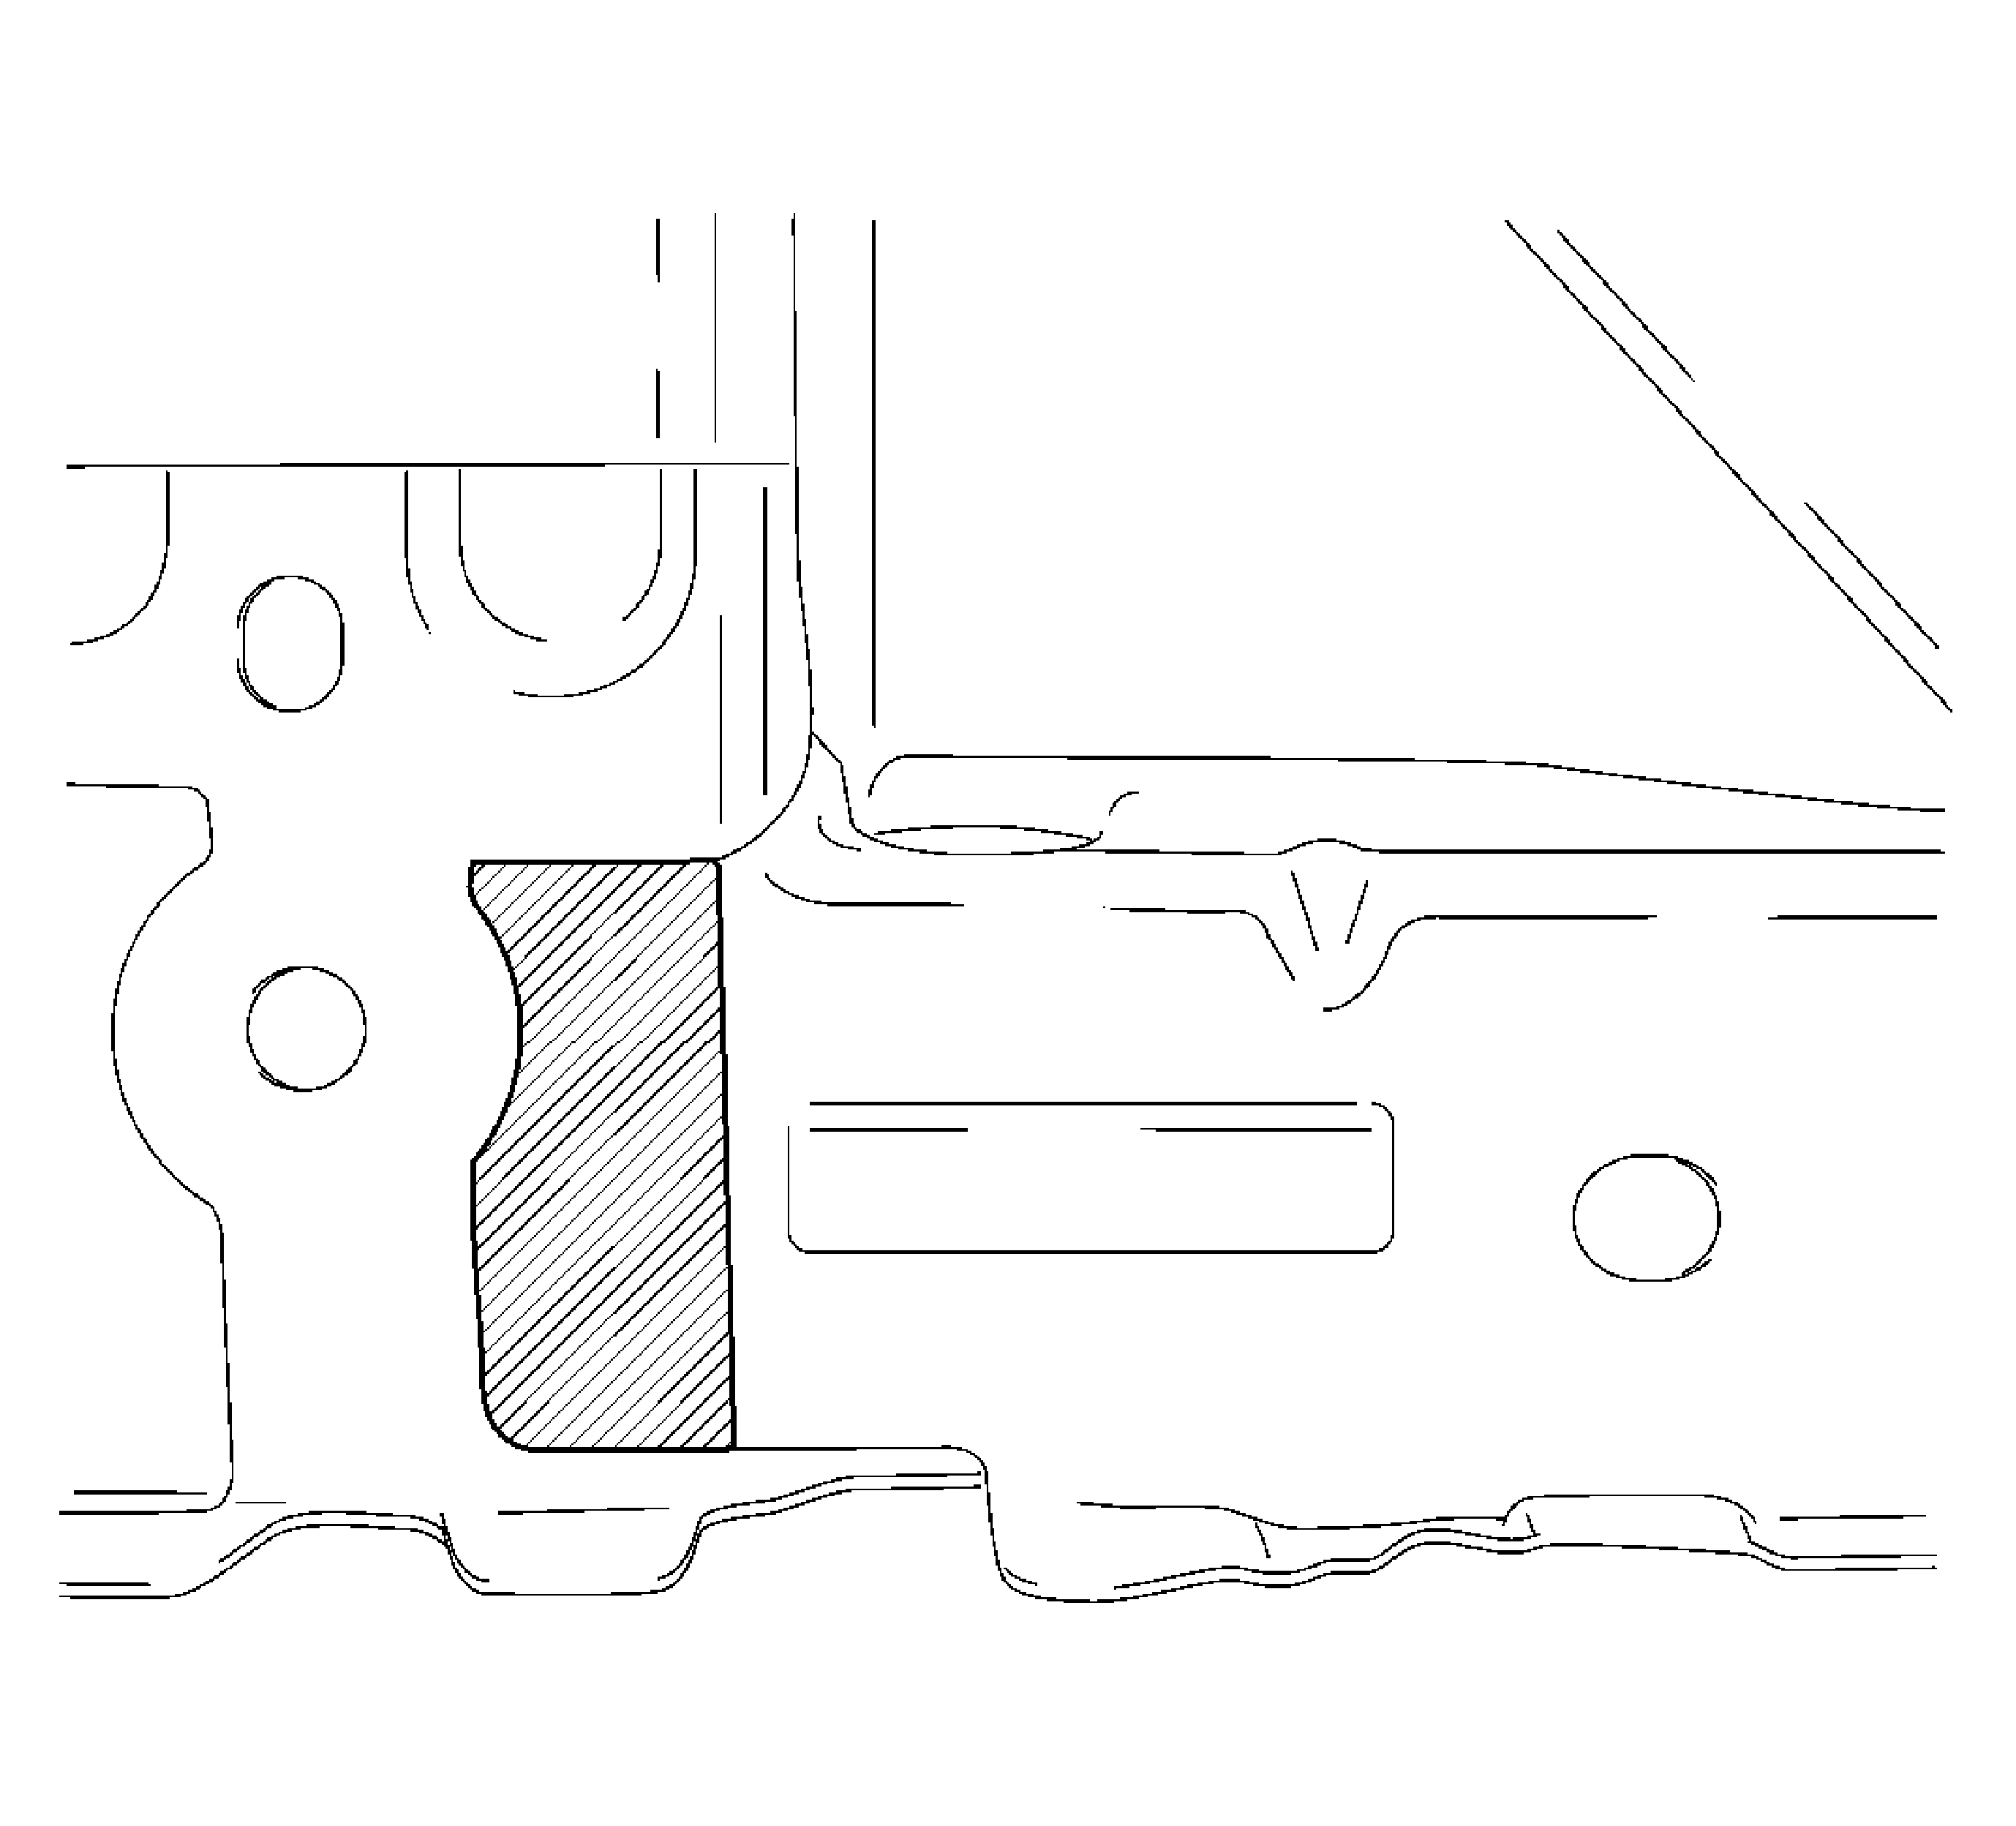
- When replacing the hood, seal the cavity.
- Install the hood.
- Install the hood strut.
- Install the hood strut to the hood.
- Adjust the hood to the adjacent panels.
Important: Observe protective wax corrosion protection measures.
Notice: Refer to Fastener Notice in the Preface section.
Notice: Refer to Liftgate Assist Rod Notice in the Preface section.
Tighten
Tighten the 4 hood hinge bolts to 20 N·m (15 lb ft).
Install the retaining clip.

Important:
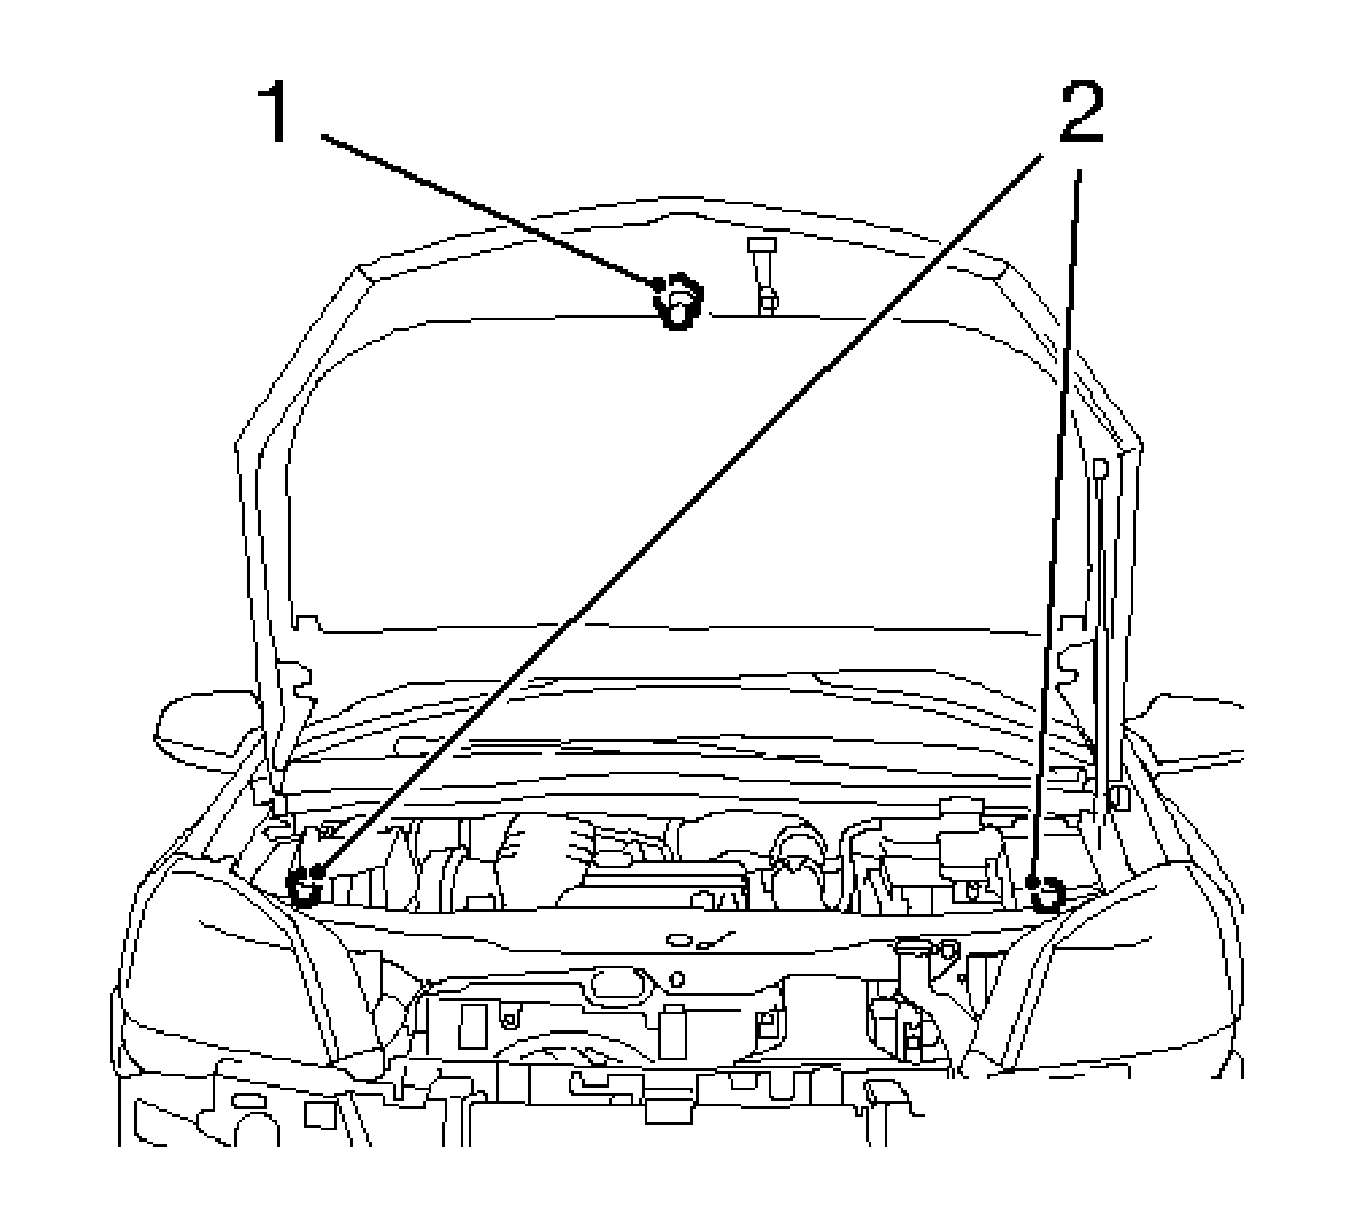
• Use the hood closure (1) and the rubber buffer (2) to adjust the hood. • Ensure the gaps run parallel.
| • | Screw the rubber buffer in until the hood edge is 2 mm (0.07 in) below the top edge of the fender. |
| • | Install and adjust the hood closure bolt. |
| • | Unscrew the rubber buffer by 180 degrees to set the preliminary tension of the hood lock. |
| • | If the hood is aligned, after the adjustment 1 mm (0.03 in) must be under the upper edge of the wing. |
