Removal Procedure
- Remove the air cleaner assembly. Refer to
Air Cleaner Assembly Replacement
.

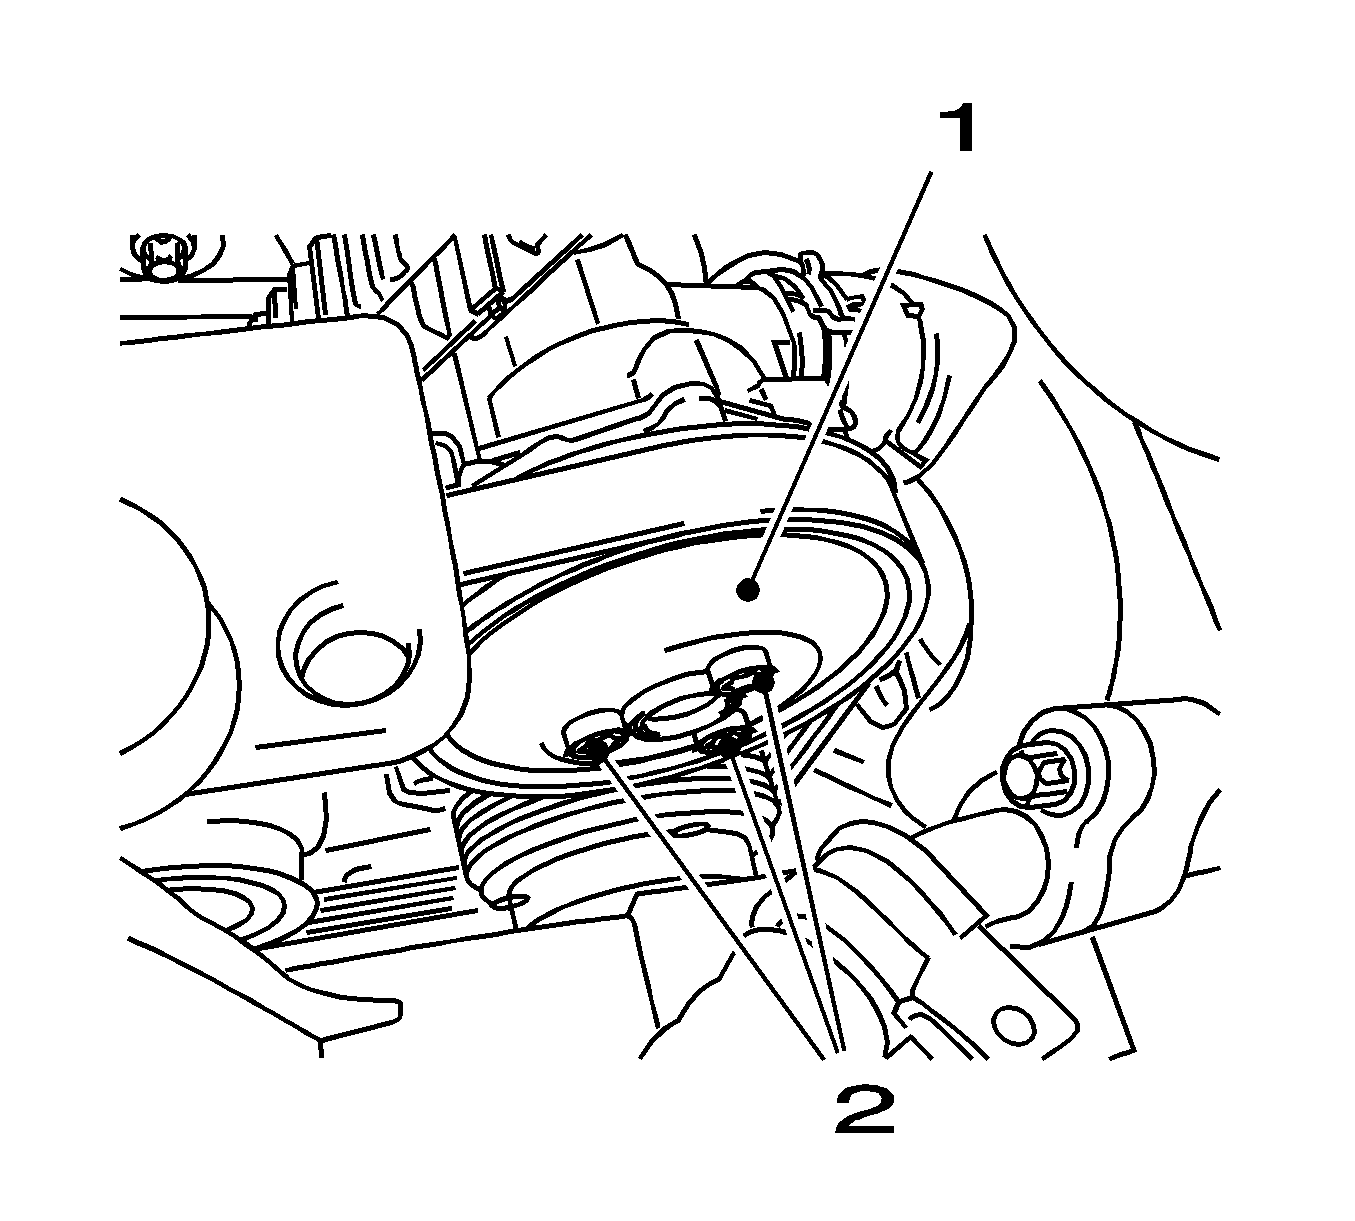
- Remove the water pump strap disc (1).
| • | Remove the 3 bolts (2). |
| • | Counterhold against the bolt of the torsional vibration damper. |
- Raise the vehicle by its full height.
- Remove the drive belt. Refer to
Drive Belt Replacement
.

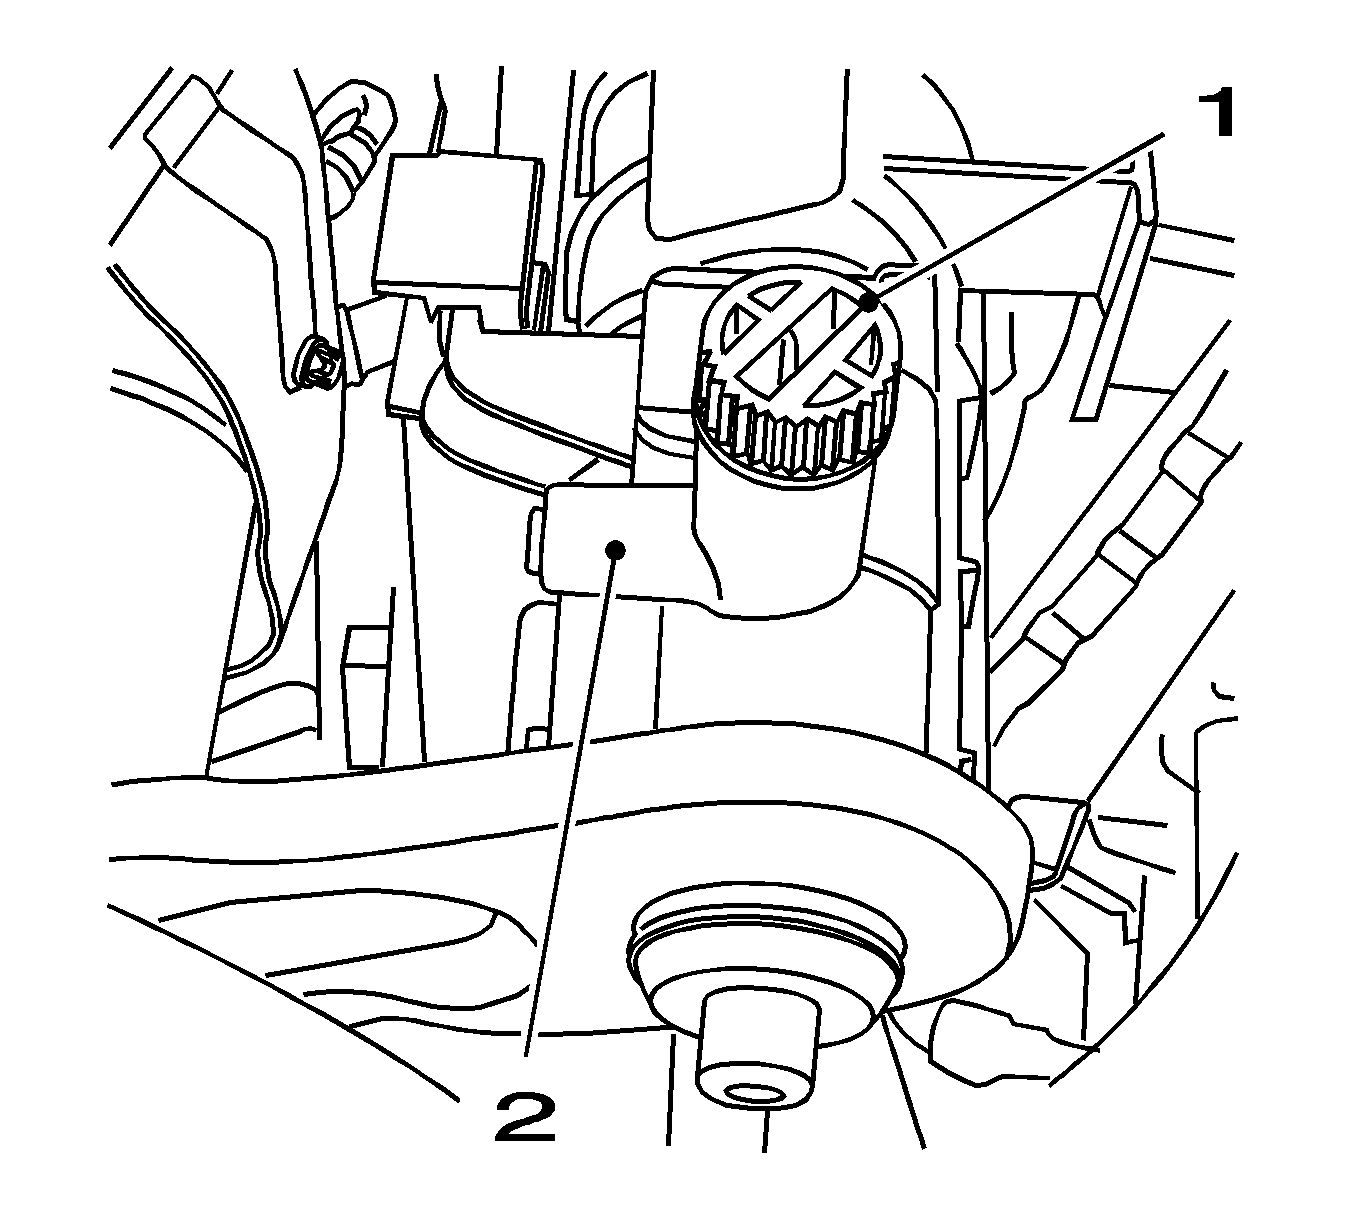
- Drain the coolant.
| • | Place a drain pan underneath. |
| • | Install the suitable hose to the drain connection (2). |
| • | Open the coolant drain screw (1). |
| • | Close the coolant drain screw. |
- Lower the vehicle by its full height.
- Remove the water pump strap disc.
Remove the 3 bolts.

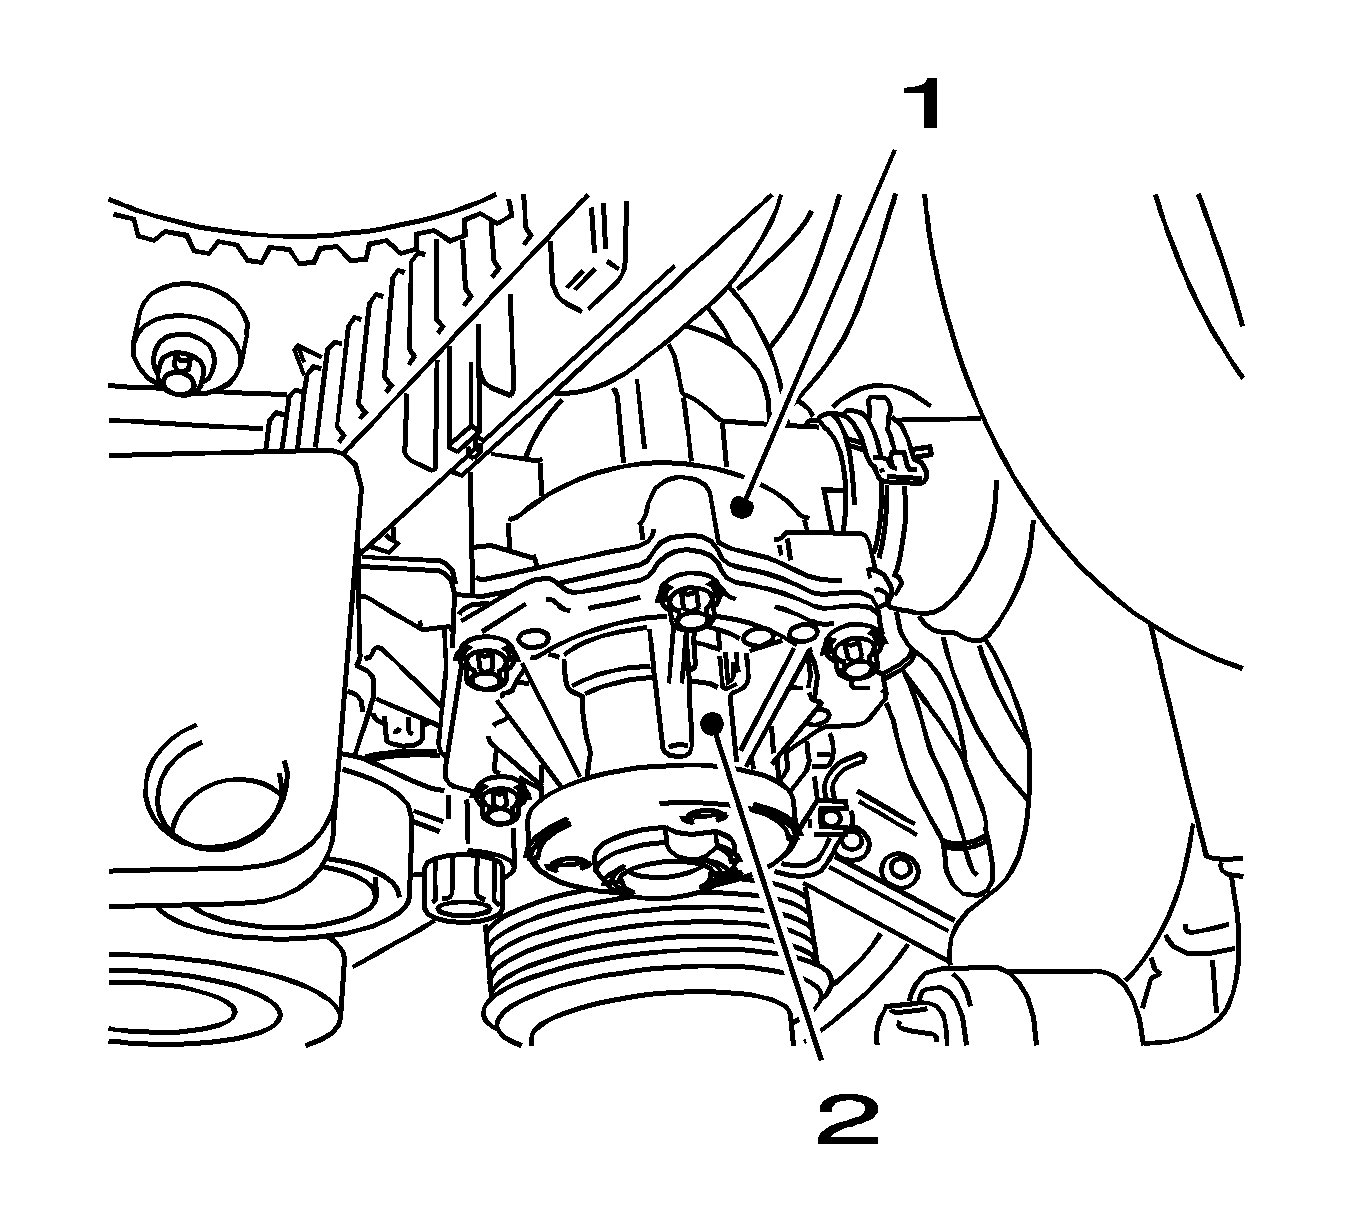
- Remove the water pump (2) from the pump module (1).
- Clean the sealing surfaces.
- Clean the thread.
Clean the 3 water pump threads.
Installation Procedure
Notice: Refer to Fastener Notice in the Preface section.
- Install the water pump.
Use NEW bolts.
Tighten
Tighten the 5 bolts to 8 N·m (70 lb in).
- Install the water pump strap disc.
- Raise the vehicle.
- Install the drive belt. Refer to
Drive Belt Replacement
.
- Lower the vehicle.
- Install the water pump belt pulley.
Tighten
Tighten the 3 bolts to 20 N·m (15 lb ft).
- Fill and bleed the cooling system. Refer to
Cooling System Draining and Filling
.
- Install the air cleaner assembly. Refer to
Air Cleaner Assembly Replacement
.


