For 1990-2009 cars only
Removal Procedure
- Raise and suitably support the vehicle. Refer to Lifting and Jacking the Vehicle in General Information.
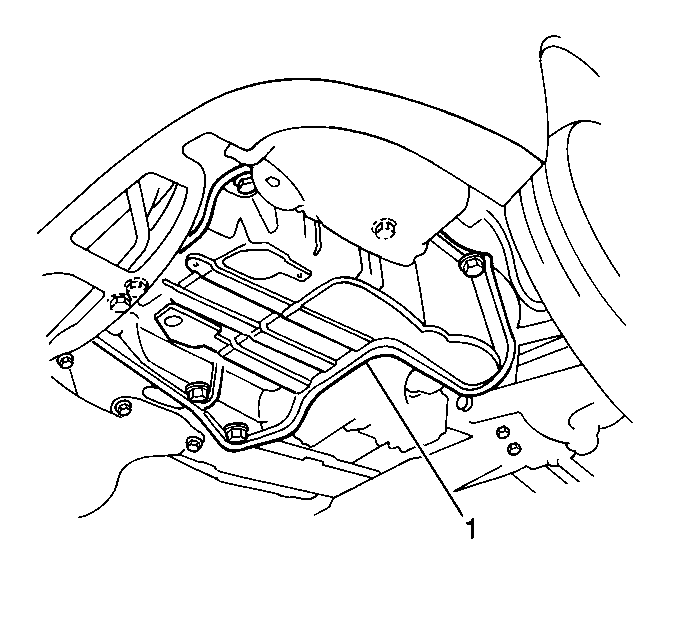
- Remove the left splash shield (1) from the vehicle. Refer to Engine Splash Shield Replacement - Left Side in Body Front End.
- Place a drain pan or a suitable container under the transaxle fluid pan.
- Remove the transaxle drain plug from the transaxle fluid pan and drain the transaxle fluid.
- Remove the 19 bolts, the transaxle fluid pan, and the fluid pan gasket from the transaxle.
- Remove 3 bolts and the fluid filter screen from the valve body.
- Inspect the bottom of the fluid pan for any large pieces of metal or other foreign matter.
- Clean the transaxle fluid pan magnets and the bottom of the transaxle fluid pan.
- Clean the gasket material from the fluid pan-to-case mating surfaces.


Important: A small amount of clutch material in the bottom of the transaxle fluid pan is a normal condition and is consistent with normal transaxle wear. The bottom of the fluid pan is equipped with 2 magnets that will collect minute metal filings. However, if large amounts of clutch material, metal shavings or other foreign matter are present, disassembly and inspection of the transaxle is indicated.
Installation Procedure
- Install a new O-Ring (1) on the fluid filter.
- Coat the O-ring with transmission fluid.
- Install the fluid filter screen to the valve body assembly. Secure the screen with 3 bolts.
- Install the magnets (1) in the fluid pan
- Install the new transaxle fluid pan gasket and transaxle fluid pan to the transaxle. Secure with 19 bolts.
- Install the transaxle pan drain plug into the transaxle fluid pan.
- Remove the drain pan from under the transaxle.
- Install the left splash shield. Refer to Engine Splash Shield Replacement - Left Side in Body Front End.
- Lower the vehicle.
- Refill the transaxle, as necessary. Refer to Fluid Capacity Specifications .

Notice: Refer to Fastener Notice in the Preface section.

Tighten
Tighten all the fluid filter screen bolts to 11 N·m (97 lb in).

Tighten
Tighten the transaxle fluid pan bolts to 8 N·m (70 lb in).
Tighten
Tighten the transaxle drain plug to 49 N·m (36 lb ft).
