For 1990-2009 cars only
Removal Procedure
- Remove the center pillar upper trim panel. Refer to Center Pillar Upper Trim Panel Replacement .
- Lower the door opening frame garnish moldings (1, 2) on the front and rear door pinch weld flanges.
- Remove the assist handles. Refer to Assist Handle Replacement .
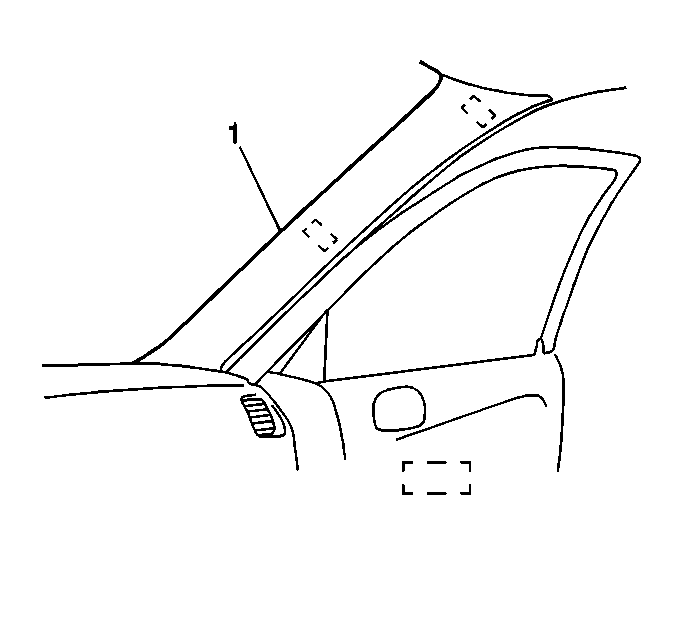
- Gently pry and remove the windshield side garnish moldings (1).
- Remove the sunshades and retainers. Refer to Sunshade Replacement .
- Remove the courtesy and reading lamp/sunroof switch assembly, if equipped. Refer to Sunroof Switch Replacement in Roof.
- Remove the dome lamp. Refer to Dome Lamp Replacement in Lighting Systems.
- Remove the quarter upper trim panel. Refer to Rear Quarter Upper Trim Panel Replacement .
- Lower the front seat back cushions in order to gain clearance to remove the headlining trim finish panel.
- Remove the 2 retainers (2) which secure the rear of the headlining trim finish panel.
- Lower the headlining trim finish panel (1). Remove the headlining through a rear door.


Installation Procedure
- Install the headlining trim finish panel (1) through a rear door.
- Install the headlining panel (1) to the roof panel. Secure the headlining panel with the rear 2 retainers (2).
- Install the quarter upper trim panel. Refer to Rear Quarter Upper Trim Panel Replacement .
- Install the dome lamp. Refer to Dome Lamp Replacement in Lighting Systems.
- Install the courtesy and reading lamp/sunroof switch assembly, if removed. Refer to Sunroof Switch Replacement in Roof.
- Install the sunshades and retainers. Refer to Sunshade Replacement .
- Install the windshield side garnish moldings (1) to the vehicle. Ensure that the plastic retainers are fully engaged.
- Install the assist handles. Refer to Assist Handle Replacement .
- Install the center pillar upper trim panel. Refer to Center Pillar Upper Trim Panel Replacement .
- Reposition the door opening frame garnish moldings (1, 2) on all doors to the correct position on the pinch well flange.
- Position the front seat back cushions back to the upright position.


