For 1990-2009 cars only
Removal Procedure
- Position the front seats rearward.
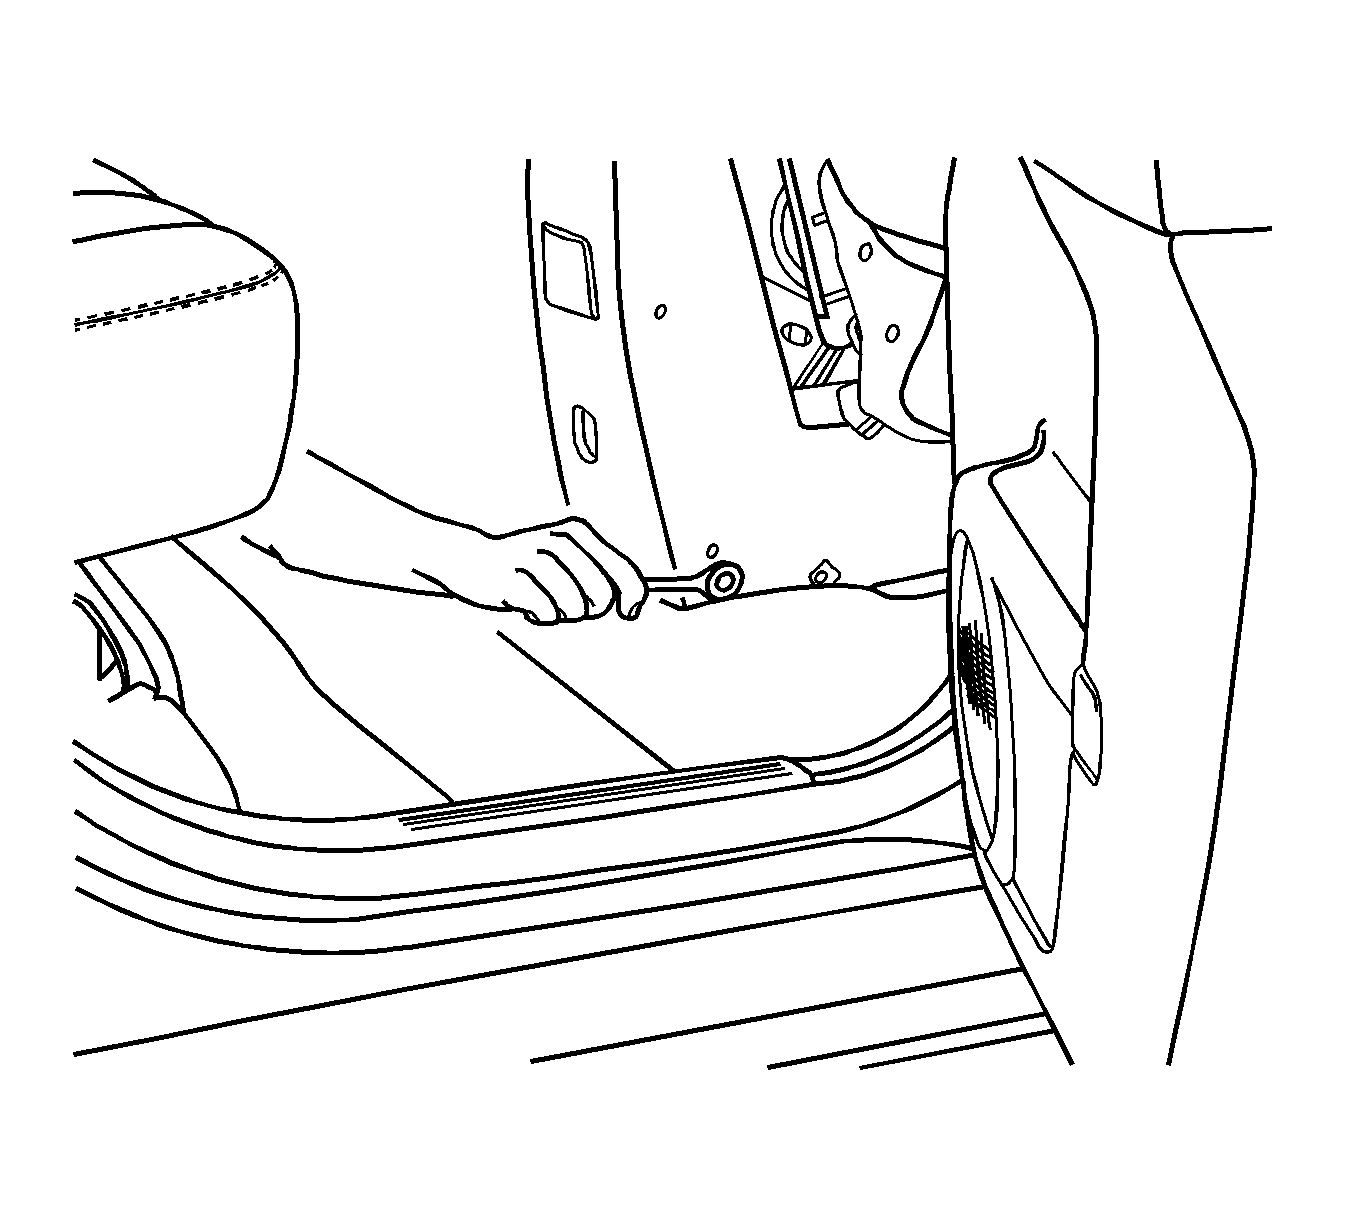
- Reach under the front seats to access the lower console screws.
- Remove the console screws.
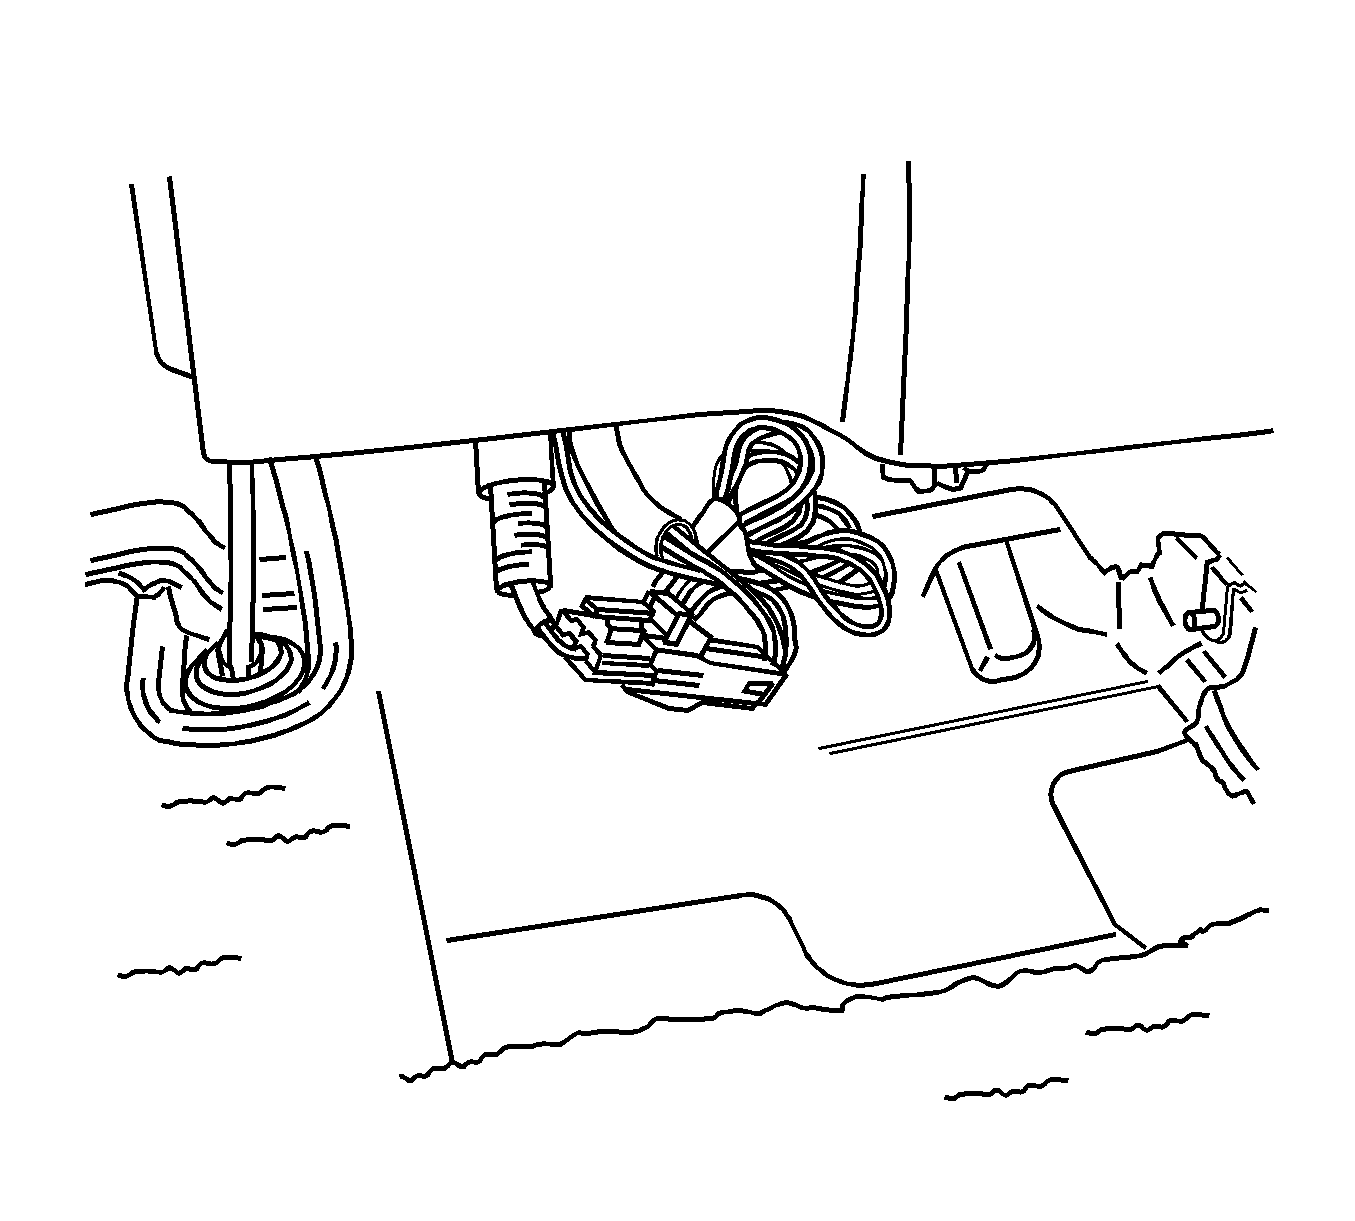
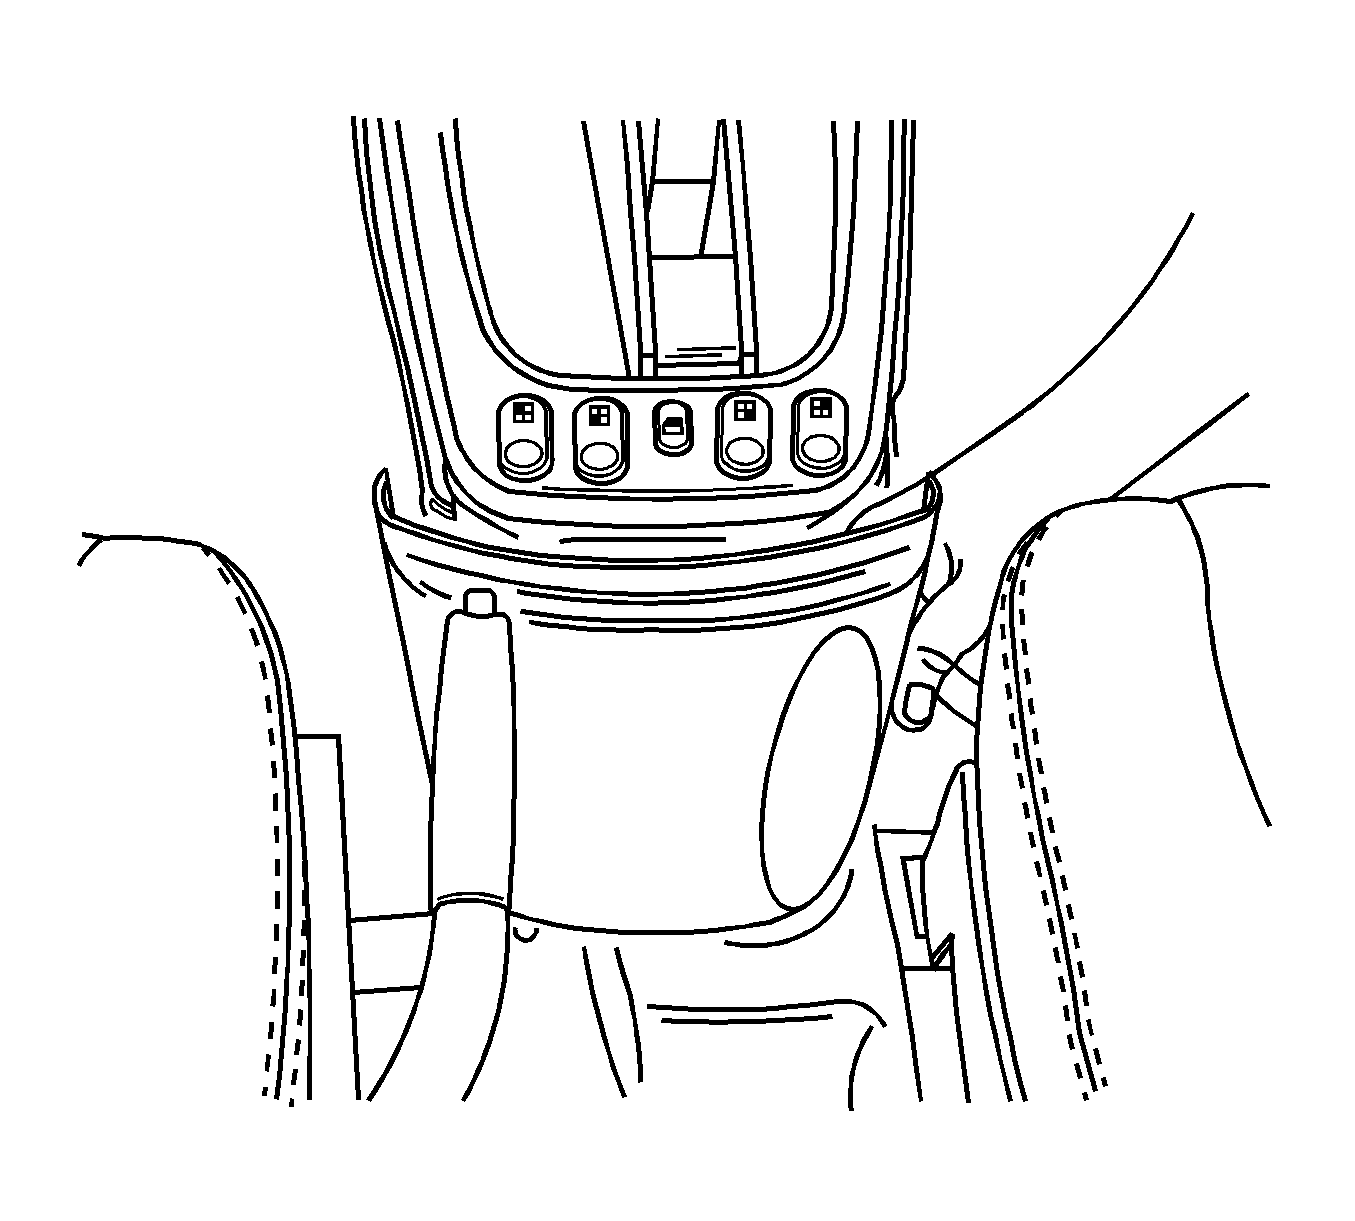
- Lift the rear of the center floor console.
- Disconnect the electrical connector to the auxiliary power outlet.
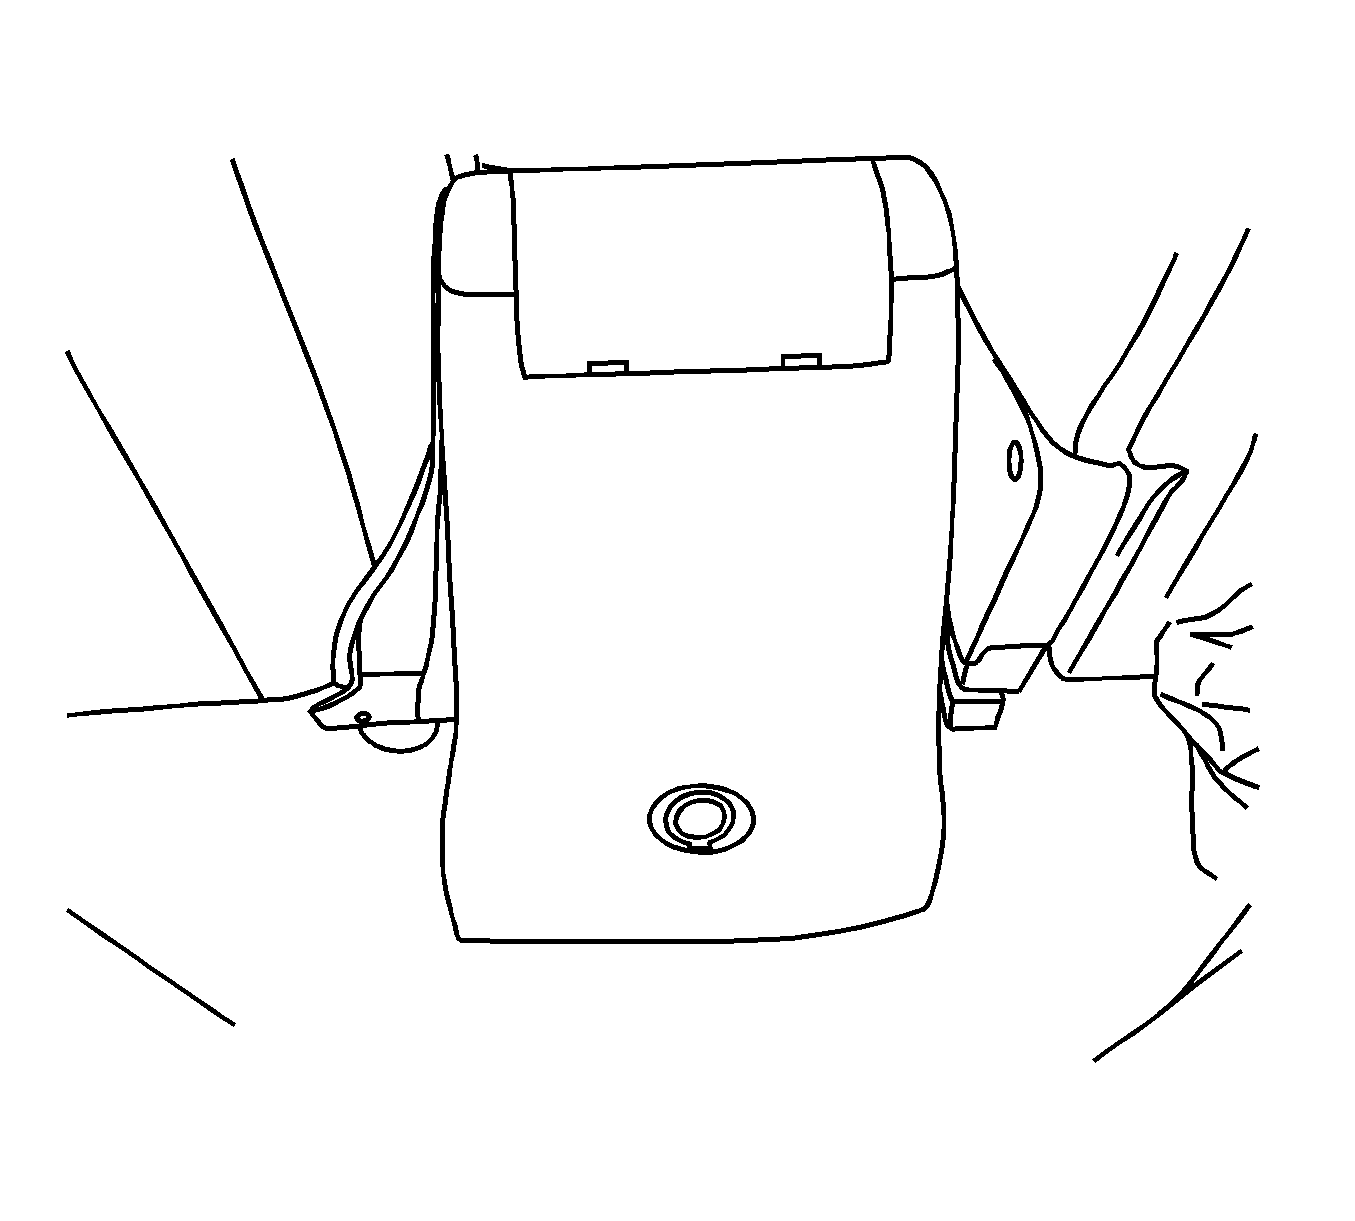
- Slide the center floor console rearward.
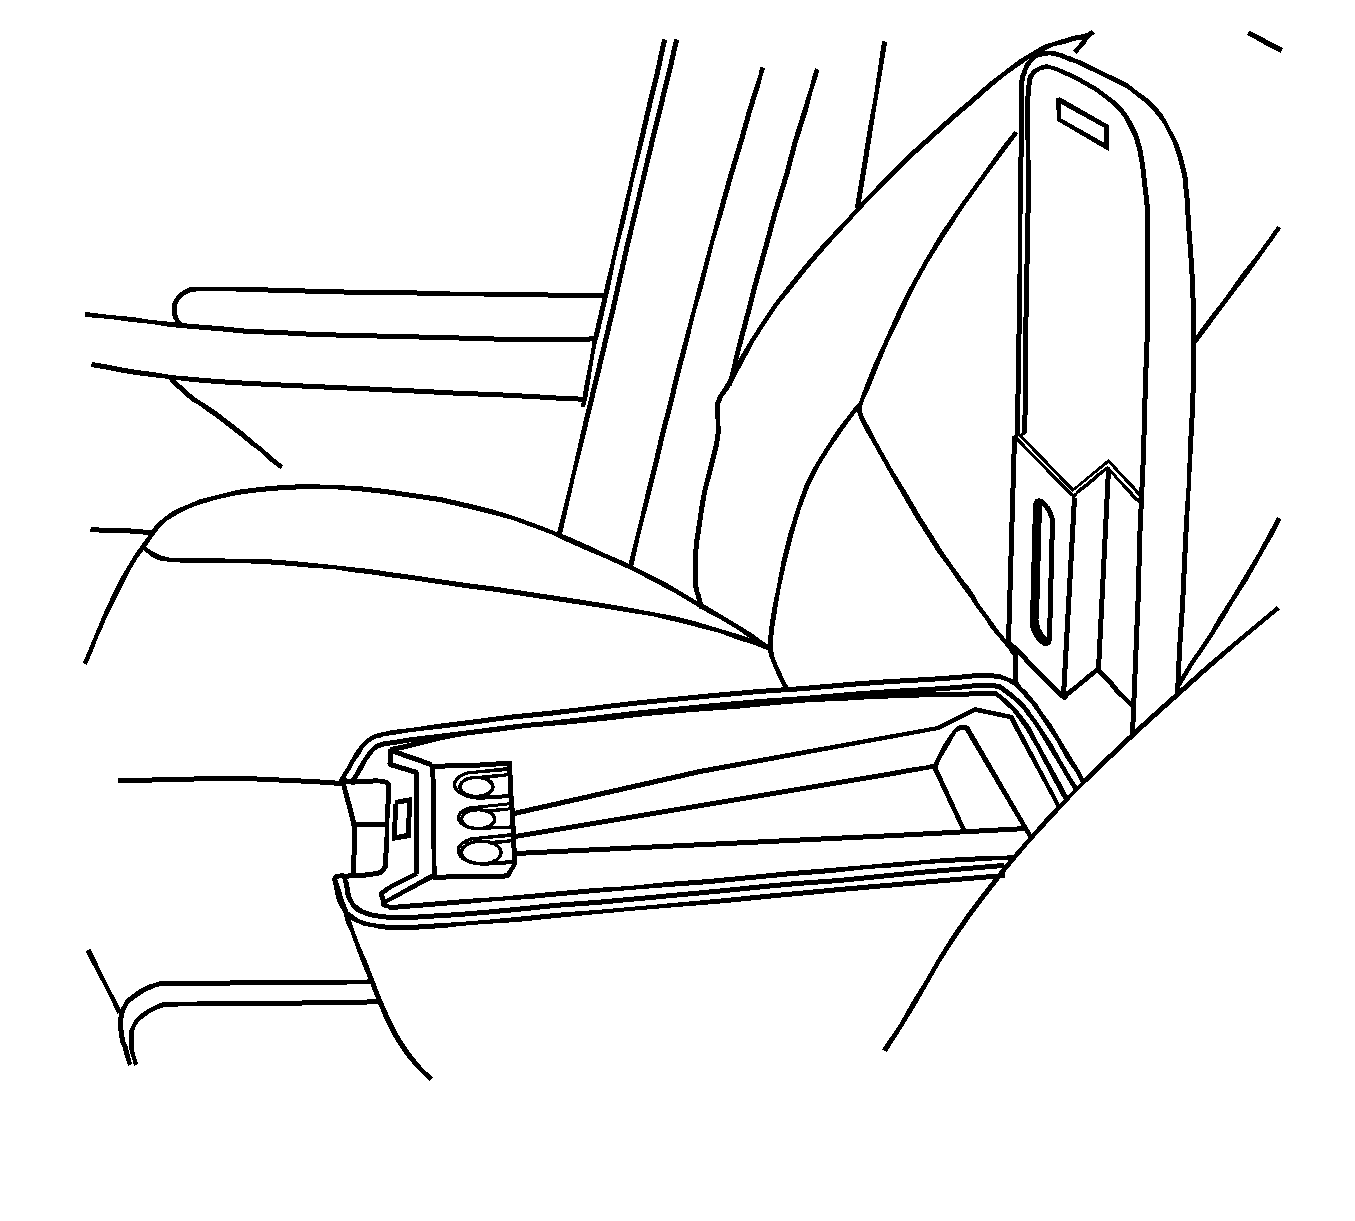
- Remove the center trim panel by pulling outward.
Installation Procedure
- Position the center trim plate to the front console.
- Push until the trim clips engage.
- Lift the rear of the center floor console.
- Connect the electrical connector to the auxiliary power outlet.
- Reposition the center console.
- Reach under the front seats to access the lower console screws.
- Install the center console screws.
- Position the front seat forward to the original position.

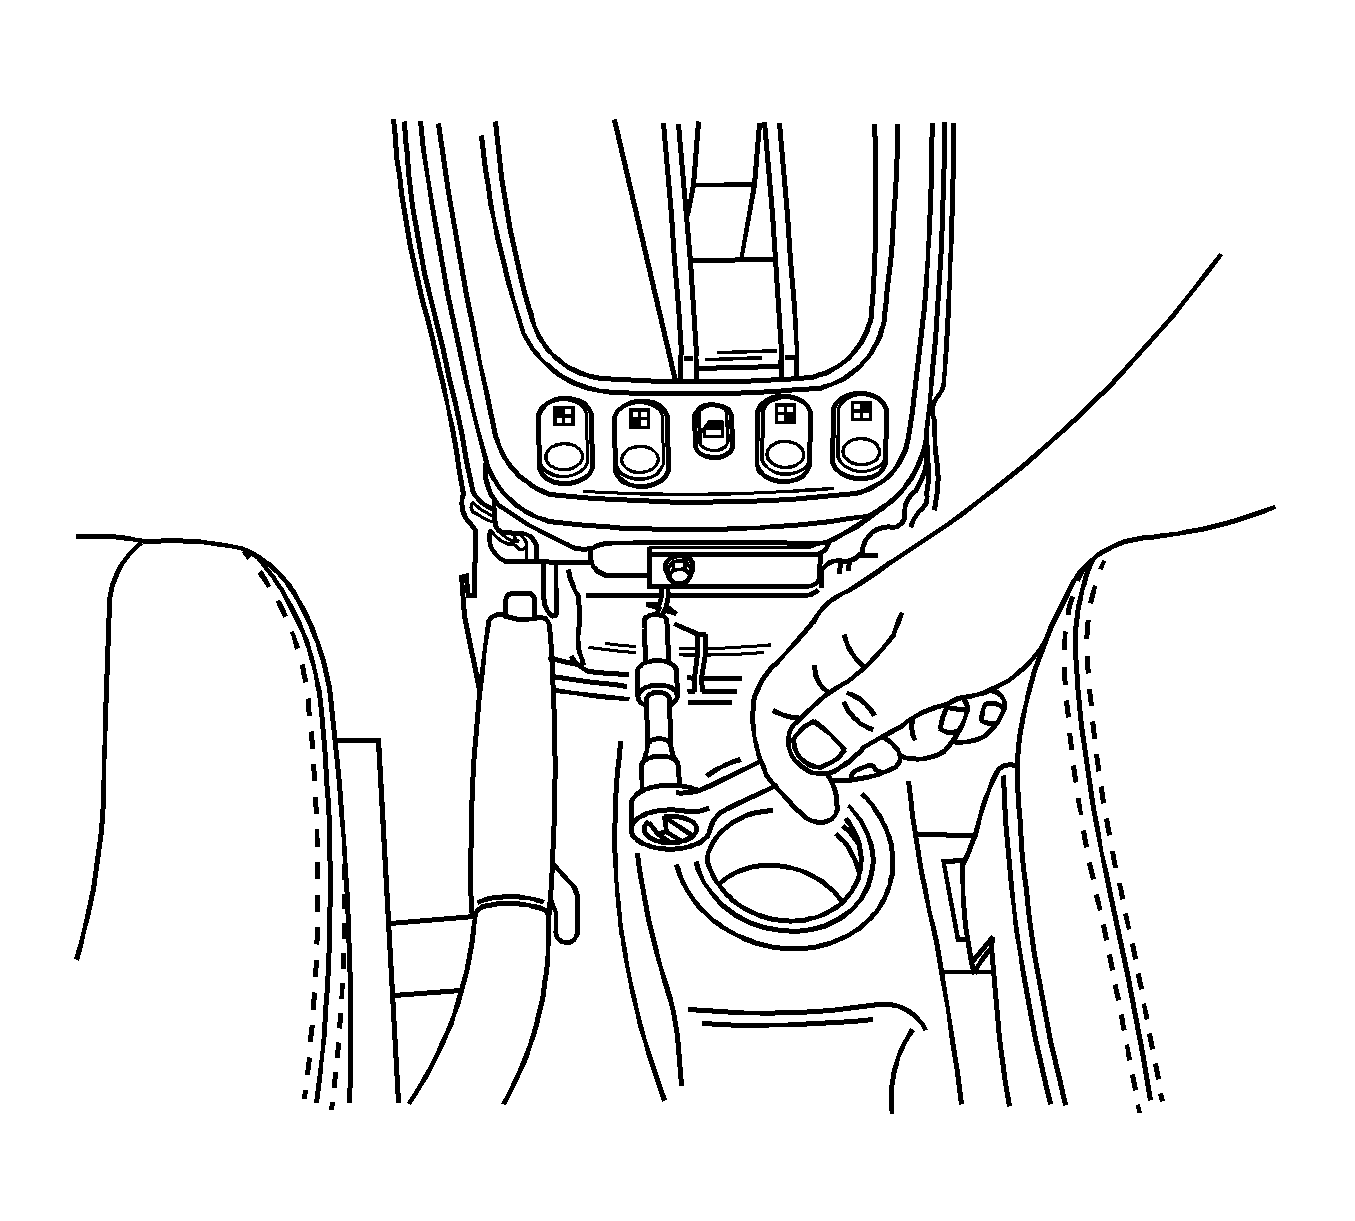

Tighten
Tighten the screws to 2.5 N·m (22 lb in).
