GM Service Manual Online
For 1990-2009 cars only

Rear Bumper Fascia Emblem/Nameplate Replacement Solstice
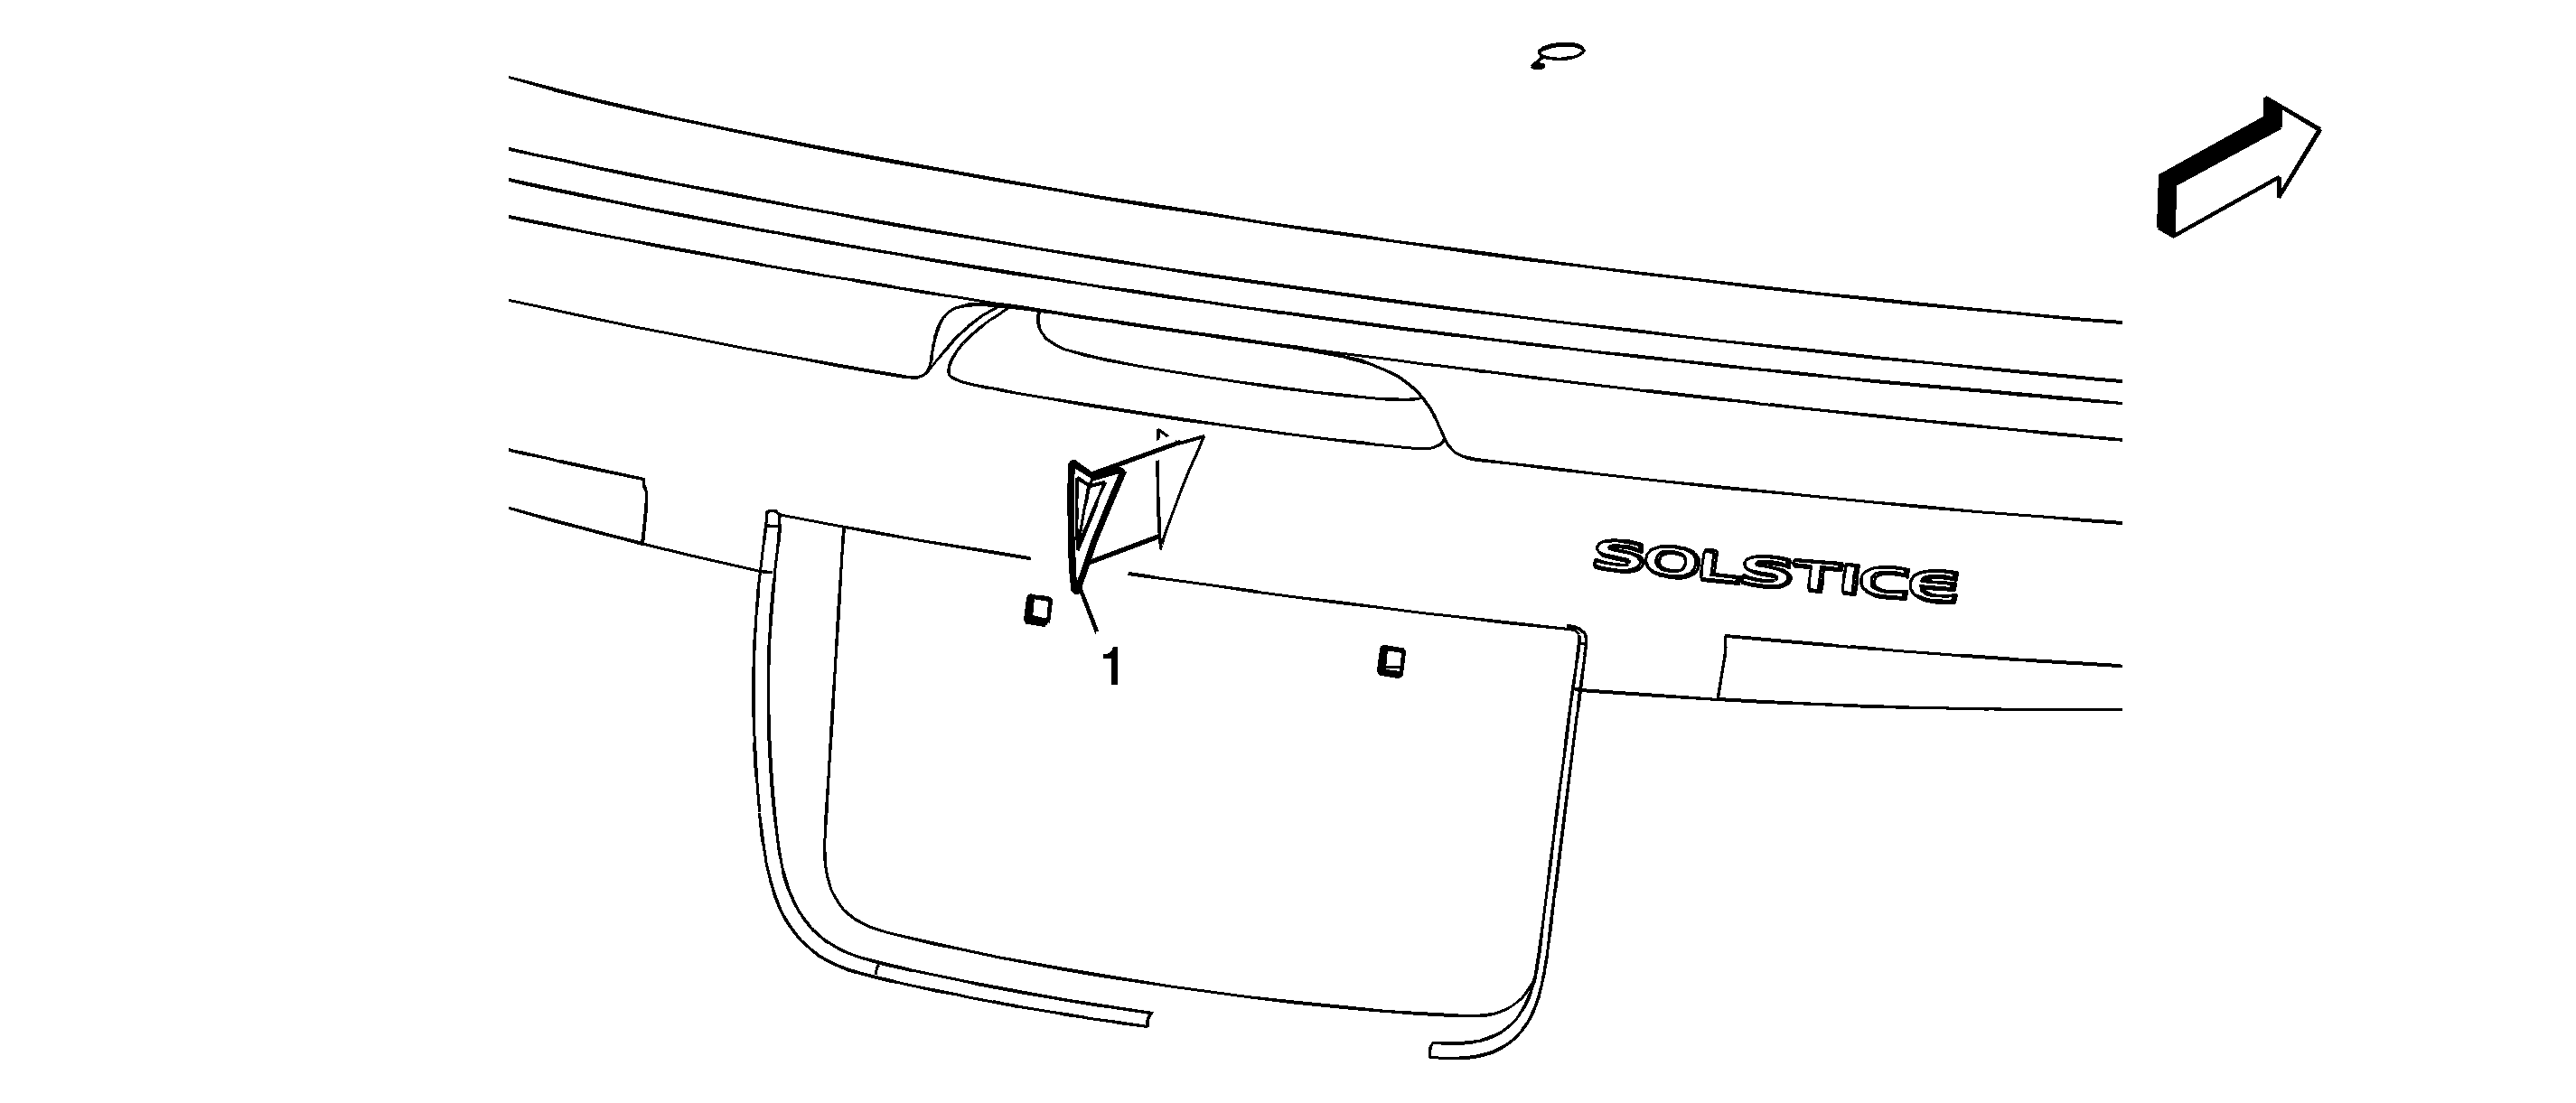

Object Number: 1581676  Size: SF

Callout

Component Name

1

Nameplate Assembly, Rear Bumper Fascia

Tip

  1. Clean the adhesive tape from the surface of the rear bumper fascia and dry thoroughly before applying the new emblem.
  2. Peel the protective backing from the emblem and ensure no foreign matter or dirt comes in contact with the adhesive backing prior to installation.
  3. Install the emblem and apply pressure to ensure full adhesion to the rear bumper fascia.

Rear Bumper Fascia Emblem/Nameplate Replacement Solstice
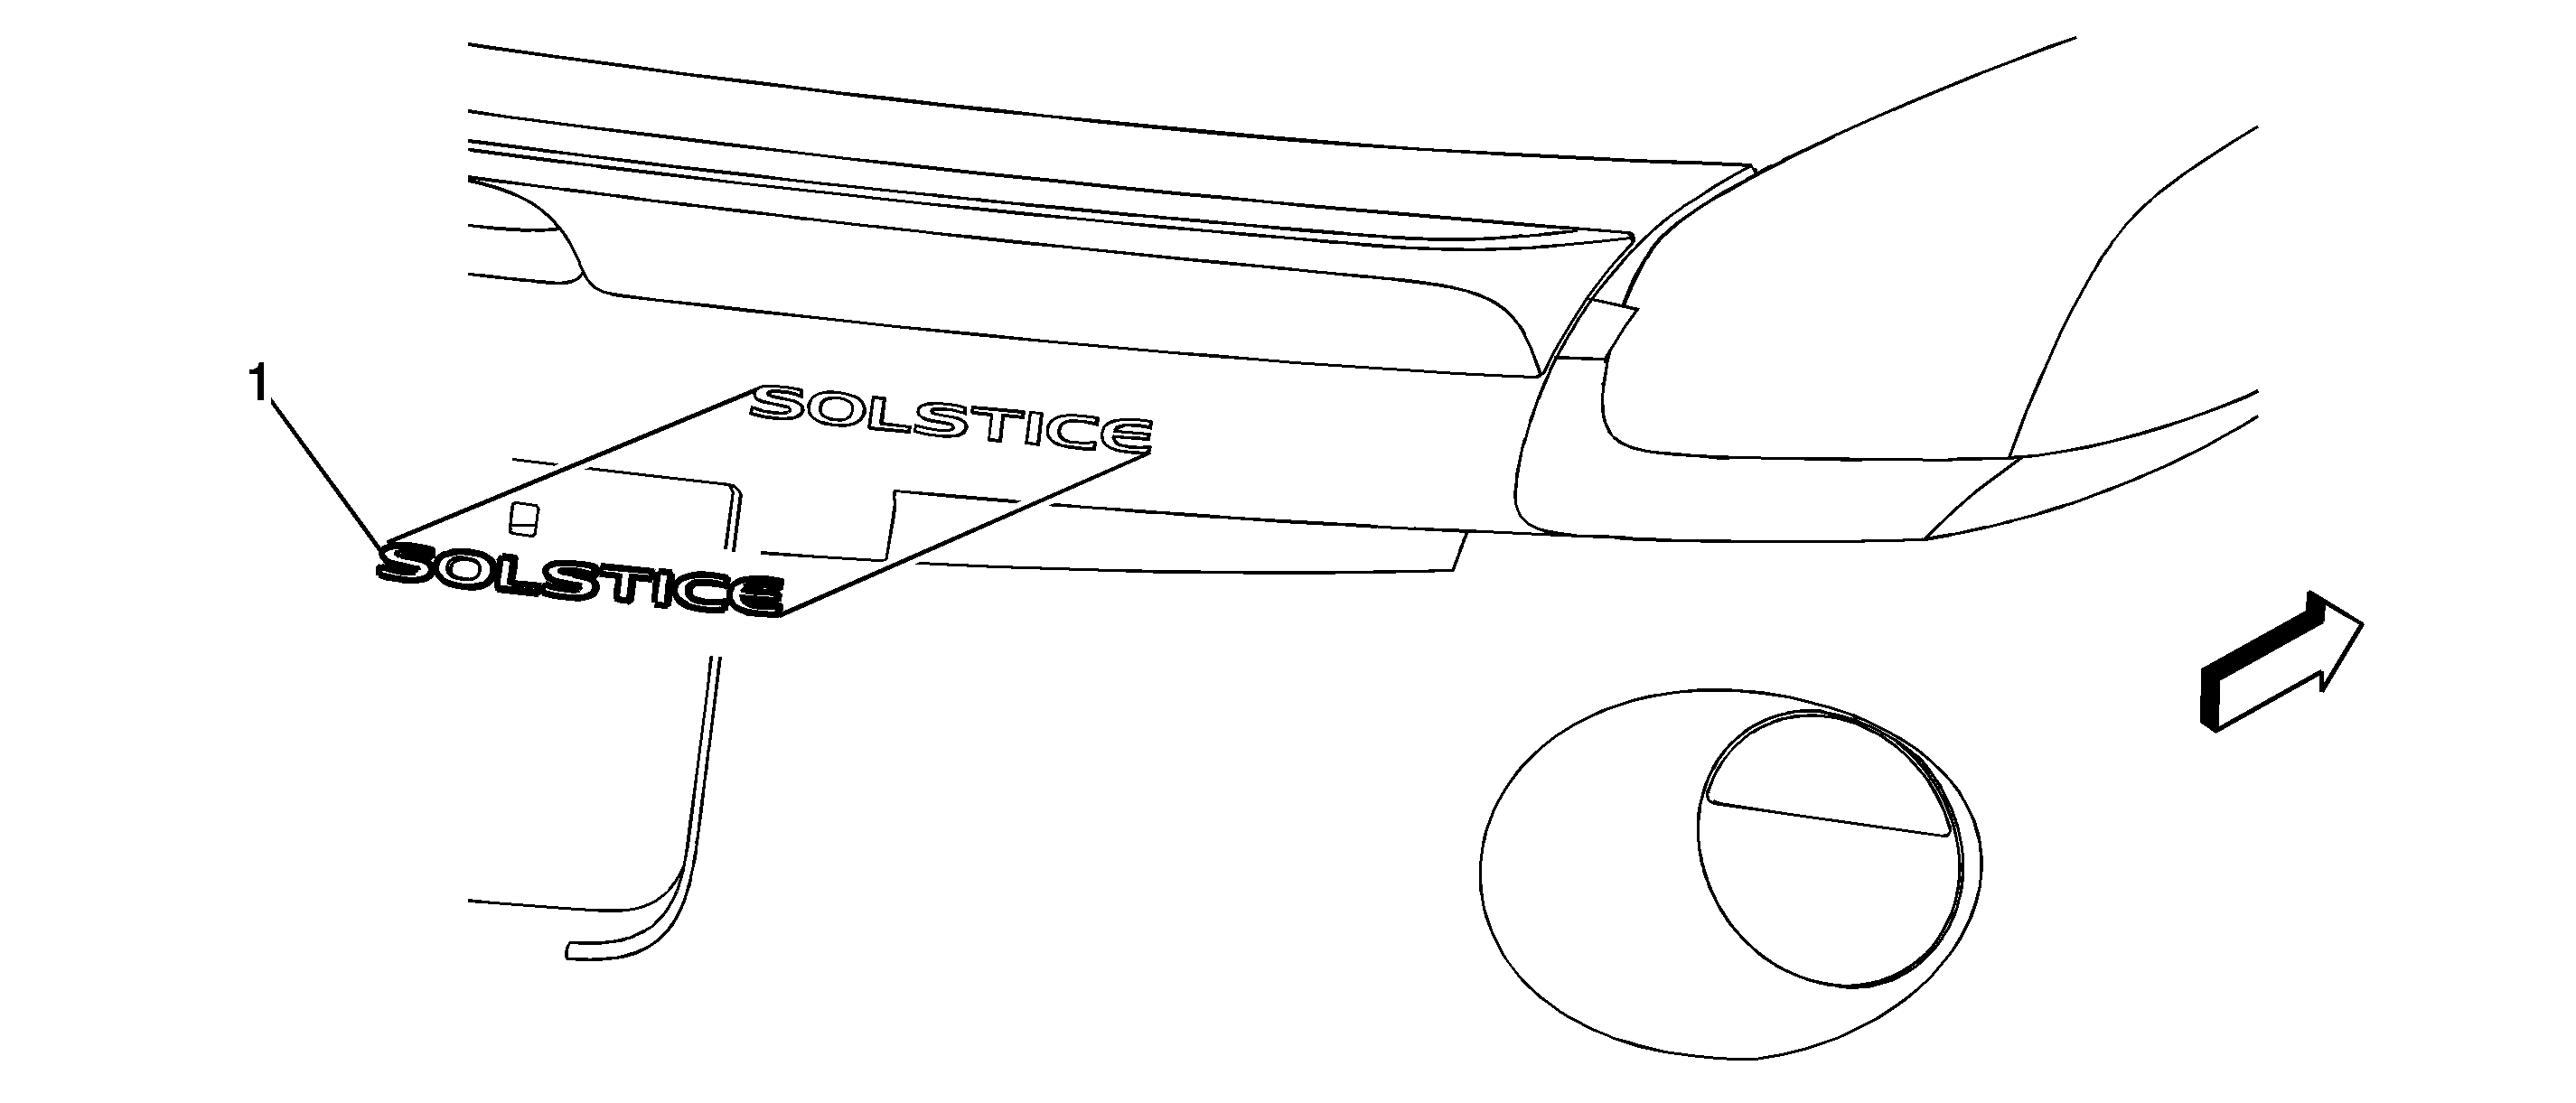

Object Number: 1581674  Size: SF

Callout

Component Name

1

Emblem Assembly, Rear Bumper Fascia

Tip

  1. Clean the adhesive tape from the surface of the rear bumper fascia and dry thoroughly before applying the new emblem.
  2. Peel the protective backing from the emblem and ensure no foreign matter or dirt comes in contact with the adhesive backing prior to installation.
  3. Install the emblem and apply pressure to ensure full adhesion to the rear bumper fascia.

Rear Bumper Fascia Emblem/Nameplate Replacement Solstice
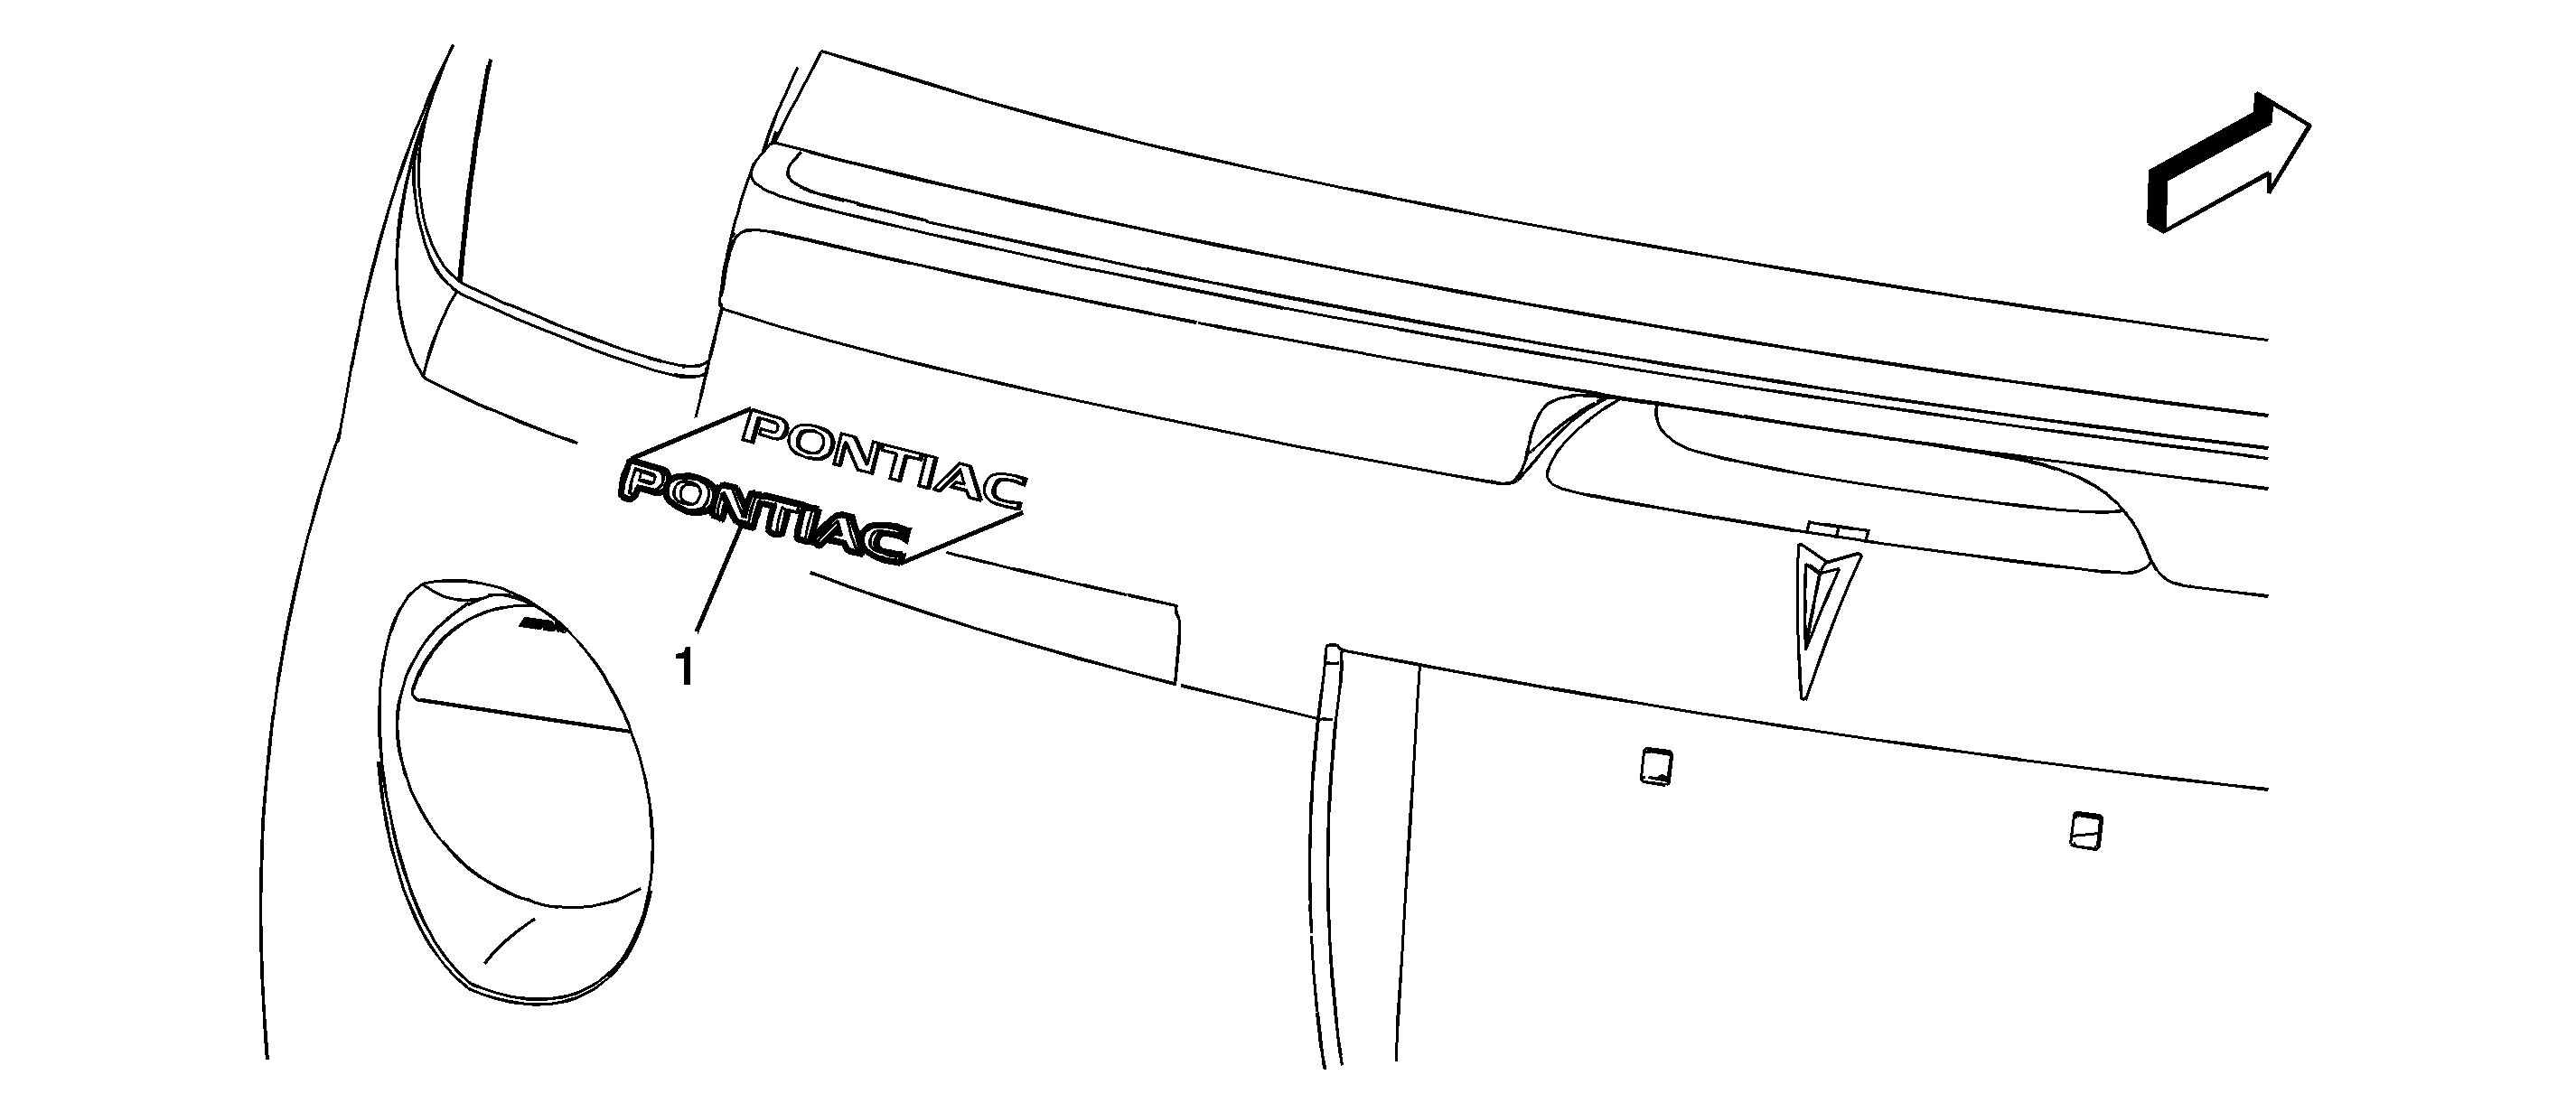

Object Number: 1581653  Size: SF

Callout

Component Name

1

Nameplate Assembly, Rear Bumper Fascia

Tip

  1. Clean the adhesive tape from the surface of the rear bumper fascia and dry thoroughly before applying the new emblem.
  2. Peel the protective backing from the emblem and ensure no foreign matter or dirt comes in contact with the adhesive backing prior to installation.
  3. Install the emblem and apply pressure to ensure full adhesion to the rear bumper fascia.

Rear Bumper Fascia Emblem/Nameplate Replacement SKY
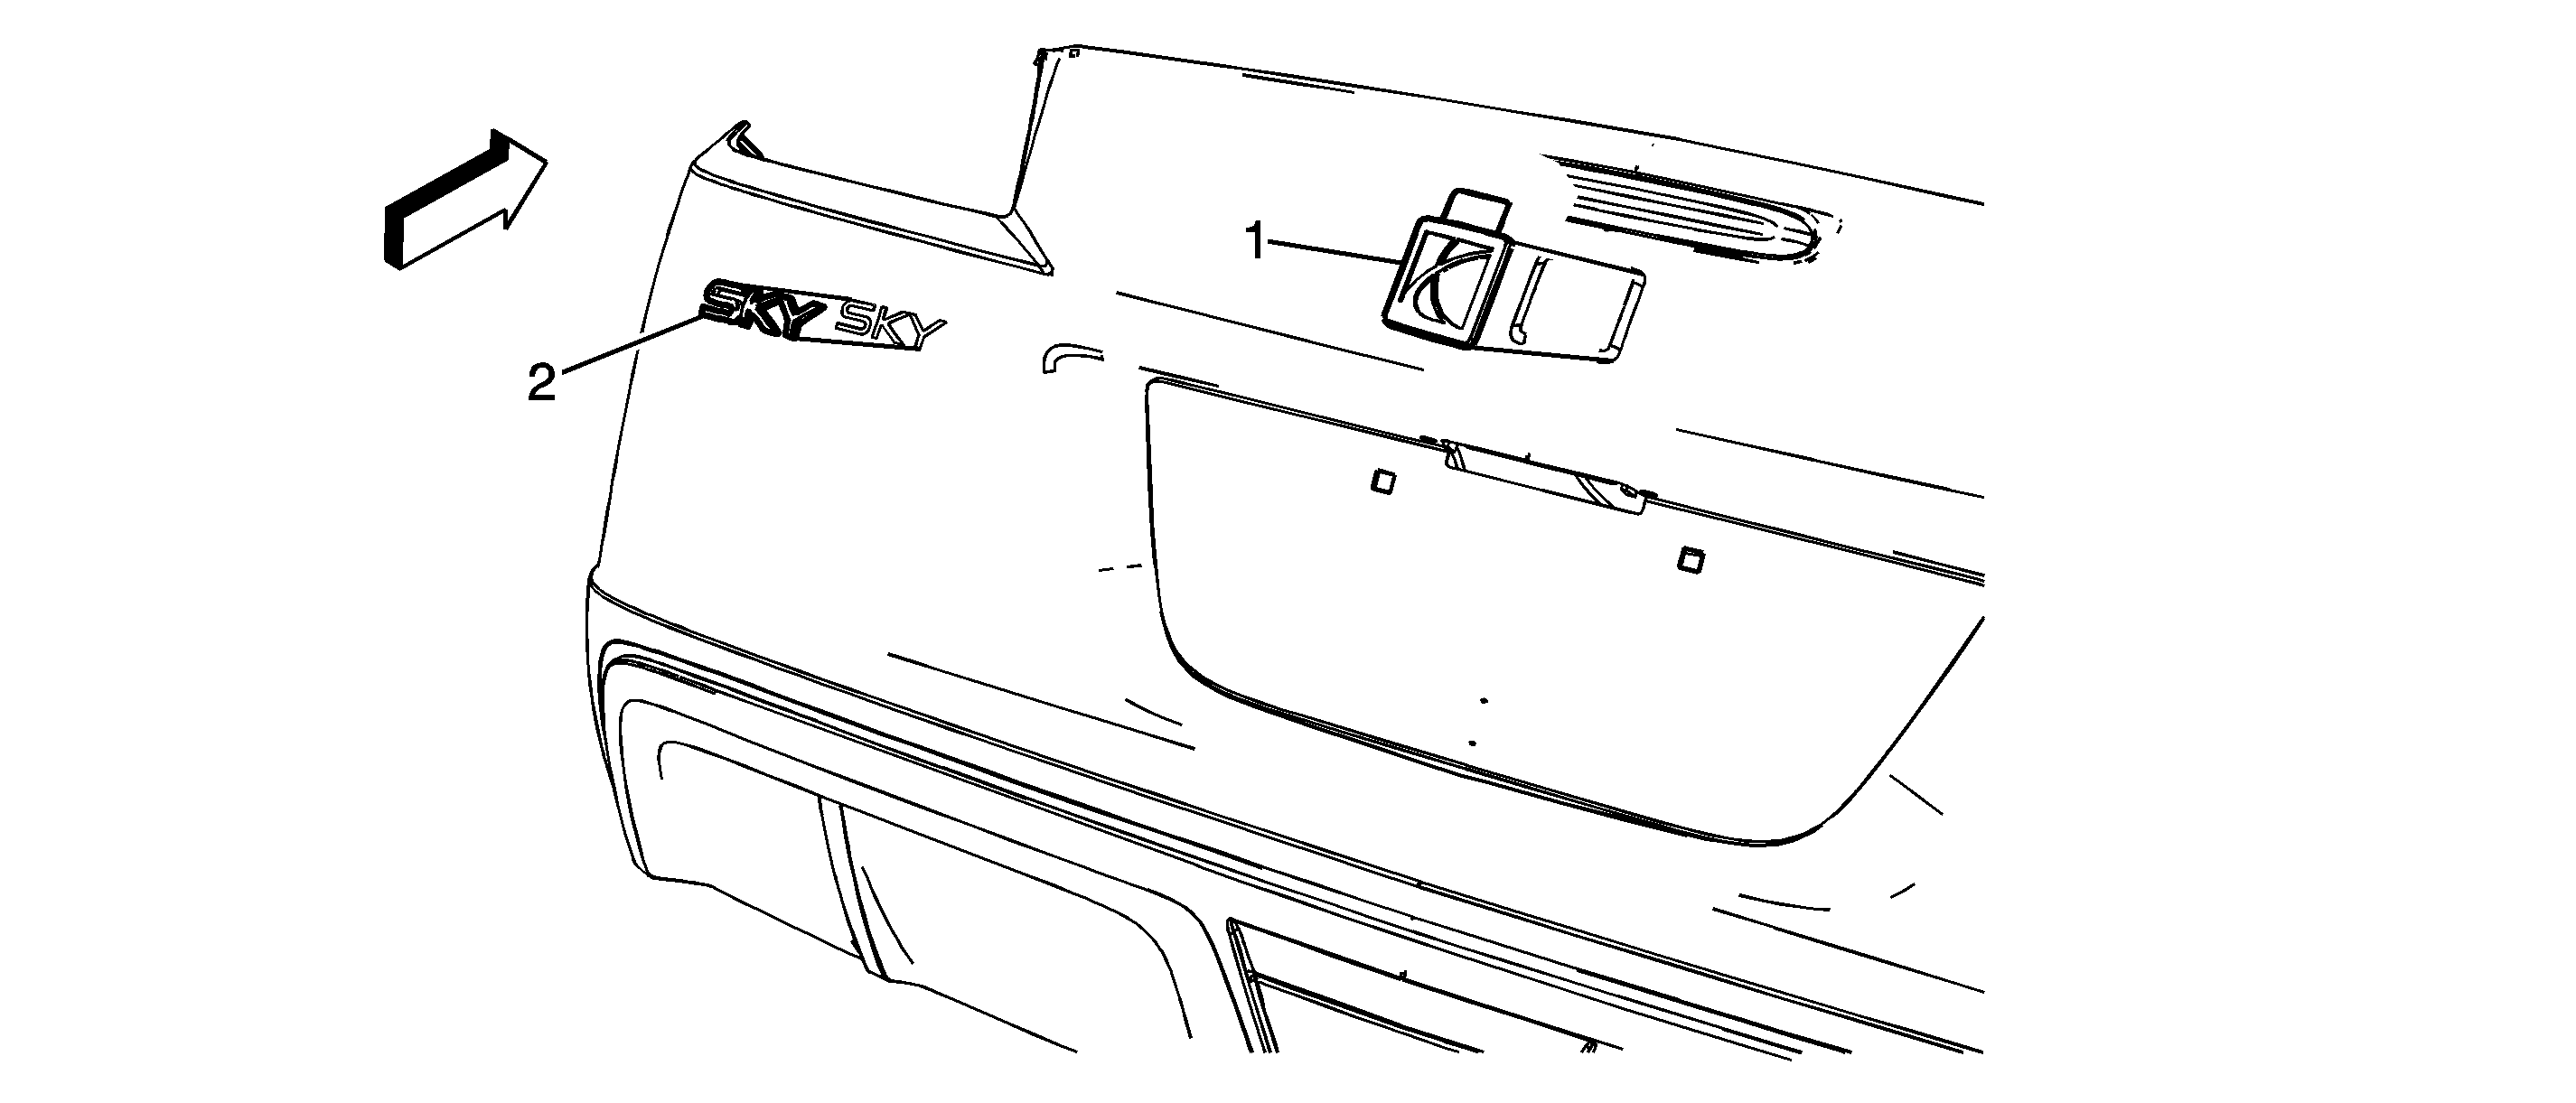

Object Number: 1735488  Size: SF

Callout

Component Name

Preliminary Procedures

  1. Using a J 25070 Heat Gun, warm the exterior bumper fascia to a minimum of 21°C (70°F) to assist with the adhesive tape removal and installation of the new rear compartment lid emblems.
  2. Use a 50/50 mixture by volume of isopropyl alcohol and water in order to remove any adhesive tape residue from the rear bumper fascia after the emblems have been removed.

1

Rear Compartment Lid Emblem Assembly (SATURN)

Tip
When removing the protective liners from the adhesive tape, be careful not to touch the tape with hands and do not allow the tape to come in contact with dirt or any foreign matter prior to adhesion.

2

Rear Compartment Lid Emblem Assembly (SKY)

Tip
When removing the protective liners from the adhesive tape, be careful not to touch the tape with hands and do not allow the tape to come in contact with dirt or any foreign matter prior to adhesion.

Rear Bumper Fascia Emblem/Nameplate Replacement Red Line
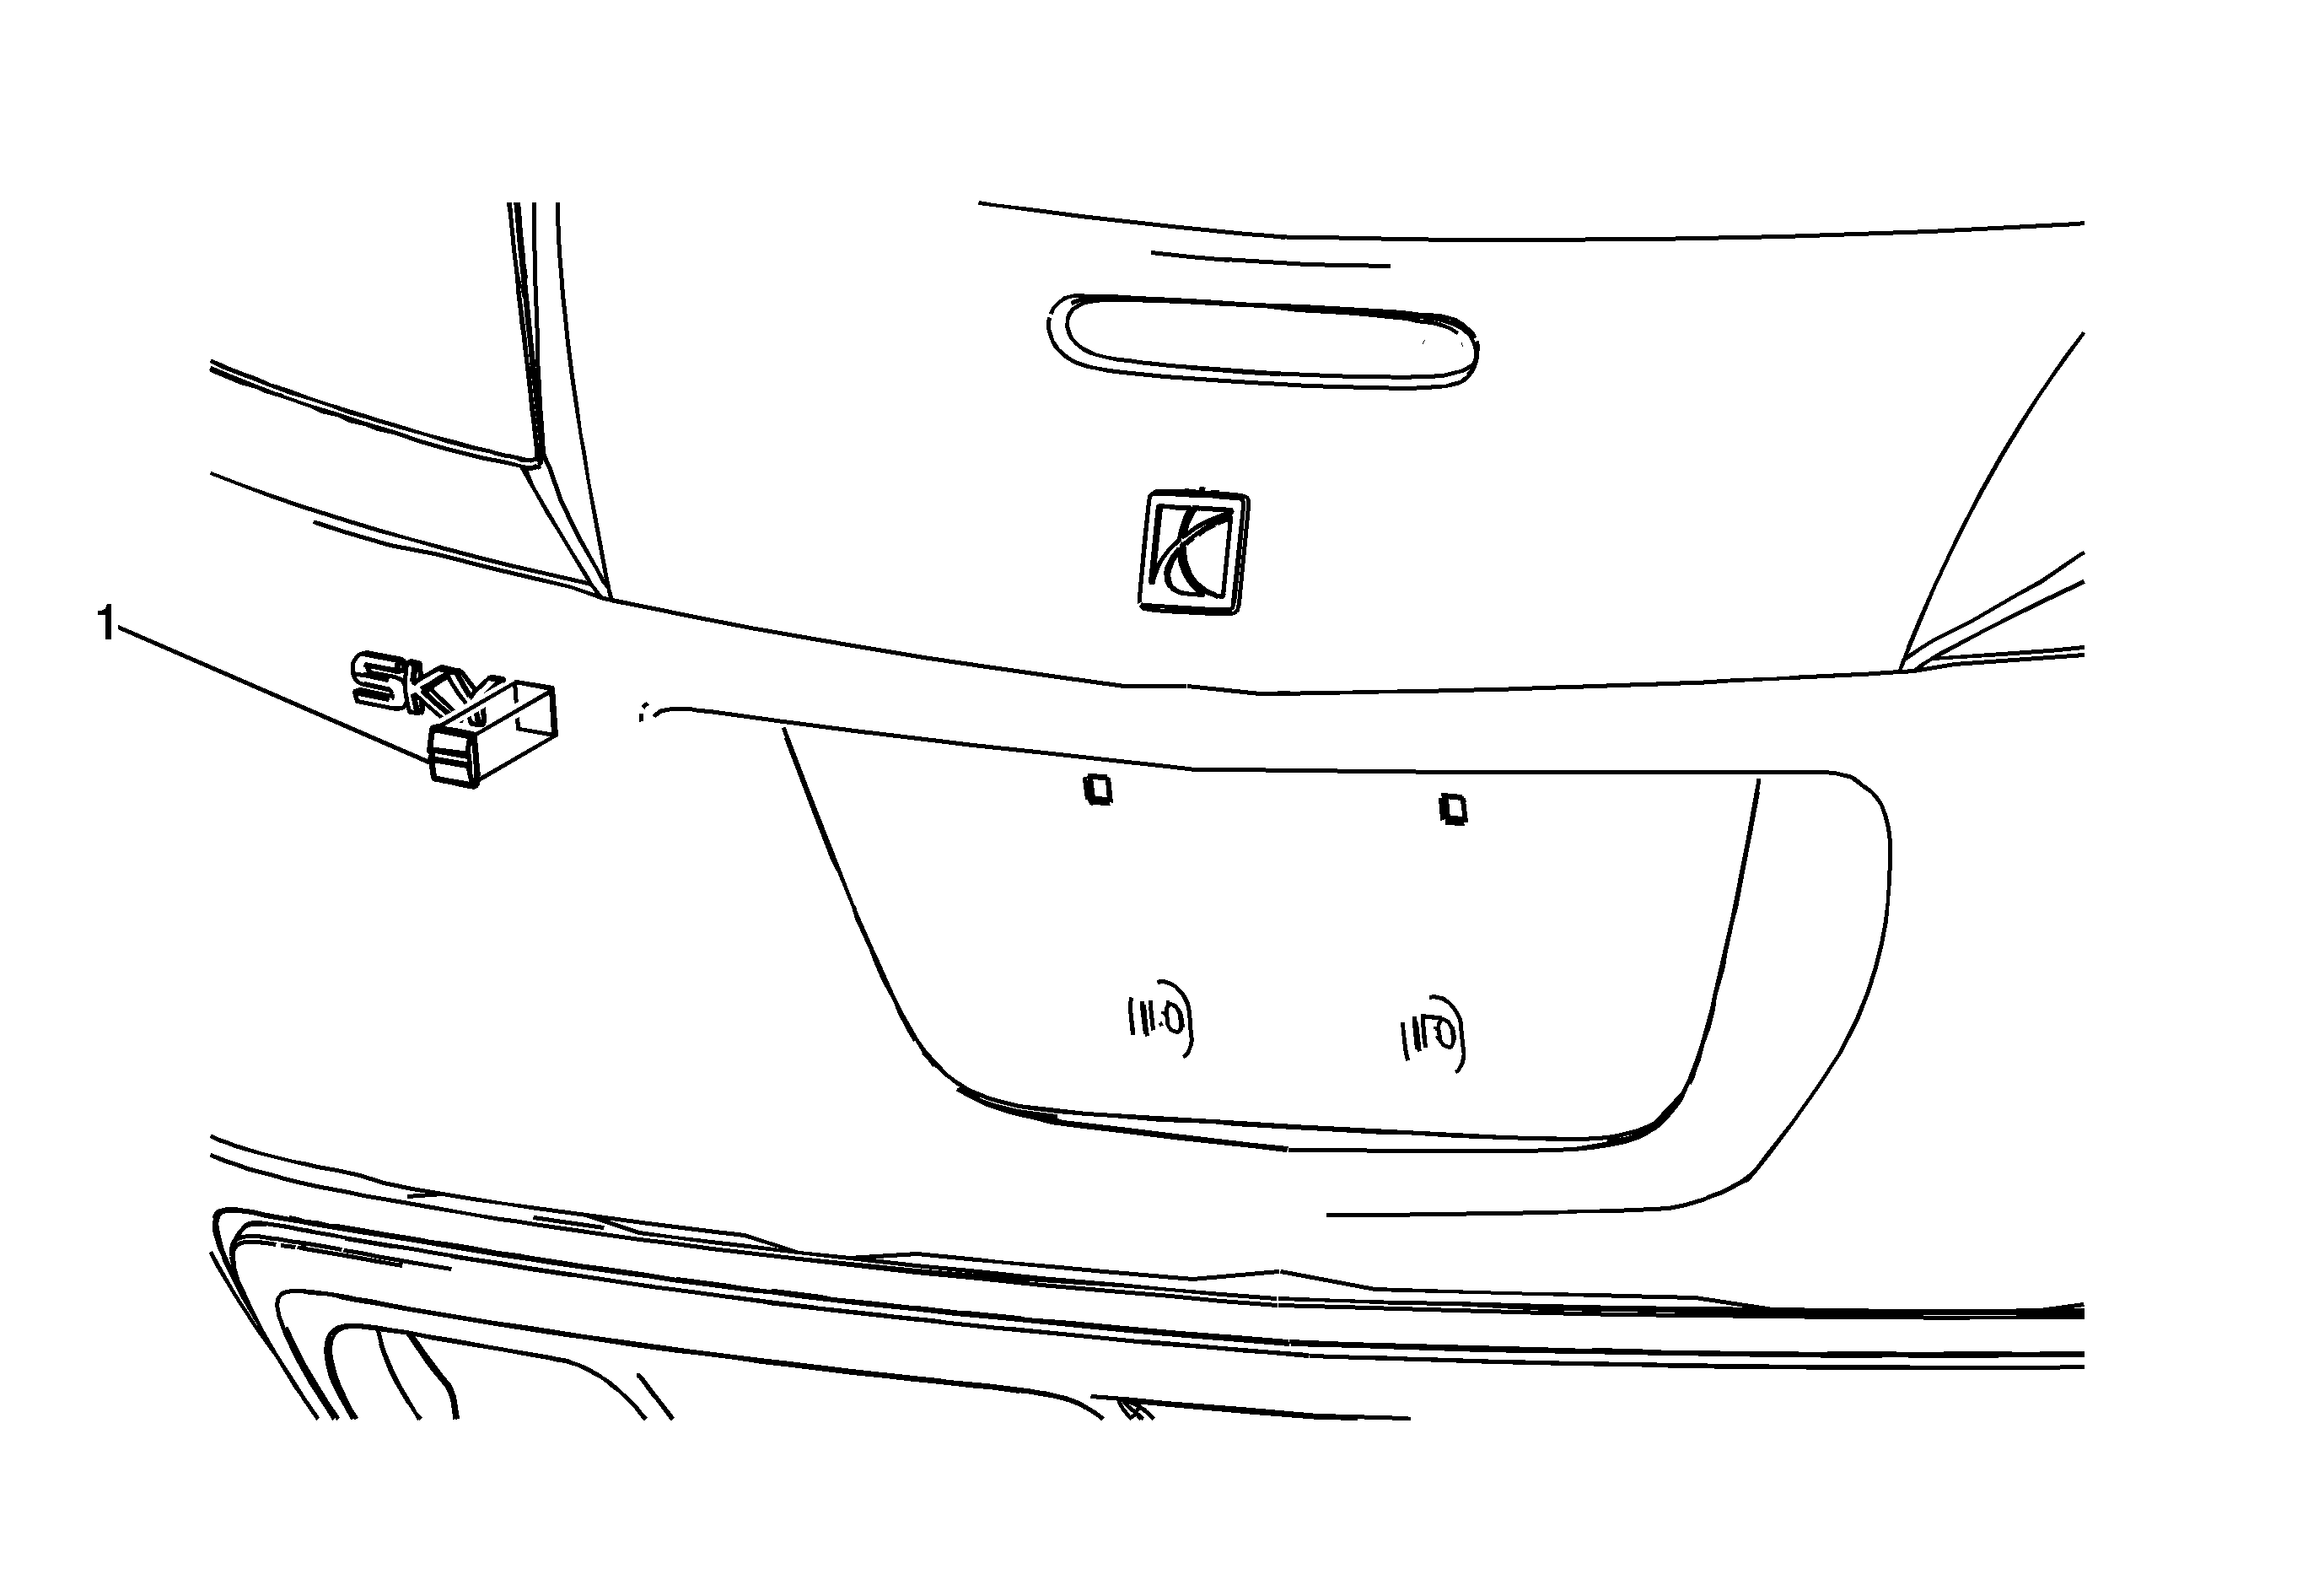

Object Number: 1859085  Size: MF

Callout

Component Name

Preliminary Procedures

  1. Using a J 25070 Heat Gun, warm the exterior bumper fascia to a minimum of 21°C (70°F) to assist with the adhesive tape removal and installation of the new rear compartment lid emblems.
  2. Use a 50/50 mixture by volume of isopropyl alcohol and water in order to remove any adhesive tape residue from the rear bumper fascia after the emblem has been removed.

1

Rear Compartment Lid Emblem Assembly (Red Line)

Procedure

When removing the protective liners from the adhesive tape, be careful not to touch the tape with hands and do not allow the tape to come in contact with dirt or any foreign matter prior to adhesion.