For 1990-2009 cars only
Removal Procedure
- Remove the rear quarter lower trim. Refer to Quarter Lower Rear Trim Panel Replacement .
- Remove the lower center pillar trim. Refer to Center Pillar Lower Trim Panel Replacement .
- Mark the position of the striker with a grease pencil.
- Remove the screws from the door striker.
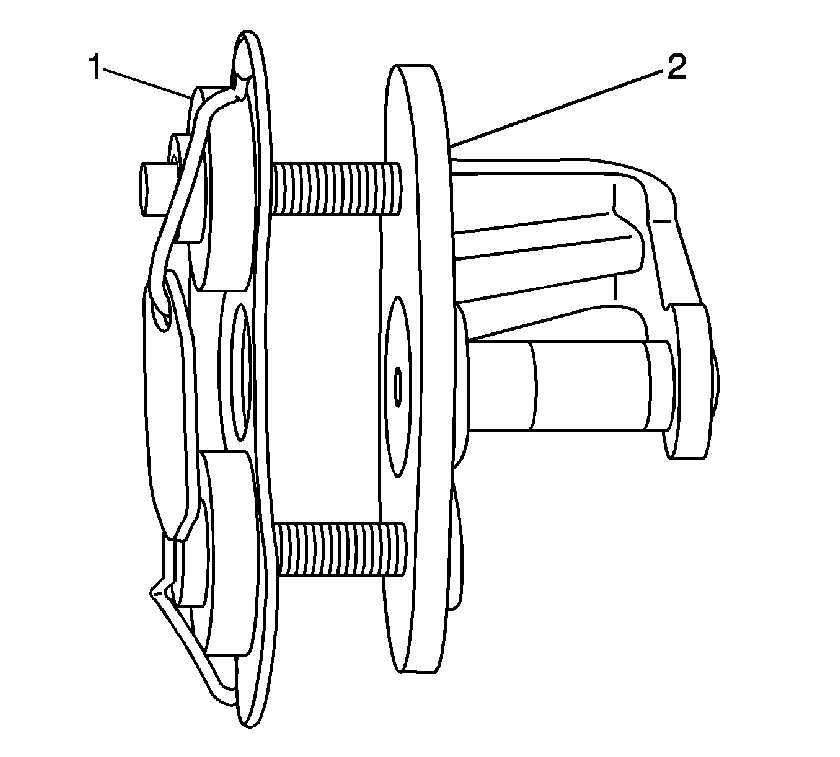
- Remove the striker (2).

Important: This procedure covers the removal and installation of the front and the rear door strikers.
It will be necessary to remove the following trim when replacing the front or the rear striker.Installation Procedure
- Install the striker (2) to the door opening.
- Install the screws to the striker.
- Adjust door striker. Refer to Door Lock Striker Adjustment .
- Inspect the door for proper operation.
- Install the front or the rear trim if removed.
- Install the rear quarter lower trim panel. Refer to Quarter Lower Rear Trim Panel Replacement.
- Install the lower center pillar trim. Refer to Center Pillar Lower Trim Panel Replacement .

Align the striker to the alignment marks.
Notice: Refer to Fastener Notice in the Preface section.
Tighten
Tighten the screws to 20 N·m (15 lb ft).
