For 1990-2009 cars only
Removal Procedure
- Disable the SIR system. Refer to SIR Disabling and Enabling in SIR.
- Disconnect the negative battery cable. Refer to Battery Negative Cable Disconnection and Connection in Engine Electrical.
- Remove the fuel tank. Refer to Fuel Tank Replacement in Engine Controls.
- Remove all related panels and components.
- Repair as much of the damage as possible to factory specifications.
- Note the location and remove the sealers and anti-corrosion materials from the repair area, as necessary. Refer to Anti-Corrosion Treatment and Repair in Paint/Coatings.
- Locate, mark, and drill out all factory welds attaching the rear window panel assembly (2),rear seat back panel extension (1) and the rear floor panel assembly (3).
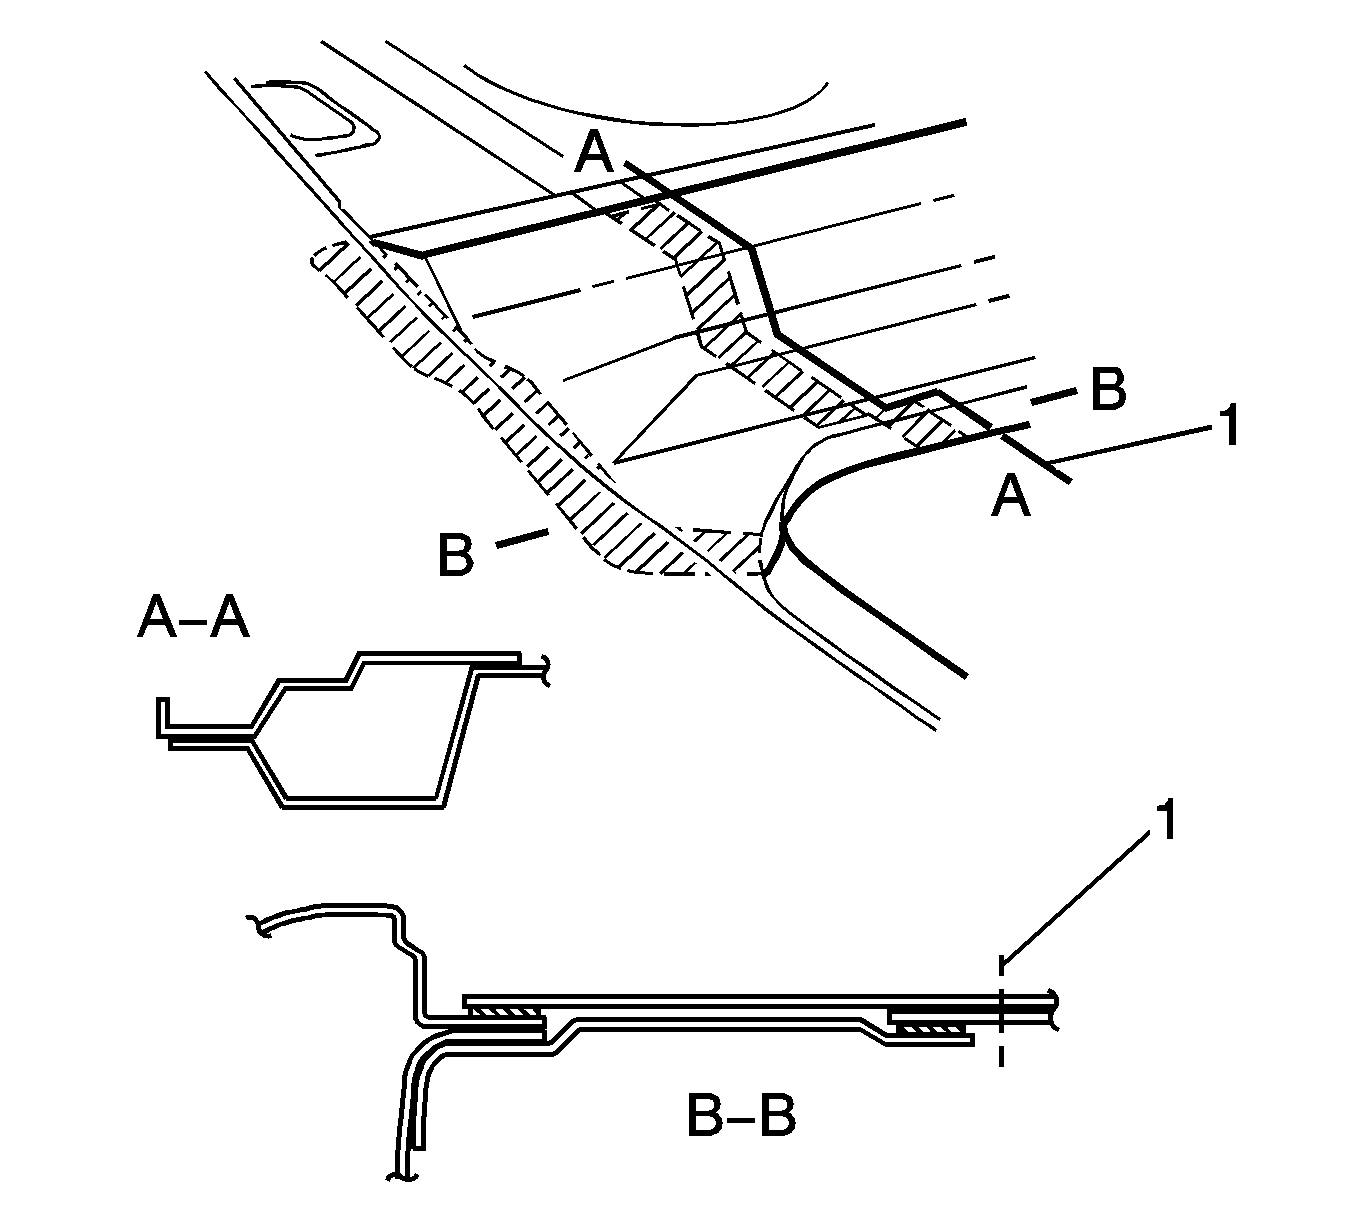
- Cut the rear window panel assembly inboard of the join to the rear seat back extension assembly with a cutting tool along line (1).
- Remove the remaining portion of the rear window panel assembly (1), (2) and the layer of adhesive below as required.
Caution: Refer to Approved Equipment for Collision Repair Caution in the Preface section.

Important: Before beginning the repair, refer to Metal Panel Bonding in Collision Repair for proper adhesive applicator preparations and general information.


Installation Procedure
- Clean and prepare the mating surfaces.
- Verify for proper fit of the rear rail underbody assembly.
- Drill 8-mm (5/16-in) plug weld holes on the service assembly, as necessary, in the locations noted from the original assembly.
- Apply 3M® Weld-Thru coating P/N 05916, or equivalent, to all mating surfaces.
- Position the service assembly.
- Verify the fit with 3 dimensional measuring equipment. Refer to Dimensions - Body.
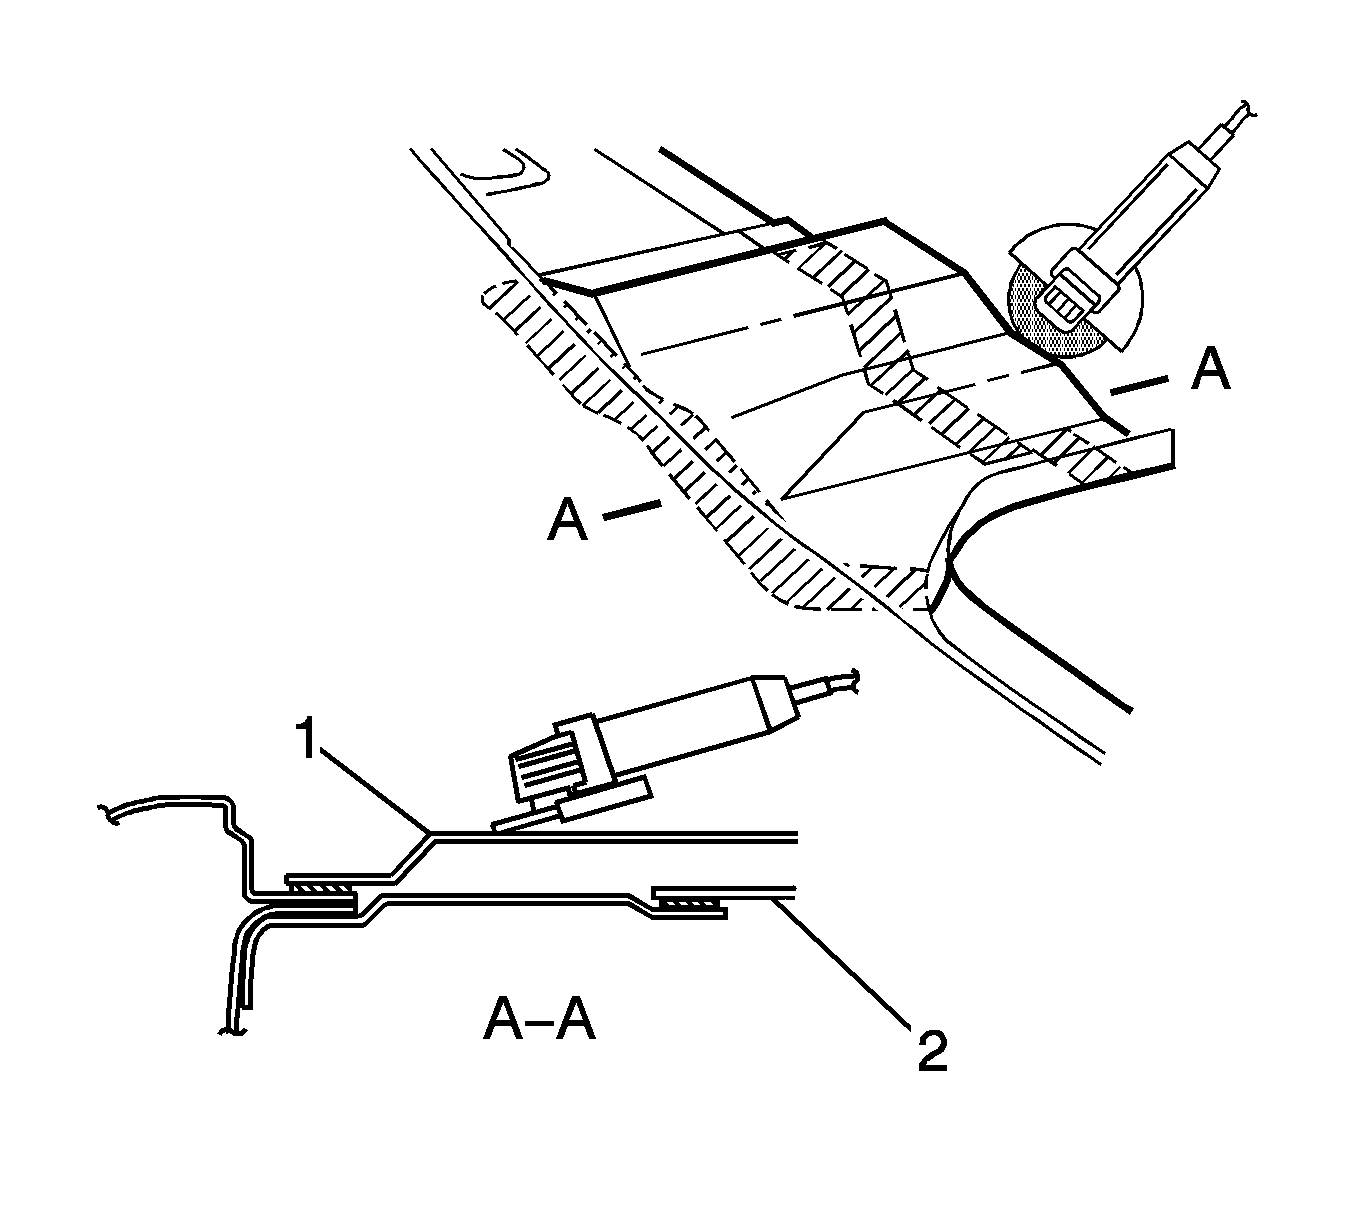
- Apply metal panel bonding adhesive GM P/N 12378566/7 (Canadian P/N 88901674/5), or equivalent, to the areas shown.
- Clamp the panel into position.
- Plug weld the rear window panel assembly to the rear quarter panel and rear seat back extension.
- Plug weld the rear window panel assembly (2) to the rear seat back panel extension assembly (1) and the rear floor panel assembly (3).
- Clean and prepare all welded surfaces.
- Apply the sealers and anti-corrosion materials to the repair area, as necessary. Refer to Anti-Corrosion Treatment and Repair in Paint/Coatings.
- Paint the repaired area. Refer to Basecoat/Clearcoat Paint Systems in Paint/Coatings.
- Install all related panels and components.
- Install the fuel tank. Refer to Fuel Tank Replacement in Engine Controls.
- Connect the negative battery cable. Refer to Battery Negative Cable Disconnection and Connection in Engine Electrical.
- Enable the SIR system. Refer to SIR Disabling and Enabling in SIR.

Important:
• Installation is best performed with the aid of an assistant. • The adhesive has a 40-50 minute working time. Do not allow the panel to totally cure off the vehicle, as proper alignment of the panel to the vehicle will be difficult.


