For 1990-2009 cars only
Removal Procedure
- Disable the SIR system. Refer to SIR Disabling and Enabling in SIR.
- Disconnect the negative battery cable. Refer to Battery Negative Cable Disconnection and Connection in Engine Electrical.
- Remove all related panels and components.
- Repair as much of the damage as possible to factory specifications. Refer to Dimensions - Body .
- Note the location and remove the sealers and anti-corrosion materials from the repair area, as necessary. Refer to Anti-Corrosion Treatment and Repair in Paint/Coatings.
- Remove the front outer hinge pillar. Refer to Front Hinge Pillar Sectioning .
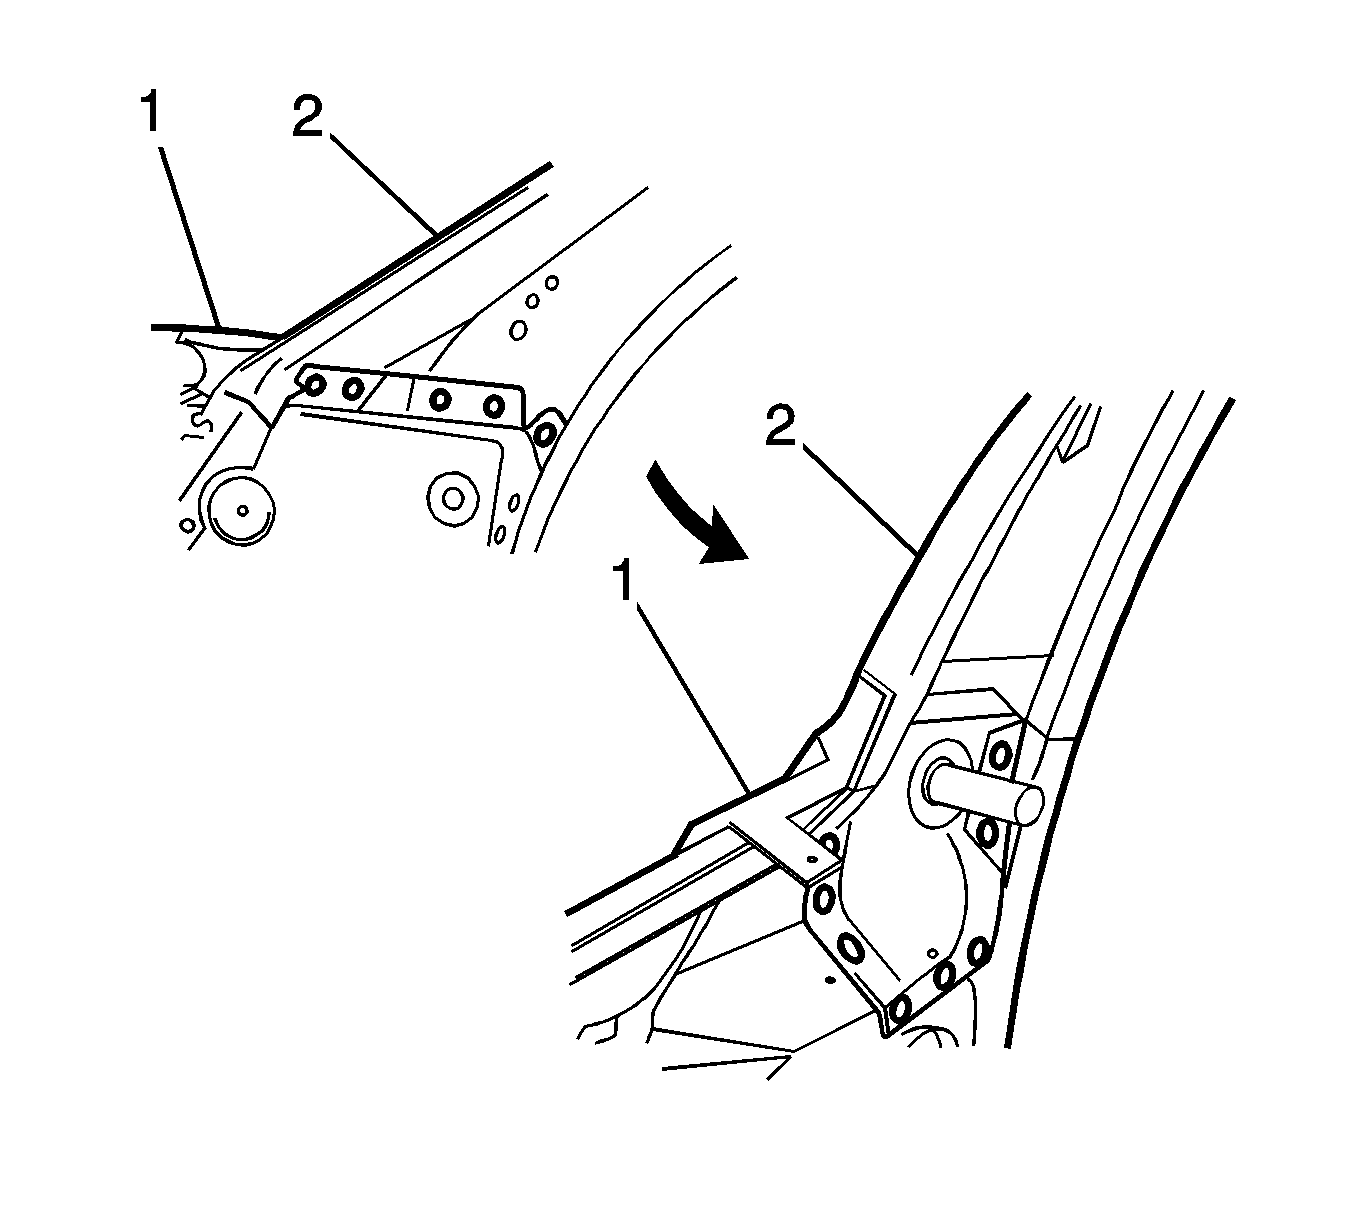
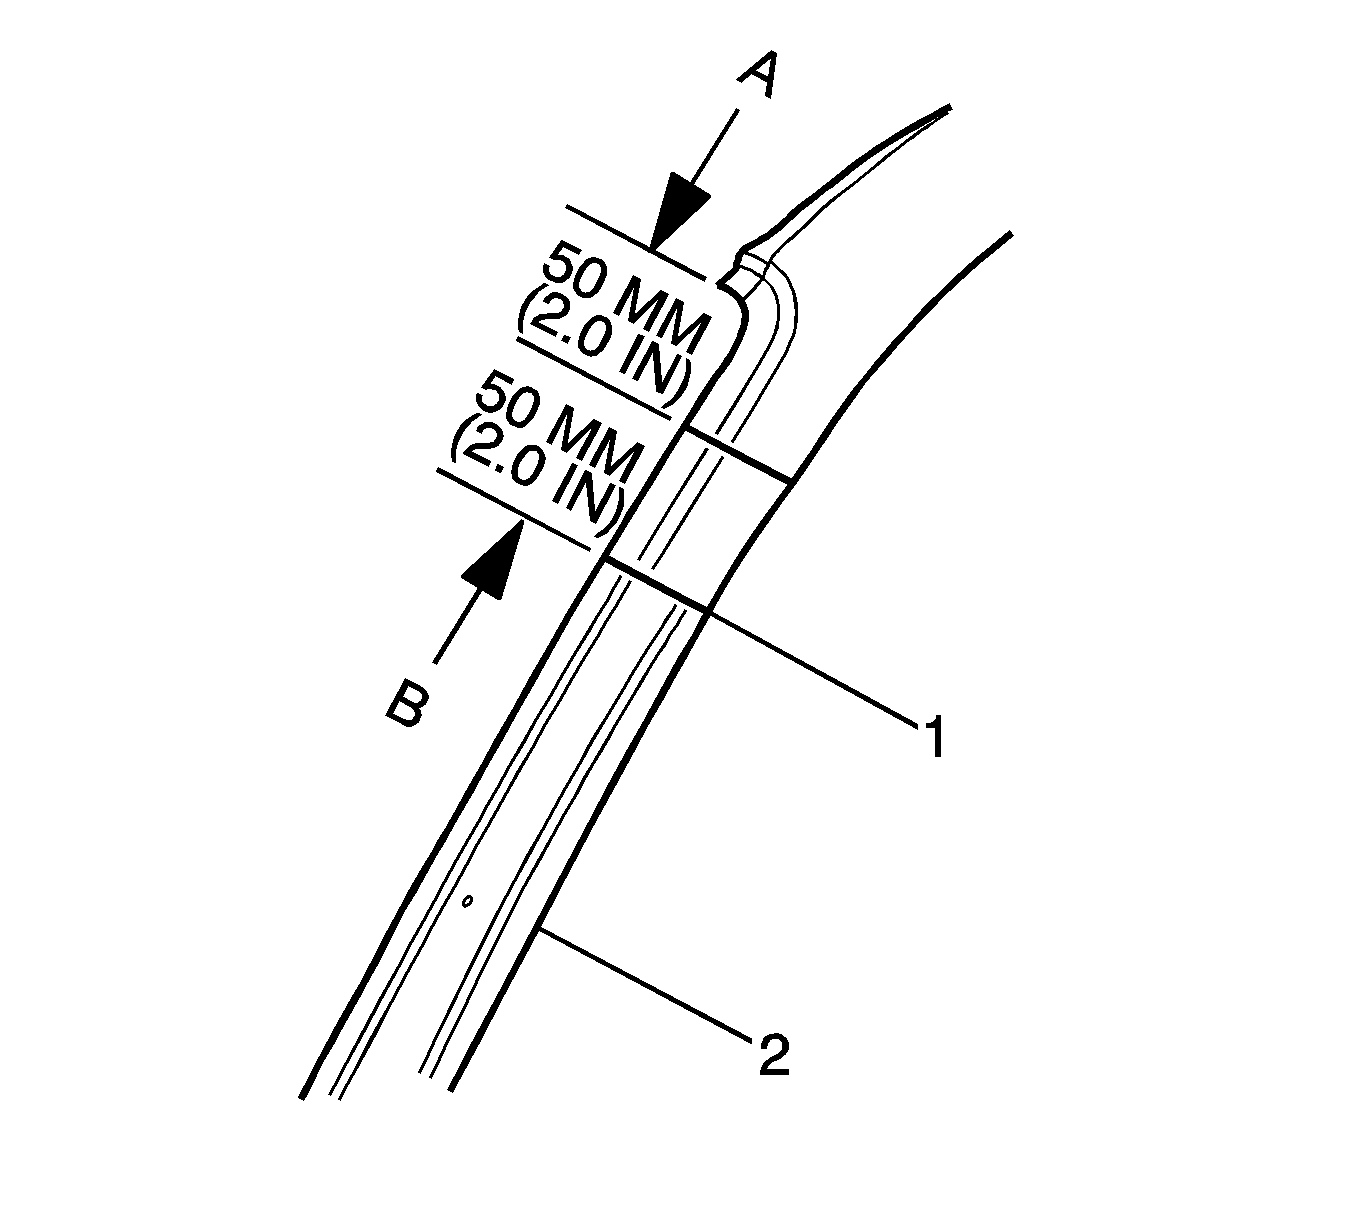
- Cut the hinge pillar inner reinforcement (2) 50 mm (2 in) from the top of the windshield aperture. If a partial replacement of the outer hinge pillar panel is being performed, this point is 50 mm (2 in) above the cut in the outer panels (1).
- Locate, mark, and drill out all factory welds, as necessary. Note the number and location of welds for installation of the service part.
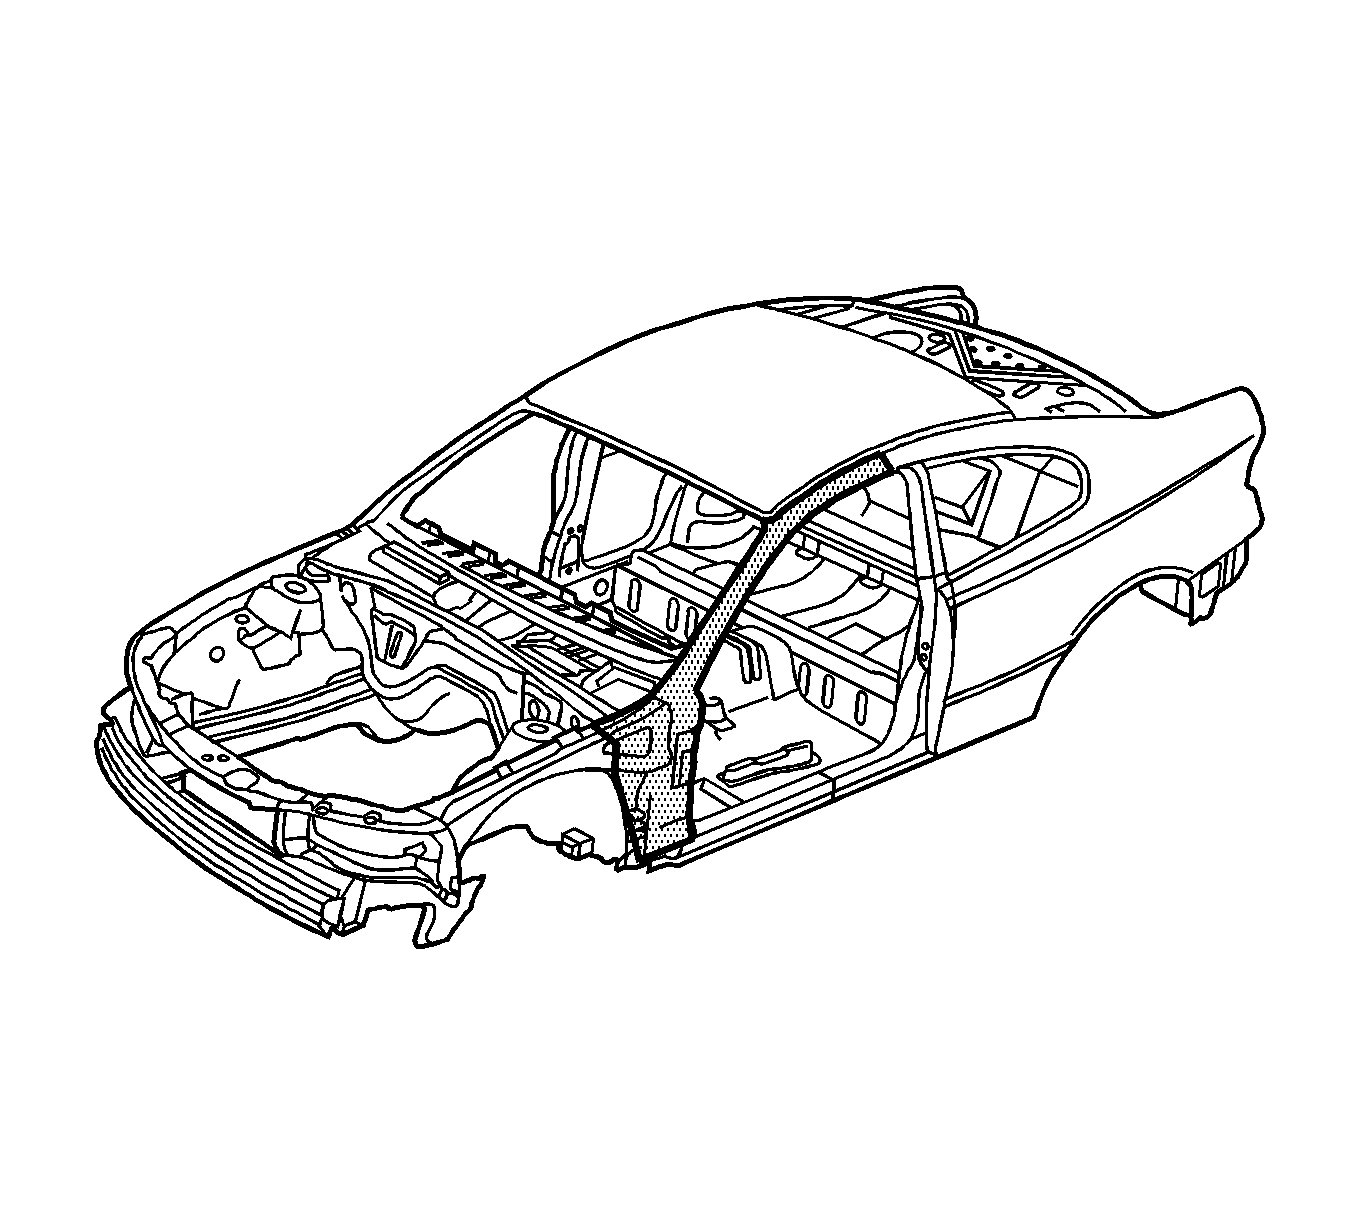
- Remove the damaged section of the inner reinforcement.
Installation Procedure
- Cut the replacement section to catch the cut at the top of the hinge pillar.
- Drill 8 mm (5/16 in) plug weld holes, as necessary, in the locations noted from the original panel.
- Drill plug weld holes along the sectioning cut of the service part. These holes should be located approximately 15 mm (9/16 in) from the edge of the cut.
- Prepare mating surfaces.
- Apply 3M® Weld-Thru coating P/N 05916, or equivalent, to all mating surfaces.
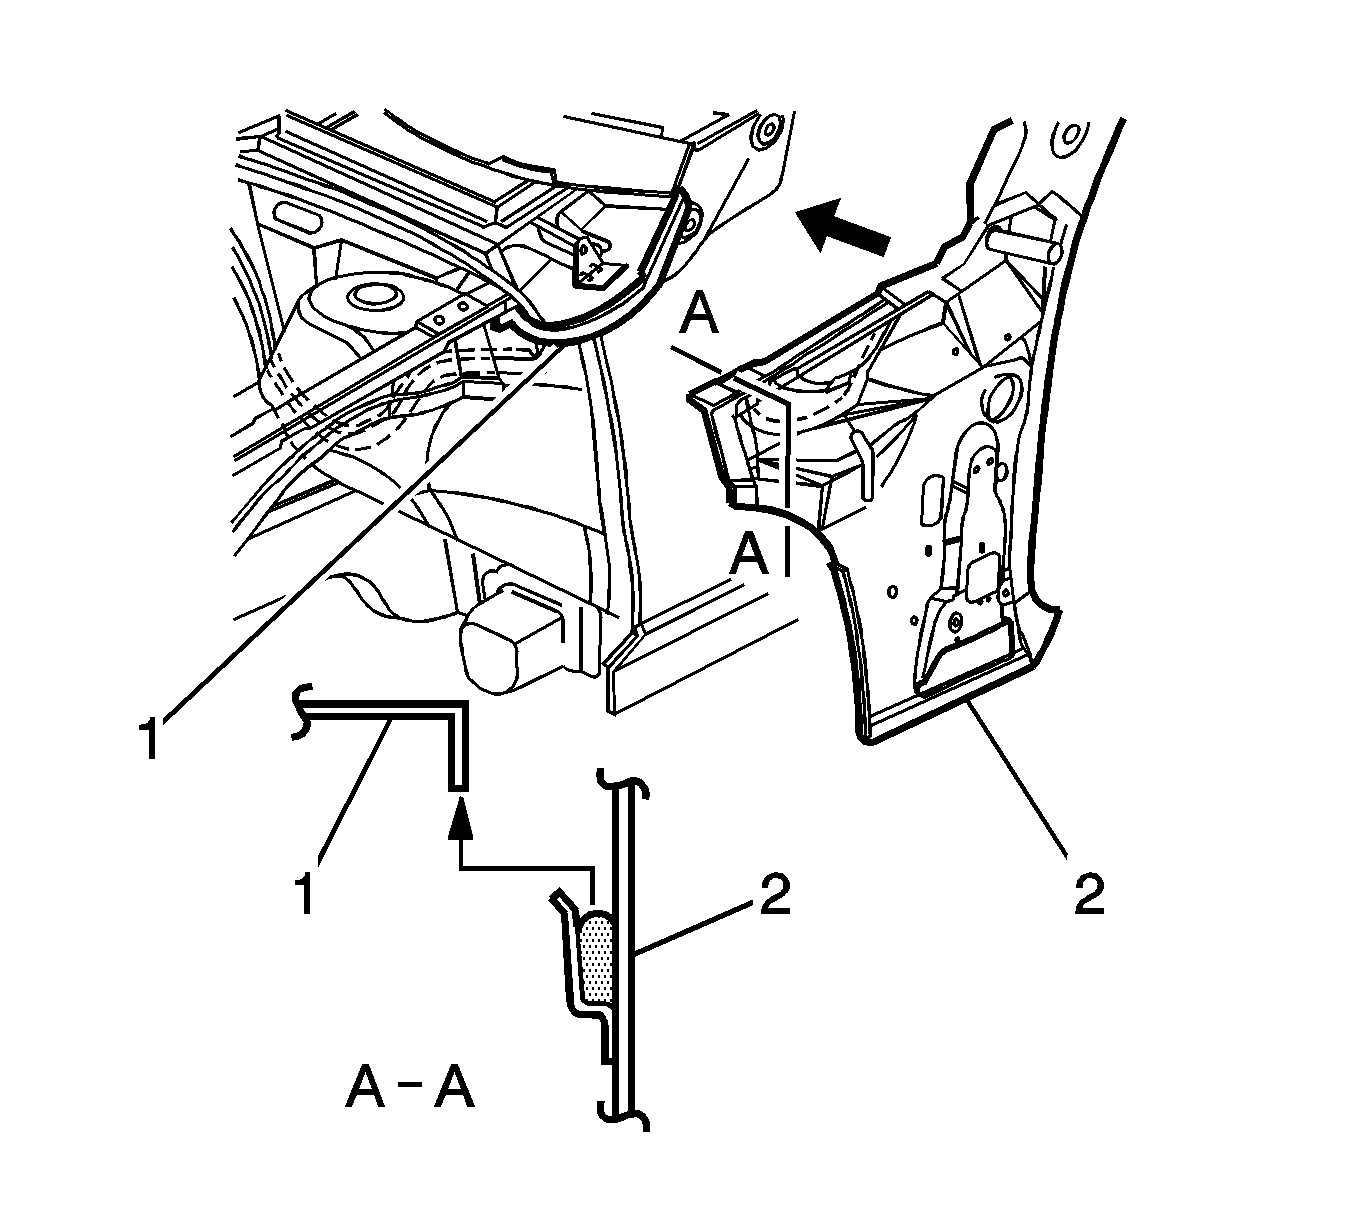
- Position the hinge pillar reinforcement (2) slightly lower and slide it upwards ensuring the dash panel flange (1) seats into the adhesive channel.
- Plug weld the hinge pillar inner upper panel (2) to the hinge pillar inner lower panel (1).
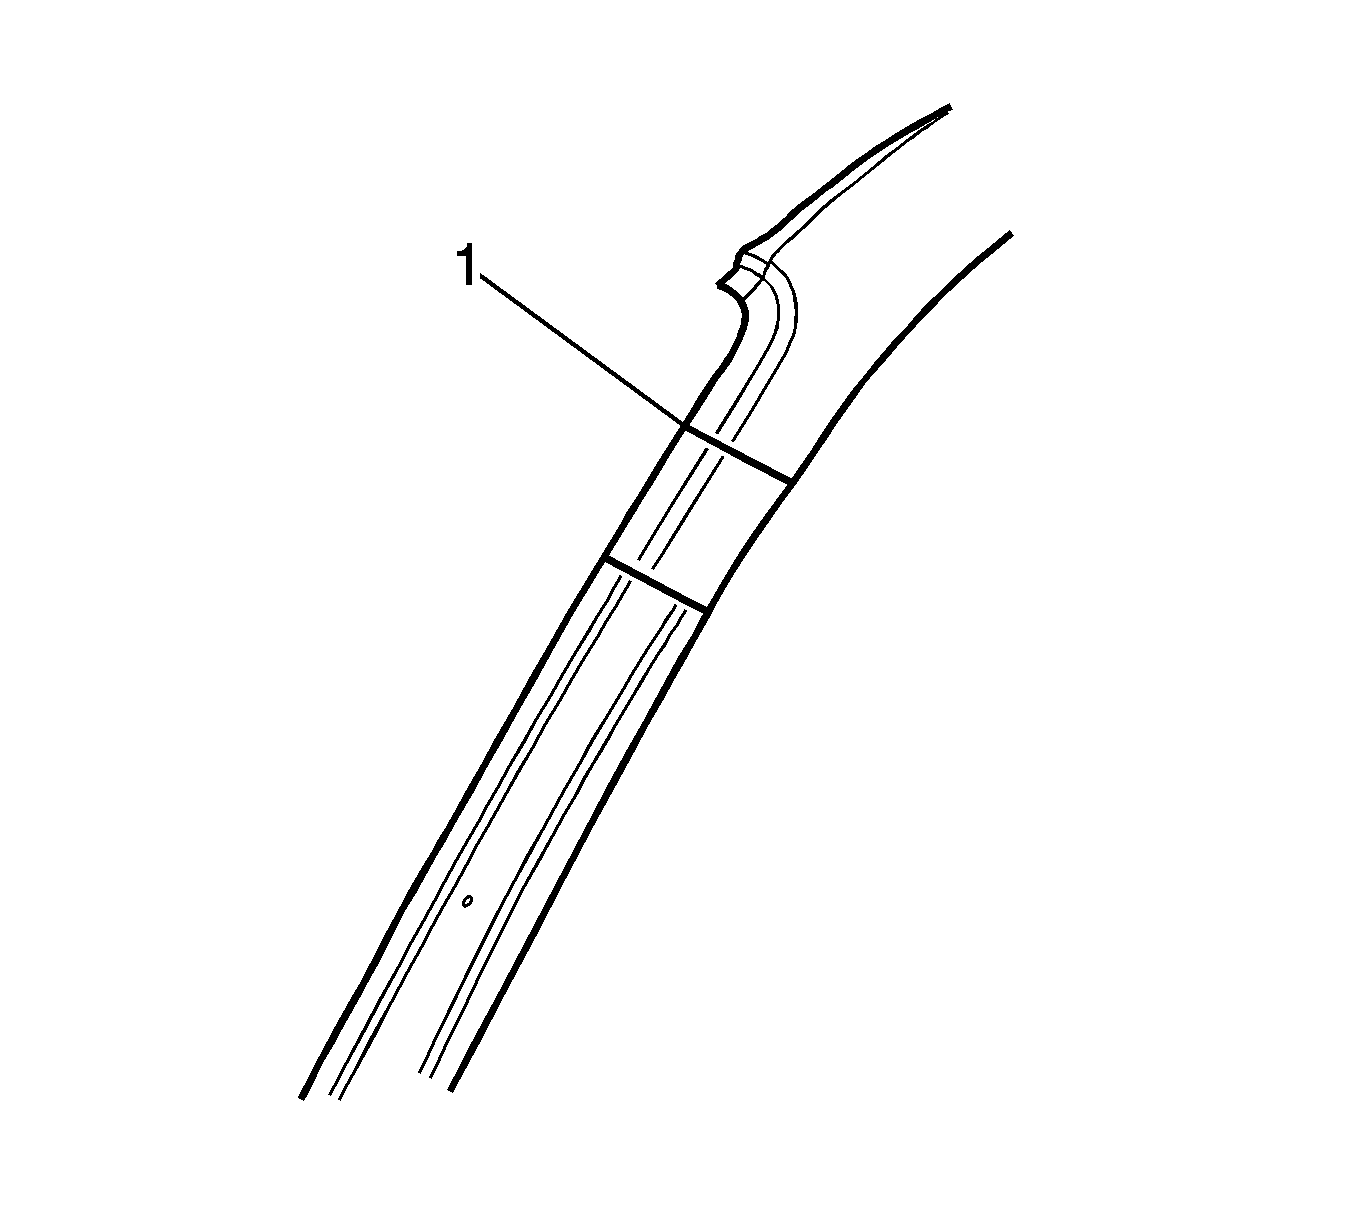
- If the pillar was cut near the top of the windshield aperture, either butt-weld the joint (1) if the full door opening frame was removed, or make two tack welds to secure it until the door opening frame assembly hinge pillar section is installed.
- Plug weld the remainder of the section accordingly.
- Install the front outer hinge pillar. Refer to Front Hinge Pillar Sectioning .
- Clean and prepare all welded surfaces.
- Apply the sealers and anti-corrosion materials to the repair area, as necessary. Refer to Anti-Corrosion Treatment and Repair in Paint/Coatings.
- Paint the repair area. Refer to Basecoat/Clearcoat Paint Systems in Paint/Coatings.
- Install all related panels and components.
- Connect the negative battery cable. Refer to Battery Negative Cable Disconnection and Connection in Engine Electrical.
- Enable the SIR system. Refer to SIR Disabling and Enabling in SIR.
