Tools Required
J 22610 Clamp Pliers
Removal Procedure
This procedure is to be performed only after the drive shaft has been removed from the vehicle. For the removal procedure refer to Wheel Drive Shaft Replacement .
Important: Protect the drive shaft from damage.
- Place the wheel drive shaft horizontally in a bench vise.
- Using a side cutter or other suitable tool, remove the large seal retaining clamp from the constant velocity joint boot and discard the clamp.
- Using a side cutter or other suitable tool, remove the small boot retaining clamp from the constant velocity joint boot and discard the clamp.
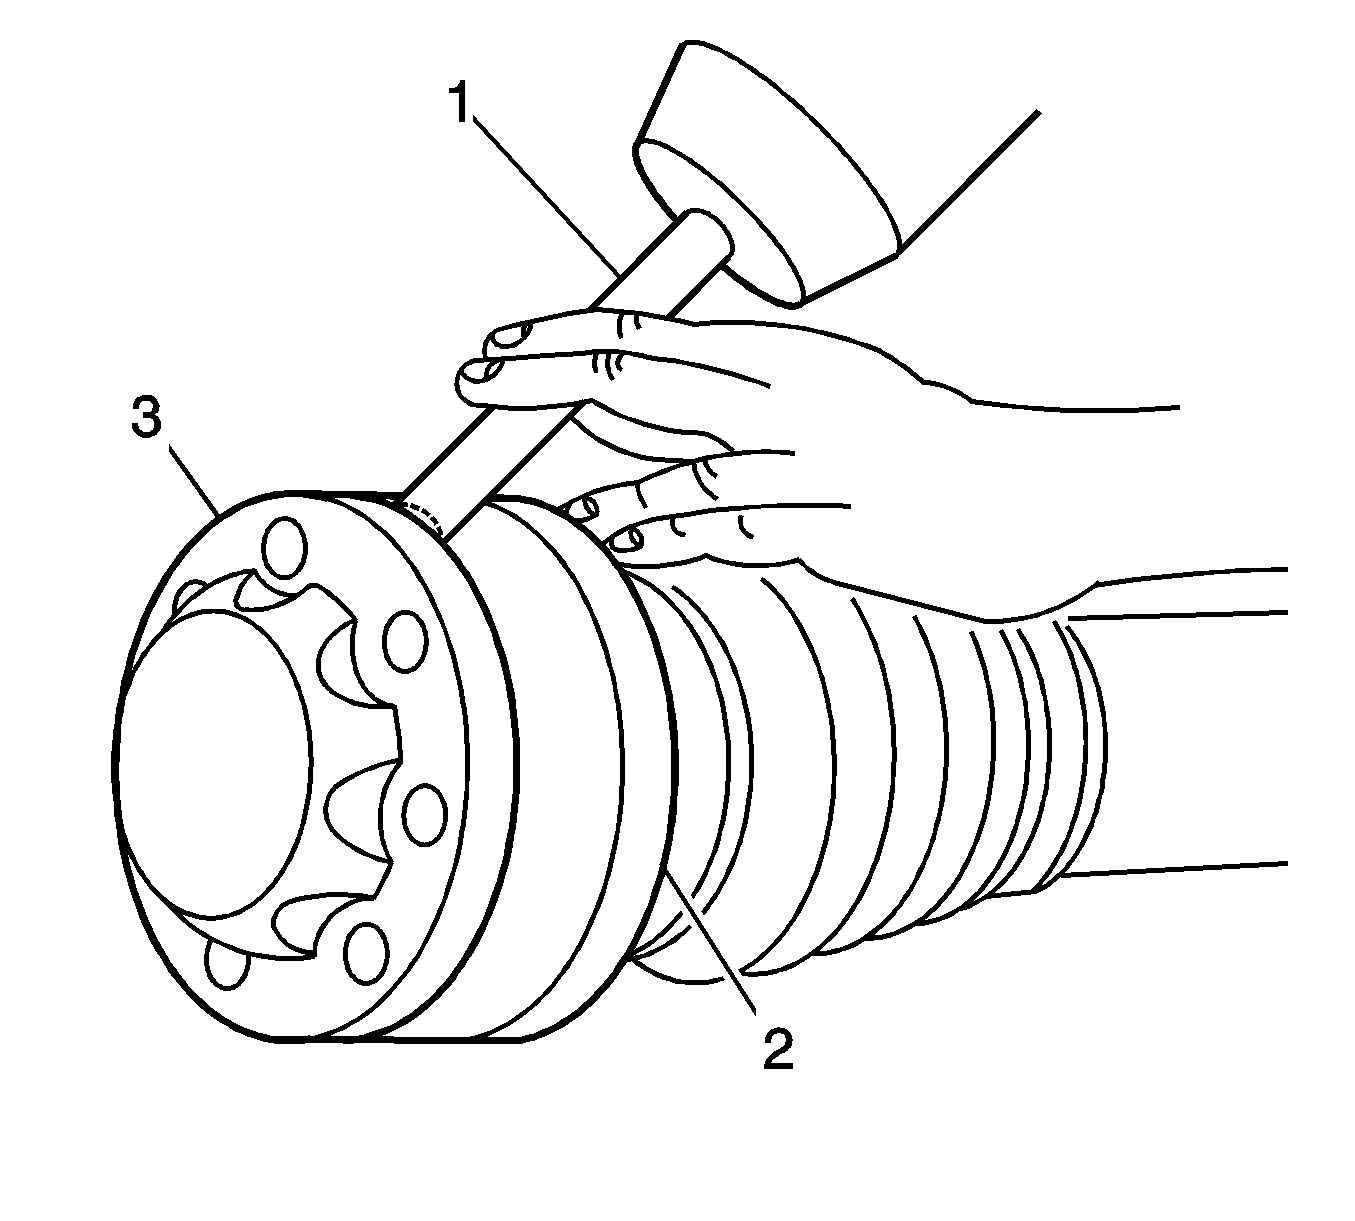
- Remove the dust shield (2) and end cap (3) from the constant velocity joint by tapping with hammer and punch.
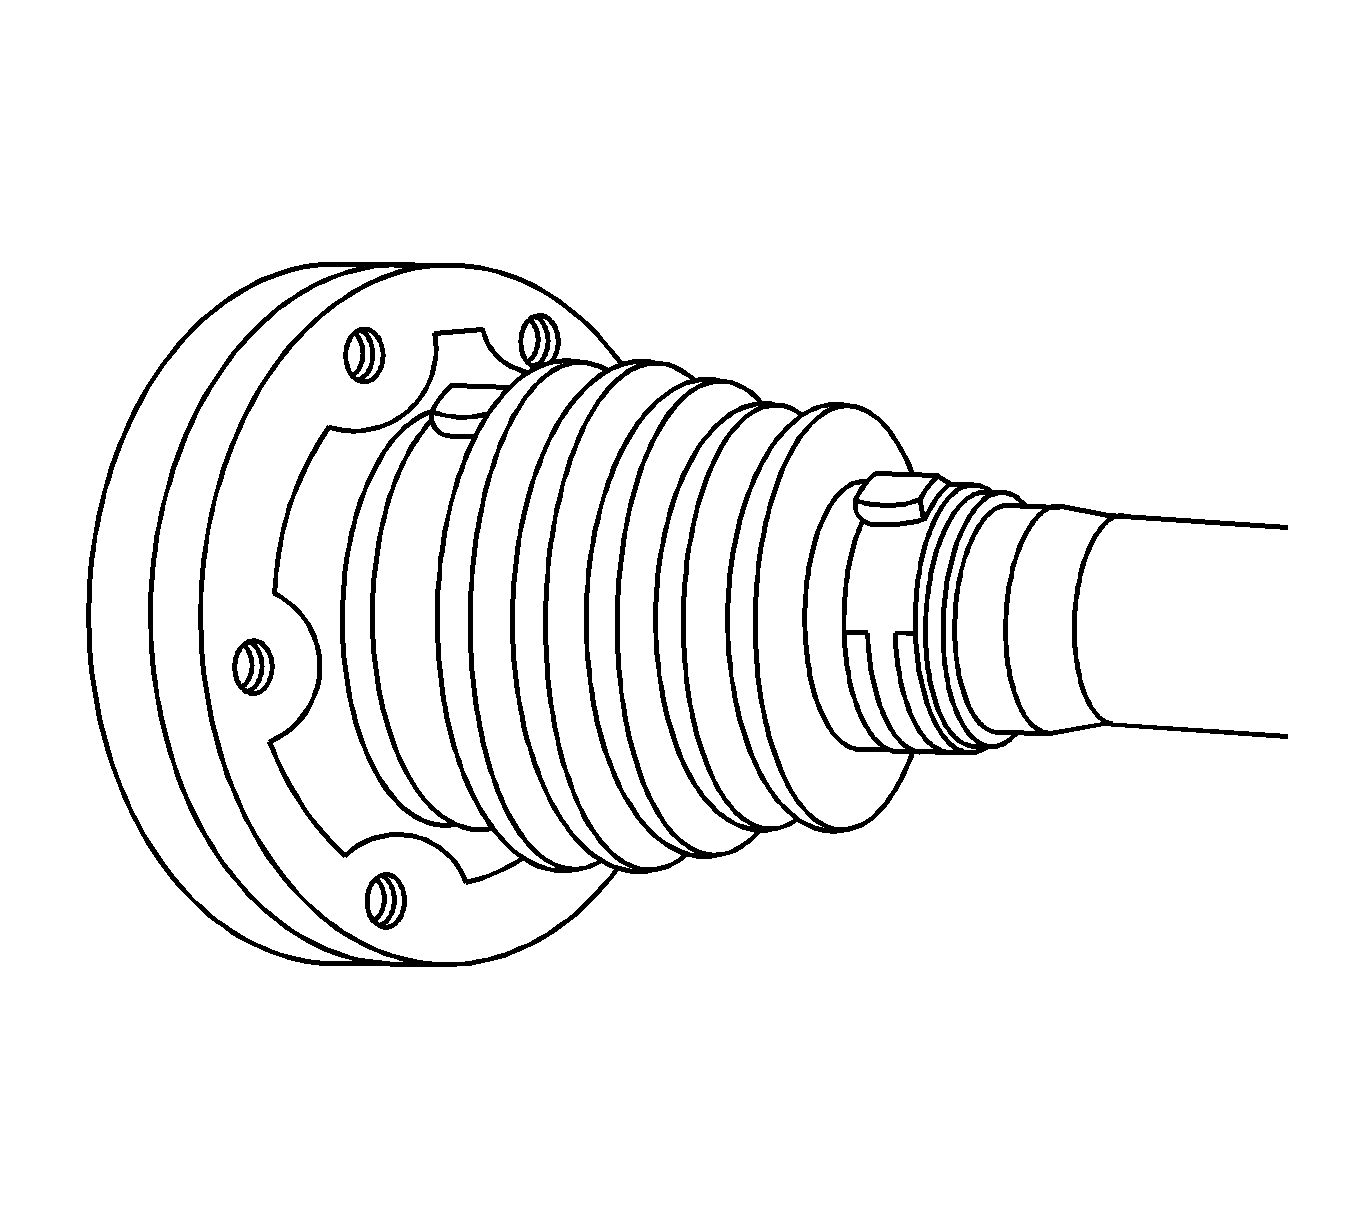
- Slide the boot toward the center of the drive shaft.
- Remove the constant velocity joint retainer clip (2) from the drive shaft
- Press the drive shaft from the constant velocity joint.
- Remove the constant velocity joint boot from the drive shaft.
- Tilt the cage and inner race and remove one ball.
- Repeat the process to remove the remaining 5 balls.
- Remove the inner race and cage
- Thoroughly clean the constant velocity joint components
- Inspect the constant velocity joint components for:
- If damaged, replace the constant velocity joint.
- Thoroughly clean and inspect the drive shaft boot for tears, cracking and deterioration.
- If the drive shaft boot is damaged, replace the boot.
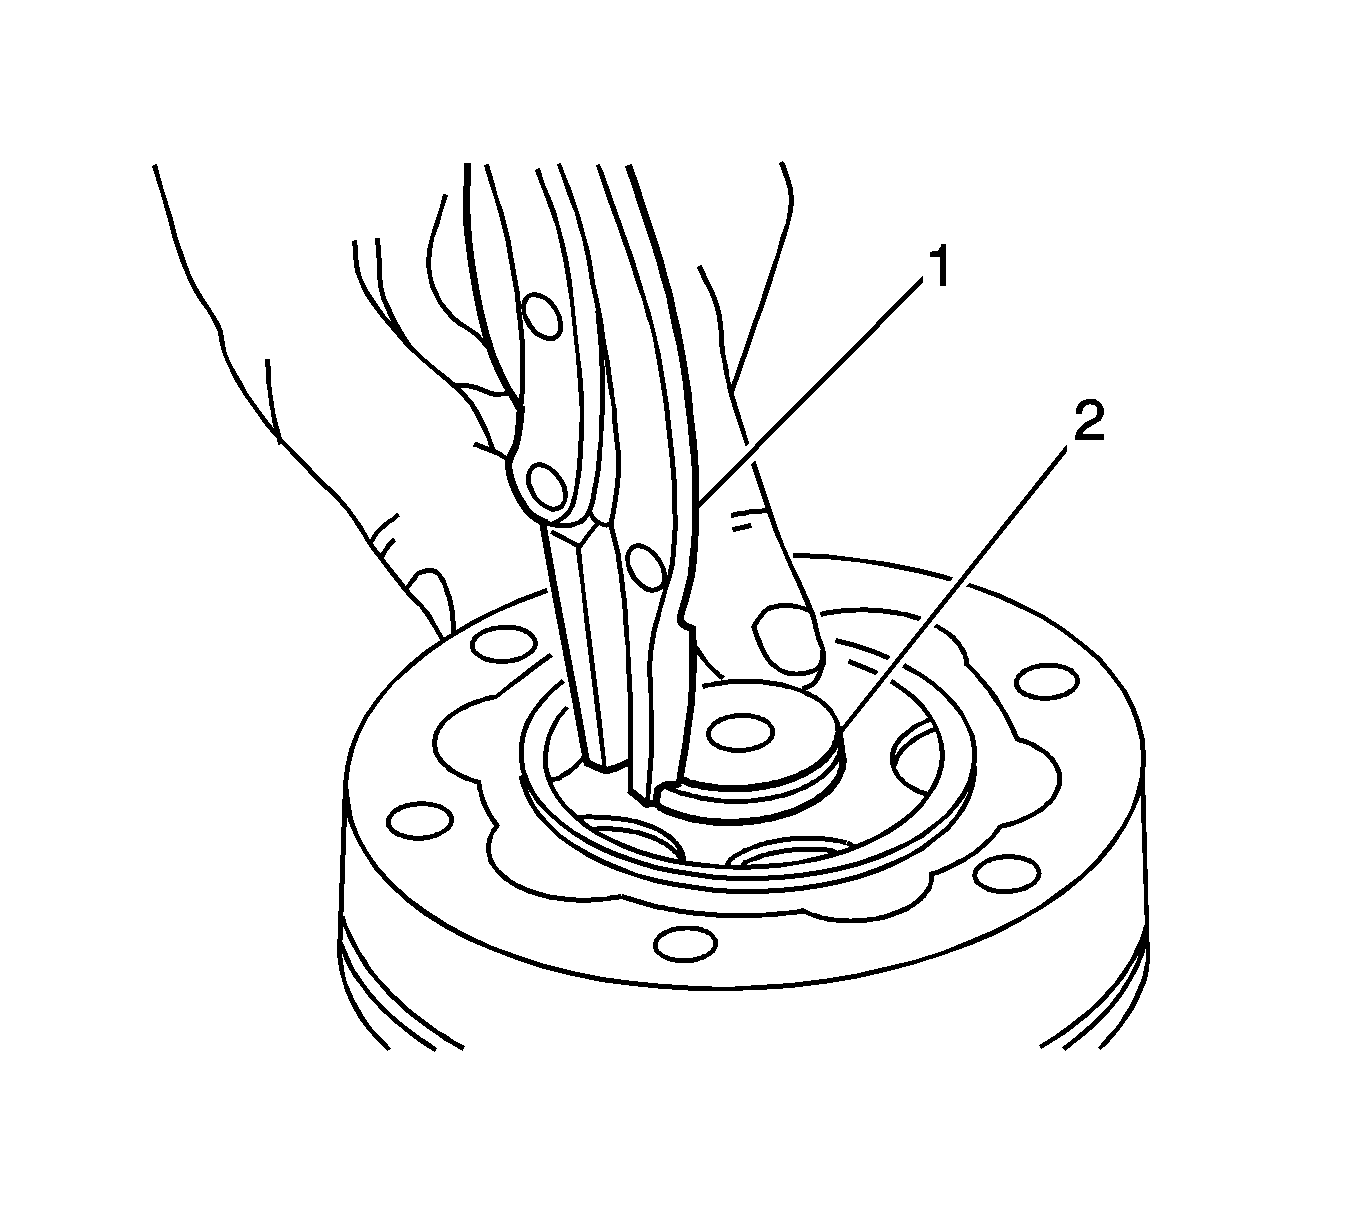
Important: Support the inner race when removing the constant velocity joint.
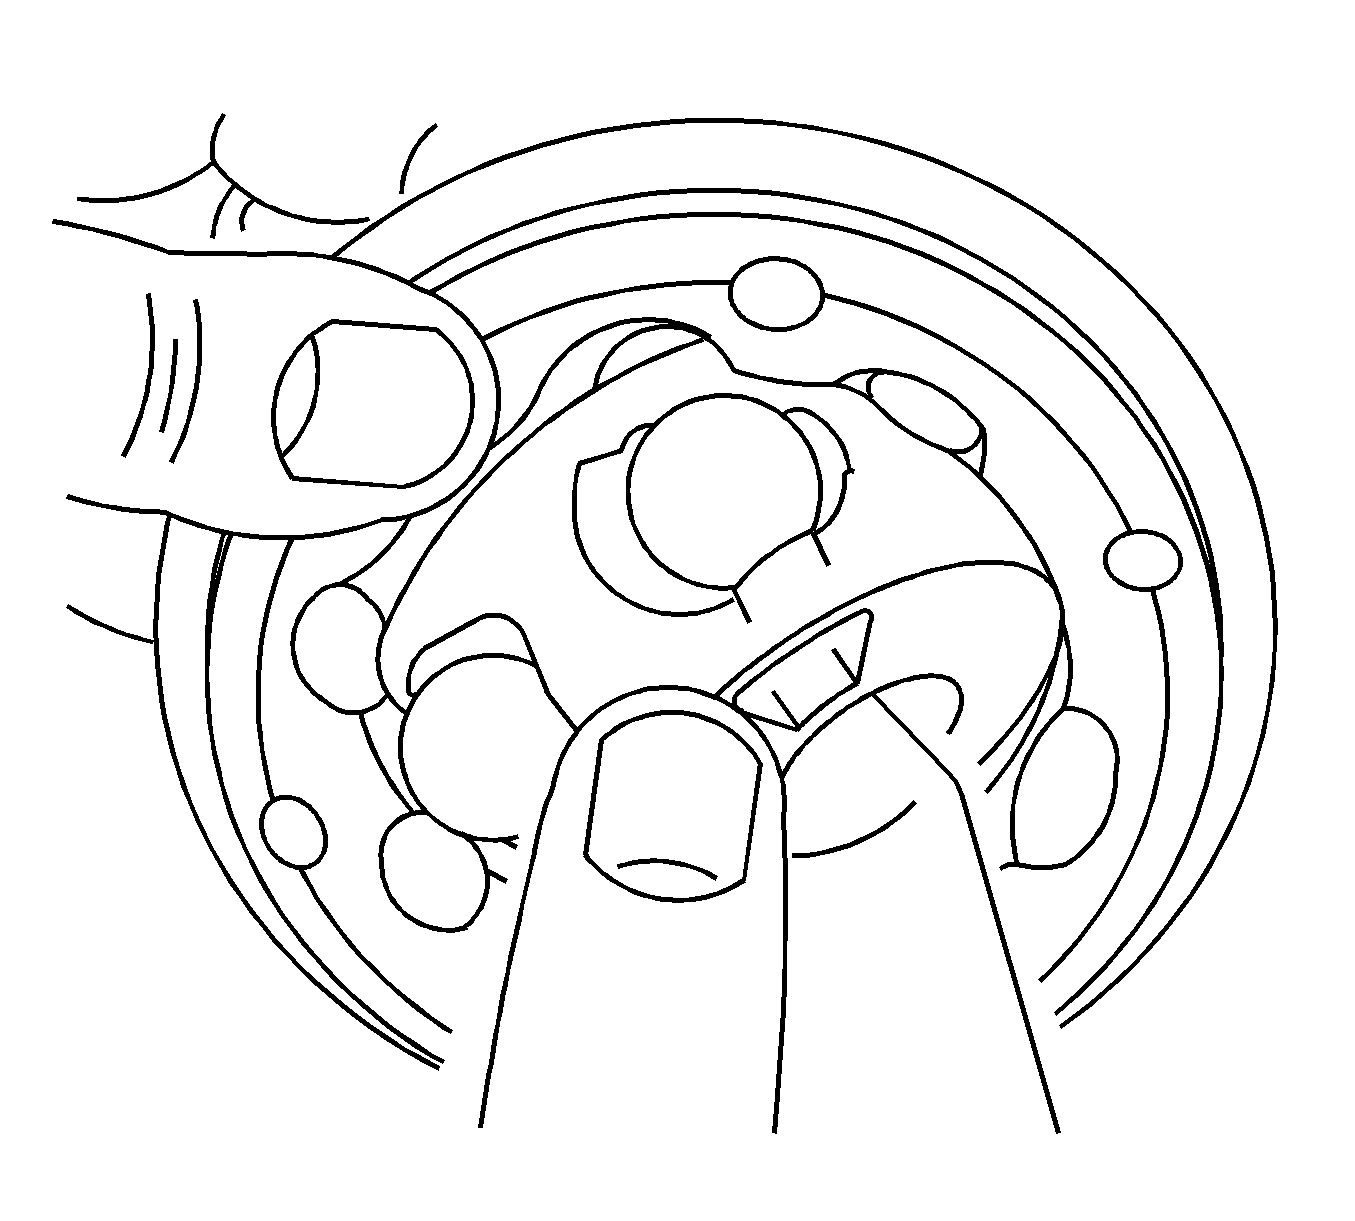
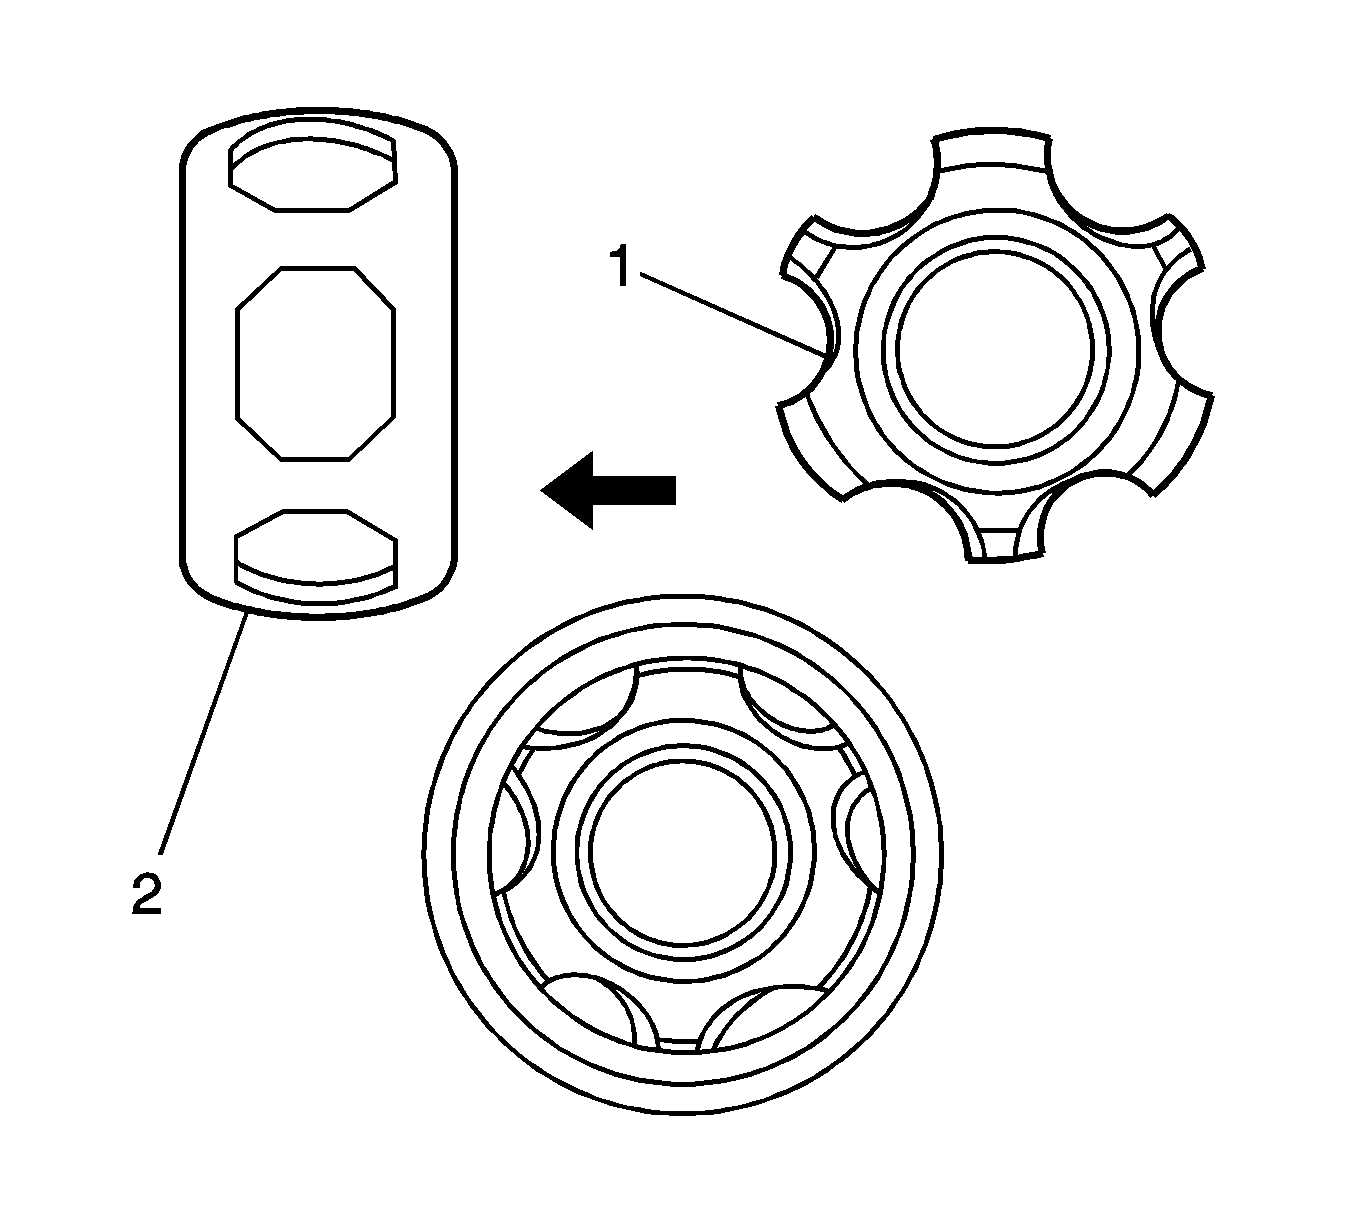
| • | Pitting |
| • | Galling |
| • | Excessive play between ball and cage |
| • | Damage or cracking of the cage |
| • | Cracking, galling, or chips of the races |
Installation Procedure
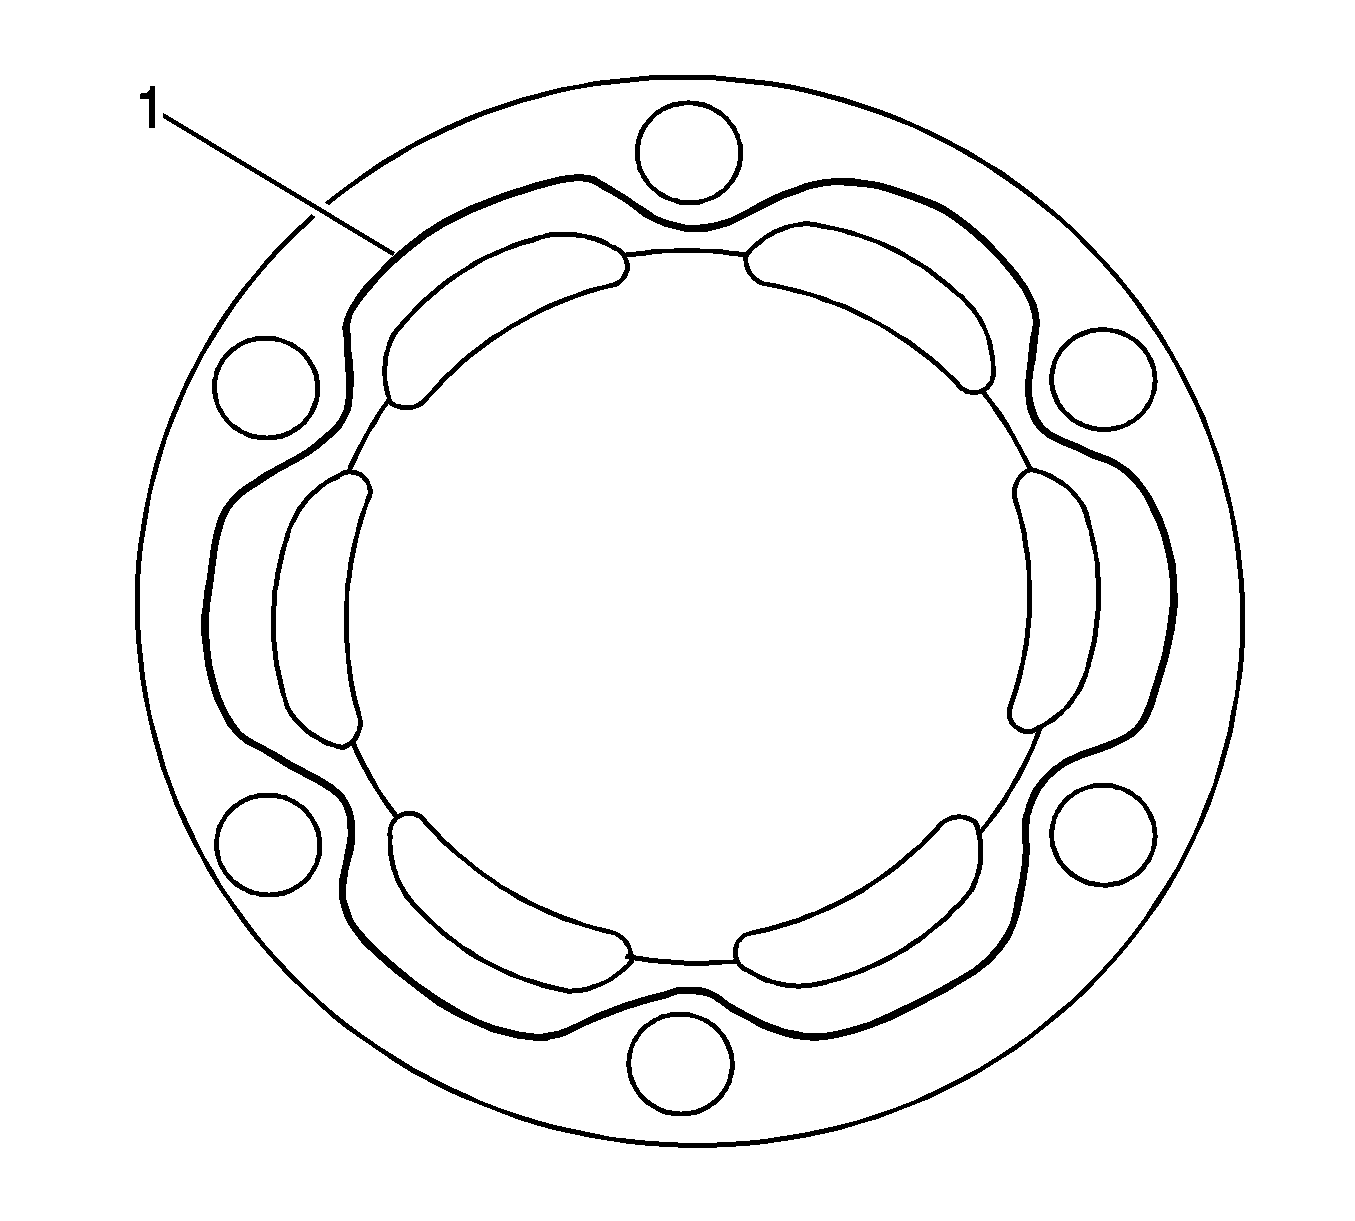
- Install the inner race and cage into the outer race ensuring the chamfer on the cage (2) is facing the identification grooves (6) and inner race recess (4) is opposite the identification grooves.
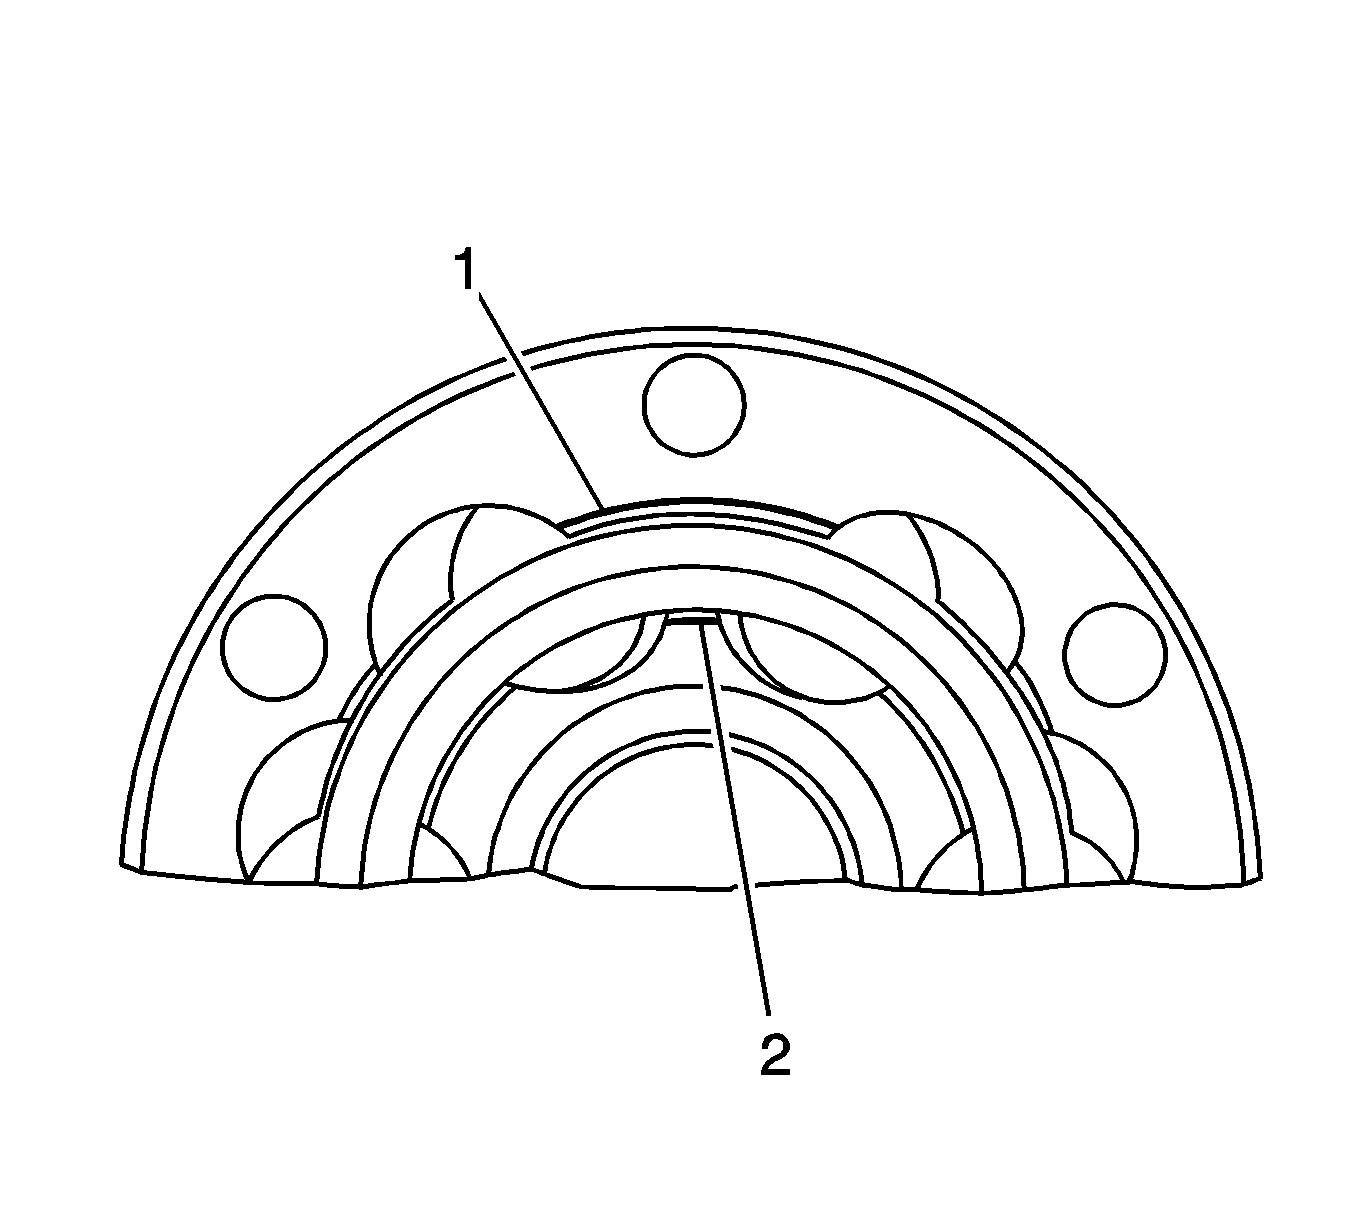
- Align the thick sections (1) with the outer race with the narrow sections (2) on the inner race.
- Tilt the cage and inner race and fit one ball.
- Repeat the process for the other 5 balls.
- Remove the old sealing bead from the dust shield, end cap , and the constant velocity joint
- Position a large boot clamp over the drive shaft boot.
- Install the dust shield on to the drive shaft boot.
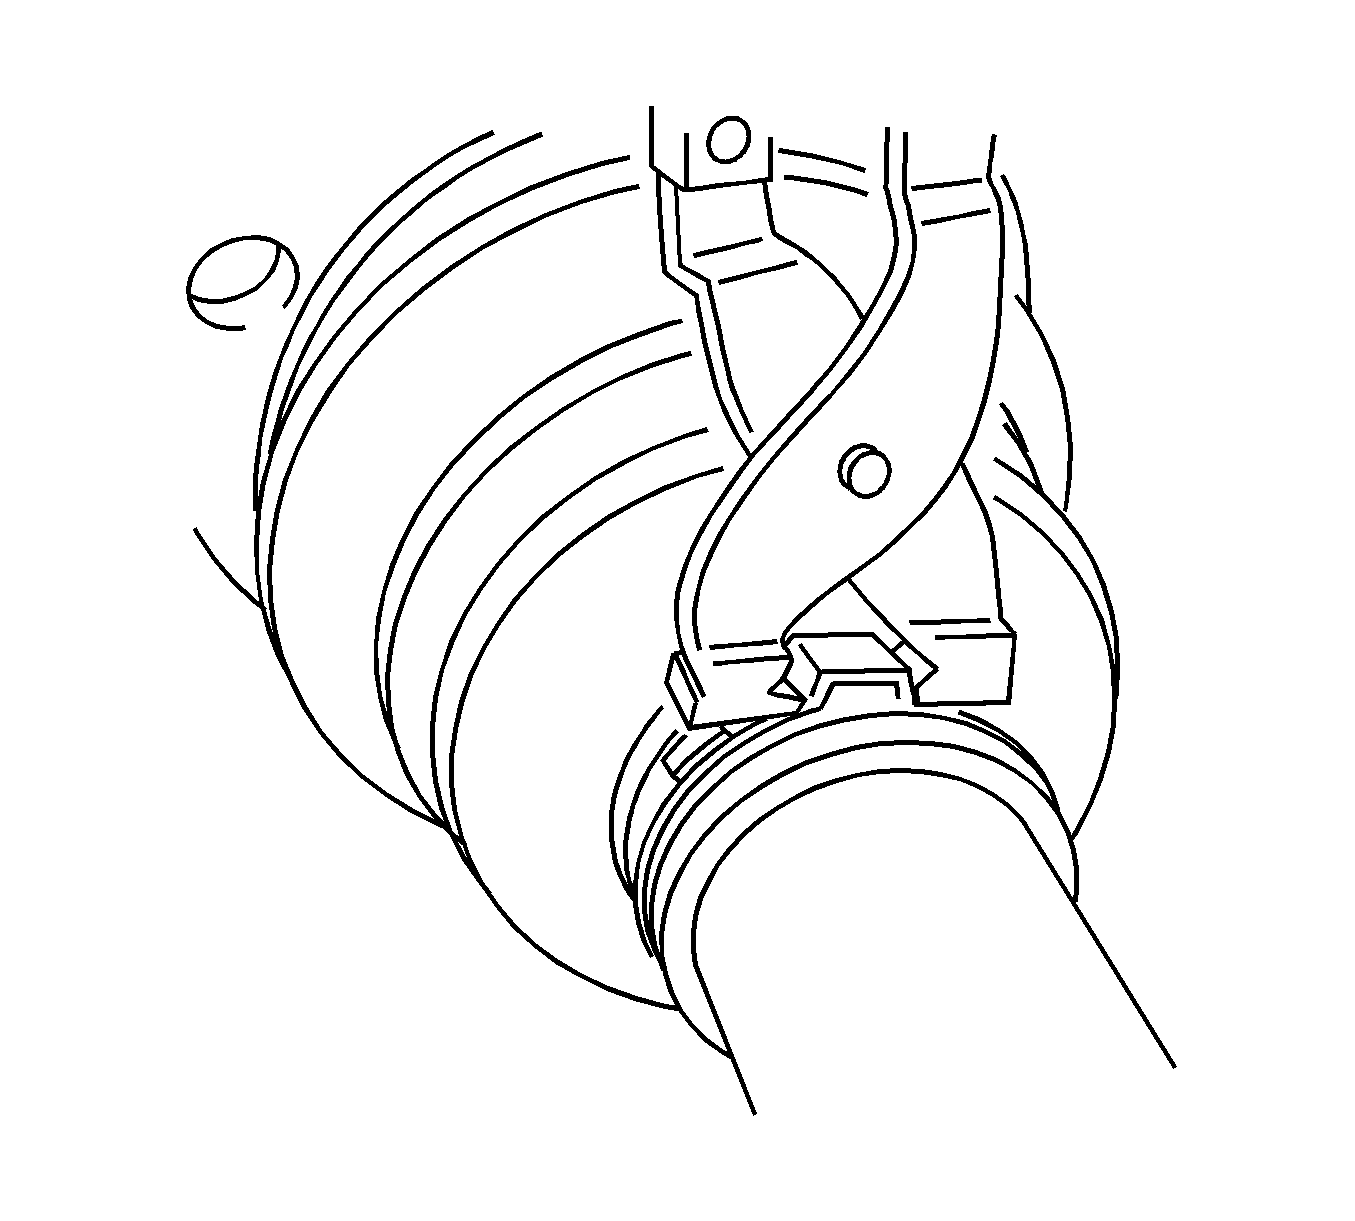
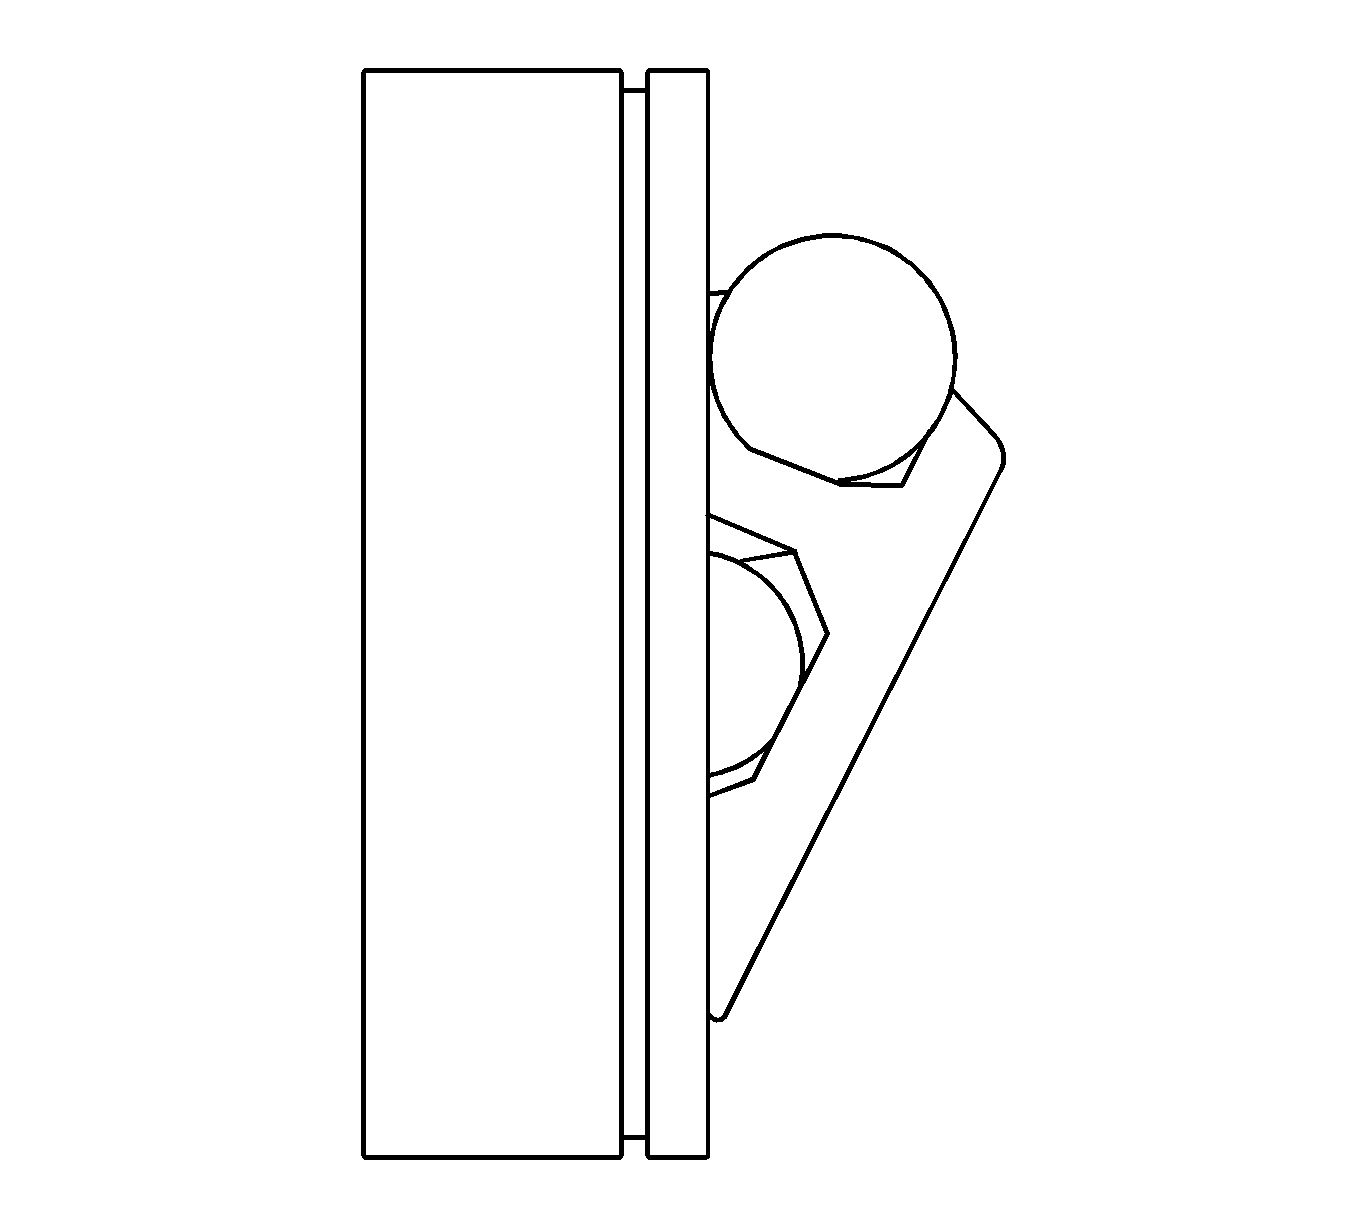
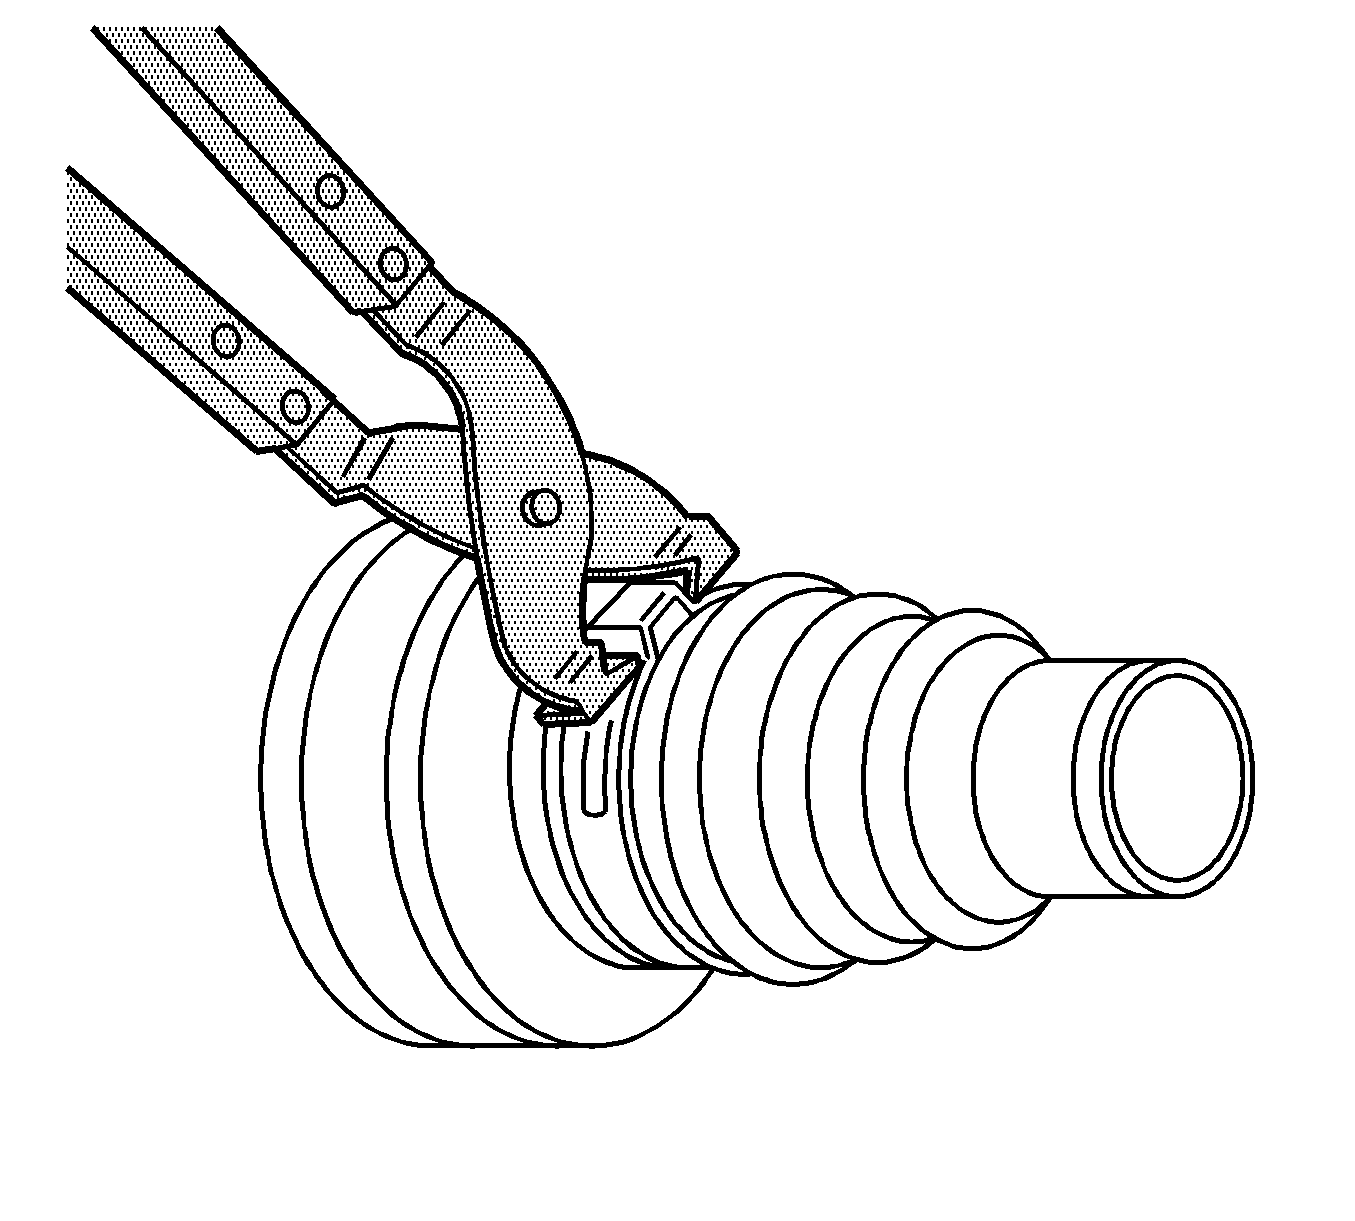
- Using J 22610 , crimp the large clamp ensuring the crimp is positioned between 2 bolt holes.
- Place the wheel drive shaft horizontally in a bench vise.
- Install a new small boot retaining clamp onto the wheel drive shaft.
- Install the boot onto the axle shaft.
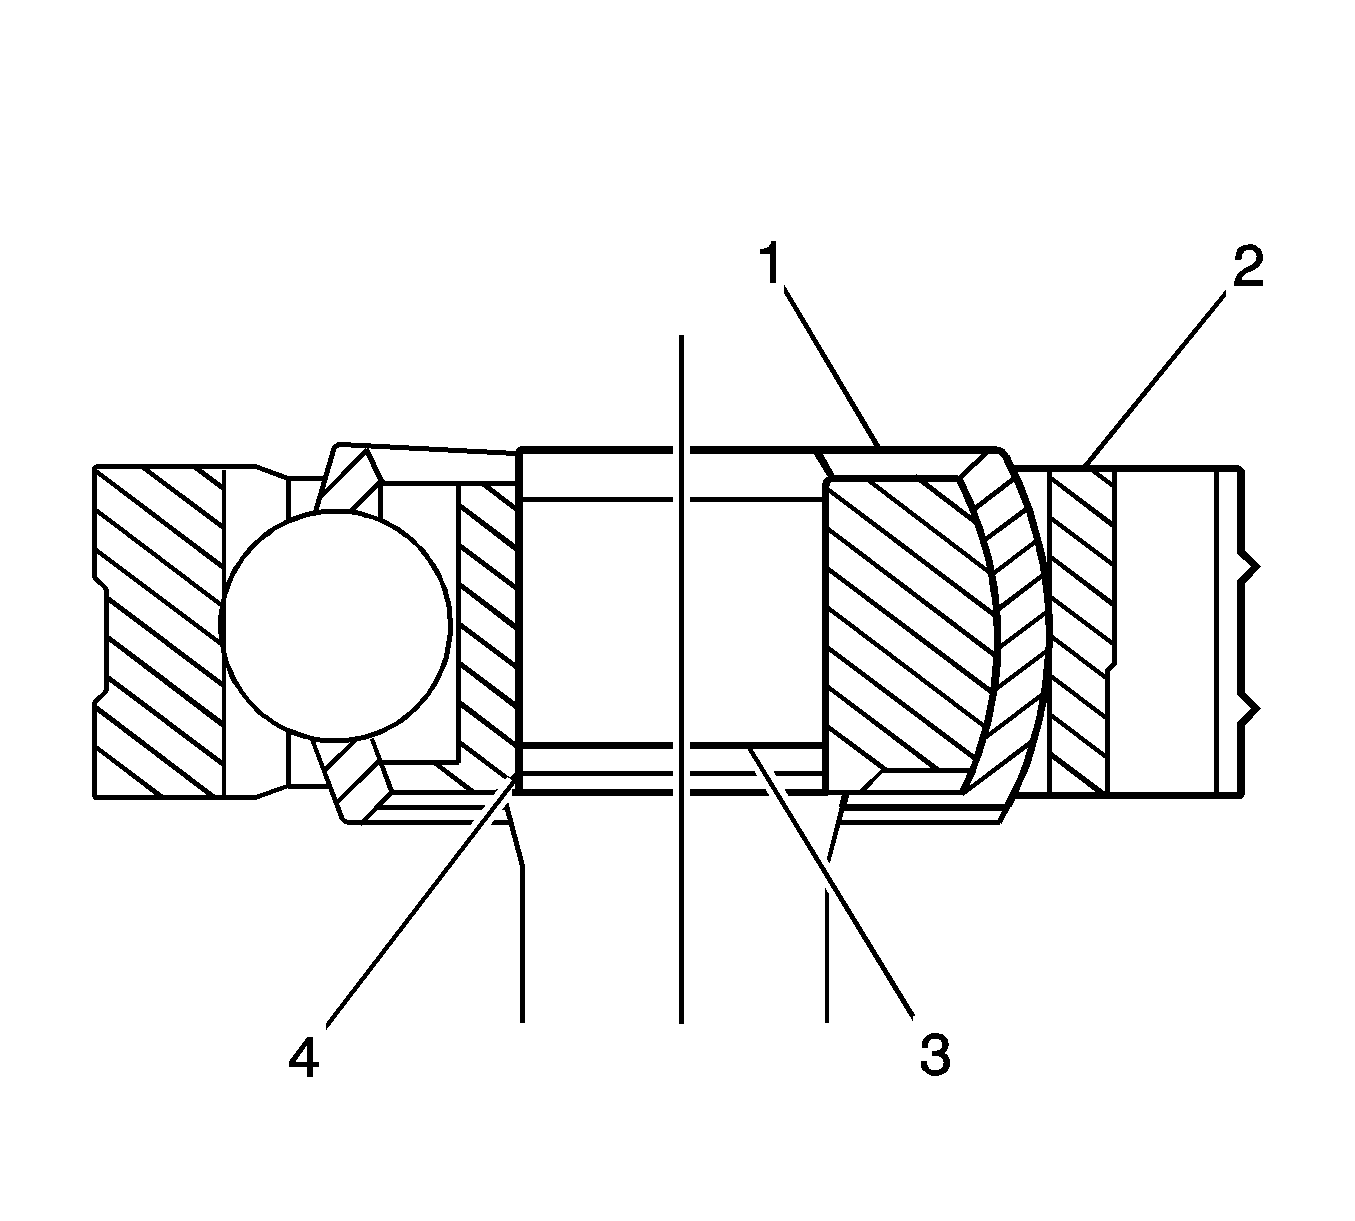
- Press the constant velocity joint onto the drive shaft with the recess (4) on the inner race (3) facing the shoulder (4) on the drive shaft.
- Install the retaining clip.
- Pack one tube of grease into the inner side of the constant velocity joint and the boot.
- Pack a half tube of grease into the outside of the constant velocity joint.
- Apply a 8 mm (0.315 in) bead of RTV to the inside of the end cap and the dust shield. Allow to cure.
- Install the dust shield and end cap by gently tapping with a hammer and punch. Ensure the bolt holes are aligned.
- Position the small seal retaining clamp onto the neck of the seal.
- Install the boot and small retaining clamp on to the boot groove on the drive shaft.
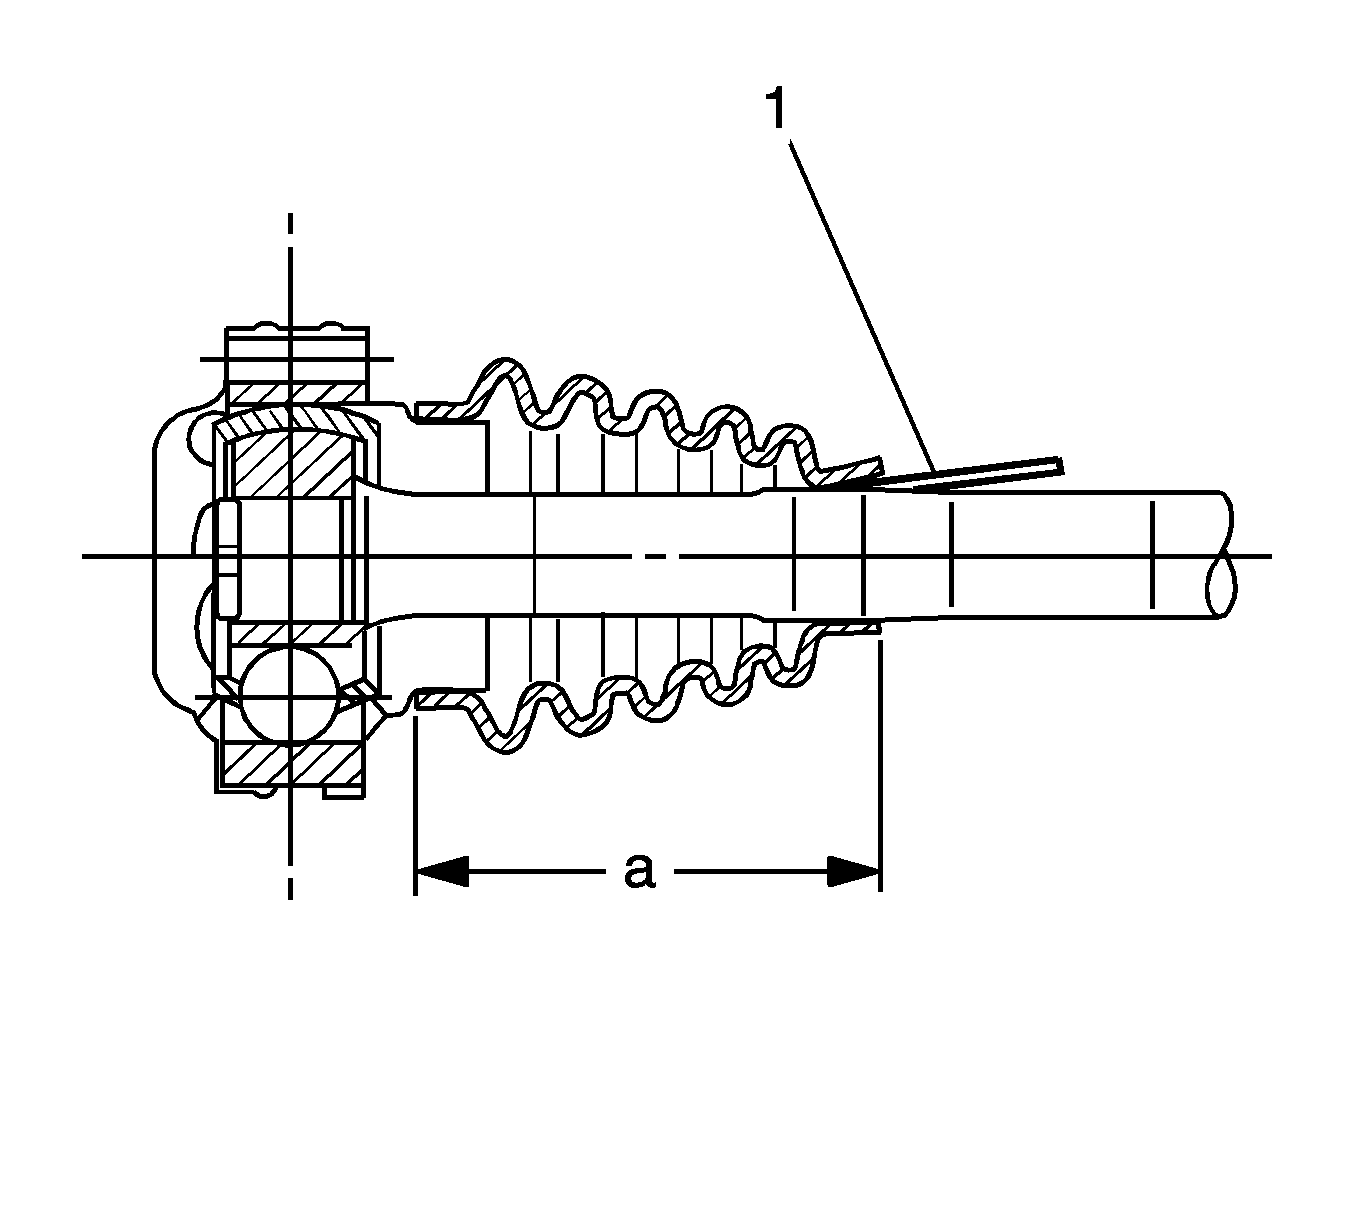
- Using a small screw driver (1), pry up the small end of the seal to equalize the air pressure.
- Measure the distance (a) between the edge of the boot and the edge of the last axle shaft groove closing edge. It should be 81 mm (3.19 in)
- Using J 22610 , crimp the small end clamp.
- Remove the wheel drive shaft from the bench vise.
- To install the wheel drive shaft into the vehicle, refer to Wheel Drive Shaft Replacement .
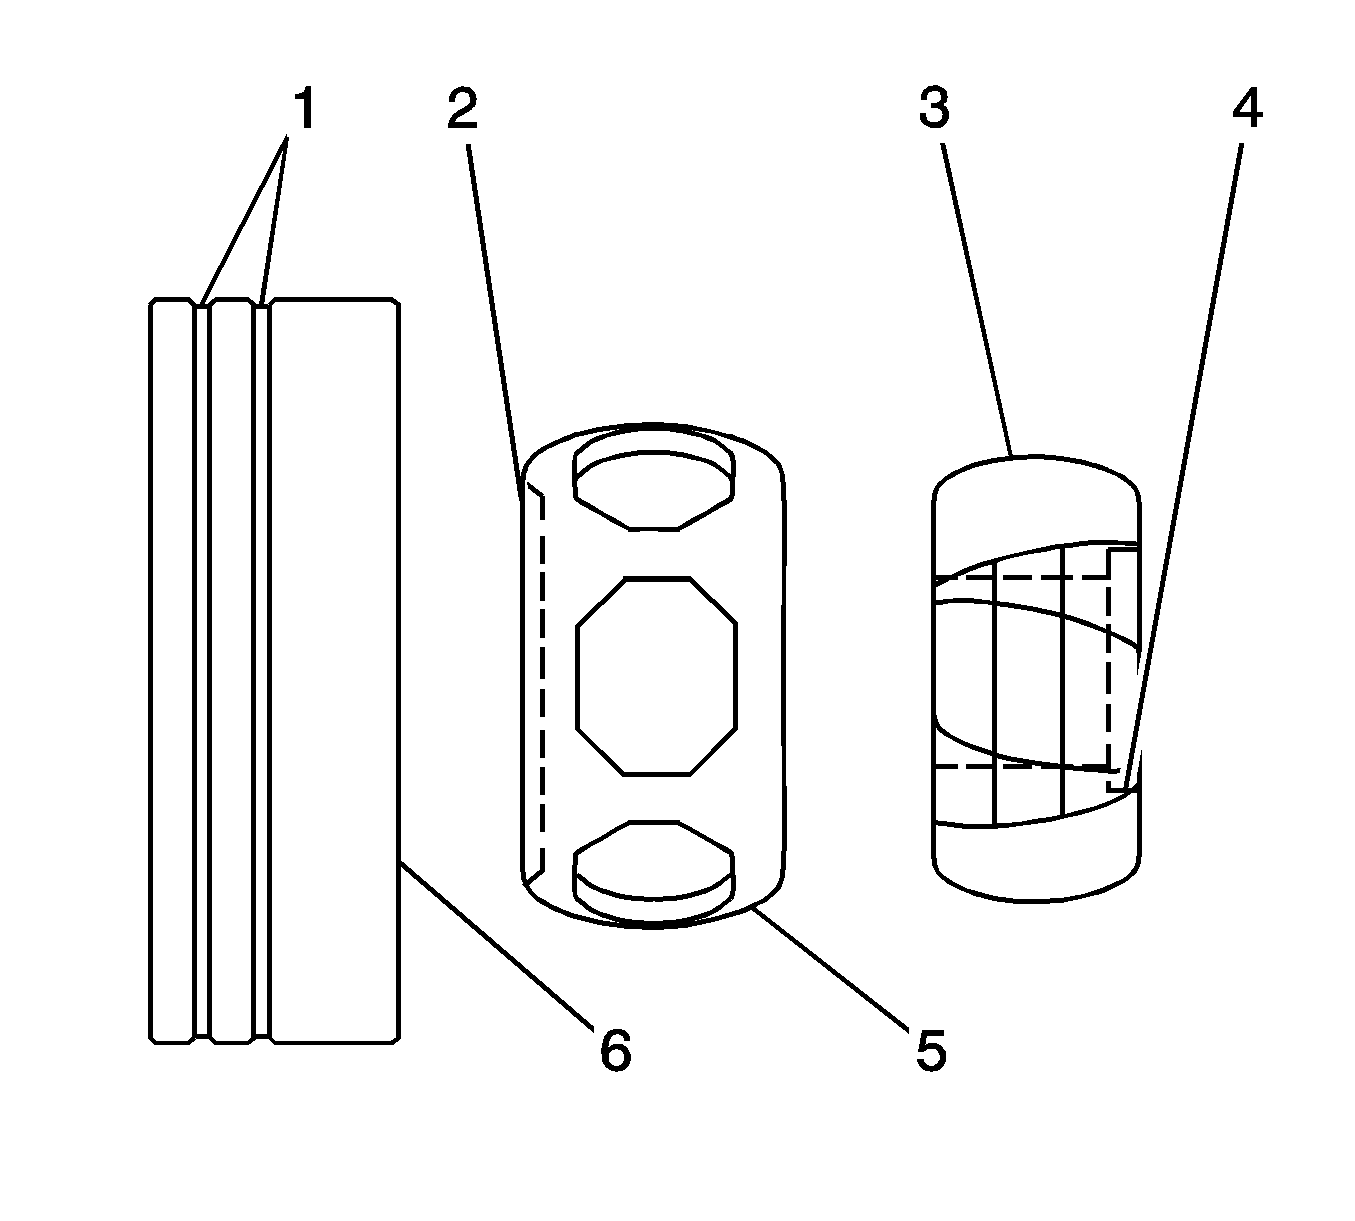
Notice: Wheel drive shaft boots, seals and clamps should be protected from sharp objects any time service is performed on or near the wheel drive shaft(s). Damage to the boot(s), the seal(s) or the clamp(s) may cause lubricant to leak from the joint and lead to increased noise and possible failure of the wheel drive shaft.
Important: Protect the axle shaft from damage.
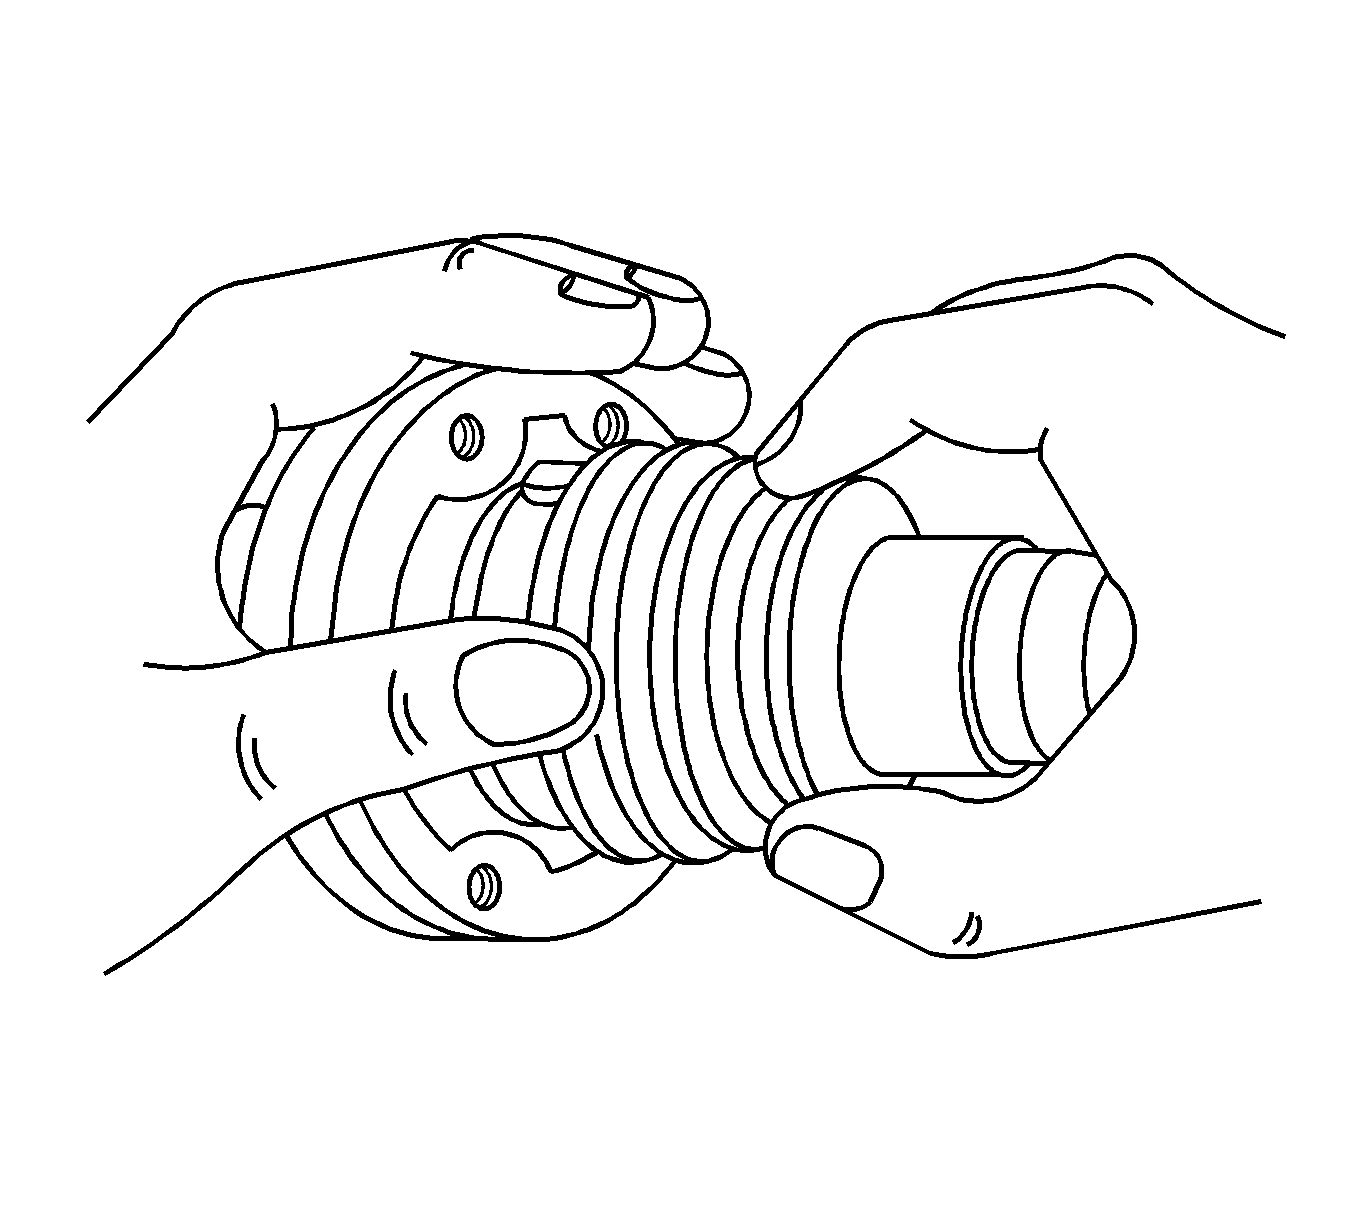
Important: The seal must not be dimpled, stretched or out of shape in any way.
