Removal Procedure

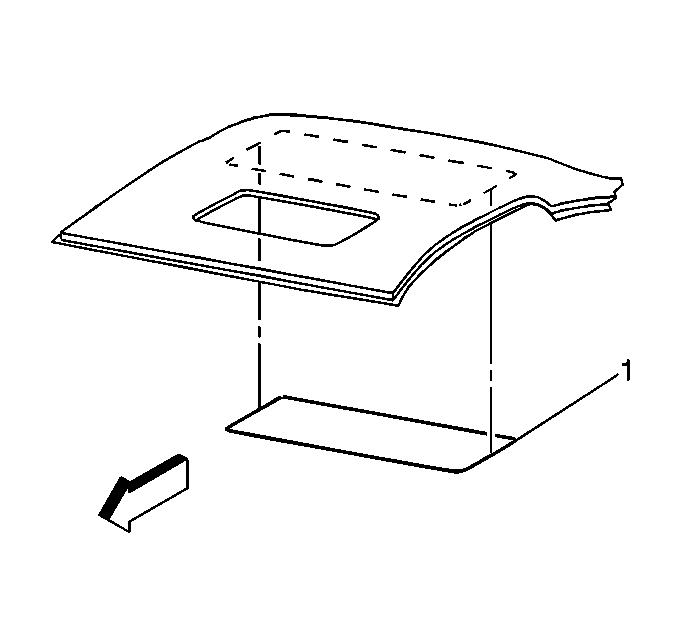
Important: The roof panel is made of mild steel and welded to the steel roof structure, including the outer panel and the inner reinforcements. The roof panel is serviced as a skin with no reinforcements, only sound-soak patches pre-installed for efficient installation (1). The roof panel must be drilled to remove the outer panel and inner reinforcements for servicing.

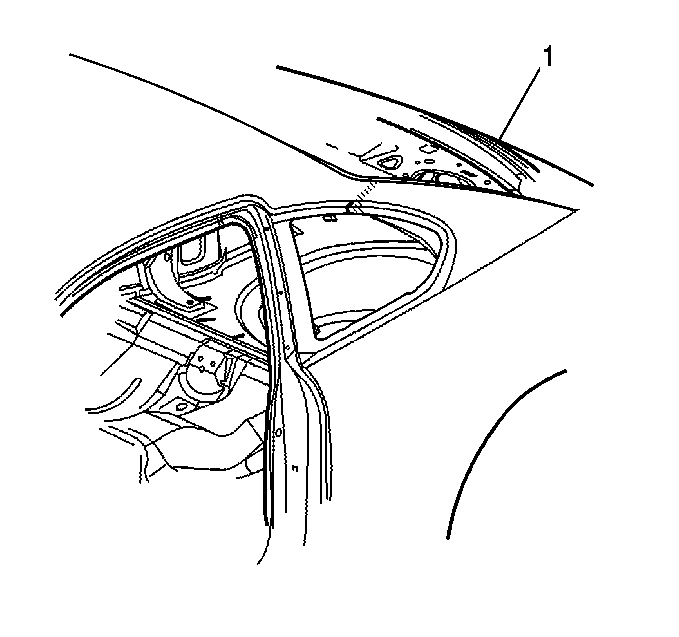
The headliner, windshield and backglass must be removed prior to the removal of the roof assembly. Protect the interior of the vehicle. Use care when working near adjacent panels, glass, weatherstrips and moldings (1).
On vehicles equipped with a sunroof, take care not to damage the drain tubes. The drain tubes are located between the inner and outer windshield pillar.
- Remove all related panels and components necessary to access the welds attaching the roof assembly to the vehicle (1).
- Visually inspect and restore as much of the damage as possible.
- Remove sealers and anti-corrosion materials as necessary.
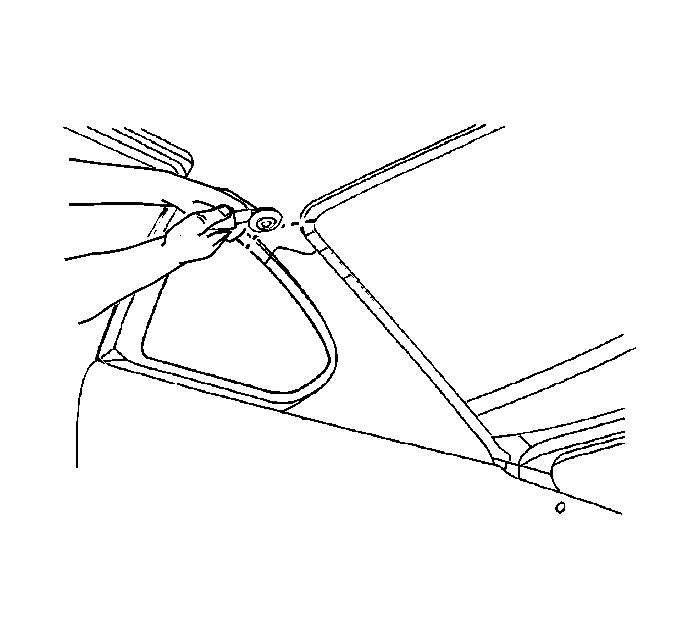
- Locate silicon-bronze joints which attach roof panel to quarter panels.
- Cut through the roof panels just above the left and right silicon-bronze joints, use a die-grinder or equivalent tool.
- Locate, mark and drill out all factory welds. Note the number and location of welds for installation of the service assembly.
- Remove the damaged roof panel assembly.
- Grind off the silicon-bronze weld and remove the remaining roof panel tabs.

Installation Procedure
- Clean and prepare the mating surfaces as necessary.
- Position the roof panel on the vehicle. Check fit and alignment.
- Position the service assembly and plug weld accordingly.
- Stitch weld the quarter panel to the roof joints at the factory seams.
- Make 25 mm (1 in) welds along the seam with 25 mm (1 in) gaps between.
- Go back and complete the stitch weld. This will create a solid joint with minimal heat distortion.
- Clean and prepare all welded surfaces.
- Apply an approved anti-corrosion primer.
- Apply sealers and refinish as necessary.
- Install all related panels and components.

Important: Prior to refinishing, refer to the publication GM 4901M-2000 "GM Approved Refinish Material" for recommended products. Do not combine paint systems. Refer to paint manufacturer's recommendations..
Important: The windshield and bonding area should be a primer surface ONLY and not an aftermarket, top-coated (paint or color-coated) surface. Refer to Bulletin P/N 43-10-48 for more detailed information.
