For 1990-2009 cars only
Compressor Clutch Plate and Hub Assembly Removal V7 - Direct Mount
Tools Required
| • | J 33013-B Hub and Drive Plate Remover/Installer |
| • | J 33027-A Clutch Hub Holding Tool |
| • | J 41790-A Compressor Holding Fixture |
- Remove the compressor from the vehicle.
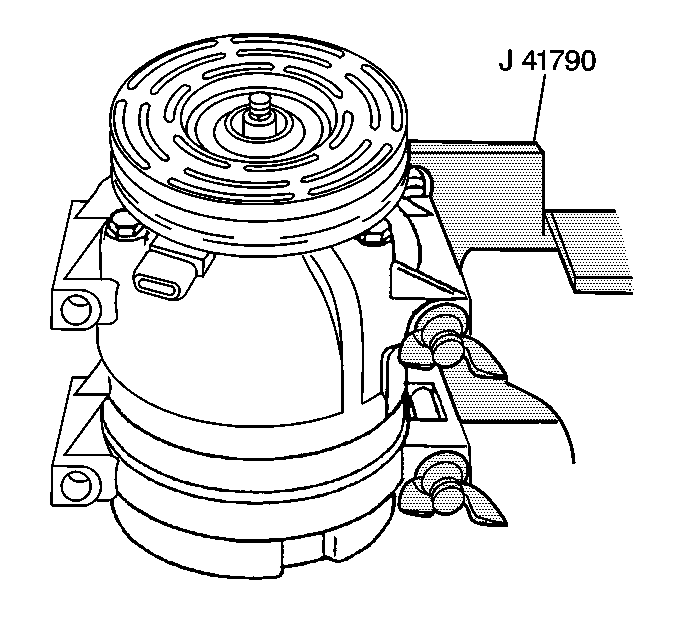
- Clamp the compressor holding fixture, J 41790-A in a vise and attach the compressor to the J 41790-A .
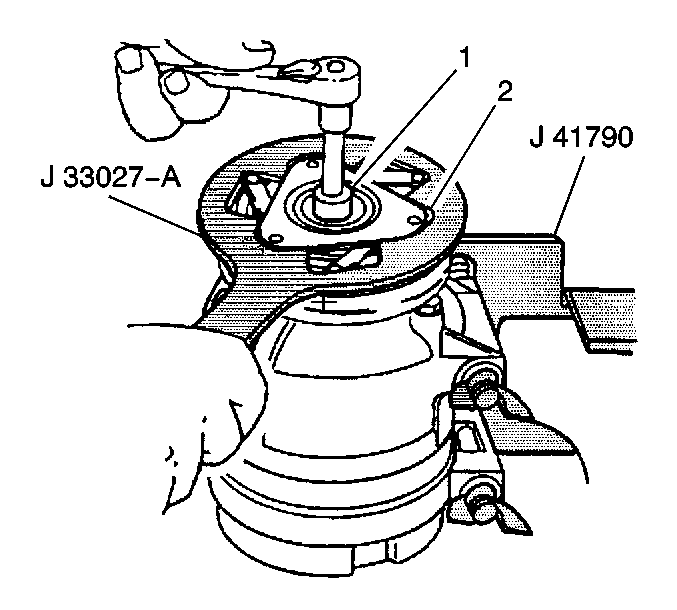
- Hold the clutch hub and drive plate assembly (2) in place using the J 33027-A .
- Remove the compressor shaft nut with a 13 mm socket (1).
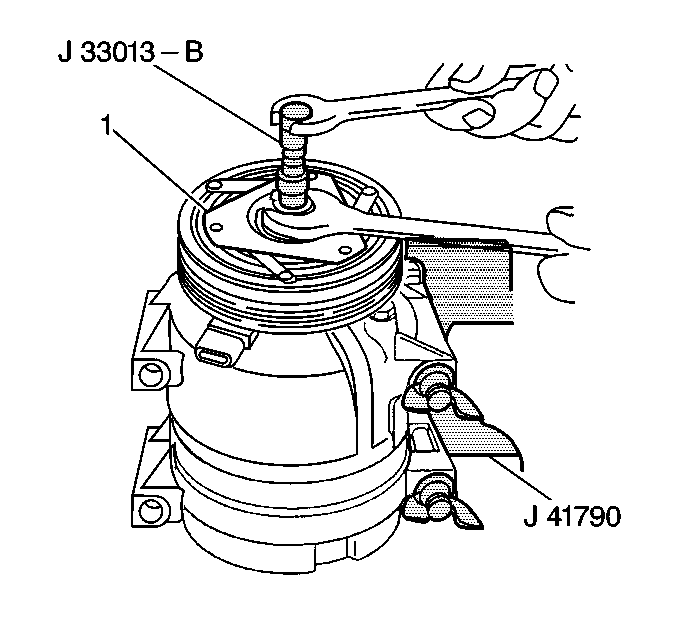
- Thread the J 33013-B into the hub.
- Remove the hub and drive plate assembly (1) by turning the center screw into the body of the J 33013-B and against the compressor shaft.
- Remove the shaft key and retain for reassembly.


Compressor Clutch Plate and Hub Assembly Removal HT6/HD6
Tools Required
| • | J 34992 Compressor Holding Fixture |
| • | J 33013-B Clutch Plate and Hub Assembly Installer-Remover |
- Clamp the J 34992 in a vise.
- Use thumb screws in order to attach the compressor to the holding fixture.
- Ensure that the center screw forces the tip to thrust against the end of the shaft.
- Thread the J 33013-B into the hub.
- While holding the body of J 33013-B of the remover with a wrench, turn the center screw into the remover body in order to remove the clutch plate and hub assembly (1).
- Remove the shaft key. Retain the shaft key for reassembly.

Notice: Do not drive or pound on the clutch hub or shaft. Internal damage to the compressor may result. The forcing tip on the J 33013-B remover/installer center screw must be flat or the end of the shaft/axial plate assembly will be damaged.
