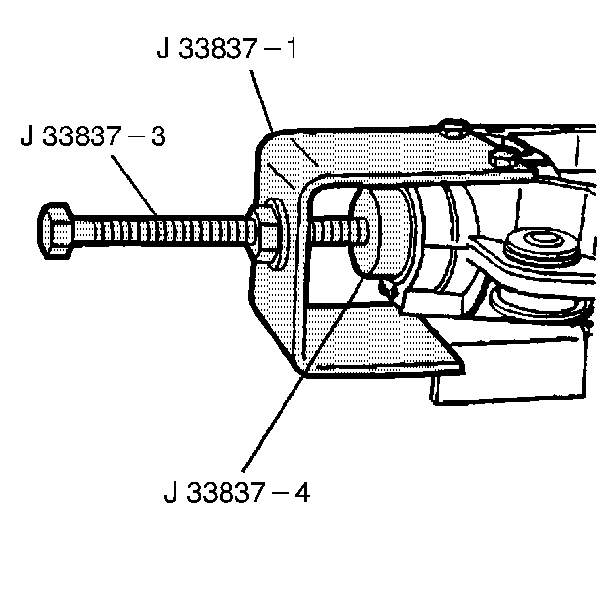
- Install the outer bearing
into the case using the J 33837
-1, the J 33837
-3,
and the J 33837
-4.
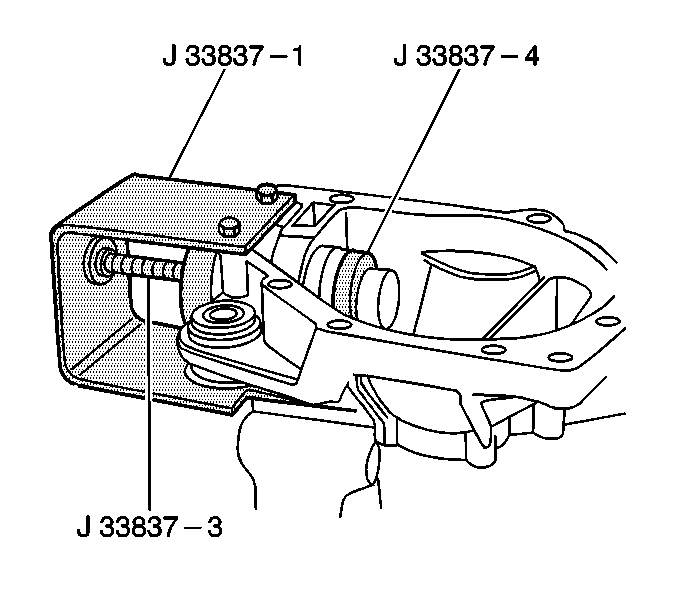
- Install the inner and
outer bearing race into the carrier using the J 33837
-1, the J 33837
-3, and the J 33837
-4.
- Adjust the pinion depth by selecting a shim of the proper thickness.
- Lubricate the inner and outer pinion bearings liberally using
axle lubricant.
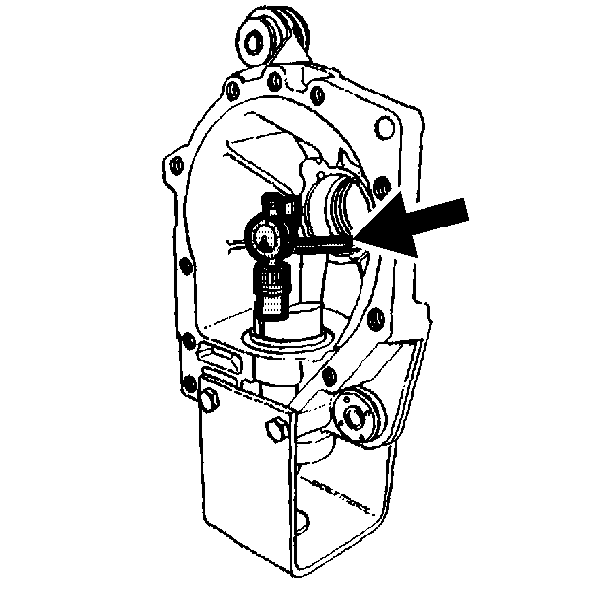
- Hold the pinion bearings
in position and install the J 33838
.
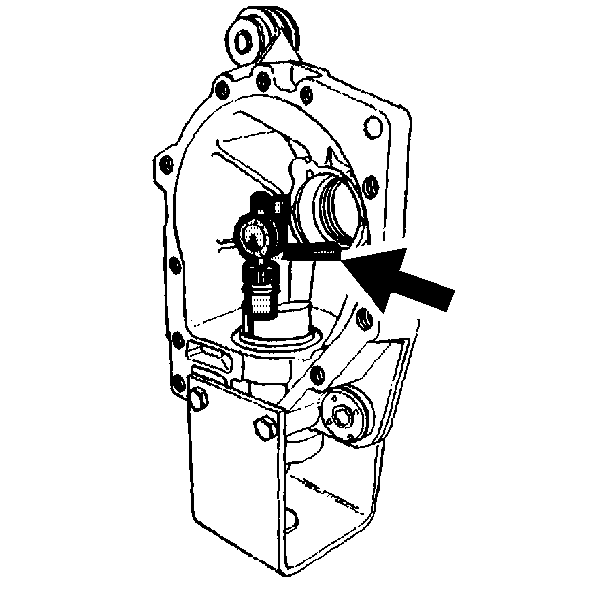
- Install the J 29763
.
| 6.3. | Push the J 29763
downward until the needle rotates approximately 3/4 turns to the right. |
- Tighten the dial indicator in this position.

- Set the button of the J 33838
on the differential bearing
bore.
- Rotate the tool slowly back and forth until the J 29763
reads the lowest point of the bore.
Set the J 29763
to ZERO.
Repeat the rocking action of the tool in order to verify the ZERO
setting.

- After you obtain and verify
the ZERO setting, move the tool button out of the differential side bearing
bore. Record the J 29763
reading.
The J 29763
reading
equals the shim size. For example, if the J 29763
reads 0.84 mm (0.003 in) in step 8, a
0.84 mm (0.003 in) shim is required.
- Remove the tools and bearing cones.
- Install the selective shim between the inner bearing and the gear shoulder.
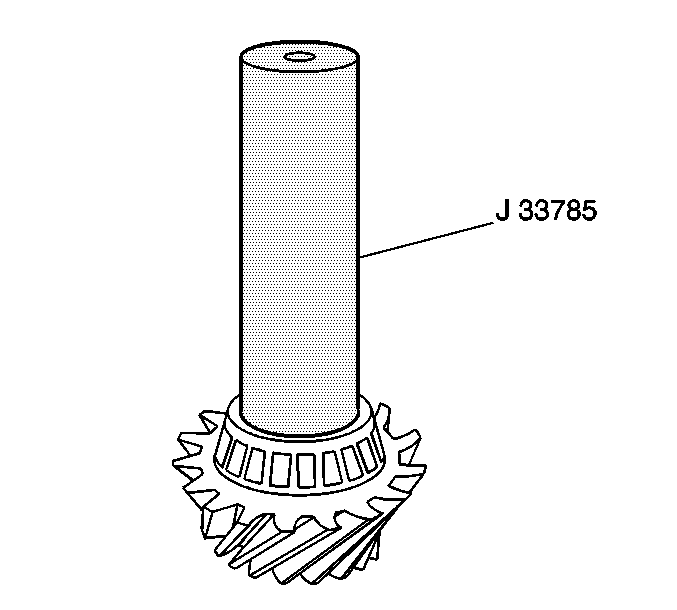
- Install the inner pinion bearing onto the pinion gear using the J 33785
.
- Install a new collapsible spacer onto the pinion gear.
- Lubricate the pinion bearings using axle lubricant.
- Install the outer pinion bearing into the carrier.
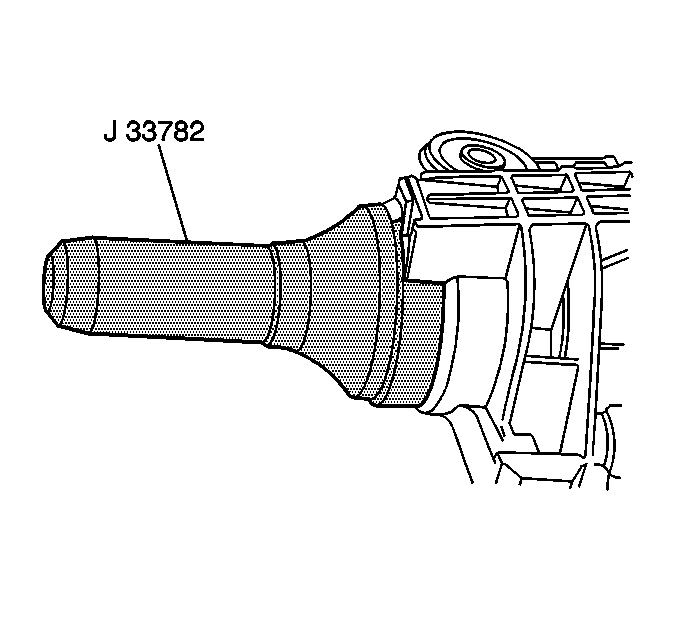
- Install the pinion seal
using the J 33782
.
- Install the pinion gear (with the inner bearing and the spacer)
into the carrier.
- Apply sealant to the inside sealing surface of the pinion yoke.
- Apply special seal lubricant to the outside sealing surface of
the pinion yoke.
Notice: Do not hammer the pinion flange/yoke onto the pinion shaft. Pinion components
may be damaged if the pinion flange/yoke is hammered onto the pinion shaft.
Important: Install the pinion yoke in the same position as marked during removal
in order to maintain driveline balance.
- Install the drive pinion yoke by tapping the yoke using a soft-faced
hammer until a few pinion shaft threads show through the yoke. The pinion
will need to be held in place from inside the carrier half.
Notice: Use the correct fastener in the correct location. Replacement fasteners
must be the correct part number for that application. Fasteners requiring
replacement or fasteners requiring the use of thread locking compound or sealant
are identified in the service procedure. Do not use paints, lubricants, or
corrosion inhibitors on fasteners or fastener joint surfaces unless specified.
These coatings affect fastener torque and joint clamping force and may damage
the fastener. Use the correct tightening sequence and specifications when
installing fasteners in order to avoid damage to parts and systems.
Important: Reference the number of exposed threads on the pinion stem recorded
during removal.
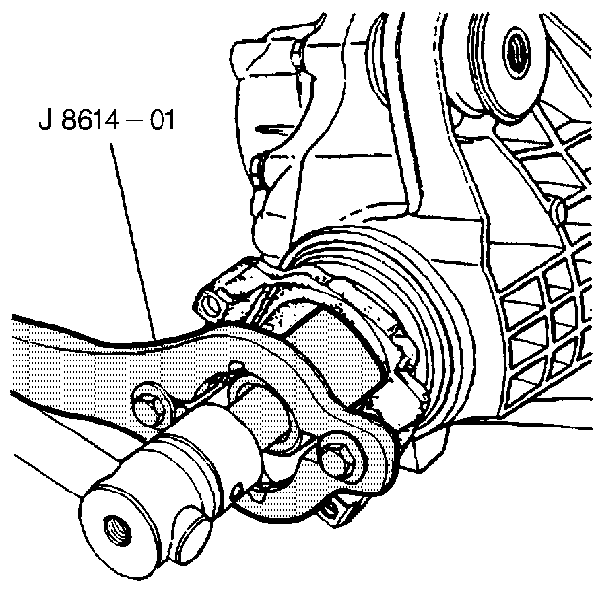
- Install the washer and a new nut using the J 8614-01
.
Tighten
Tighten the nut until the pinion end play is just taken up. Rotate the
pinion while tightening the nut in order to seat the bearings.
Important: If the pinion bearing preload is exceeded, the pinion will have to be
removed and a new collapsible spacer installed.
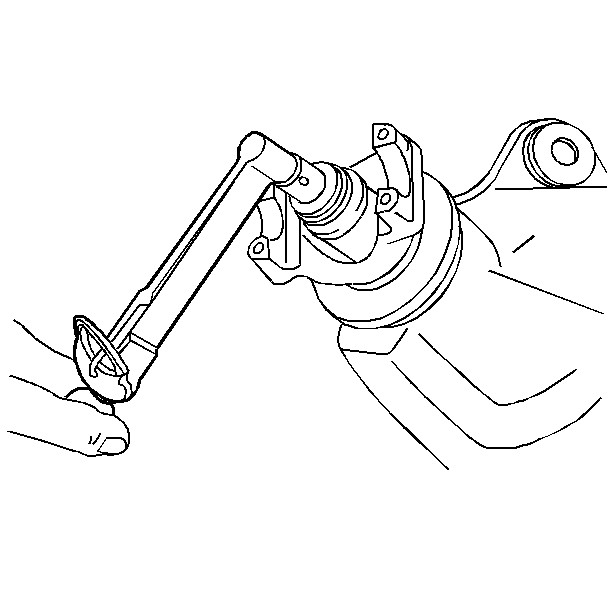
- Measure the pinion bearing preload using an inch-pound torque wrench.
| 23.1. | Rotate the pinion with the torque wrench and observe the reading. |
| 23.2. | The correct preload is 1.7-2.8 N·m (15-25 lb in). |
Tighten
Tighten the nut in small increments, as needed, until the preload is
correct.
- Once the specified preload is obtained, rotate the pinion several
times in order to ensure the bearings are seated. Recheck the preload and
adjust if necessary.
- Install the thrust washers and side gears into the differential
case. If reusing the original gears and washers, install the gears on the
same side from which the parts were removed.
- Install the pinion gears.
| 26.1. | Position one pinion gear between the side gears. Rotate the gears
until the pinion gear is directly opposite the opening in the case. |
| 26.2. | Place the other gear between the side gears. Ensure that the holes
in both pinion gears are aligned. |
- Install the thrust washers. Rotate the pinion gears toward the
opening in order to permit the thrust washers to slide in.
- Install the shaft and the bolt.
- Install the ring gear onto the differential case.
Important: Always install new bolts. Do not reuse the old bolts.
- Install the ring gear mounting bolts.
Tighten
Tighten the bolts, in progressive steps, to 80 N·m (59 lb ft).
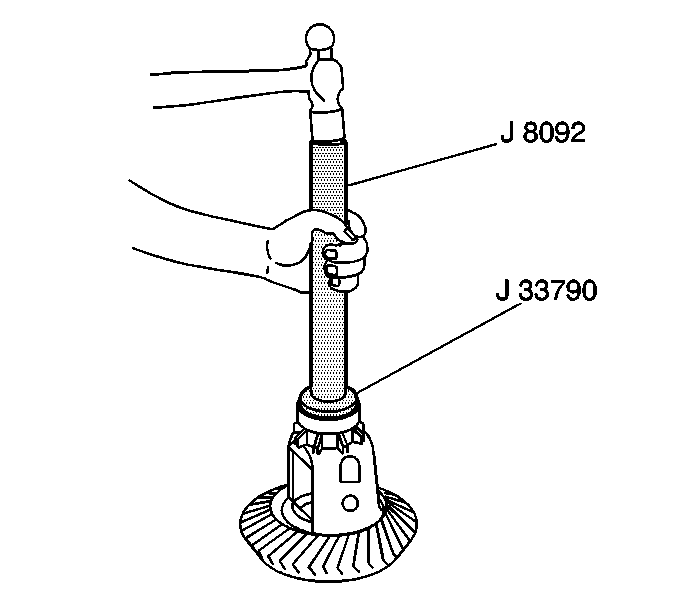
- Install the side bearings using the J 8092
and the J 33790
.
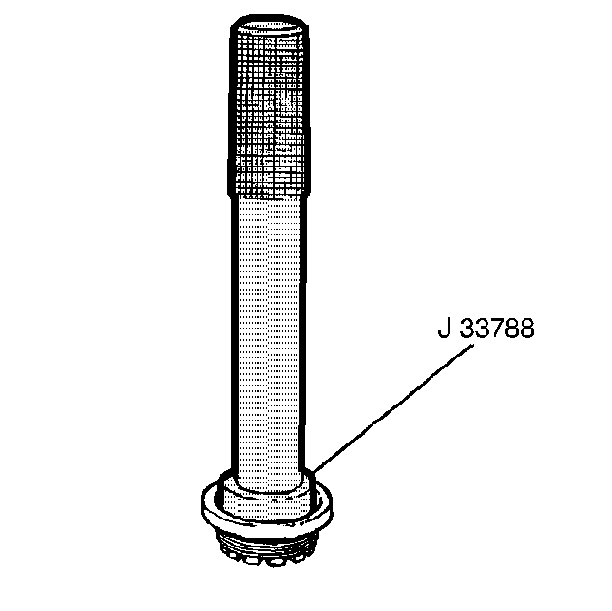
- Install the bearing into
the right sleeve using the J 33788
.
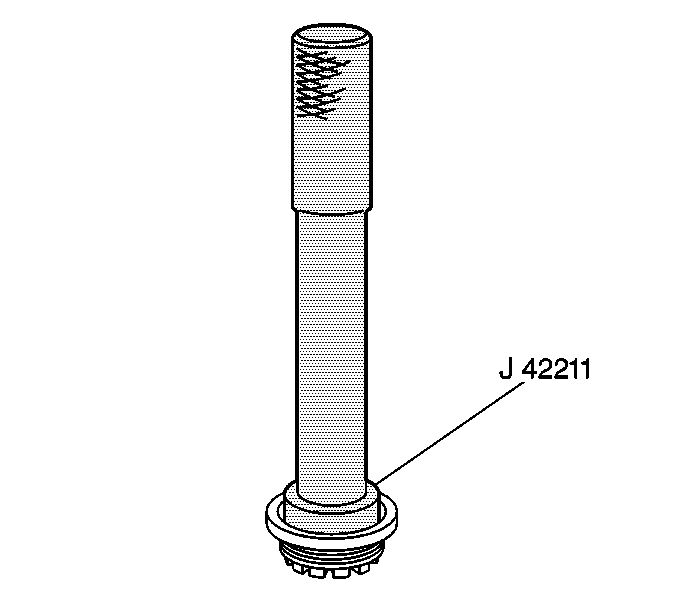
- Install the bearing into the left sleeve using the J 42211
.
- Install the sleeves into the carrier. Thread the sleeves in completely.
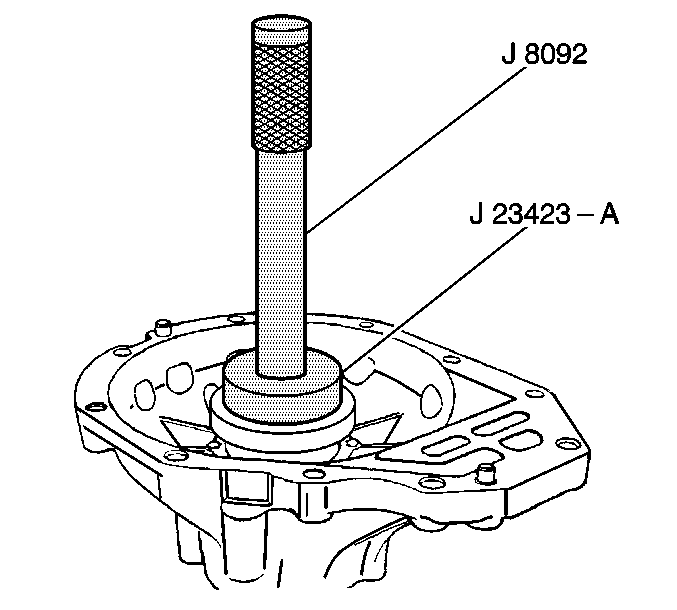
- Install the side bearing cups into the carrier using the J 23423-A
and the J 8092
.
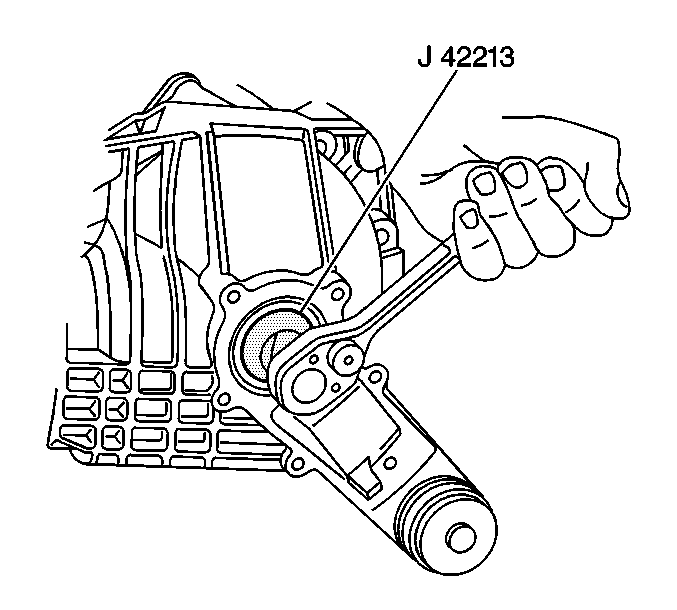
- Install the differential case assembly to the carrier.
| 36.1. | Place the differential case assembly into the carrier half that
contains the pinion gear. |
| 36.2. | Turn the left sleeve in toward the differential case using the J 42213
until backlash is felt
between the ring and pinion gear. |
- Assemble the carrier halves. Do not use sealer at this time.
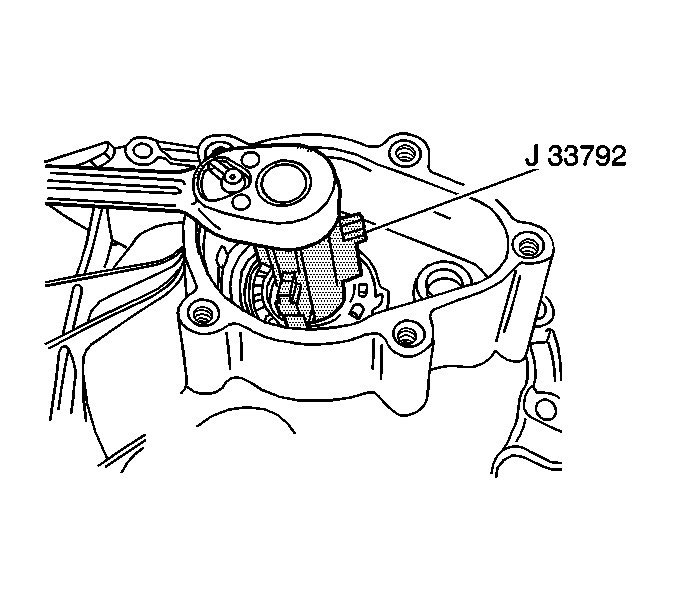
- If the carrier halves do not contact completely, back out the right
hand adjusting sleeve. Use the J 33792
.
- Install the four carrier halves assembly bolts.
Tighten
Tighten the bolts to 50 N·m (37 lb ft).
- Inspect and adjust the backlash. Refer to
Backlash Inspection and Adjustment
.
- Inspect the gear tooth contact pattern. Refer to
Gear Tooth Contact Pattern Inspection
.
- Remove the 4 case bolts.
- Remove the right carrier case half.
- Clean the sealing surfaces on the carrier case halves. Remove
all oil and grease using a chlorinated solvent, such as carburetor cleaner.
- Apply a bead of sealer to one carrier half mounting surface.
- Assemble the carrier halves.
- Install the carrier halves assembly bolts.
Tighten
Tighten the bolts to 50 N·m (37 lb ft).
- Ensure that the sleeves are positioned properly, as previously
marked.

- Install the bolts and
lock tabs.
Tighten
Tighten the bolts to 8 N·m (71 lb in).
- Clean all oil and grease from the left cover and seal assembly,
the bolts and the carrier sealing surfaces using carburetor cleaner or equivalent.
- Install the left cover and seal assembly.
Tighten
Tighten the bolts to 25 N·m (18 lb ft).
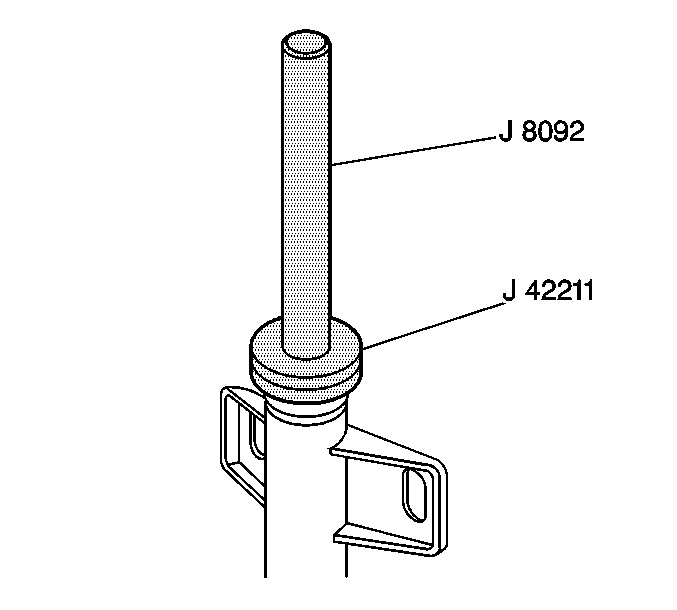
- Install the bearing using
the J 42211
and the J 8092
.
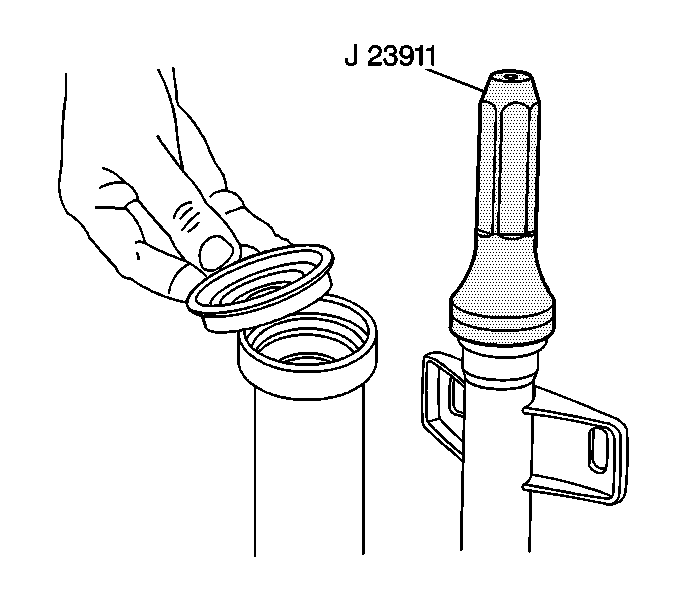
- Install the shaft seal
using the J 23911
.
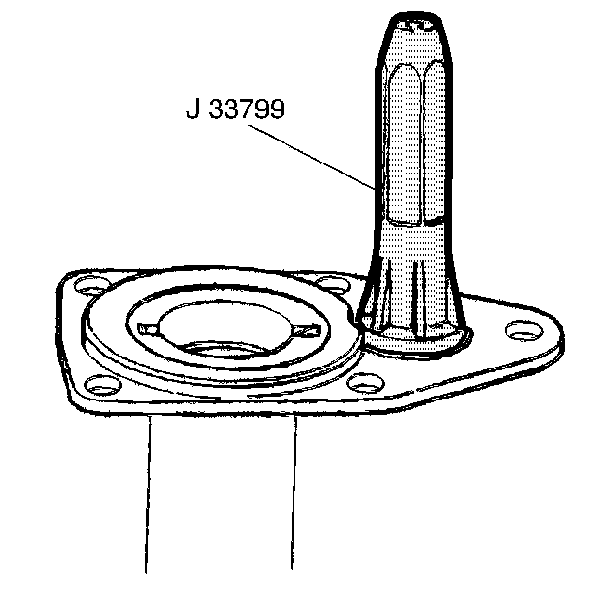
- Install the shift housing
seal using the J 33799
.
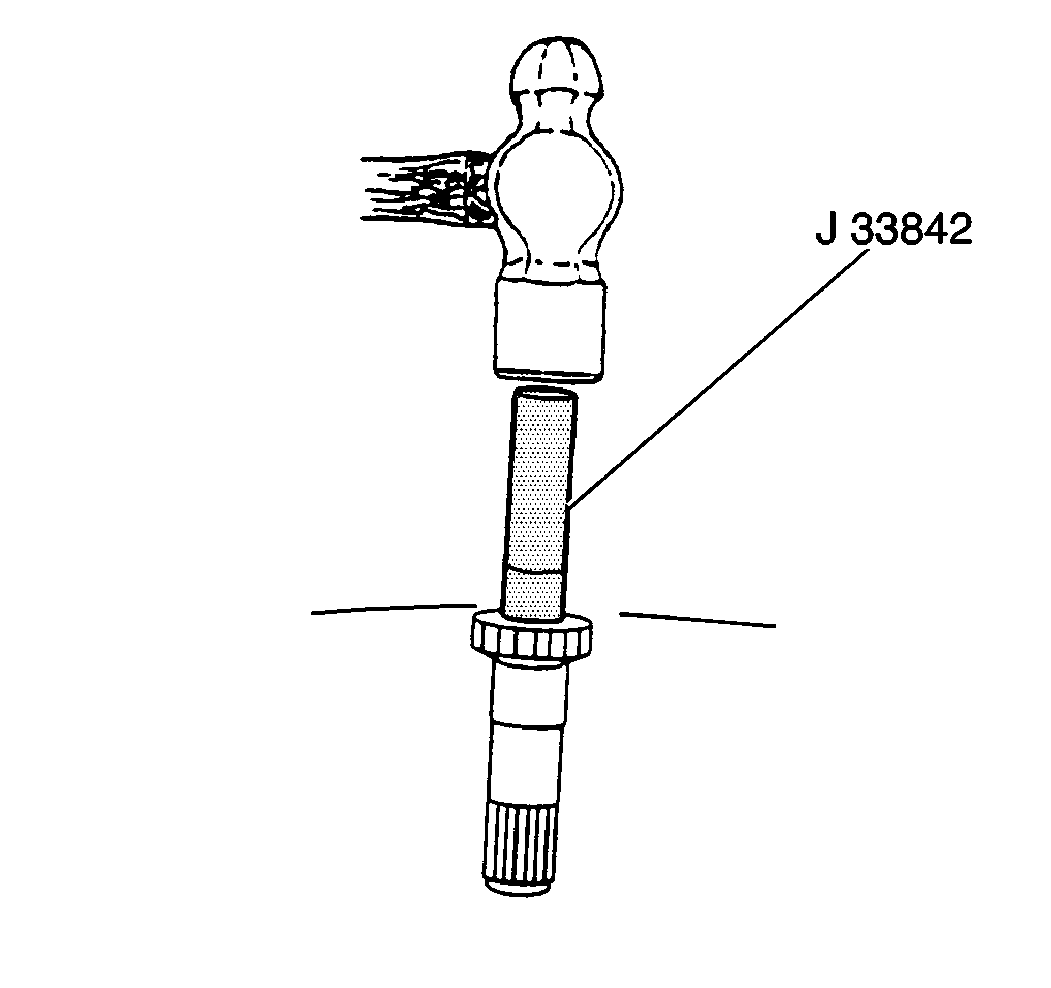
- Install the clutch shaft
pilot bearing using the J 33842
.
- Install the washer to the clutch shaft.
- Install the clutch shaft to the carrier assembly.
- Install the clutch sleeve.
- Install the thrust washer using grease in order to secure.
- Install the spring with the shift shaft and fork.
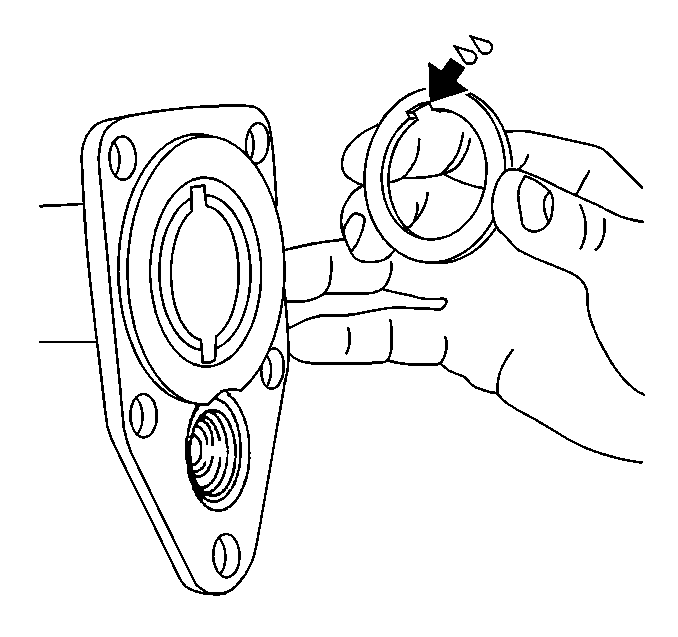
- Install the thrust washer
using grease in order to secure. Align the notch and tab.
- Install the inner axle shaft to the housing.
- Install the clutch gear with the retaining ring. Tap into place.
| 63.1. | Remove all oil and grease from the housing flange to carrier gasket
surfaces using carburetor cleaner or equivalent. |
| 63.2. | Apply sealer to the carrier. |
- Install the shaft and housing assembly to the carrier.
- Install the two upper bolts finger-tight.
- Install the shift cable housing and the remaining bolts.
Tighten
Tighten the five bolts to 48 N·m (36 lb ft).
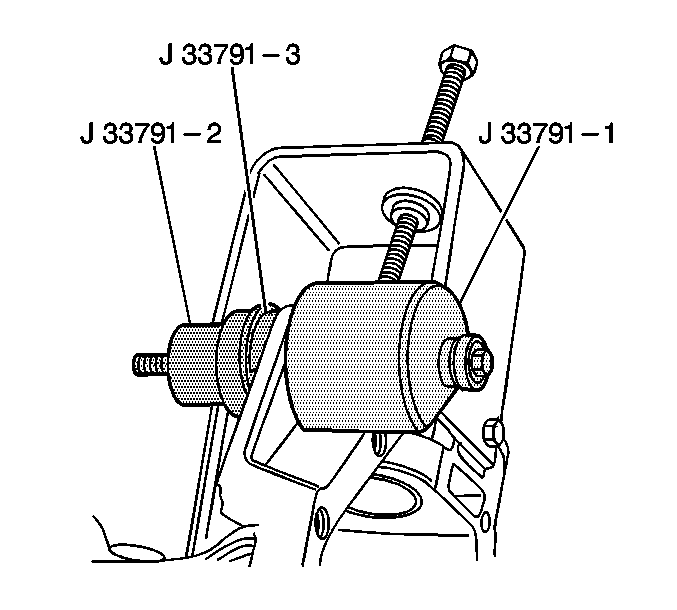
- Install the bushings using
the J 33791
-1, the J 33791
-2 and the J 33791
-3.
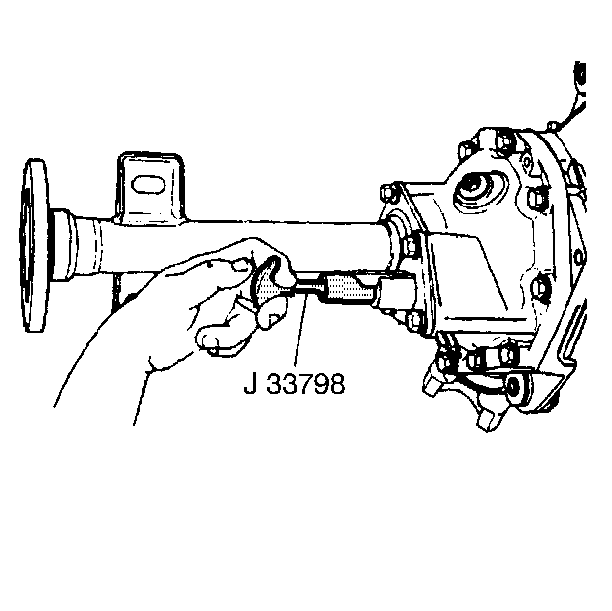
- Inspect the operation
of the shift mechanism. Insert the J 33798
into the shift fork.
- Turn the axle shaft while engaging and disengaging the shift mechanism
with the tool.
- The mechanism should operate smoothly. If not, remove the tube.
Inspect for damaged or improperly installed parts.


