For 1990-2009 cars only
Removal Procedure
- Raise the vehicle. Refer to Lifting and Jacking the Vehicle in General Information.
- For a 2WD vehicle, skip steps 5 and 6.
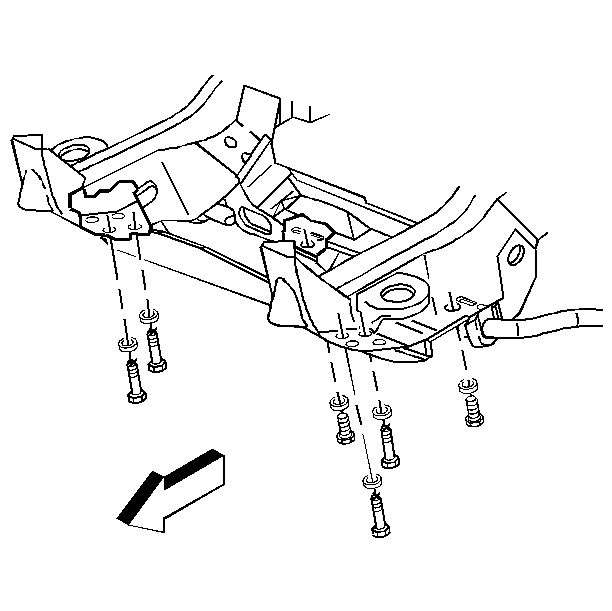
- Remove the AIR shield mounting bolts.
- Remove the AIR shield.
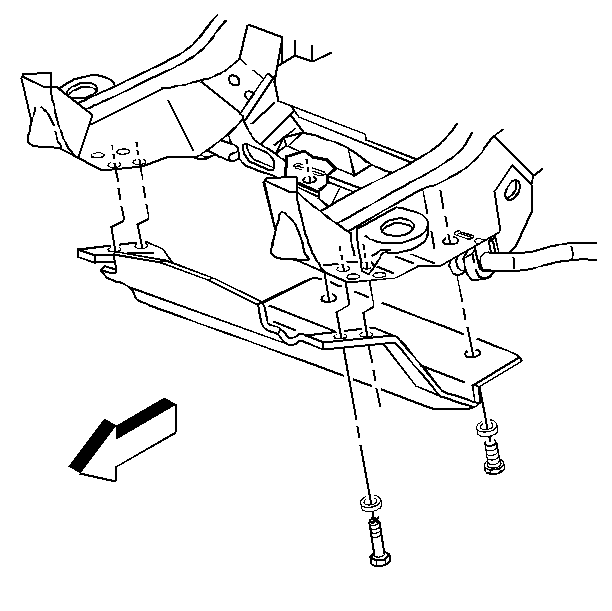
- Remove the retaining bolts from the steering linkage shield.
- Remove the steering linkage shield.
- Disconnect the vacuum hose (1) from the shut-off valve (2).
- Disconnect the shut-off valve hose (1) from the AIR pump by releasing the spring clamp.
- Disconnect the reactor pipe assembly from the reactor pipes by releasing the spring clamps.
- Remove the reactor pipe assembly.
For a 4WD vehicle, skip steps 3 and 4.


Installation Procedure
- Connect the reactor pipe assembly to the reactor pipes by installing the spring clamps.
- Install the vacuum hose (1) to the shut-off valve (2).
- Connect the shut-off valve hose (1) to the AIR pump by installing the spring clamp.
- For a 2WD vehicle, skip steps 7 and 8.
- Align the AIR shield.
- Install the AIR shield mounting bolts.
- Align the steering linkage shield.
- Install the linkage shield mounting bolts.
- Lower the vehicle. Refer to Lifting and Jacking the Vehicle in General Information.


For a 4WD vehicle, skip steps 5 and 6.


Tighten
Tighten the bolts to 33 N·m (24 lb ft).


Tighten
Tighten the bolts to 33 N·m (24 lb ft).
