Removal Procedure
Important: An eight digit part identification number is stamped on the bottom of the throttle body casting. Refer to this number if servicing or part replacement is required.
- Remove the air cleaner outlet duct. Refer to Air Cleaner Outlet Duct Replacement .
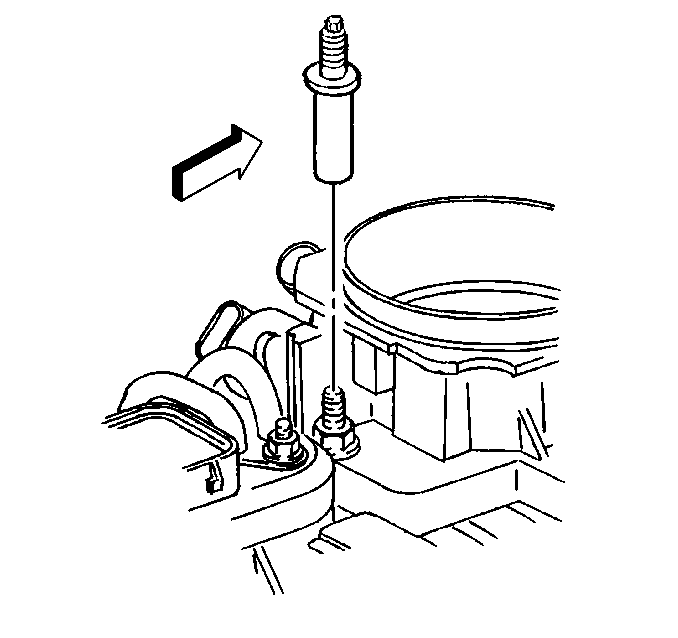
- Remove the air cleaner adapter stud.
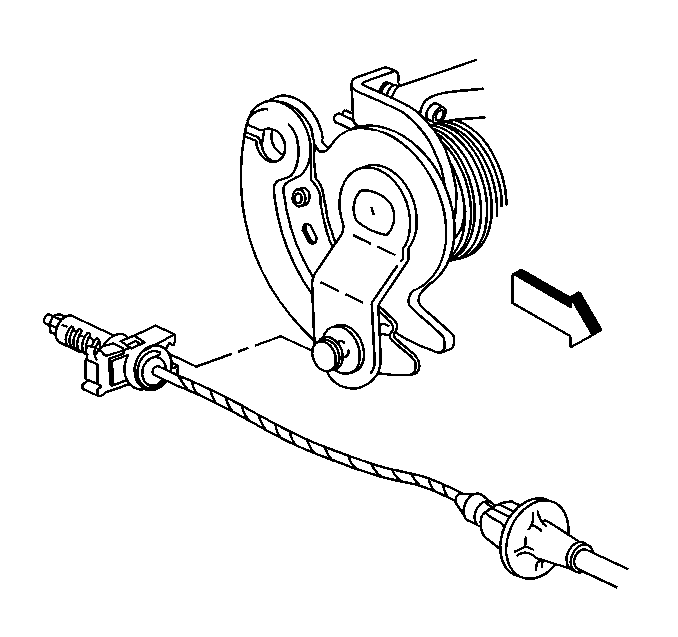
- Disconnect the cruise control cable from the throttle body.
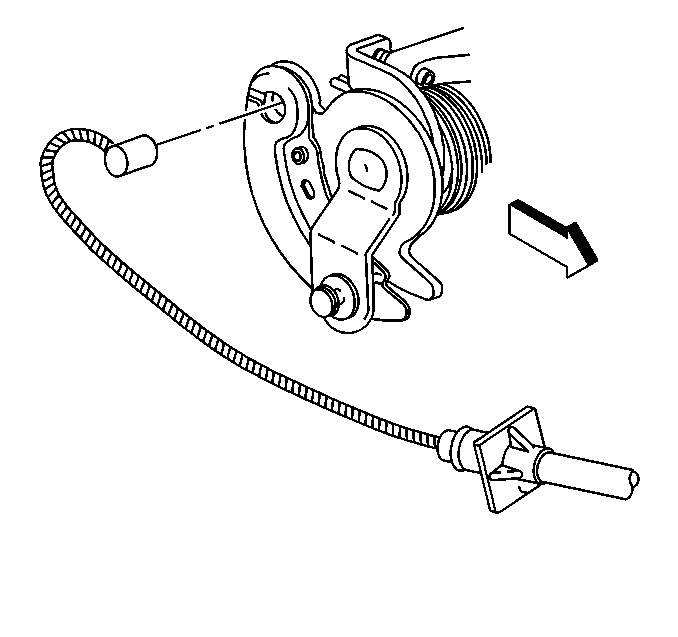
- Disconnect the accelerator cable from the throttle body.
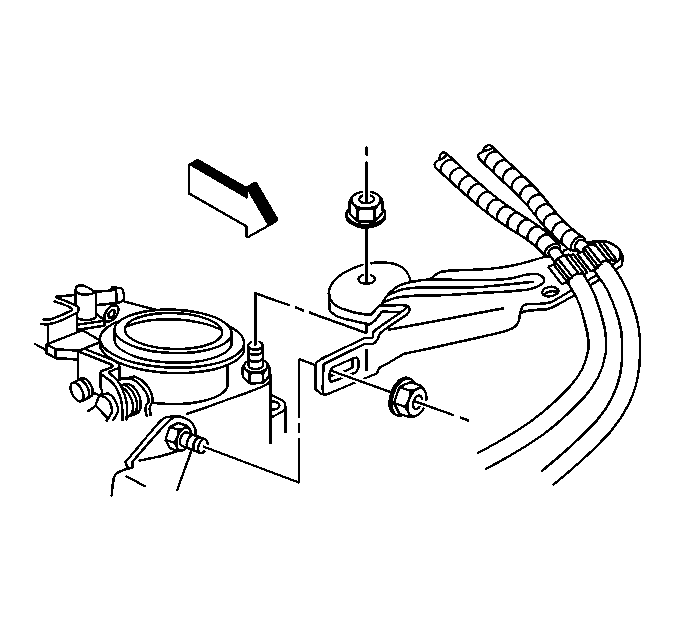
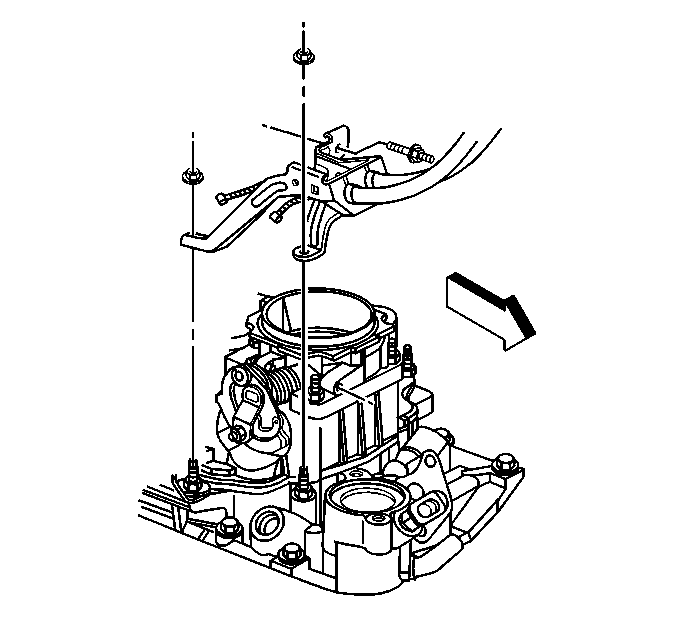
- Remove the nuts retaining the accelerator cable routing bracket.
- Position the bracket aside.
- Remove the stud and nuts retaining the accelerator control cable bracket.
- Position the bracket aside.
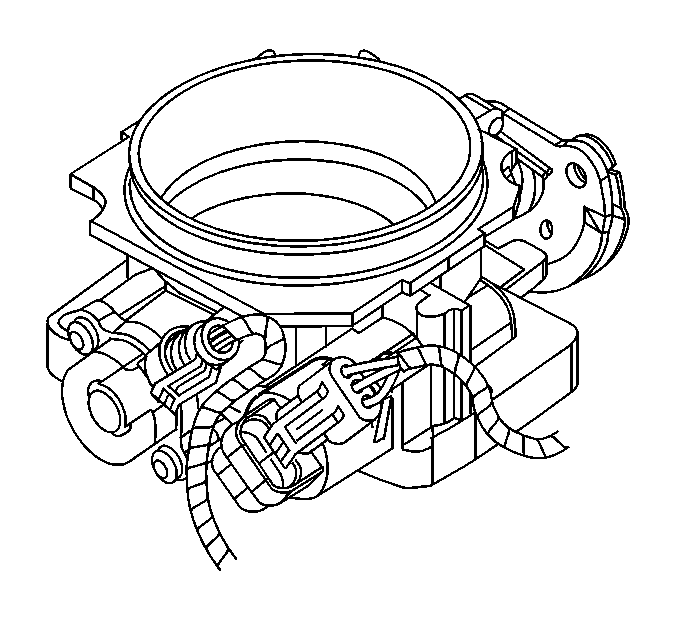
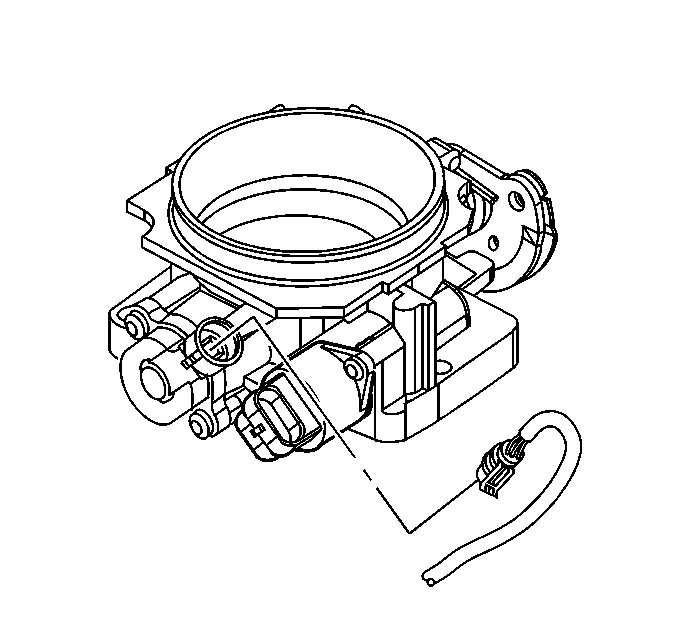
- Disconnect the IAC valve harness connector.
- Disconnect the TP sensor harness connector.
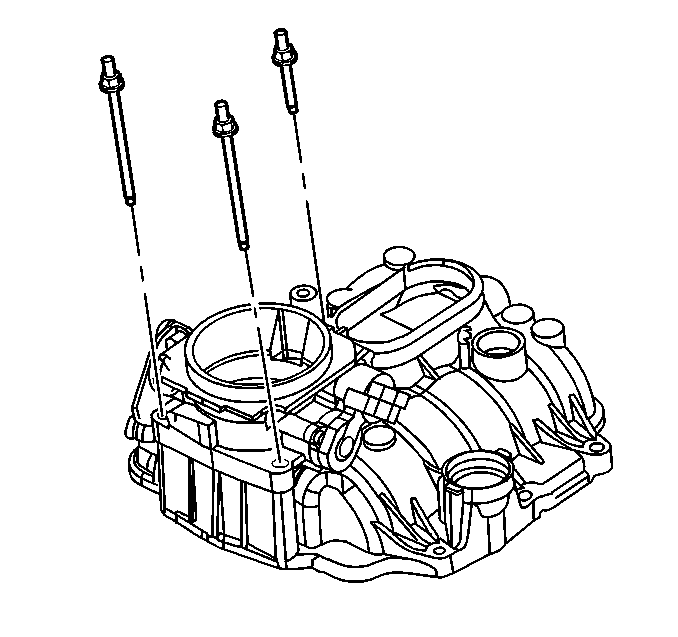
- Remove the throttle body retaining studs.
- Remove the throttle body assembly.
- Discard the throttle body seal.
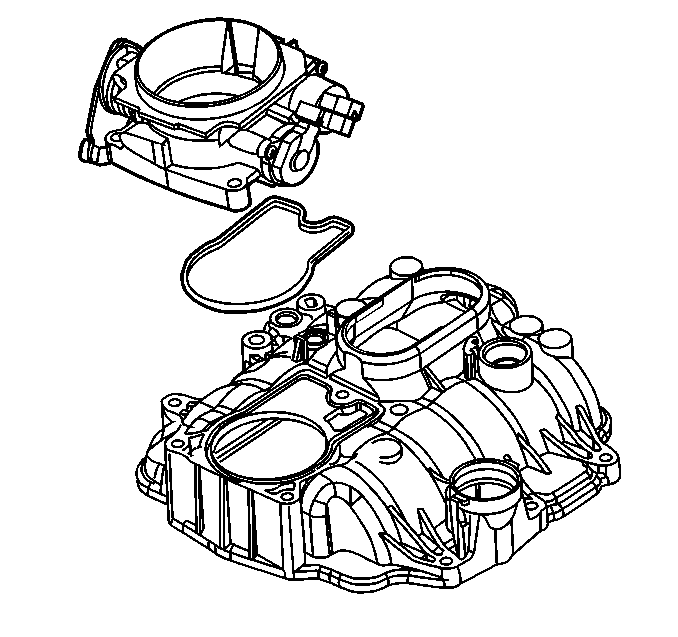
Installation Procedure
- Clean the seal surface on the intake manifold.
- Install the throttle body assembly with a new seal.
- Install the throttle body assembly retaining studs.
- Install the accelerator control cable bracket using the mounting stud and nuts.
- Install the accelerator cable routing bracket using the mounting nuts.
- Install the accelerator cable onto the throttle body.
- Install the cruise control cable onto the throttle body.
- Connect the TP sensor harness connector.
- Connect the IAC valve harness connector.
- Install the air cleaner adapter stud.
- Install the air cleaner outlet duct. Refer to Air Cleaner Outlet Duct Replacement .
- Inspect the accelerator pedal operation.


Notice: Use the correct fastener in the correct location. Replacement fasteners must be the correct part number for that application. Fasteners requiring replacement or fasteners requiring the use of thread locking compound or sealant are identified in the service procedure. Do not use paints, lubricants, or corrosion inhibitors on fasteners or fastener joint surfaces unless specified. These coatings affect fastener torque and joint clamping force and may damage the fastener. Use the correct tightening sequence and specifications when installing fasteners in order to avoid damage to parts and systems.
Tighten
Tighten the studs to 9 N·m (80 lb in).

Tighten
Tighten the stud and nuts to 12 N·m (106 lb in).

Tighten
Tighten the accelerator cable routing bracket nuts to 9 N·m
(80 lb in).

Notice: Check for unrestricted and complete throttle opening and closing positions by operating the accelerator pedal in order to prevent vehicle damage. Also check for poor carpet fit under the accelerator pedal. Throttle should operate freely without bind between full closed and wide open throttle.


Tighten
Tighten the stud to 8 N·m (71 lb in).
Important: The accelerator pedal should operate freely without binding between closed and wide open throttle.
| 12.1. | Turn ON the ignition, with the engine OFF. |
| 12.2. | Using a scan tool, observe the parameter for the TP sensor. |
| 12.3. | Depress the accelerator pedal to the floor. |
| 12.4. | Release the accelerator pedal. |
| 12.5. | Verify the throttle position has gone from 0-100 percent and back to 0 percent. |
