Air leakage is defined as measuring the size of a bubble
formed over a specified period of time. A 25.4 mm (1 in) bubble
formed over 5 seconds is equivalent to 100 standard cubic centimeters
per minute (sccm). A 25.4 mm (1 in) bubble formed over 3 seconds
is equivalent to 175 sccm.
Use a soap solution in order to perform all air leakage tests. This
allows a bubble to form at the site of the air leak, giving a visual aid for
diagnosing the air loss rate.
- Inspect all tubing for kinks or dents.
- Inspect all hoses for signs of wear, drying out, or overheating.
- Inspect the suspension of all of the tubing. Support he tubing
in order to eliminate vibration.
- Inspect the suspension of all of the hoses. Position the hoses
in a manner that will avoid the following conditions:
- Apply the parking brake.
- Start the engine.
- Charge the air system to the governor cut-out point.
- Stop the engine.
- Apply and release the service brakes.
- Check the air leakage.
| • | Check that the dual air pressure gauge on vehicles without trailer
controls does not drop more than 28 kPa (4 psi) in 2 minutes. |
| • | Check that the dual air pressure gauge on vehicles with trailer
controls does not drop more than 41 kPa (6 psi) in 2 minutes. |
| • | If the dual air pressure gauge reading drops more than specified,
check for leaks at the following locations: |
| - | The air line connections |
| - | The trailer control valve |
| - | The park brake control valve |
| - | Any other components on the supply side of the application valve |
- Start the engine.
- Charge the system to the governor cut-out point.
- Stop the engine.
- Firmly apply the brakes and hold the brakes.
- Check the air leakage.
| • | If the air pressure drops 10% or more, check the brake adjustment
at each wheel for excessive lining and brake drum wear. Refer to
Air Drum Brake Adjustment
. |
| • | Check that the dual air pressure gauge on vehicles without trailer
controls does not drop more than 41 kPa (6 psi) in 2 minutes. |
| • | Check that the dual air pressure gauge on vehicles with trailer
controls does not drop more than 55 kPa (8 psi) in 2 minutes. |
| • | If the dual air gauge reading drops more than specified, test
for leaks at the following locations. Double check the valves, the quick release
valve, the relay valve and the other parts on the delivery side of the application
valve. |
| - | The air line connections |
| - | The quick release valve |
| - | Any other components on the delivery side of the application valve |
- Start the engine.
- Charge the air system to the governor cut-out point.
- Stop the engine.

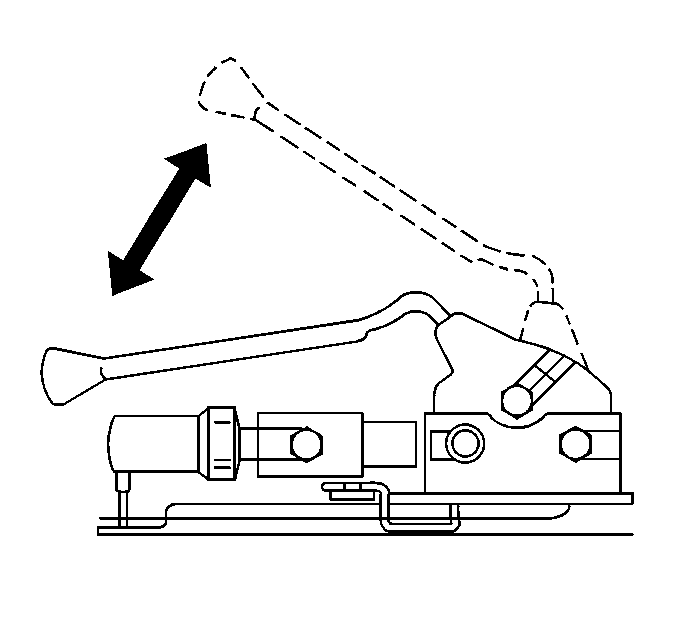
- On vehicles with trailer
provisions, move the trailer air brake control valve handle up to the full
ON position.
- If air leakage is less than 41 kPa (6 psi), check
for leakage at the following locations:air line fittings, trailer air brake
control valve, towing vehicle protection valve, and any valves on the trailer.
| • | The trailer air brake control valve |
| • | The towing vehicle protection valve |
| • | Any valves on the trailer. |
Reservoir Drain Valve
Test the reservoir drain valve periodically for leakage. Leakage is
not permissible. Replace the reservoir drain valve if necessary.
- Set the parking brake.
- Start the engine.
- Charge the air system to the governor cut-out point.
- Apply a soap solution in order to cover the reservoir drain valve.
- If bubbles appear indicating air leaks, replace the reservoir
drain valve.

