For 1990-2009 cars only
Removal Procedure
- Disable the SIR system. Refer to SIR Disabling and Enabling and SIR Disabling and Enabling .
- Remove the instrument panel (I/P) storage compartment. Refer to Instrument Panel Compartment Replacement .
- Remove the left and right windshield garnish moldings. Refer to Windshield Pillar Garnish Molding Replacement .
- Remove the left and right front door sill plates. Refer to Front Side Door Sill Plate Replacement .
- Remove the left and right lower cowl panels. Refer to Cowl Side Trim Panel Replacement .
- Remove the instrument panel center trim plate. Refer to Instrument Panel Center Trim Panel Replacement .
- Remove the radio. Refer to Radio Replacement .
- Remove the left air outlet. Refer to Instrument Panel Outer Air Outlet Replacement - Left Side .
- Remove the right air outlet. Refer to Instrument Panel Outer Air Outlet Replacement - Right Side .
- Remove the knee bolster bracket. Refer to Driver Knee Bolster Bracket Replacement .
- Remove the instrument panel cluster (IPC) trim panel. Refer to Instrument Cluster Trim Panel Replacement .
- Remove the instrument panel cluster. Refer to Instrument Cluster Replacement .
- Remove the headlamp switch and retain for transfer. Refer to Headlamp Switch Replacement .
- Remove the ambient light sensor. Refer to Ambient Light Sensor Replacement .
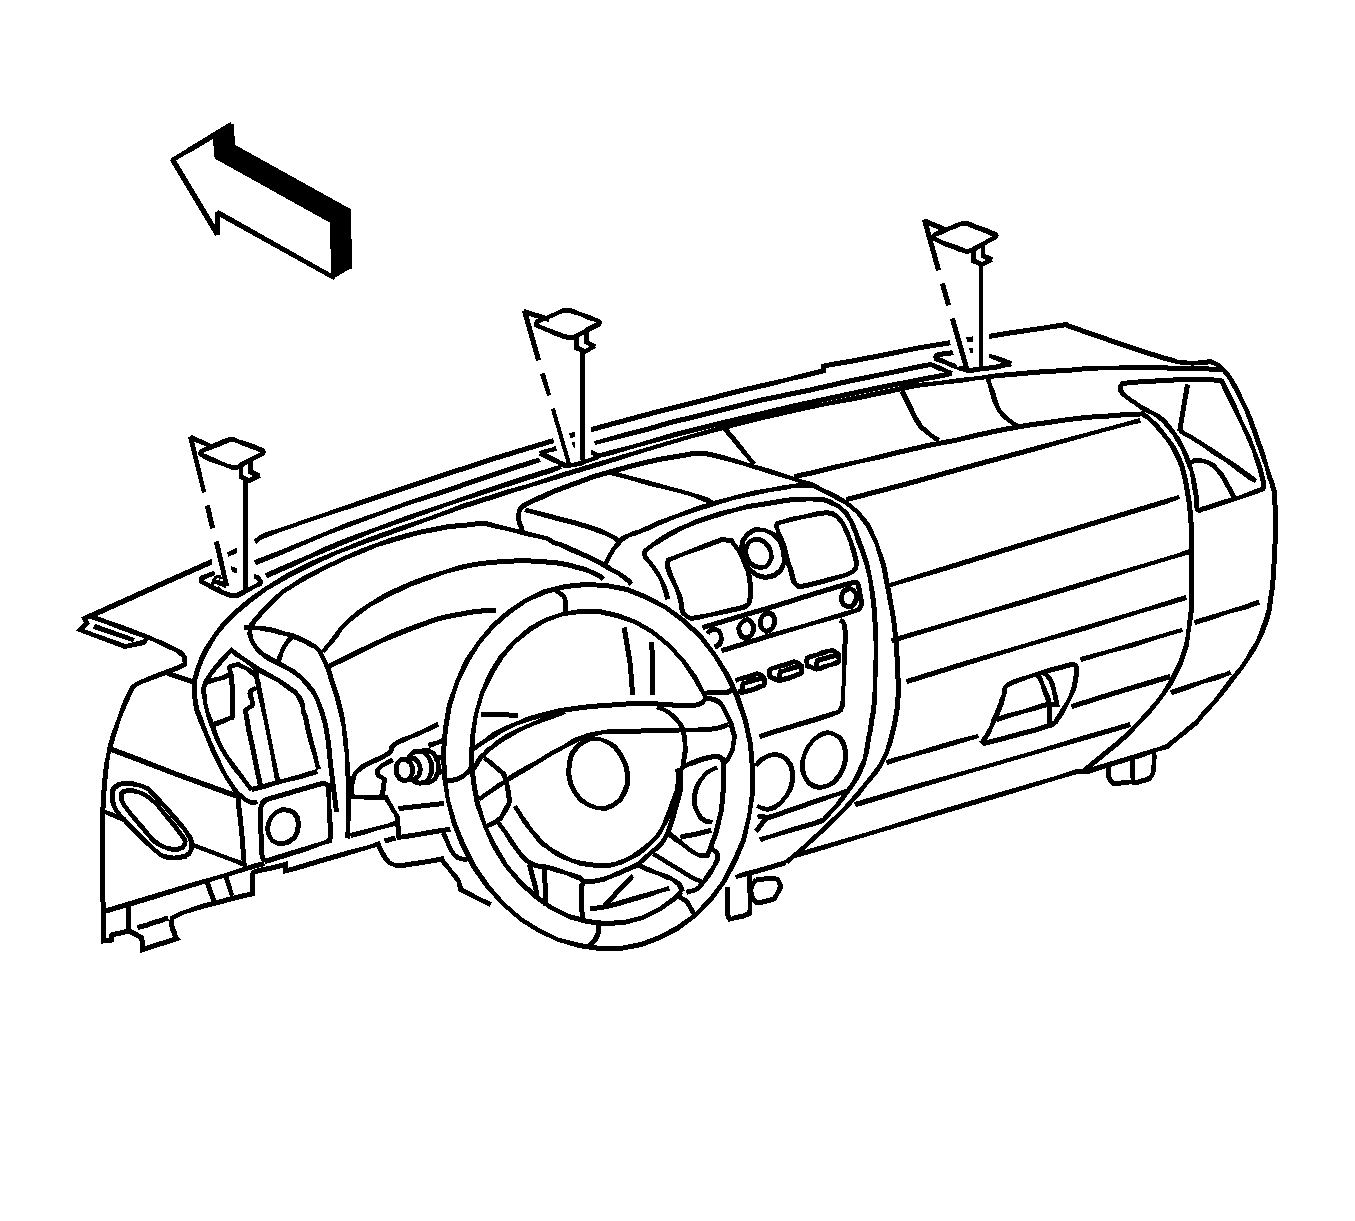
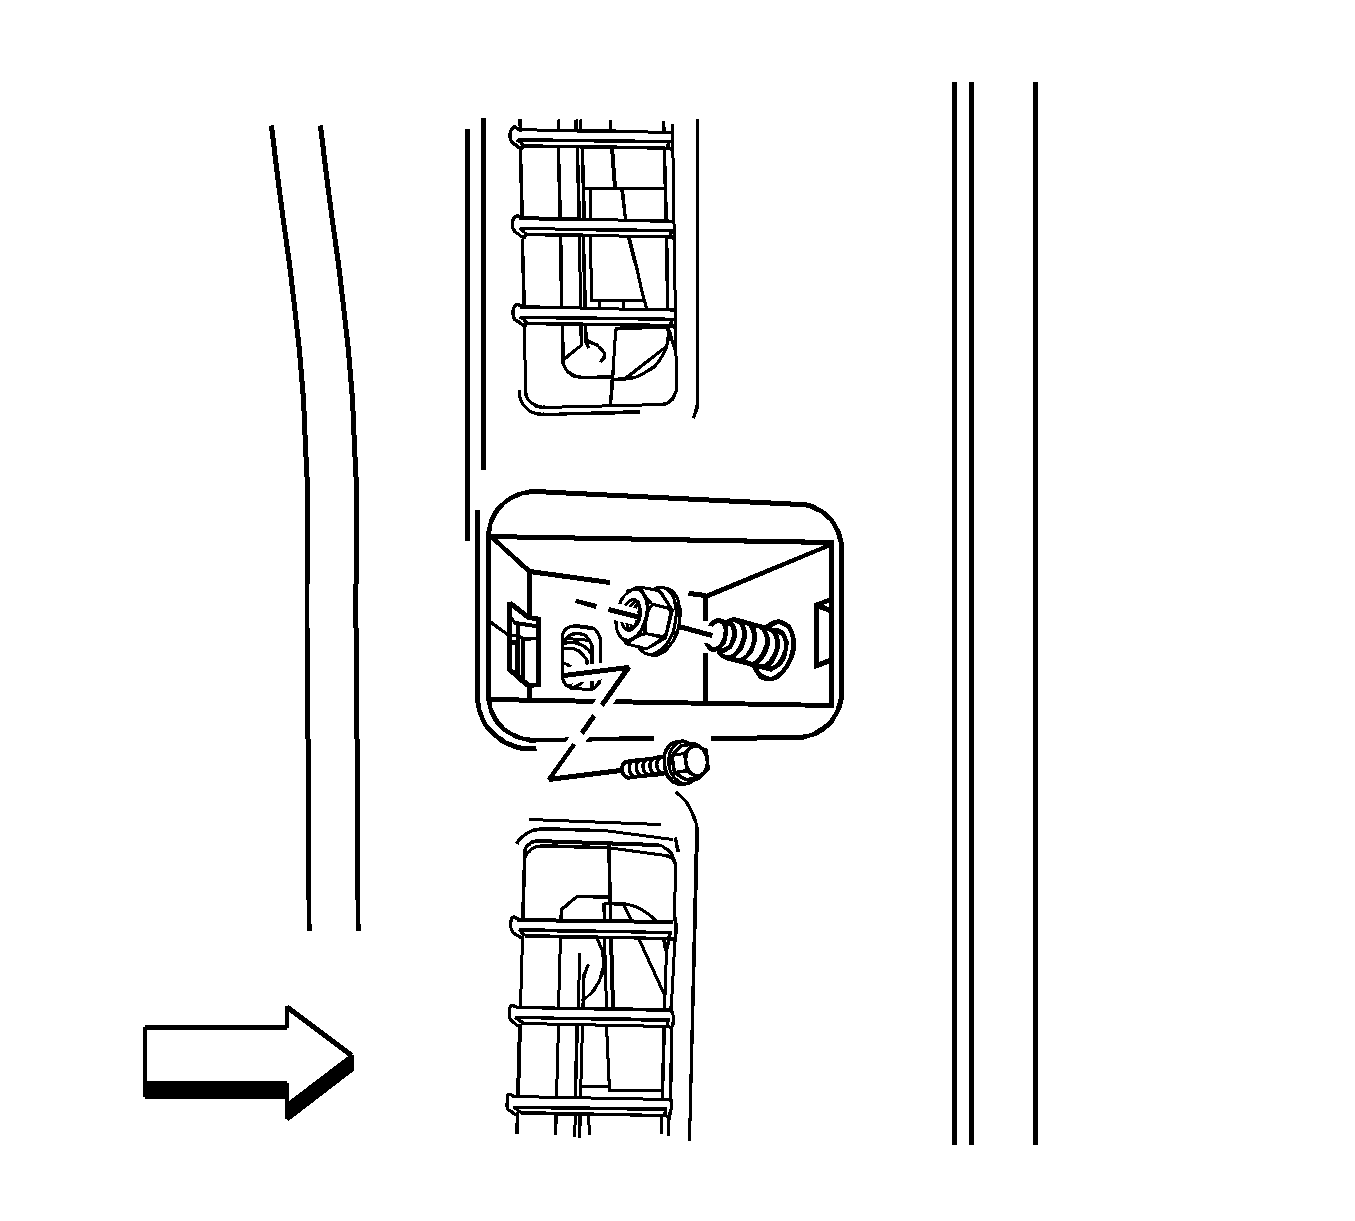
- Remove the 3 upper I/P bolt covers.
- Remove the 3 upper I/P nuts retaining the I/P to the bulkhead.
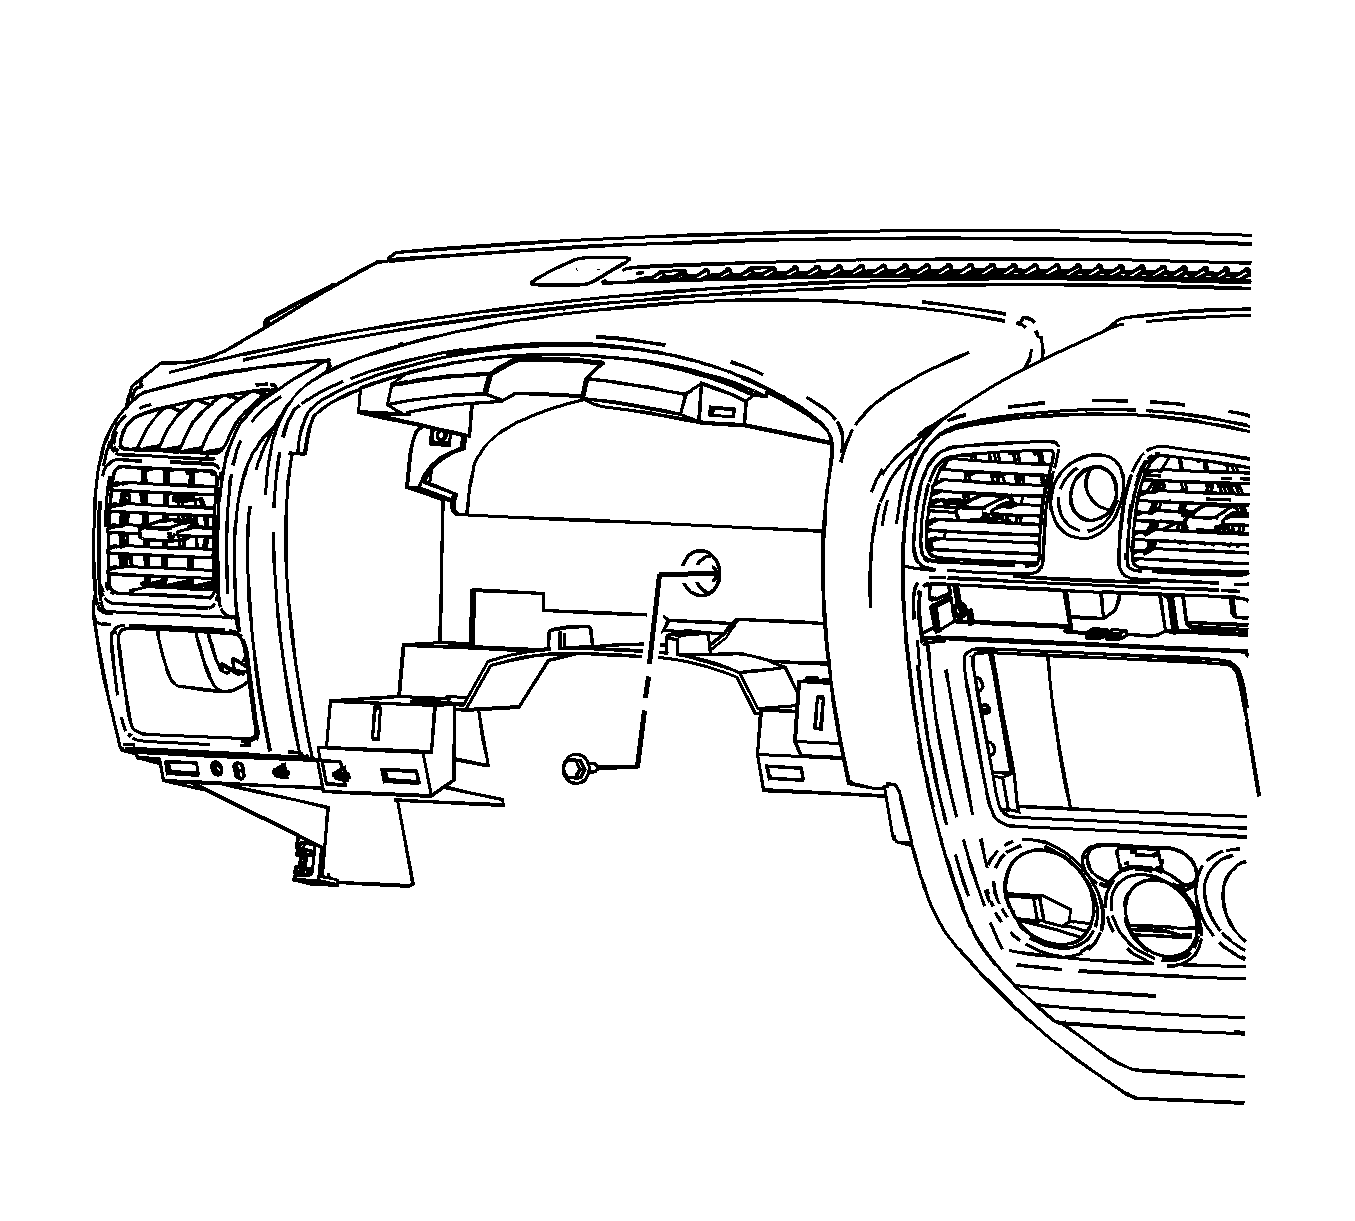
- Remove the screw located behind the IPC.
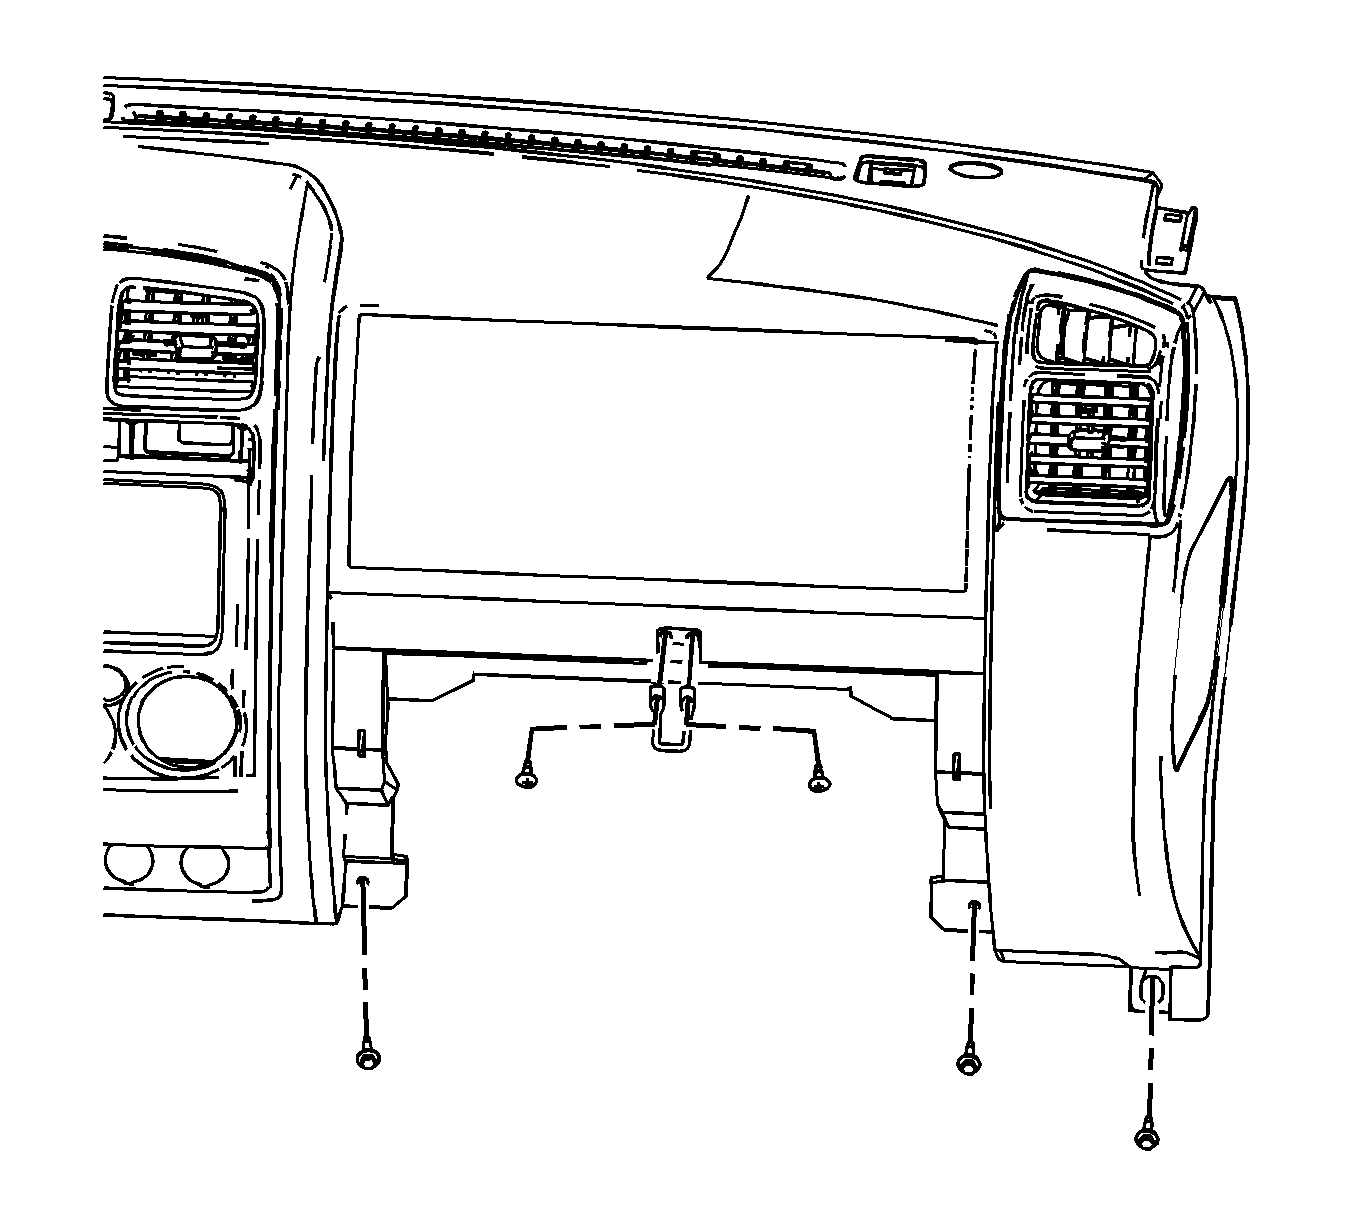
- Remove the 2 screws retaining the I/P compartment door latch striker.
- Remove the 3 lower I/P retaining screws located near the I/P storage compartment.
- Remove the digital radio receiver. Refer to Digital Radio Receiver Replacement .
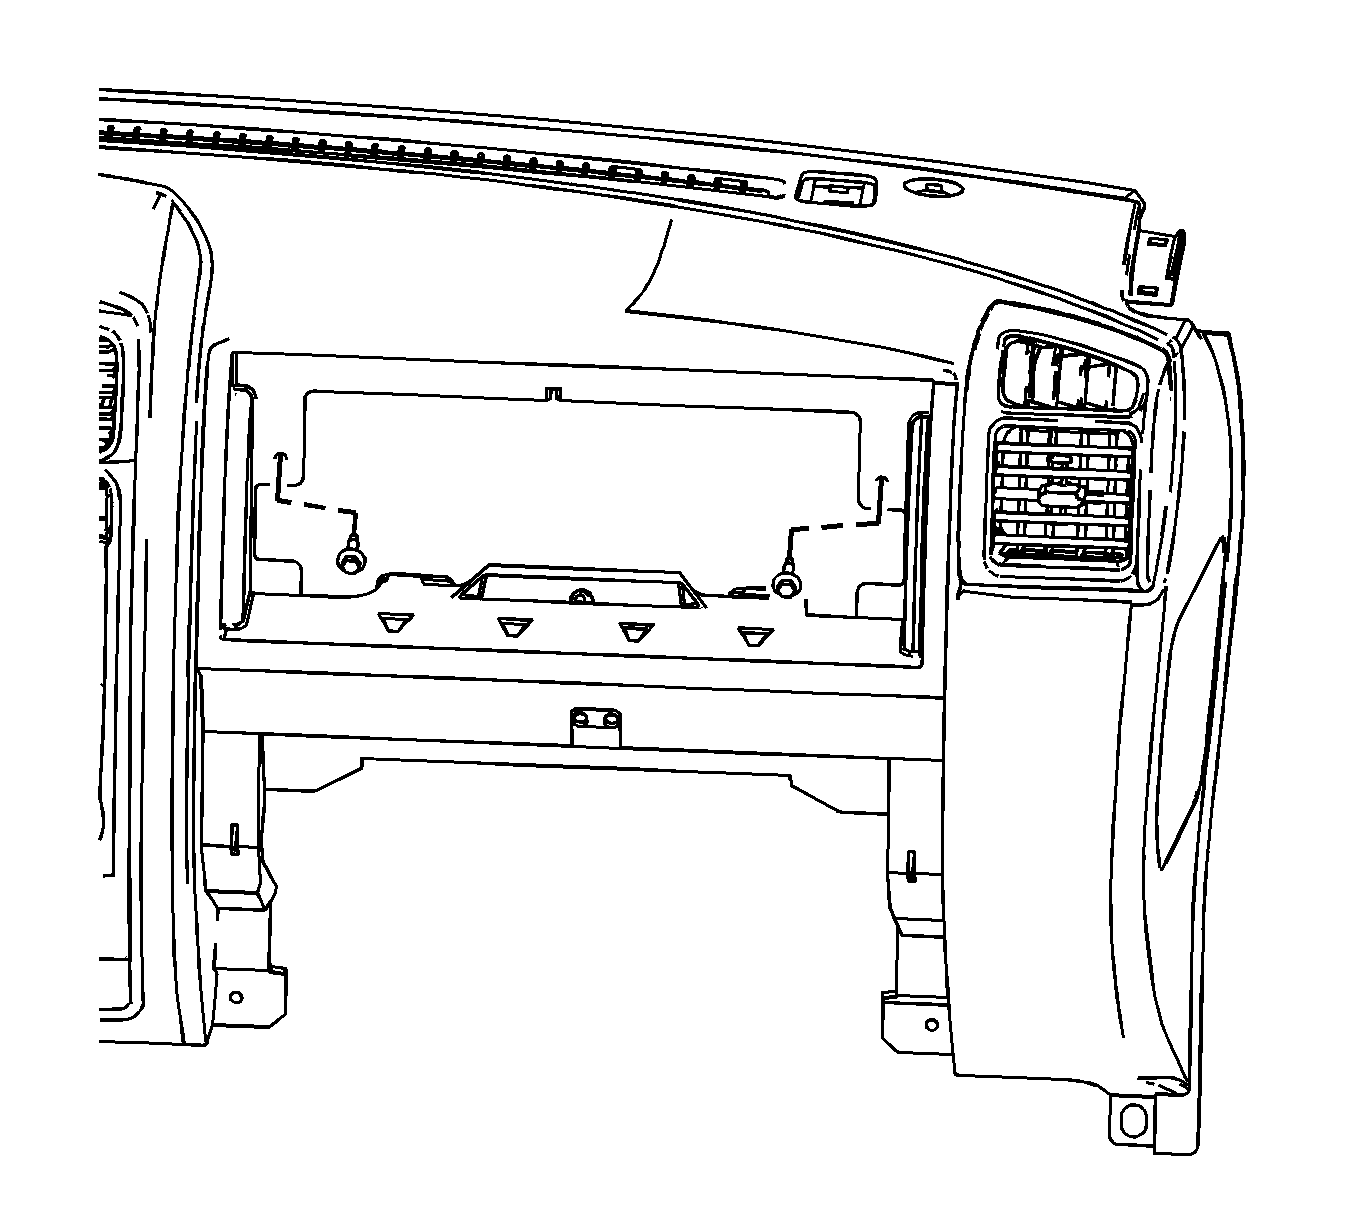
- Remove the 2 screws located in the IPM opening.
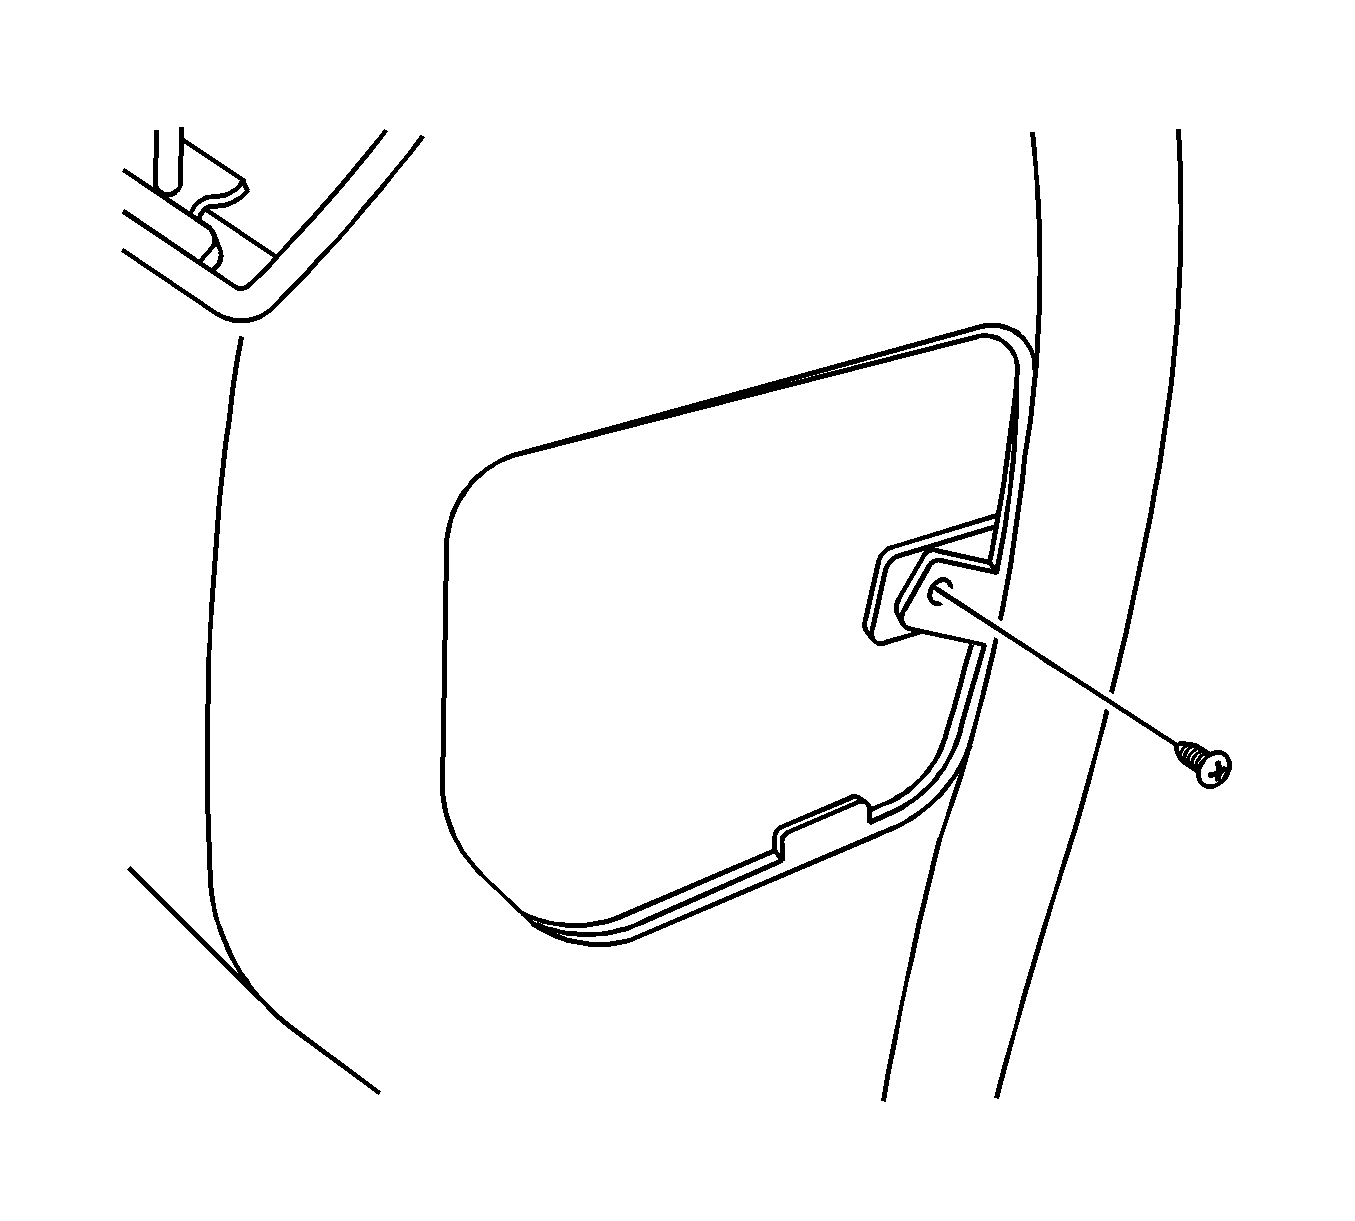
- Remove the screw from the I/P end cap.
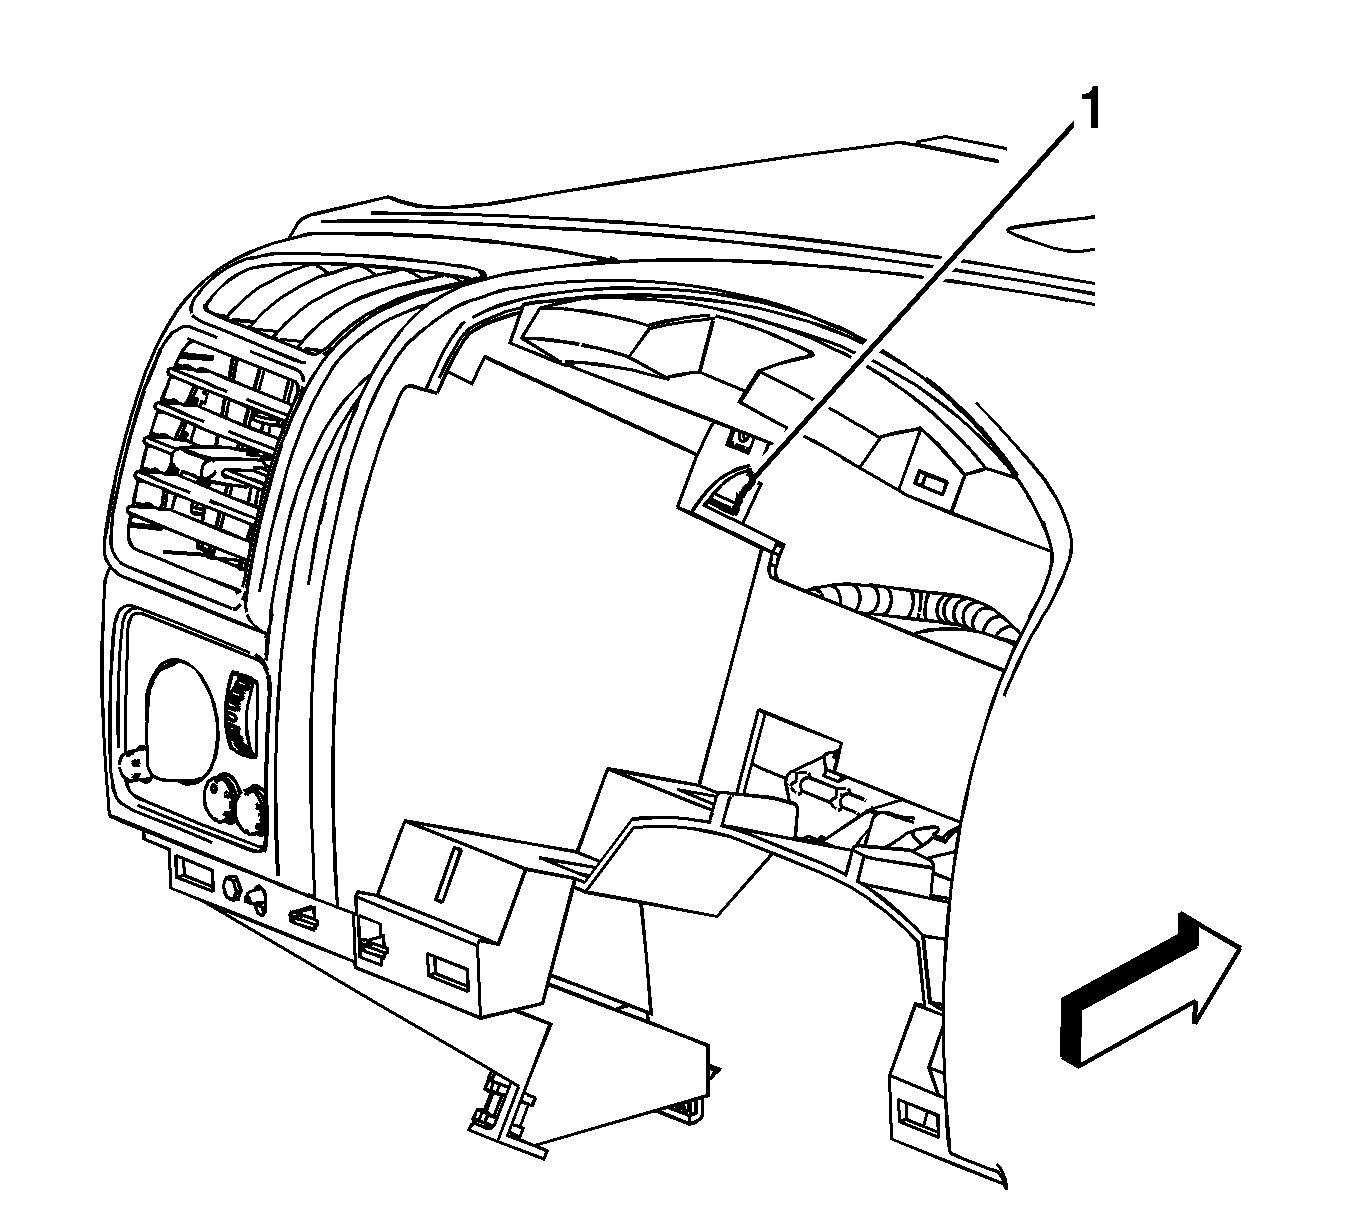
- Reach through the I/P storage compartment (1) opening and remove the screw retaining the I/P carrier to the I/P structure.
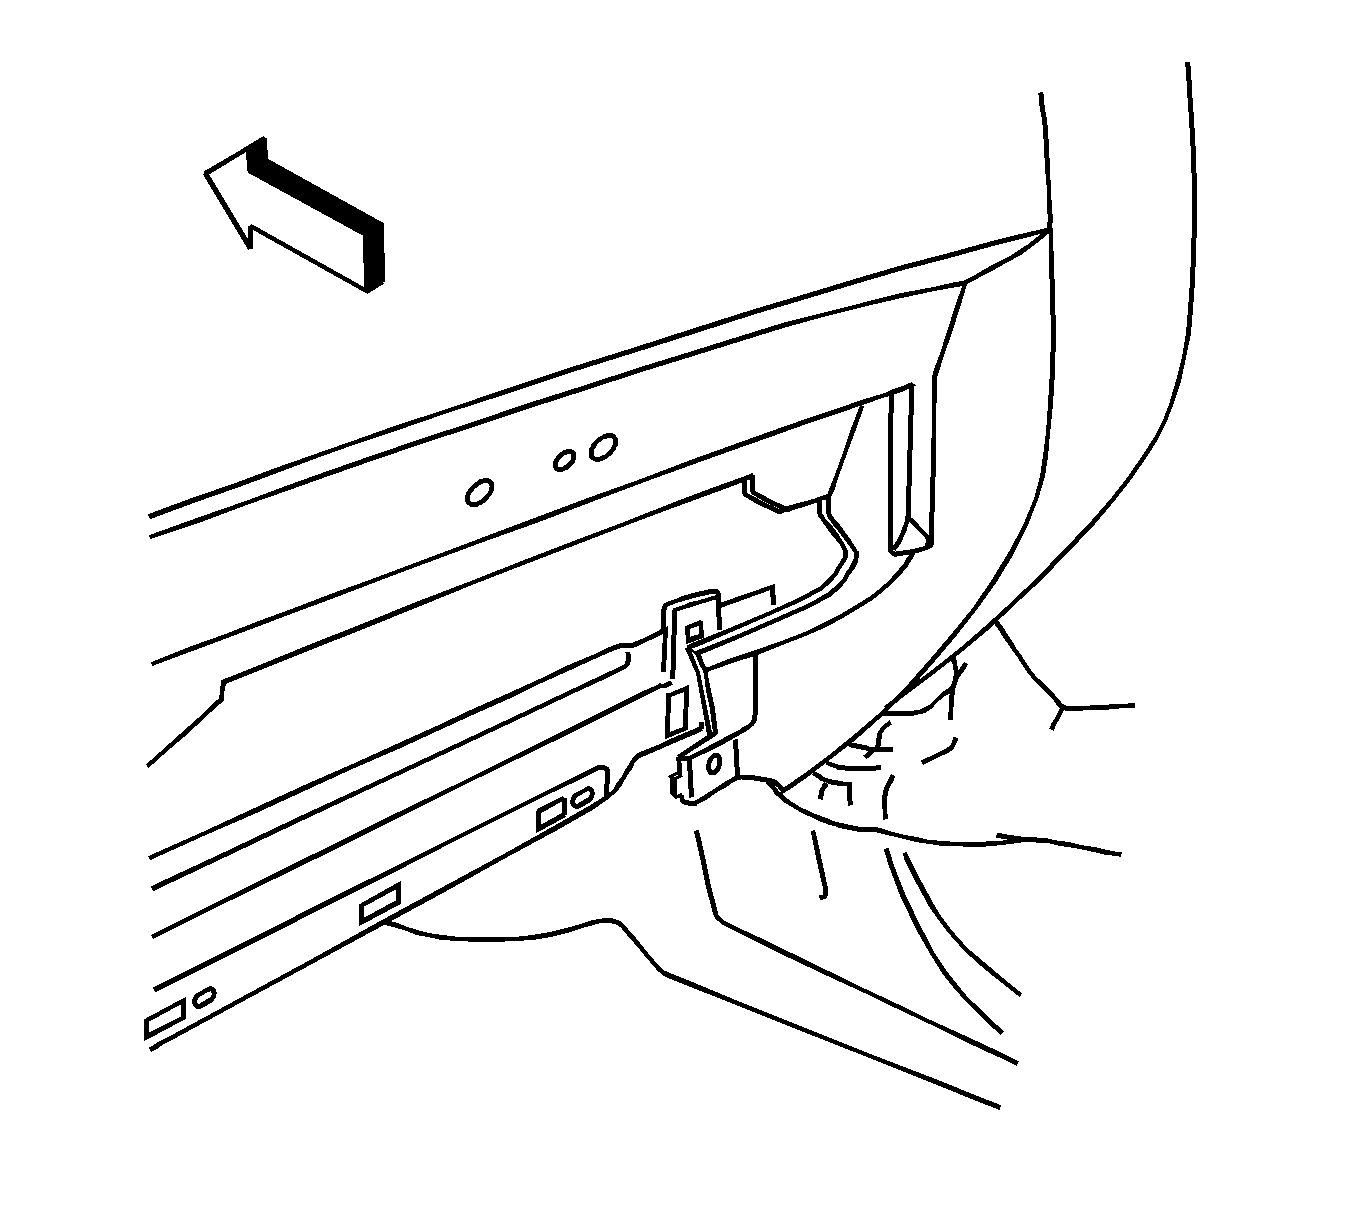
- Grasp the lower center edge of the I/P and pull rearward in order to release the 2 retaining clips.
- Grasp the lower right edge of the I/P and pull rearward in order to release the retaining clip.
- Pull the I/P partially away from the I/P structure.
- With automatic transmission, move the gear selector to low range and remove the shift knob. Refer to Floor Shift Control Knob Replacement .
- With manual transmission, place the gear selector in 2nd or 4th gear and remove the shift knob.
- With the aid of an assistant, carefully remove the I/P from the vehicle.
- Remove the HVAC distributor duct from the instrument panel assembly. Refer to Air Distributor Duct Replacement .
- Transfer the wiring harness to the new instrument panel assembly.
- Transfer the inflatable restraint module and bracket to the new instrument panel.
- Disconnect the keyless entry antenna from the body control module (BCM).
- Transfer the keyless entry antenna to the new I/P.


Installation Procedure
- Connect the keyless entry antenna to the BCM.
- Install the HVAC distributor duct to the instrument panel assembly. Refer to Air Distributor Duct Replacement .
- With the aid of an assistant, partially install the I/P cover to the I/P structure.
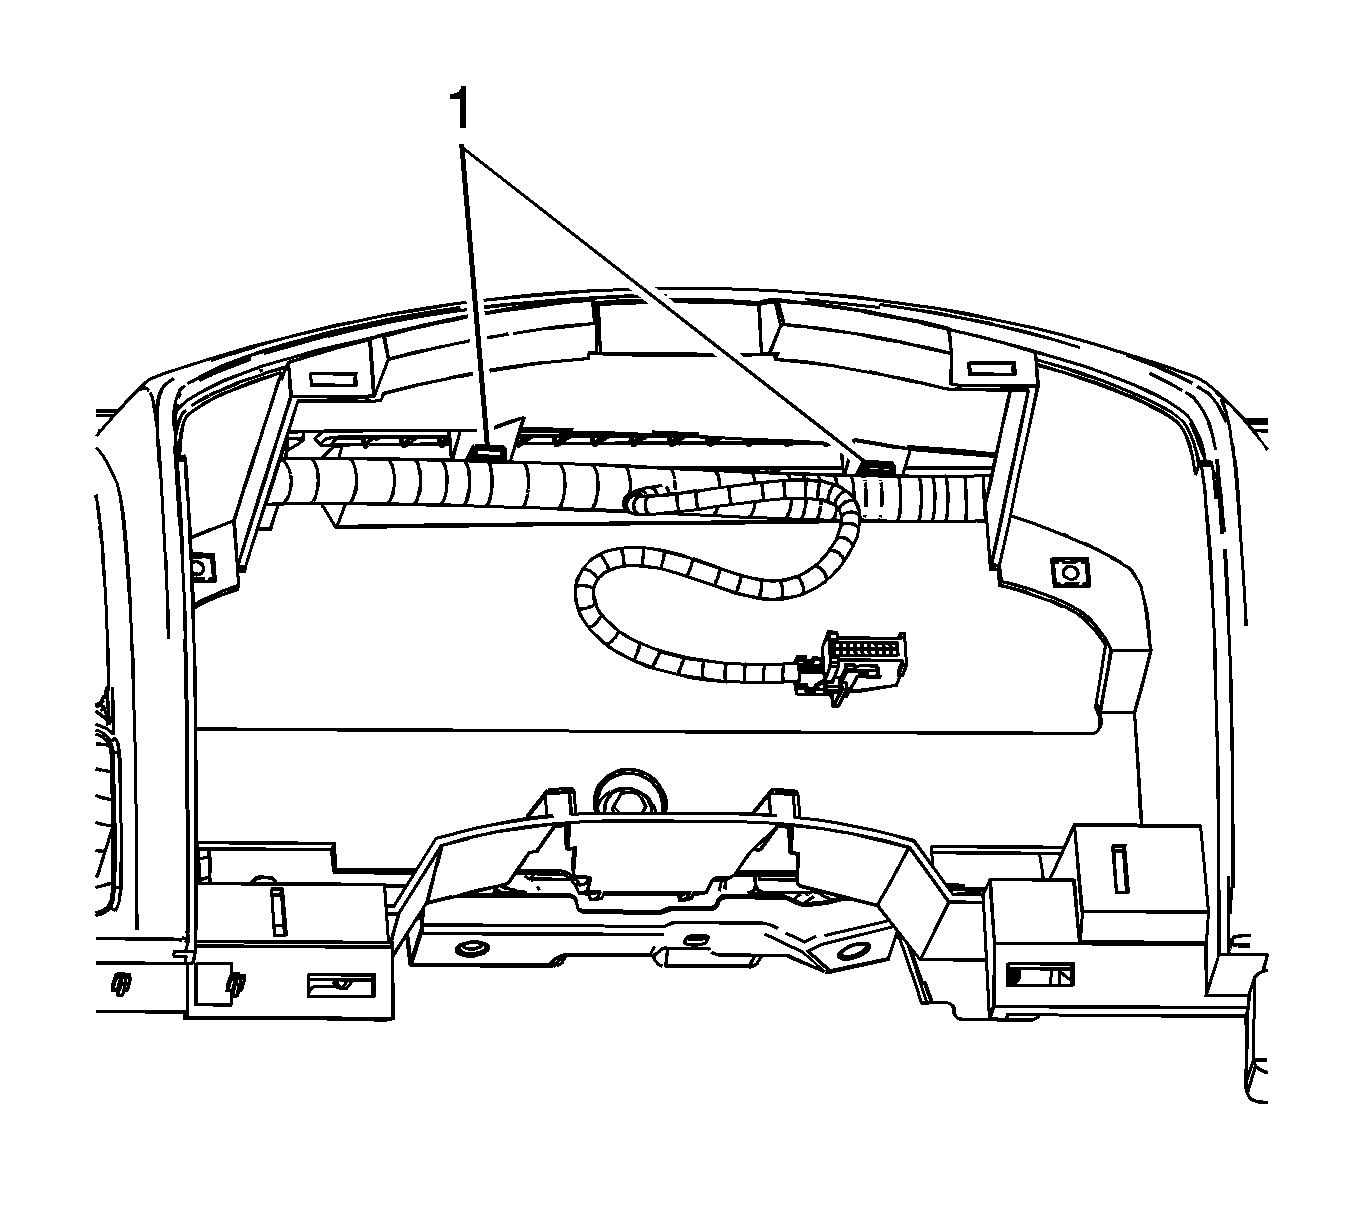
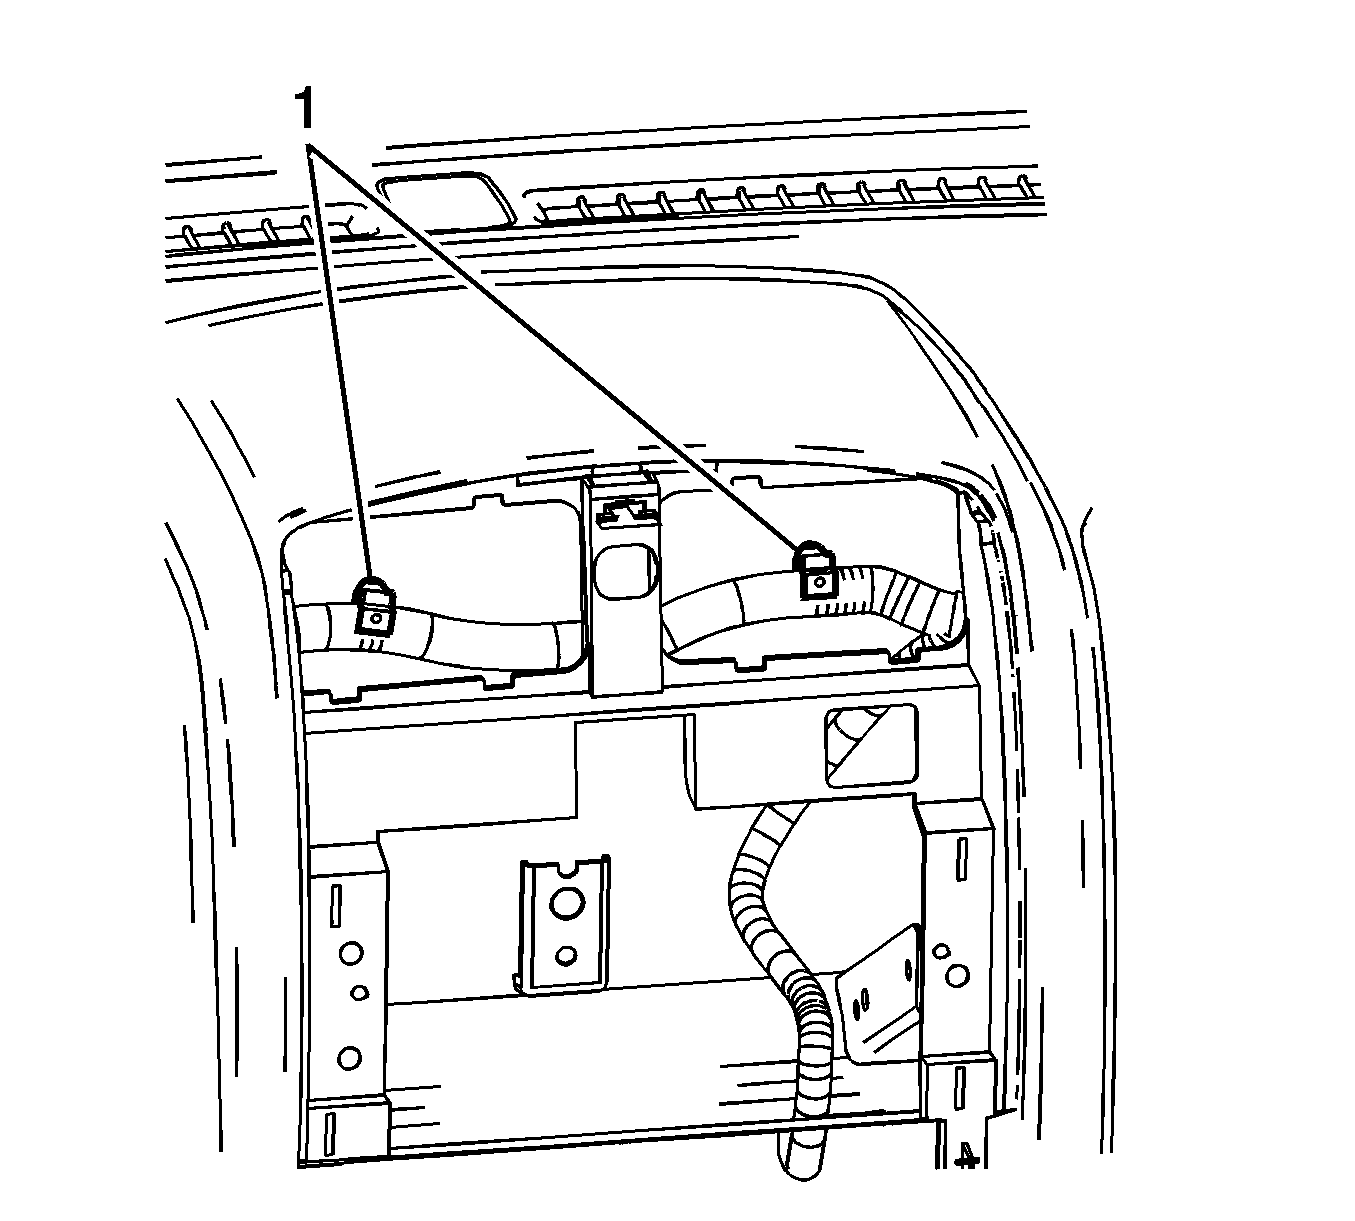
- Reach through the left side of the IPC opening and install the I/P wiring harness clips (1) to the I/P.
- Reach through the IPC opening and install the I/P wiring harness clips (1) to the I/P.
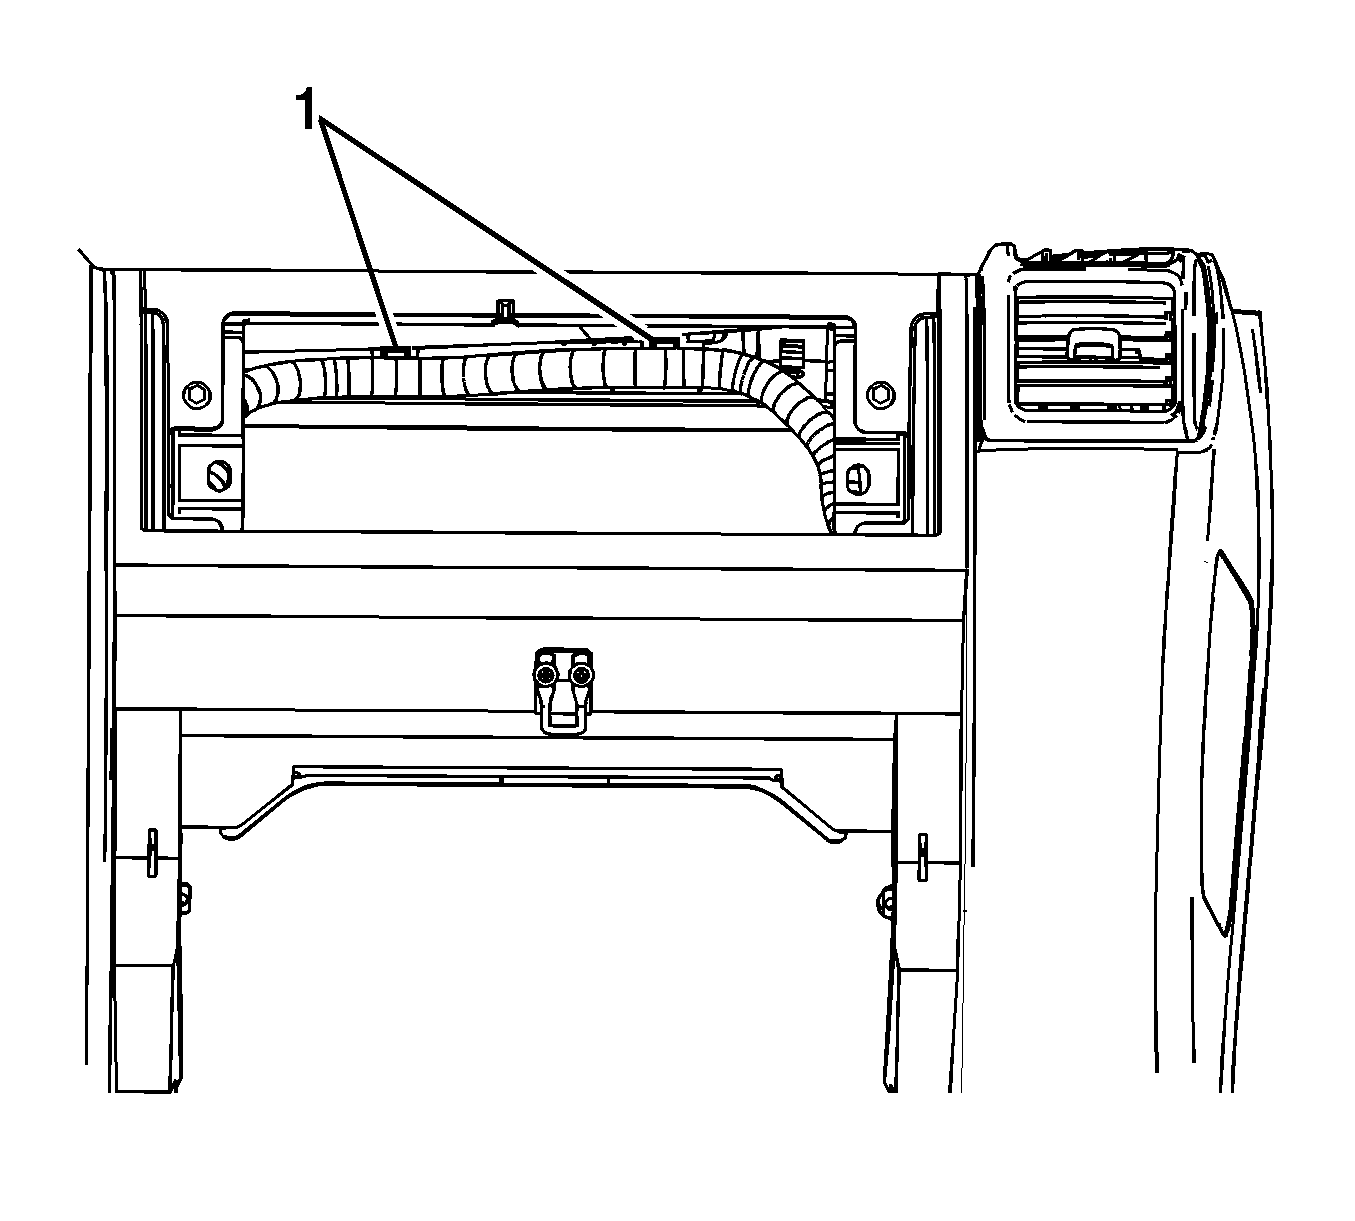
- Reach through the center stack opening and install the I/P wiring harness clips (1) to the HVAC vent.
- Reach through the IPM opening and install the I/P wiring harness clips (1) to the I/P.
- Ensure all the wire harness and electrical connectors are not pinched between the I/P and I/P structure.
- Connect the electrical connectors to the power outlets.
- Push on the lower center edge of the I/P and seat the 2 retaining clips.
- Push on the lower right edge of the I/P and seat the retaining clip.
- Install the 3 upper HVAC duct screws retaining the duct to the I/P.
- Install the 3 upper nuts retaining the I/P to the bulkhead.
- Reach through the I/P storage compartment opening (1) and install the screw retaining the I/P carrier to the I/P structure.
- Install the 2 screws located in the IPM opening.
- Install the end cap screw.
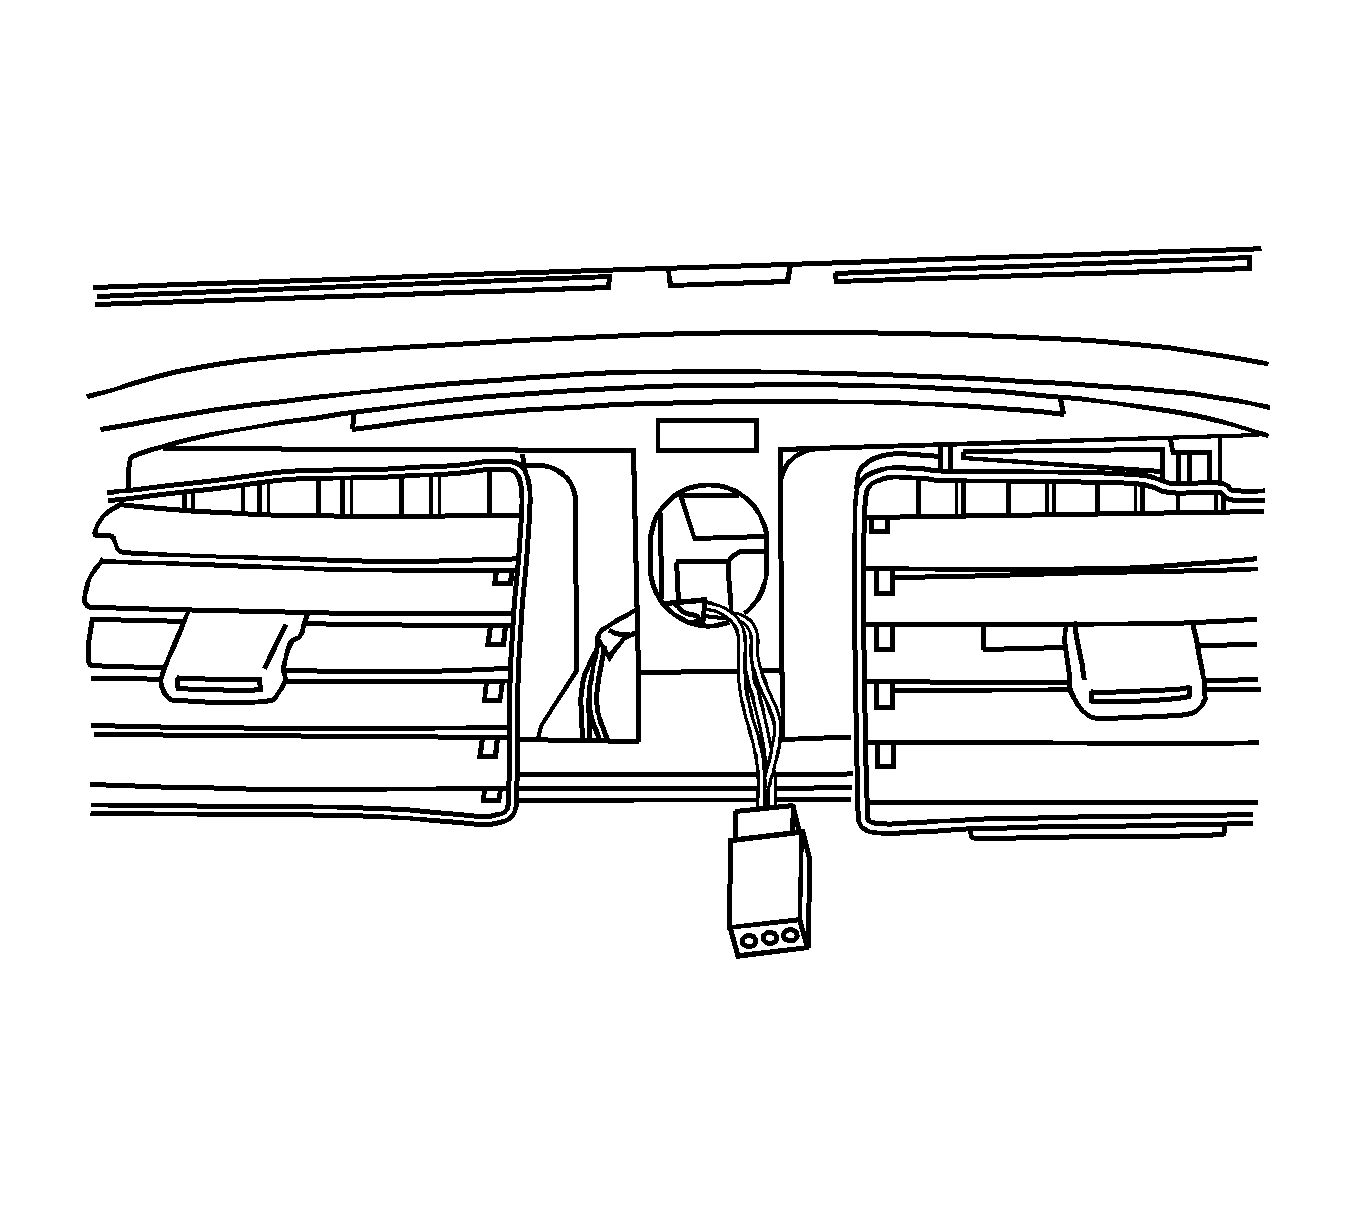
- Position the hazard warning switch harness through the routing hole.
- Install the 2 screws retaining the I/P compartment door latch.
- Install the 3 lower I/P retaining screws located near the I/P storage compartment.
- Install the screw located behind the IPC.
- Install the 3 upper I/P bolt covers.
- Install the ambient light sensor. Refer to Ambient Light Sensor Replacement .
- Install the headlamp switch. Refer to Headlamp Switch Replacement .
- Install the left air outlet. Refer to Instrument Panel Outer Air Outlet Replacement - Left Side .
- Install the IPC. Refer to Instrument Cluster Replacement .
- Install the IPC trim plate. Refer to Instrument Cluster Trim Panel Replacement .
- Install the knee bolster bracket. Refer to Driver Knee Bolster Bracket Replacement .
- Install the digital radio receiver. Refer to Digital Radio Receiver Replacement .
- Install the right air outlet. Refer to Instrument Panel Outer Air Outlet Replacement - Right Side .
- Install the radio. Refer to Radio Replacement .
- Install the instrument panel center trim panel. Refer to Instrument Panel Center Trim Panel Replacement .
- Install the I/P storage compartment. Refer to Instrument Panel Compartment Replacement .
- Install the left and right windshield garnish moldings. Refer to Windshield Pillar Garnish Molding Replacement .
- Install the left and right lower cowl panels. Refer to Cowl Side Trim Panel Replacement .
- Install the left and right front door sill plates. Refer to Front Side Door Sill Plate Replacement .
- Install the transmission shift knob. Refer to Floor Shift Control Knob Replacement .
- Enable the SIR system. Refer to SIR Disabling and Enabling and SIR Disabling and Enabling .


Notice: Refer to Fastener Notice in the Preface section.
Tighten
Tighten the screws to 3 N·m (27 lb in).

Tighten
Tighten the nuts to 9 N·m (80 lb in).

Tighten
Tighten the screw to 3 N·m (27 lb in).

Tighten
Tighten the screws to 3 N·m (27 lb in).

Tighten
Tighten the screws to 2.5 N·m (22 lb in).

Tighten
Tighten the screws to 3 N·m (27 lb in).
Tighten
Tighten the screws to 9 N·m (80 lb in).

Tighten
Tighten the screw to 9 N·m (80 lb in).

