For overall description of the camshaft position actuator refer to Exhaust Camshaft Position Actuator Description .
The camshaft position actuator will only phase 25-cam degrees retard (counterclockwise). Full advance (clockwise) is 0 degrees.
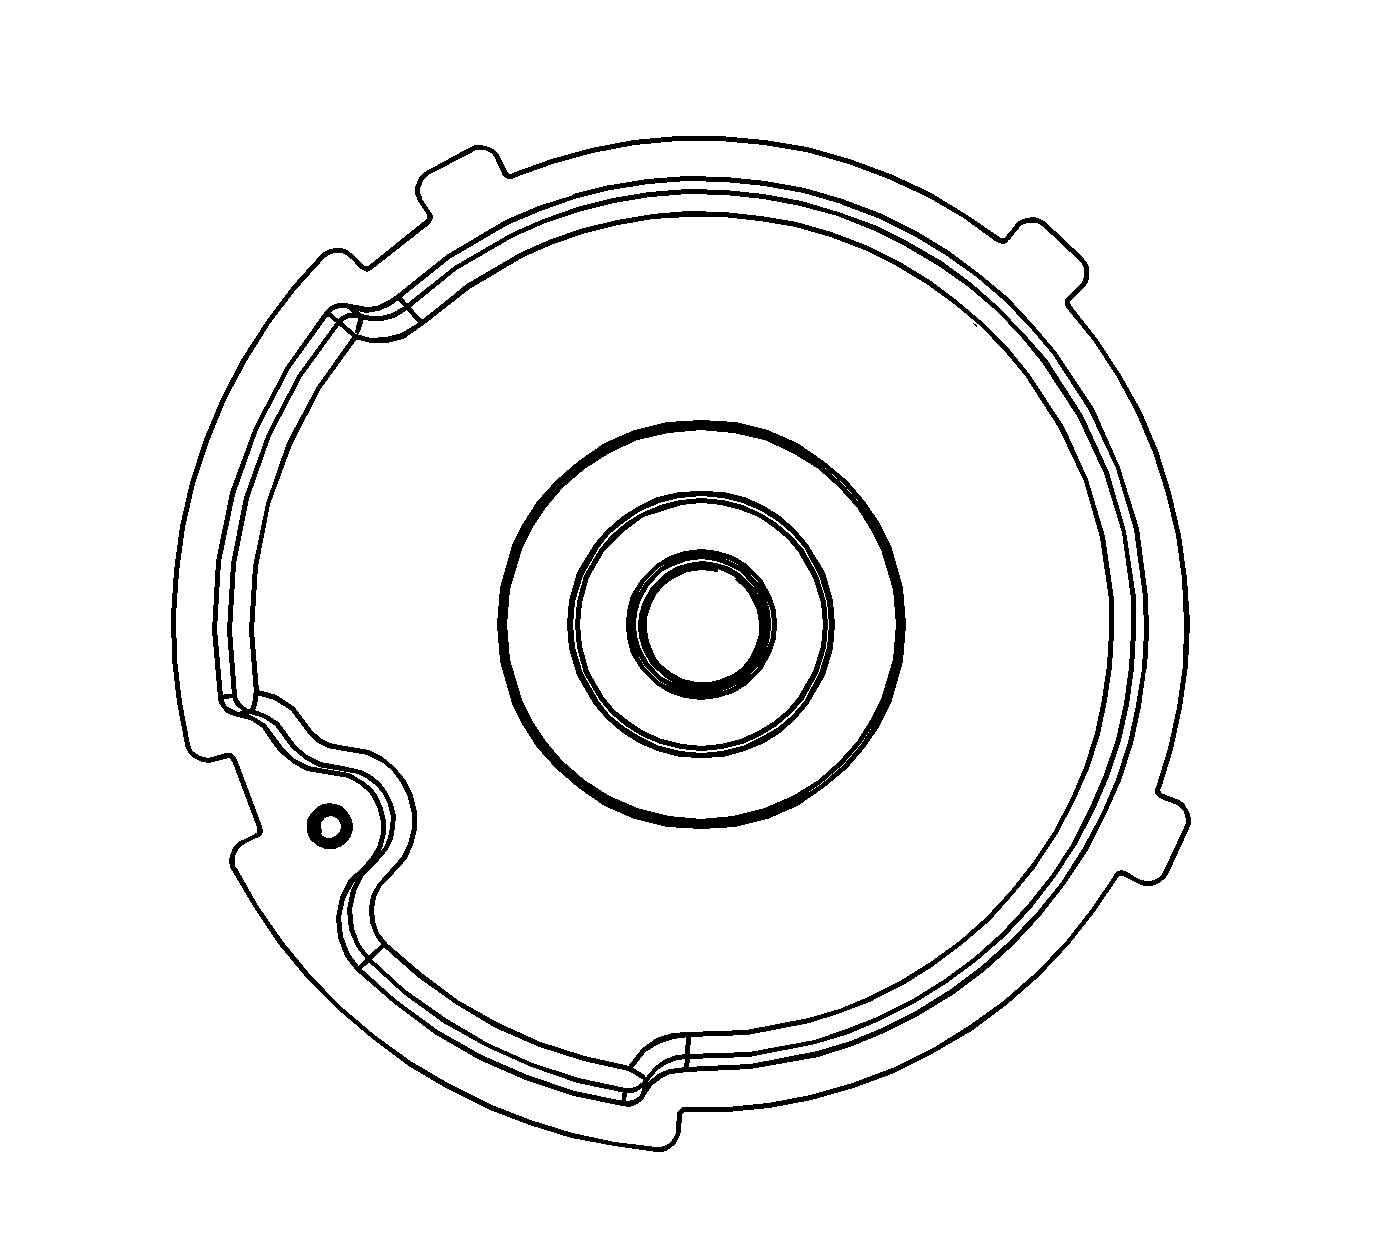
The camshaft position actuator should always be serviced/replaced in the full advanced position (full clockwise or 0 degrees). New replacement (service) camshaft position actuators are shipped at full advance or 0 degrees. To be sure the camshaft position actuator is performing properly, perform the following to help in the diagnostics.
The camshaft position actuator must be removed from the engine to perform the proper diagnostic test.
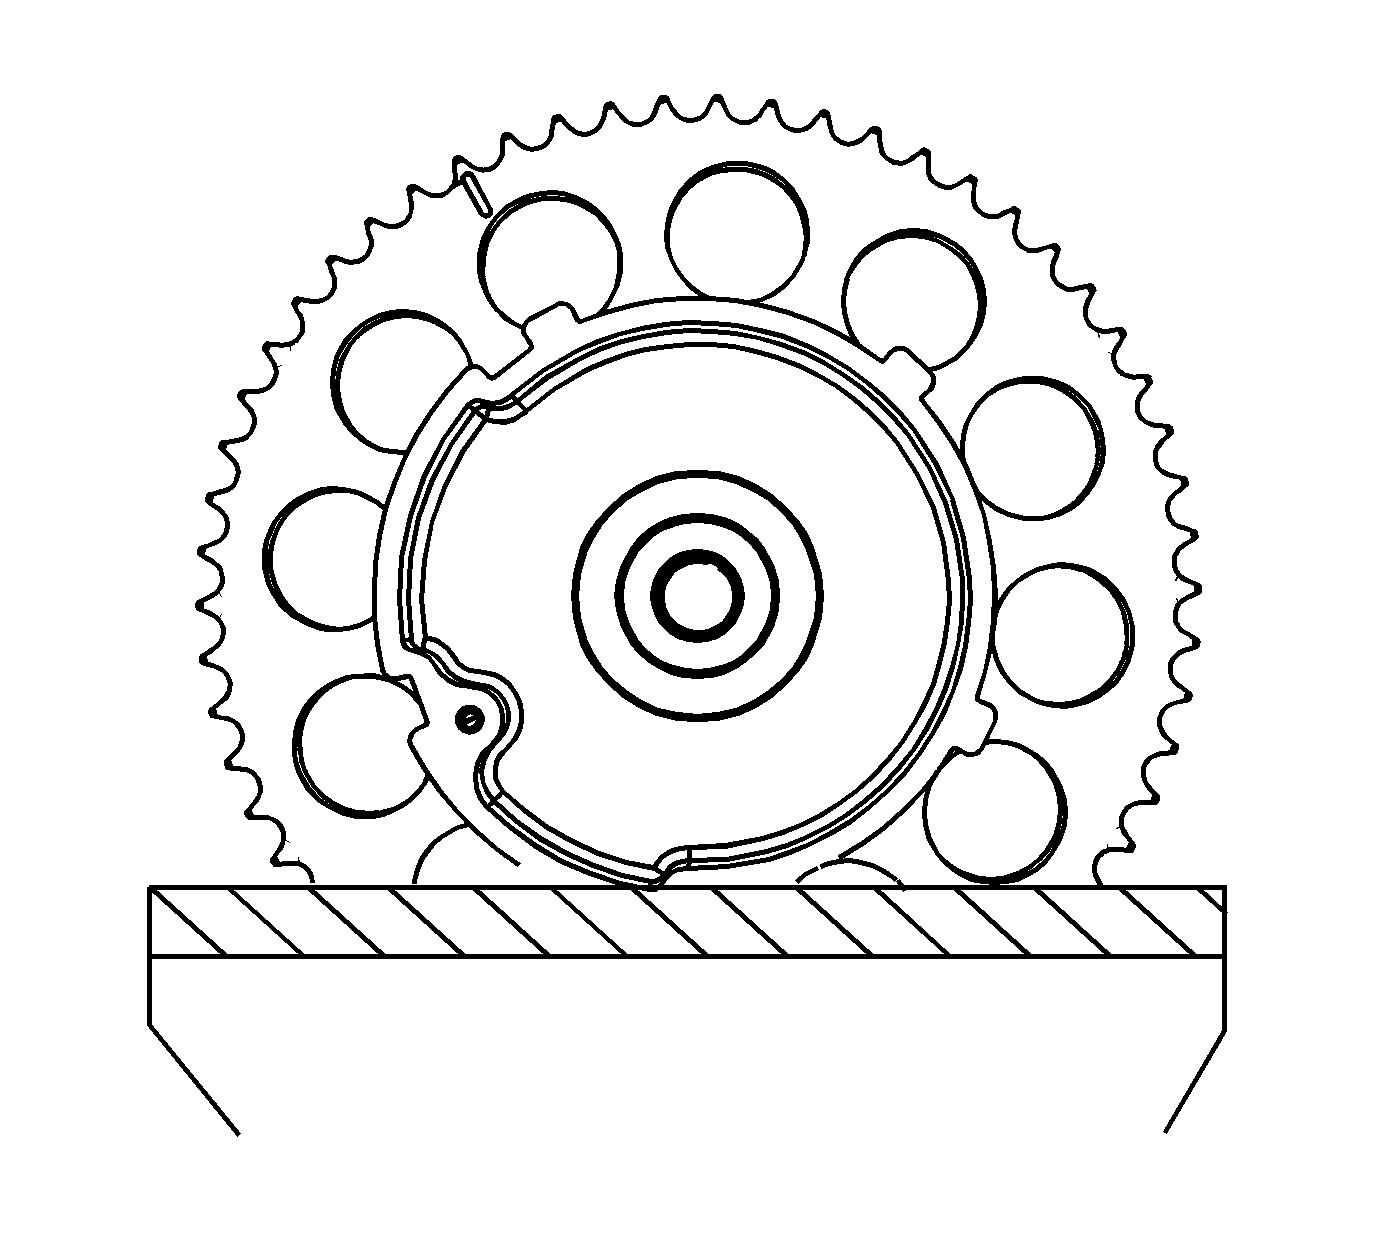
- Clamp the camshaft actuator in a vice. Use care not to damage the contact area of the sprocket.
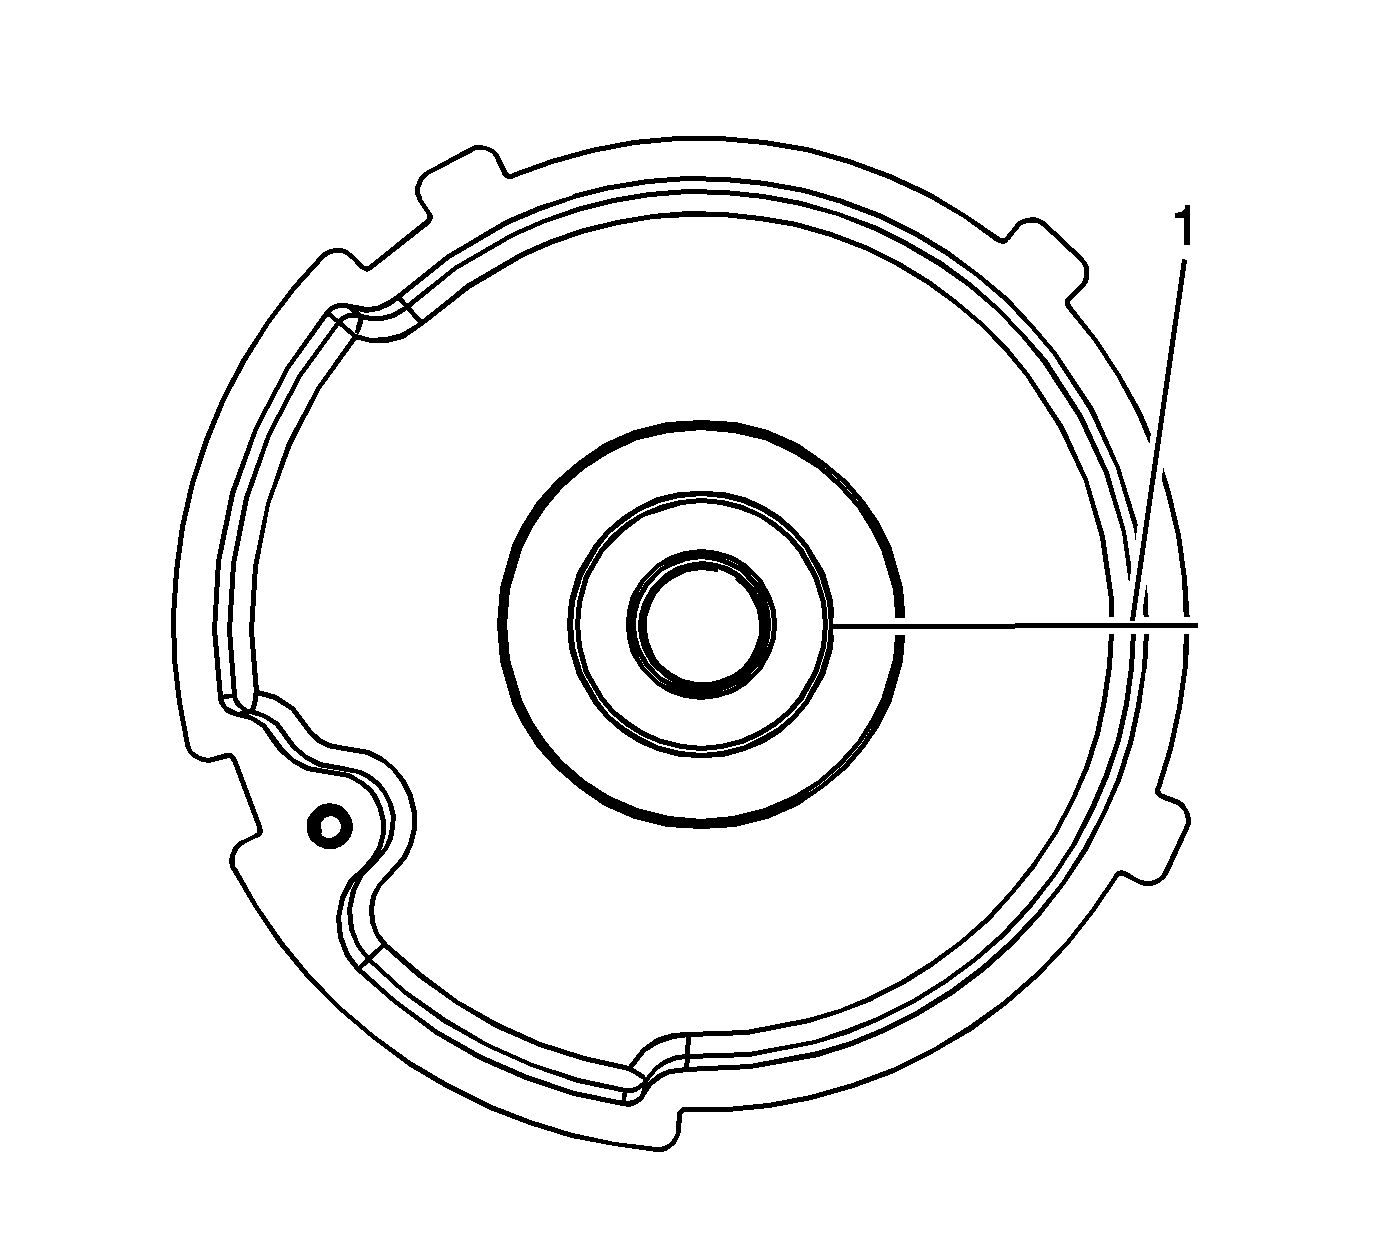
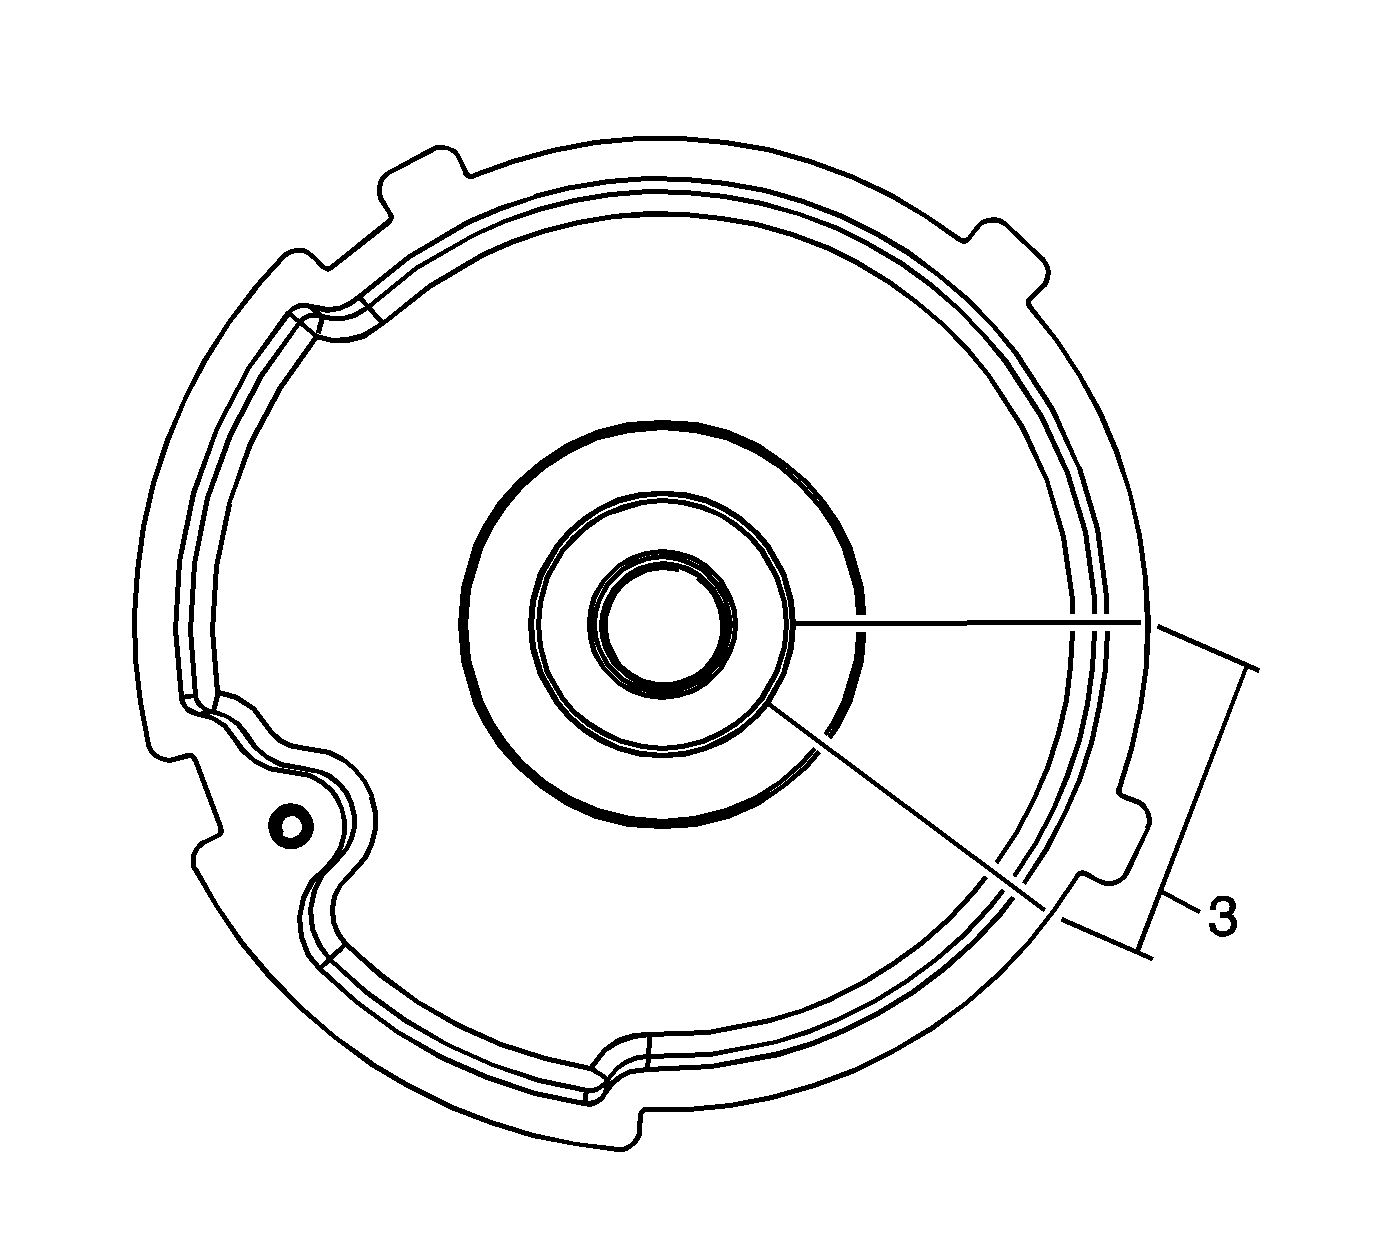
- Scribe or draw a line (1) on the camshaft position actuator outer ring face, in the full advanced position.
- Apply compressed air pressure to the oil port (1) on the back side of the actuator to unlock the locking pin.
- Turn the actuator, by hand, to the full counterclockwise position.
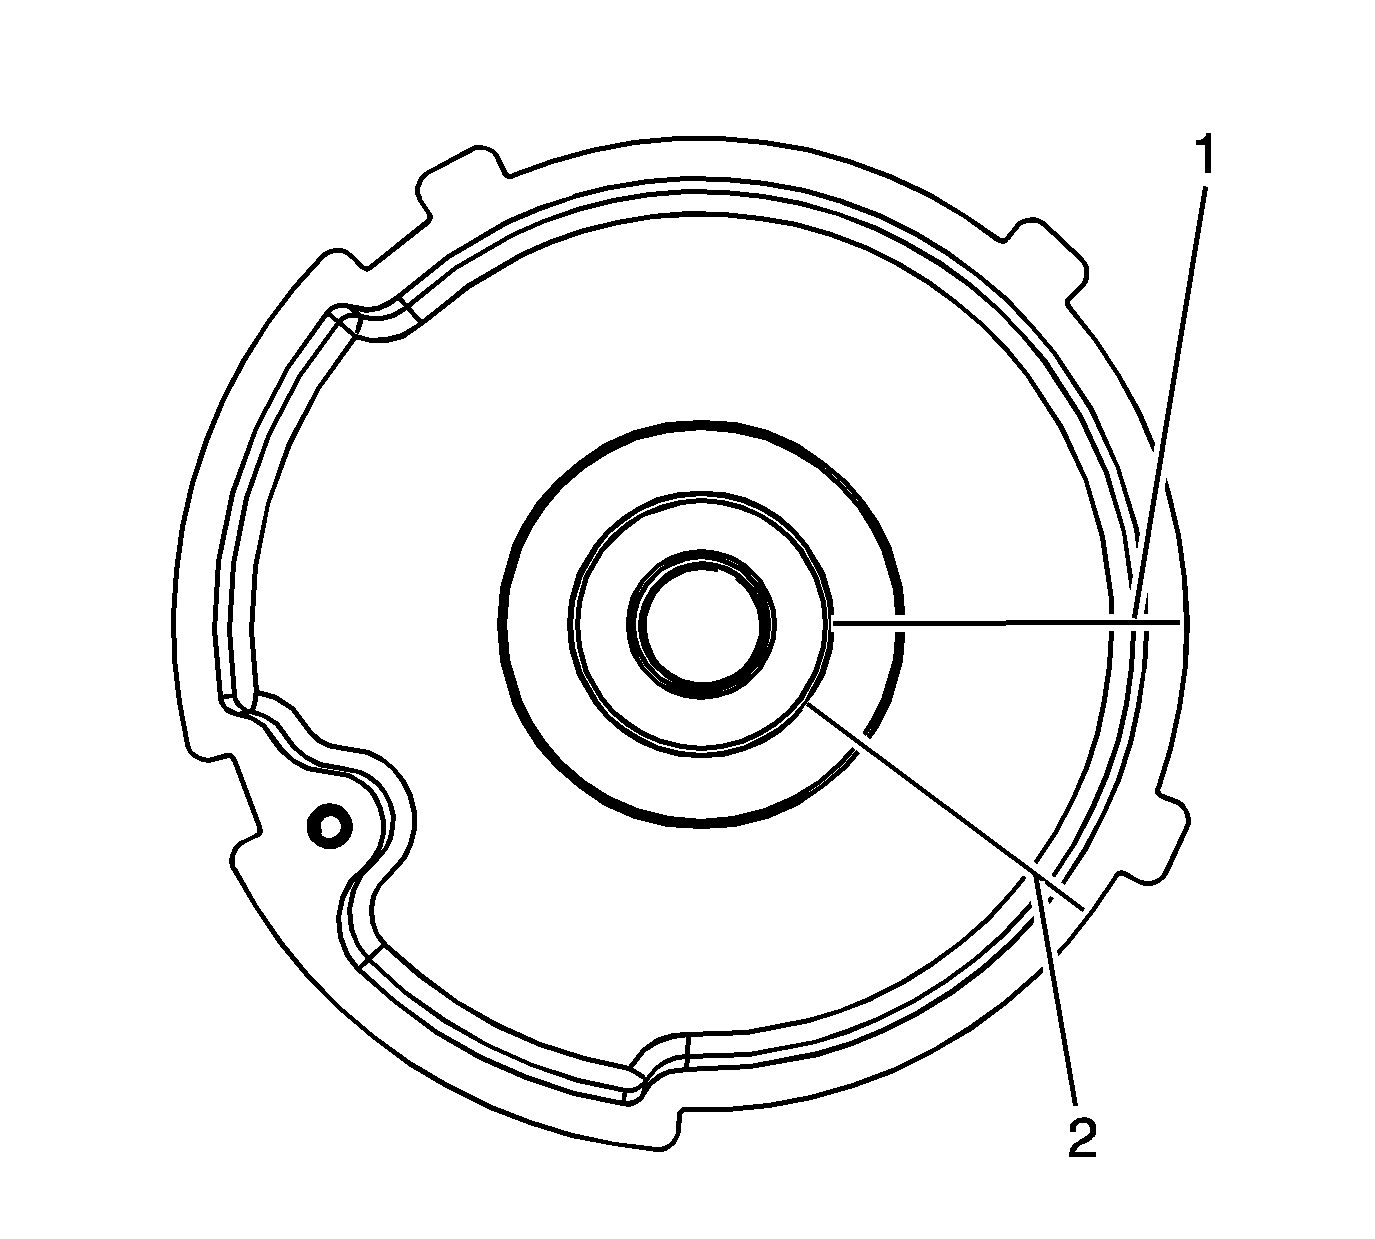
- Scribe or draw a line (2) on the camshaft position actuator at that position.
- Measure the distance between the two lines. The measurement (3) should be 14-15 mm (0.55-0.59 in).
- The camshaft position actuator must be replaced if it does not unlock when air pressure is applied, does not lock when air pressure is removed, or does not move within the 14-15 mm (0.55-0.59 in).
Important: It is normal for oil and air to leak out of the camshaft actuator when compressed air is applied. It is also normal for oil bubbles to form on the camshaft sprocket surface due to porosity caused by the casting process. Do not replace the actuator due to this leakage.
