Midgate® SUT
Caution: It can be dangerous to drive with the cargo area
covered and the tailgate and the Midgate® open because carbon monoxide (CO) gas
can come into your vehicle. You can not see or smell CO. It can cause unconsciousness
and even death. If you must drive with the cargo covers on and the tailgate and Midgate®
open or if electrical wiring or other cable connections must pass through the seal
between the body and the Midgate®:
• Make sure all windows are shut. • Turn the fan on your heating or cooling system to its highest speed on
the setting that brings in outside air. This will force outside air into your vehicle.
See
Dual Automatic Climate Control System
. • If you have air outlets on or under the instrument panel,
open them all the way. See
Engine Exhaust
.
The Midgate® allows you to extend the length of your vehicle's cargo area into the cab.
Lowering the Midgate®
The Midgate® window must be completely lowered for the Midgate® to be lowered. See "Midgate® Window" under Power Windows .
Both the Midgate® and the Midgate® window can be lowered while the ignition is in either RUN or ACCESSORY, or while in Retained Accessory Power (RAP) mode. See Retained Accessory Power (RAP) for more information.
To lower the Midgate®, do the following:
- Fold the rear seats forward. See 60/40 Split Bench Seat . The front seats may have to be moved forward slightly.
- (Midgate® Window): Press the bottom part of this switch to lower the Midgate® window. See Instrument Panel Overview for the location of this switch. The window can also be operated using the global express-down button. See "Global Glass Feature" under Power Windows .
- Press either one of the two power Midgate® latch release buttons. The Midgate® will move slightly forward from its closed position. The latch release buttons operate while the ignition is in RUN, ACCESSORY, in RAP mode, or up to ten minutes after removing the key. If necessary, press the global express-down button to reactivate the release buttons for an additional ten minutes.
- Pull the Midgate® inward and down to its fully lowered position.
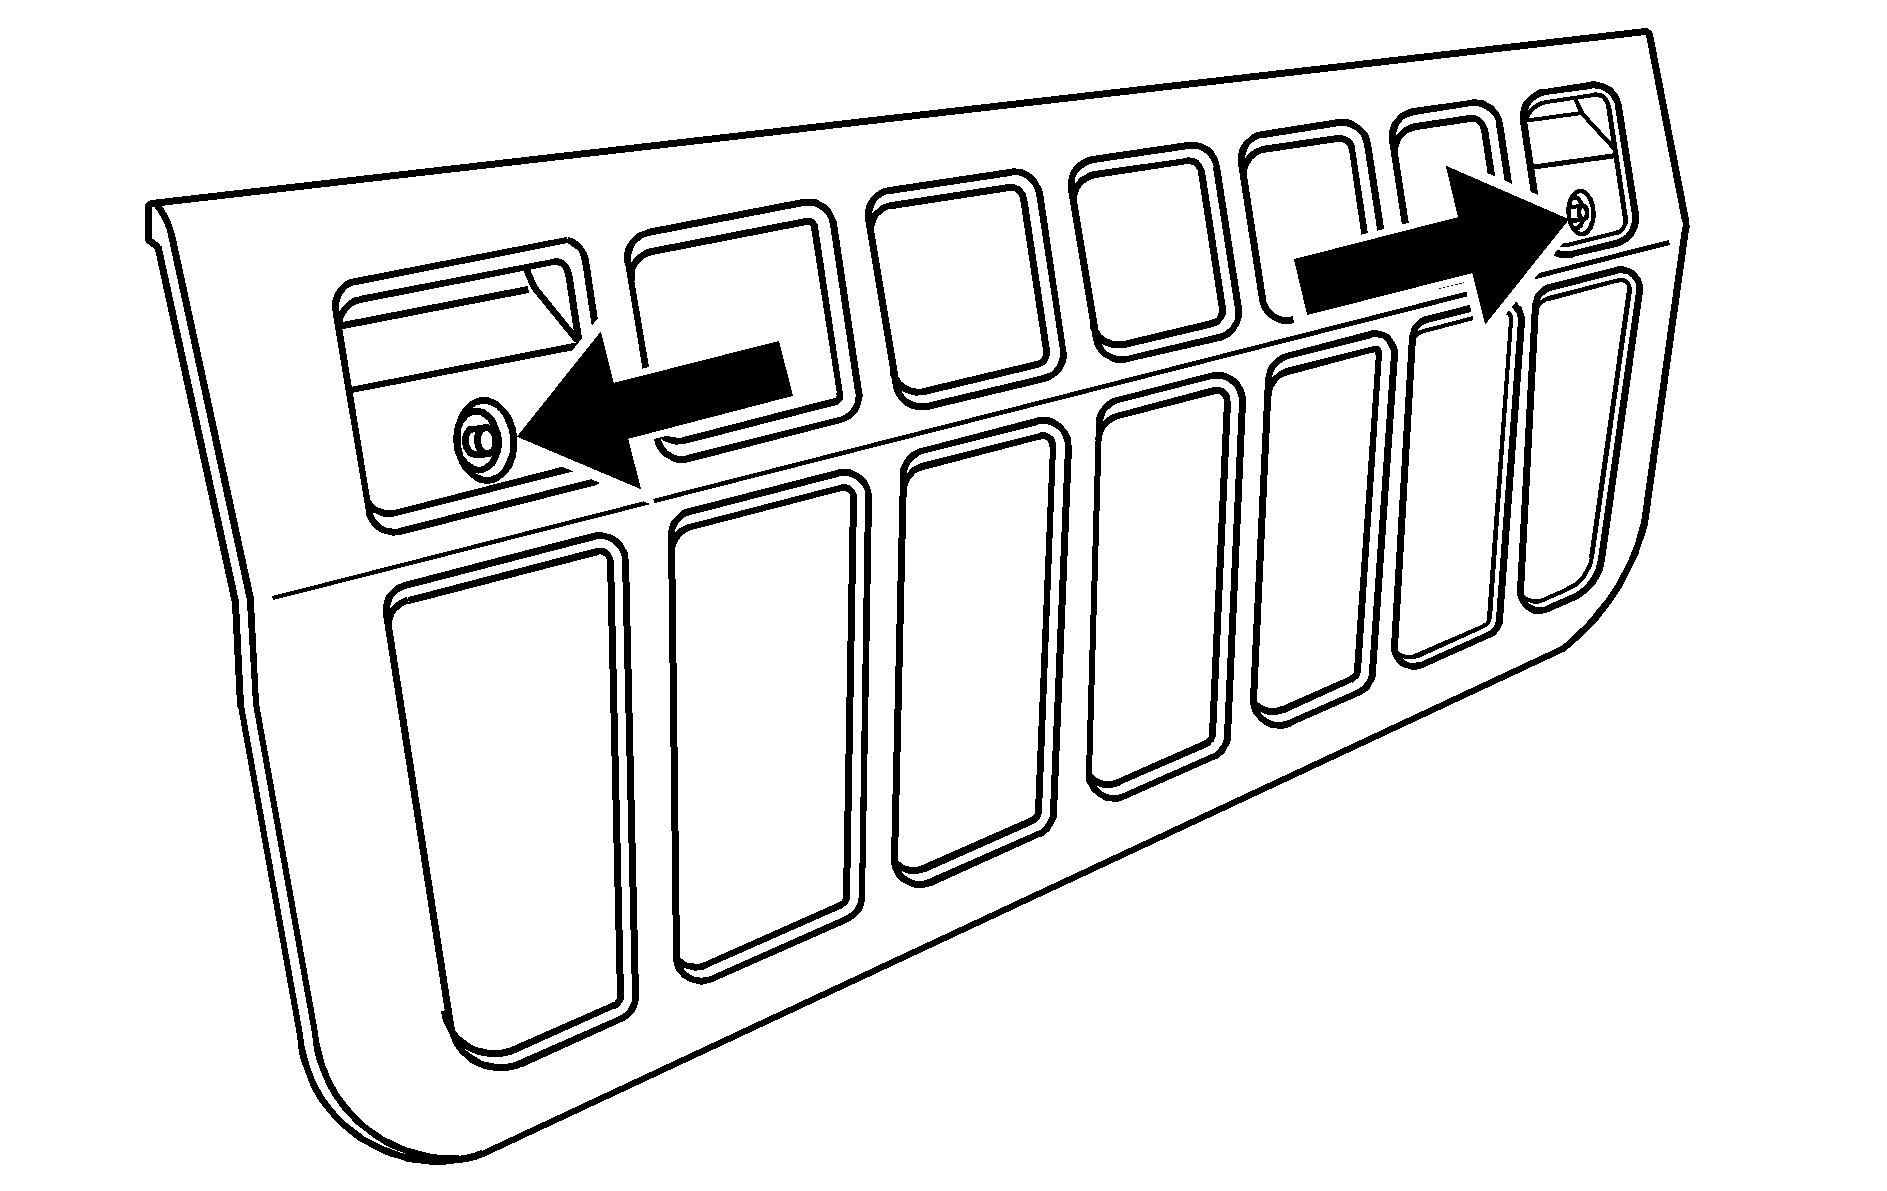
- Flip the auxiliary panel on the top of the Midgate® into position to bridge the gap created by the hinges in the Midgate®. There are two finger holds on the panel.

Raising the Midgate®
To raise the Midgate®, do the following:
- Fold the auxiliary panel back into the exterior of the Midgate®. The panel should snap loudly back into position which means it is secure.
- Reverse the steps for lowering the Midgate® listed previously. The Midgate® must be fully latched on both sides before the window can be raised.
- Press the top part of the Midgate® window switch to express-up the window. To stop the window, press the switch a second time.
