When you replace a cracked windshield, determine the cause
of the crack and the corrected condition before you install a new window.
The cause of the crack may be an obstruction, or a high spot, somewhere
around the flange of the opening. Cracking may not occur until pressure from
the high spot or the obstruction becomes particularly high due to the
following conditions:
If a windshield is broken, the glass may have already fallen or been
removed from the adhesive. You may have to remove a cracked or otherwise
imperfect windshield that is still intact.
If a crack extends to the edge of the window, mark the point on the
cab where the crack meets the reveal molding with a grease pencil. Later,
when you examine the flange of the opening for the cause of the crack,
start at the point marked.
Removal Procedure
Tools Required
J 24402-A Cold Knife
Glass Sealant Remover
- Place protective coverings around the windshield removal area.
- Remove the windshield wiper arms. Refer to
Windshield Wiper Arm Replacement
in Wipers/ Washer Systems.
- Remove the radio antenna mast. Refer to
Fixed Antenna Mast Replacement
in Entertainment.
- Remove the air inlet grille panels. Refer to
Air Inlet Grille Panel Replacement
in Body Front
End.

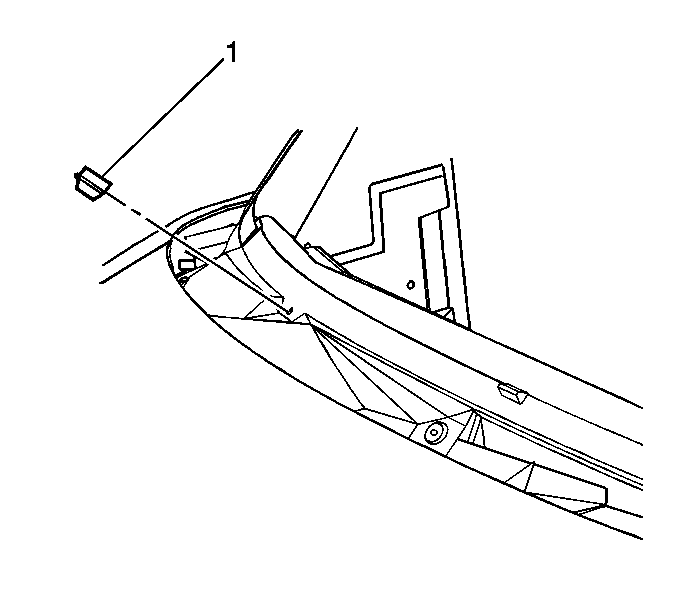
- Remove the windshield supports (2) from the cowl.
- Remove the rear view mirror. Refer to
Inside Rearview Mirror Replacement
.
- Remove the drip rail seals in the area of the windshield.
- Remove the windshield garnish moldings. Refer to
Windshield Garnish Molding Replacement
.
- Remove the defroster vent grille. Refer to
Defroster Grille Replacement
in Instrument Panel,
Gauges and Console.
- Place protective coverings over the defroster outlets and the
instrument panel.

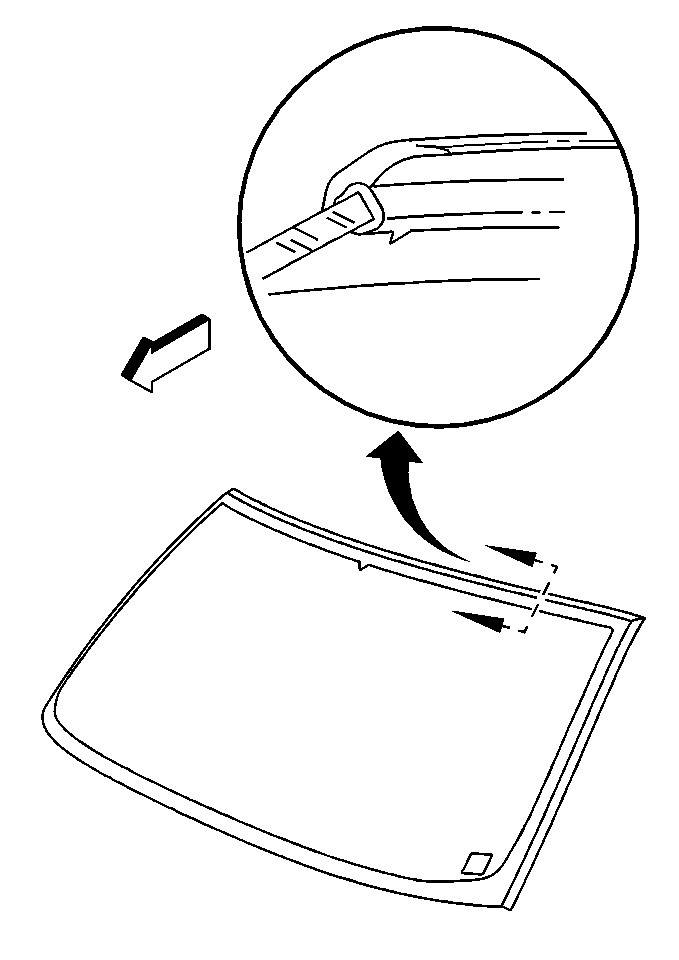
- Remove the reveal molding
from the windshield.
Use a utility knife in order to cut the molding away from the windshield.
- Remove the windshield using the J 24402-A
.
| 12.1. | Insert the blade between the windshield and the urethane adhesive. |
| 12.2. | Keep the blade against the windshield edge. Cut the adhesive from
the windshield. |
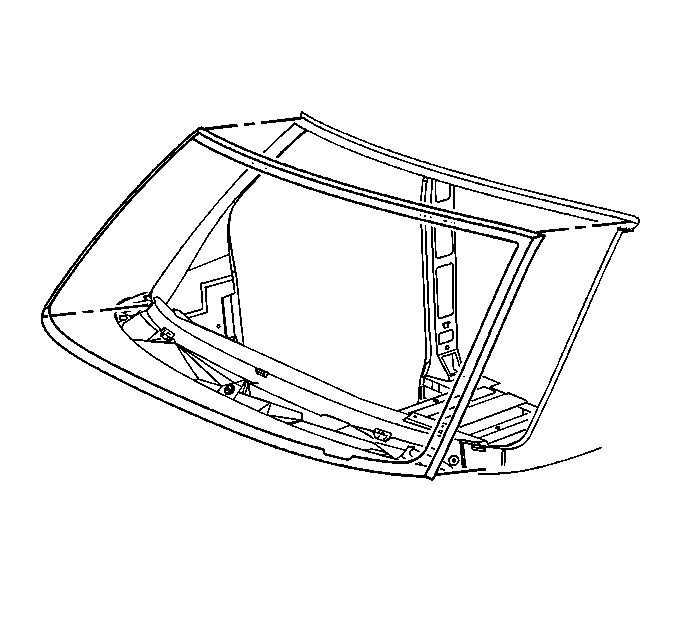
- With the aid of an assistant, remove the windshield from the vehicle.
- Clean the loosed adhesive from the pinchweld flange by wiping
the area with a dry cloth.
- Do not scrape away the old adhesive that is still attached to
the pinchweld flange. You may damage the paint.
- Inspect the following components in order to determine the cause
of the broken windshield in order to prevent future breakage:
- Look for any of the following conditions in the pinchweld flange:
| • | Hardened spot weld sealer |
Adhesive Service Kits
- The Urethane Adhesive Caulking Kit GM P/N 12346284 contains
the following items:
| • | Urethane adhesive with nozzle |
| • | Instructions with warnings |
- Use the urethane adhesive caulking kit when you replace any urethane
adhesive-installed window using the short or extended method.
- You may use an equivalent urethane adhesive system as long as
the system meets GM Specification GM3651M.
- Always follow the system manufacturer's application, handling,
and curing instructions.
Other materials required for windshield installation that are not included
in the service kit are the following items:
| • | Alcohol (Used for cleaning the edge of the glass) |
| • | An adhesive dispensing gun |
| • | Commercial type razor knife (Used for cutting along the edge of
the glass) |
Installation Procedure
- If the original windshield is being installed, clean all of the
old urethane adhesive off of the windshield using a razor knife.
Use repair kit GM P/N 12346284 or equivalent that contains
the necessary primers and adhesives.
Important: A new reveal molding must be used when installing a windshield.

- Install the reveal molding
to the windshield.

- Apply the clear primer
to the windshield.
| • | Cover an area 18 mm (0.75 in) from the glass edge. |
| • | Apply the primer to the edge of the reveal molding that faces
the inside surface of the windshield. |
| • | Wipe the primer dry immediately. |
- Apply the black primer to the same area as the clear primer.
Allow the primer to dry.
Caution: At least 24 hours are required for complete curing of repair
material. The repair area should not be physically distrubed until after that
time. Insufficient curing of urethane adhesive may allow unrestrained occupants
to be ejected from the vehicle resulting in personal injury.
- Apply a bead of urethane 10 mm (0.40 in) high over the
primer.

- Install the windshield supports (2) to the cowl.

- With the aid of a helper,
lift the windshield into place.
- Install the rearview mirror. Refer to
Inside Rearview Mirror Replacement
.
- Remove the protective coverings from the defroster outlets and
the instrument panel.
- Install the defroster vent grille. Refer to
Defroster Grille Replacement
in Instrument Panel,
Gauges and Console.
- Install the windshield garnish moldings. Refer to
Windshield Garnish Molding Replacement
.
- Install the roof drip rail seal.
- Install the air inlet grille panels. Refer to
Air Inlet Grille Panel Replacement
in Body Front
End.
- Install the windshield wiper arms. Refer to
Windshield Wiper Arm Replacement
in Wipers/ Washer Systems.
- Install the radio antenna mast. Refer to
Fixed Antenna Mast Replacement
in Entertainment.
- Use a light flow of water (warm or hot) in order to test the windshield
for water leaks.
- Allow the vehicle to stand for a minimum of 6 hours at
room temperature, 22°C (70°F) at 30 percent humidity, in order
to let the adhesive dry.


