Body Side Door Molding Replacement Oldsmobile
Tools Required
J 25070 Heat Gun
Removal Procedure
- Use a J 25070 152 mm (6 in) to heat the body side molding.
- Use a circular motion for 30 seconds to apply the heat.
- Use a plastic flat-bladed tool to remove the molding from the surface.
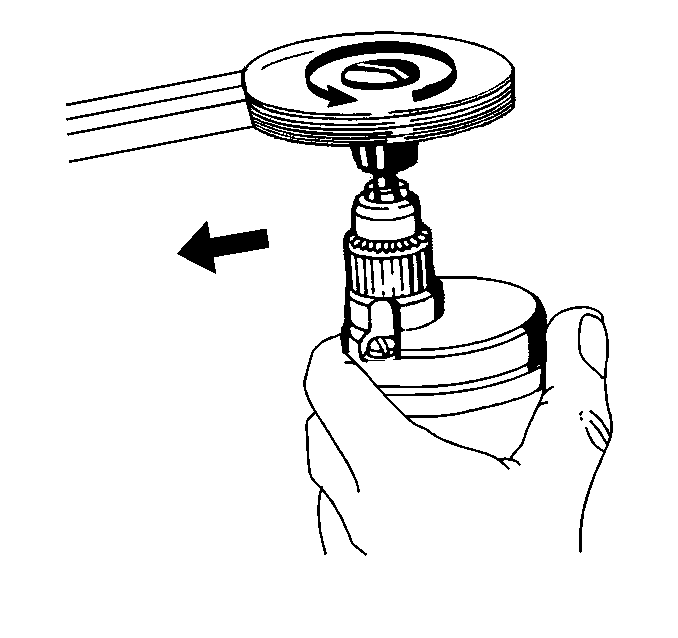
- Use a 3M Scotch-Brite® molding adhesive remover disk, 3M P/N 07501 or the equivalent to remove all the adhesive from the body panel and from the back of the molding.
- Wash the panel area with soap and water and wipe dry.
- Use Varnish Makers and Painters (VM&P) naphtha to remove all the traces of adhesive from the body panel and from the back of the molding.
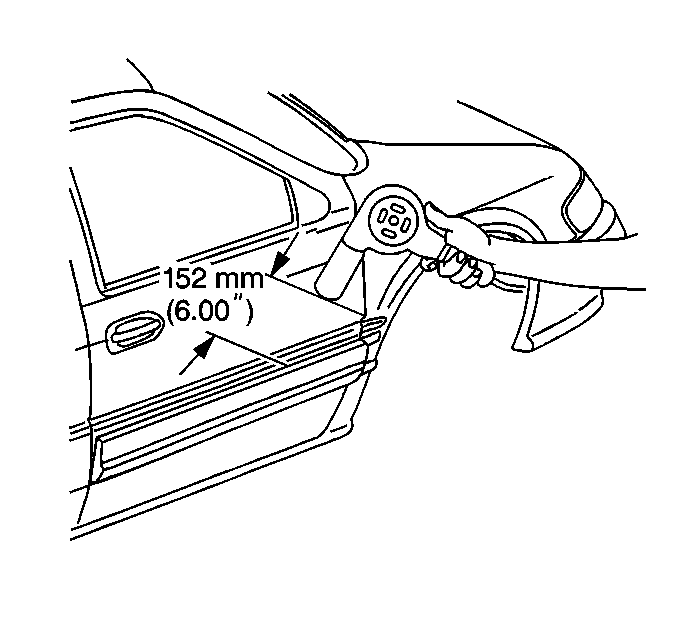
Notice: Use a plastic, flat-bladed tool to prevent paint damage when removing an emblem/name plate.
Installation Procedure
- Use a J 25070 to warm the body panel if necessary.
- Remove the protective liner from the front of the molding.
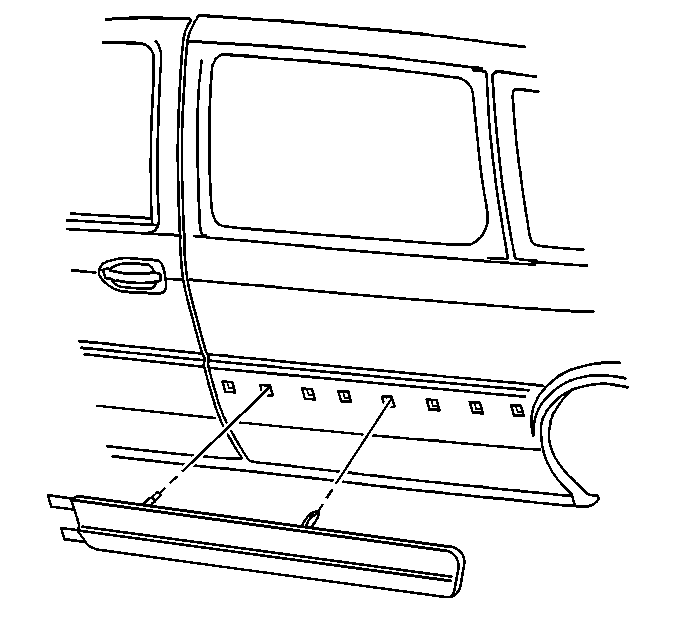
- Position the molding to the body panel.
- Align the locating pins into the holes in the body panel starting with the front hole.
- Press the molding to the body panel while continuing to remove the backing.
- Hand roll the molding to the body panel to ensure proper adhesion.
- Ensure that the molding ends do NOT overlap the following components:
- Inspect the molding ends for bonding.
- Hand roll the loose ends.
Important:
• Do NOT touch the exposed adhesive tape with your hands. • Do NOT allow any dirt or foreign material to touch the exposed
adhesive tape.
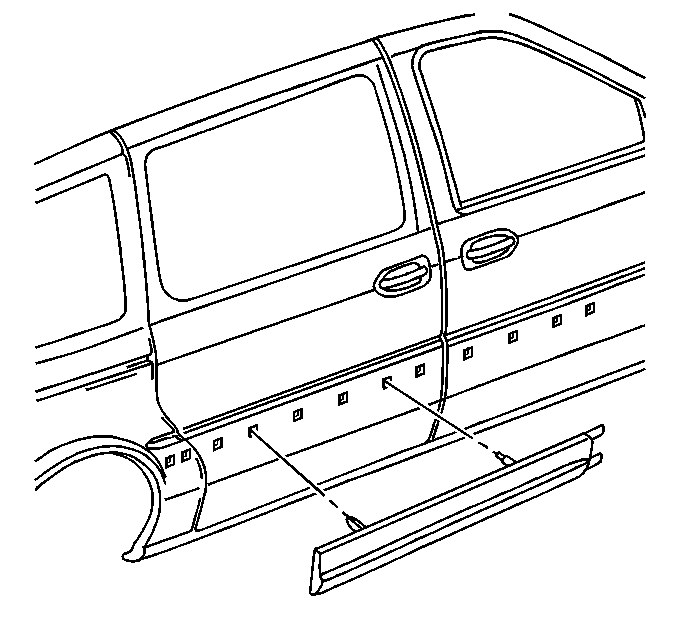
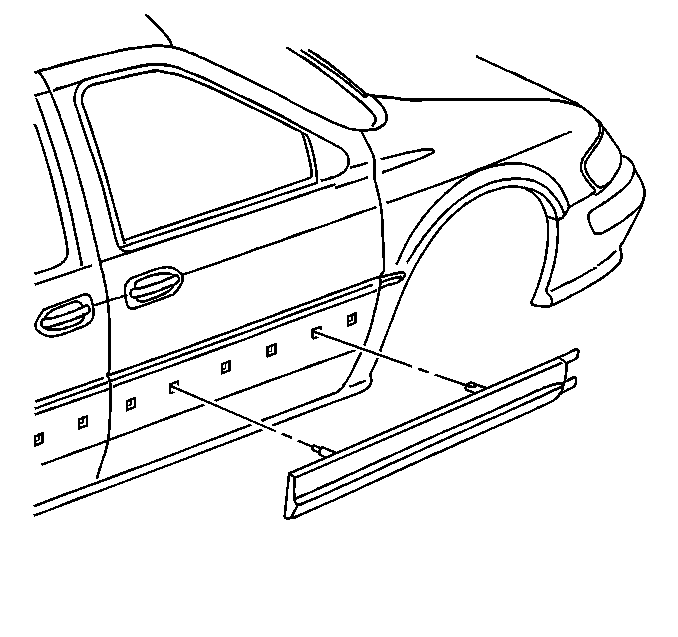
| • | The door edge |
| • | The door edge guard |
| • | The lock cylinder |
| • | Body openings |
Body Side Door Molding Replacement Pontiac
Tools Required
| • | J 25070 Heat Gun |
| • | J 38778 Door Trim Pad and Garnish Clip Remover |
Removal Procedure
- Use a J 38778 to remove the push-in retainer from the lower front of the door molding.
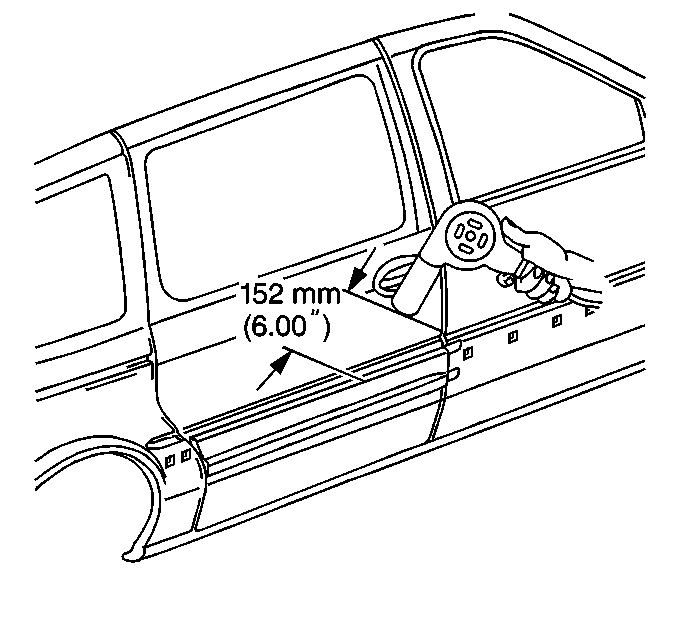
- Use a J 25070 152 mm (6 in) from the surface to heat the lower edge of the door molding.
- Use a plastic flat-bladed tool to remove the lower edge of the door molding from the surface.
- Pull the lower edge of the door molding out to release the retainers and locating pins.
- Pull the lower edge of the door molding up to release the molding from the upper support.
- Remove the door molding from the door.
- Pull out the center pins of the support retainers.
- Use a J 25070 152 mm (6 in) from the surface to heat the door molding support.
- Use a plastic flat-bladed tool to remove the door molding support from the surface.
- Remove the door molding support from the door.
- Pull out the center pins from the lower support retainers.
- Remove the lower support from the door.
- Use oil-free naphtha or alcohol to clean the body panel.
- Remove all traces of adhesive from the body panel.
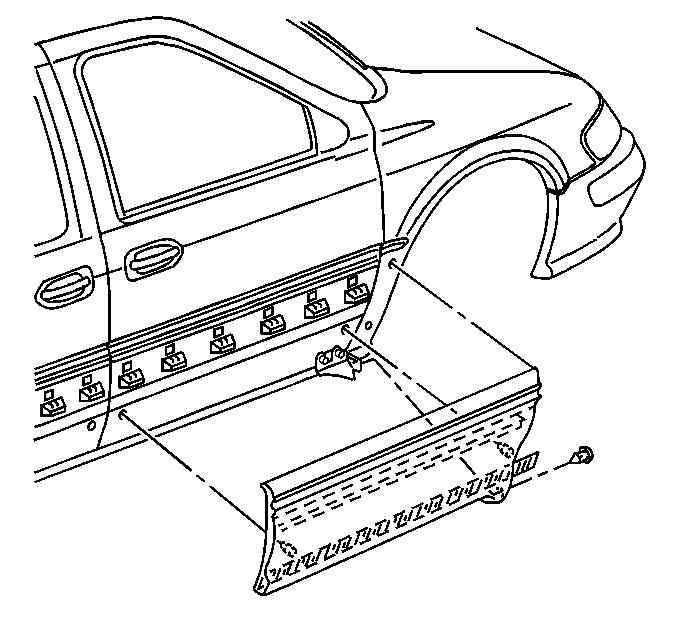
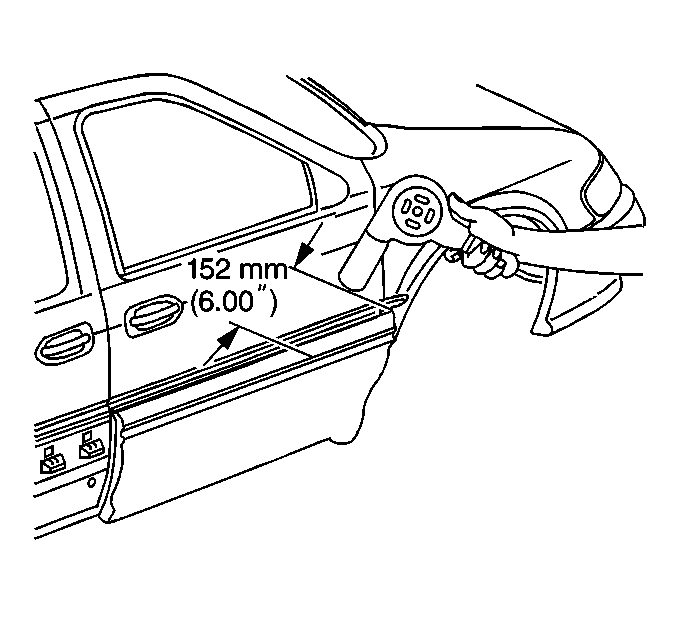
Use a circular motion for 30 seconds when applying the heat.
Notice: Use a plastic, flat-bladed tool to prevent paint damage when removing an emblem/name plate.
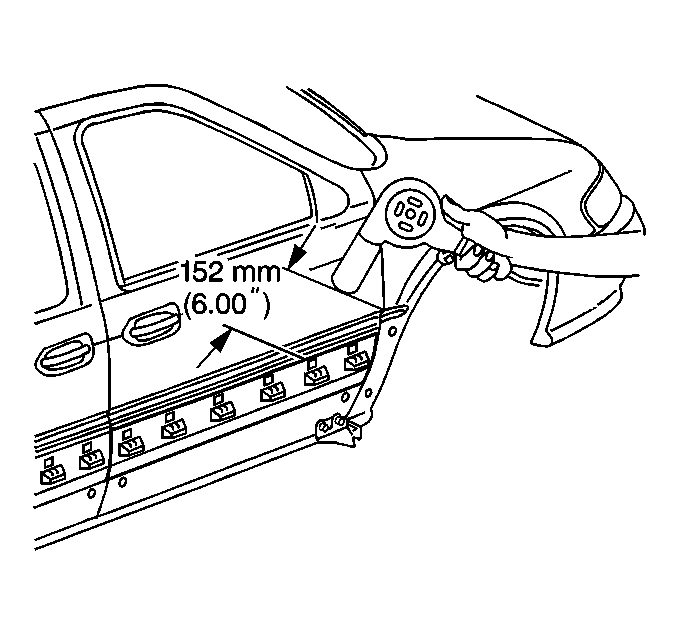
Use a circular motion for 30 seconds when applying the heat.
Notice: Use a plastic, flat-bladed tool to prevent paint damage when removing an emblem/name plate.
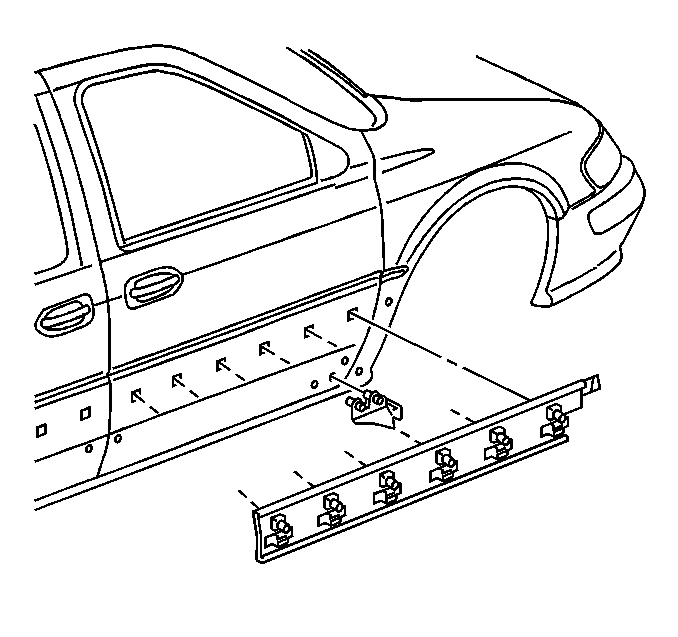
Installation Procedure
- Use a J 25070 to warm the door to a minimum of 21°C (70°F).
- Remove the protective liner from the back side of the support.
- Align the lower support and the retainers into the holes in the door.
- Insert the support into the holes starting with the front hole.
- Press in the center pins of the retainers.
- Press the support in order to ensure a maximum bond to the door.
- Use a J 25070 to warm the door to a minimum of 21°C (70°F).
- Position the door molding to the door.
- Press the center flange of the door molding into the 2 outer retainers.
- Press the lower locating pins into the holes in the door.
- Press the center flange of the door molding into the remainder of the retainers.
- Push the upper portion of the door molding inboard over the retainers.
- Remove the protective liner from the back of the door molding.
- Press the bottom of the door molding inboard to ensure a maximum bond to the door.
- Install the push-in retainer to the front of the door molding into the lower support.
Important:
• Do NOT touch the exposed adhesive tape with your hands. • Do NOT allow the exposed adhesive tape to collect any dirt or
foreign material.

Important: Do not touch the adhesive backing on the molding support.

Important: Do NOT touch the adhesive backing of the door molding.
