Removal Procedure

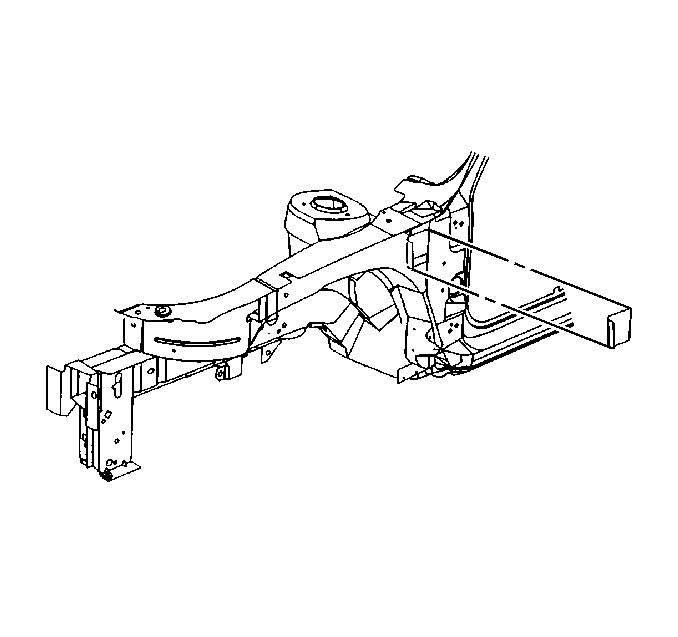
The side door frame openings feature a unique modular build sub-assembly design to improve manufacturing quality. The side door frame openings are composed of numerous individual components that are pre-assembled and then attached to the vehicle as a single unit. The door frame can be replaced as a complete unit or various segments of it can be sectioned, which is usually much faster and more cost effective. There are some key structural areas where sectioning should not take place. Because the left and the right door frame openings are only available as complete assemblies, cut the service parts for sectioning from the complete assembly. Modify the parts as necessary.
- Remove all of the related panels and components including the roof panel and upper outer rail reinforcement.
- Visually inspect and restore as much of the damage as possible. Follow the factory specifications.
- Remove the following components:
- Locate and mark the factory welds. Note the number of welds for installation of the service assembly.
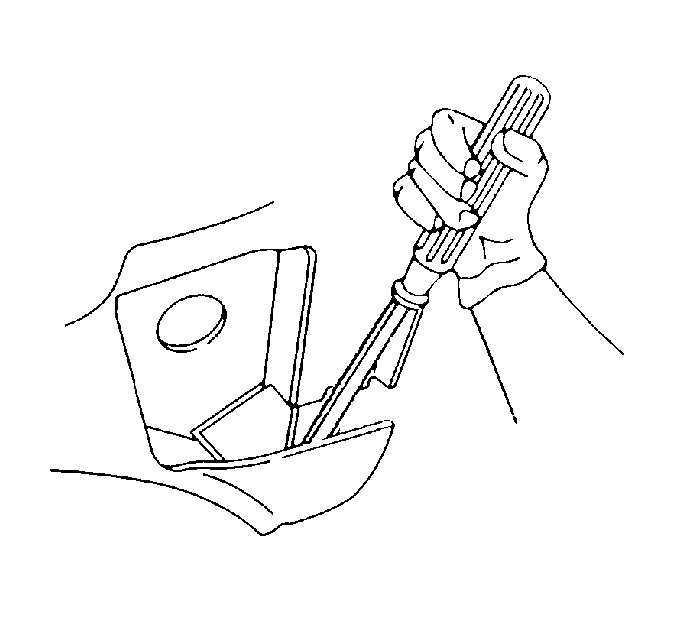
- Drill out the factory welds.
- Remove the damaged door frame opening.

| • | The sealers |
| • | The sound deadeners |
| • | The corrosion materials (as necessary) |
Installation Procedure
- Prepare the mating surfaces and check for proper fit of the door frame opening service assembly.
- Temporarily remove service assembly and drill 8 mm (5/16 in) plug weld holes in the replacement panel at the locations noted from the original assembly.
- Position the service assembly.
- Reposition the service assembly using three-dimensional measuring equipment and install according to the original weld locations.
- Clean and prepare the welded surfaces.
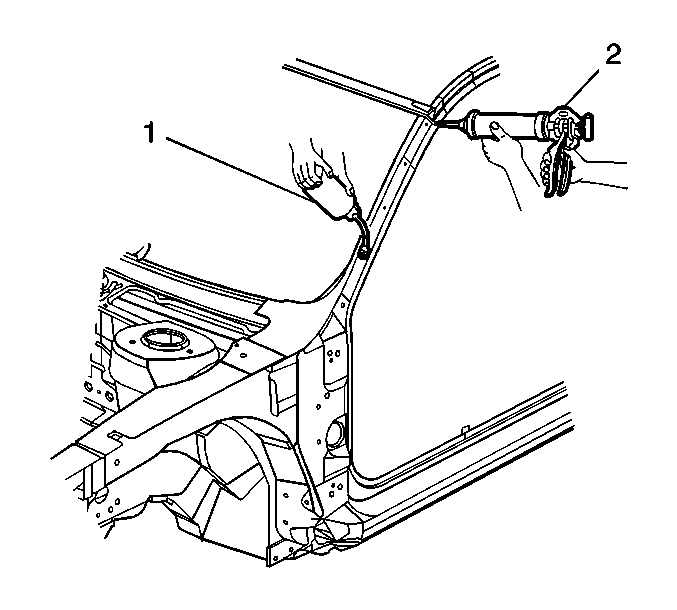
- Inject the expandable foam into the A pillar through the bottom interior mounting hole (1).
- Prime with two-part catalyzed primer.
- Apply the sealers and the corrosion protection as necessary.
- Apply a full-bodied caulk along the surface of the baffle in order to ensure a proper seal with the inner cowl plenum.
- Apply a seam sealer, such as 3M Ultra Pro 08361, along the top edge of the A pillar joint at the roof line (2).
- Reinstall all of the related panels and the components.
Important: In areas damaged beyond recognition, space plug weld holes every 40 mm (1 ½ in) apart.

Important: Prior to refinishing, refer to GM 4901MD-99 Refinish Manual for recommended products. Do not combine paint systems. Refer to paint manufacturer's recommendations.
