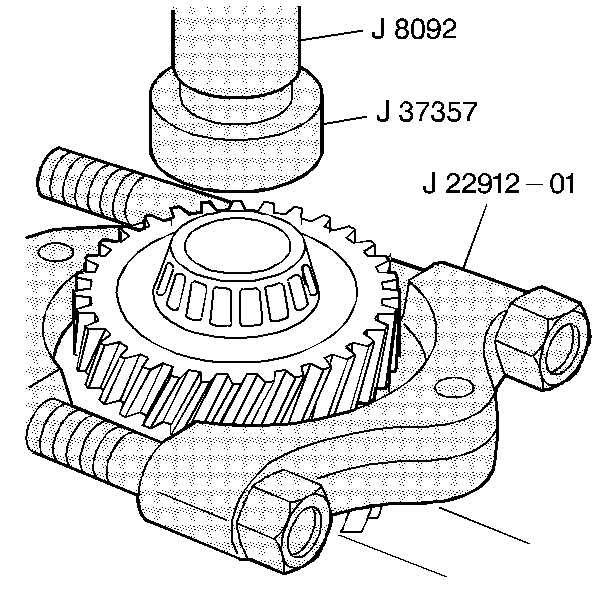
- Install the countershaft
front bearing using the J 37357
, the J 22912-01
,
and a hydraulic press.
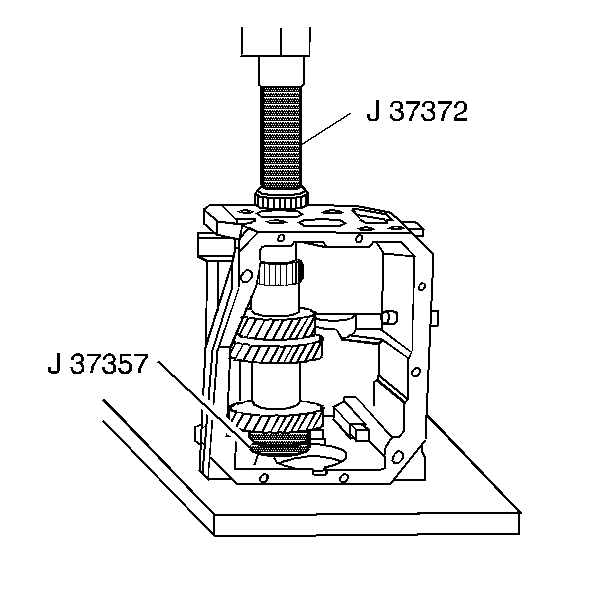
Notice: Support the countershaft while installing the rear countershaft bearing.
The transmission case can be permanently distorted if the countershaft is
not supported properly.
- Install the countershaft in the case.
- Install the rear countershaft bearing onto the countershaft using
the J 37372
and a hydraulic
press. Support the countershaft with the J 37357
.
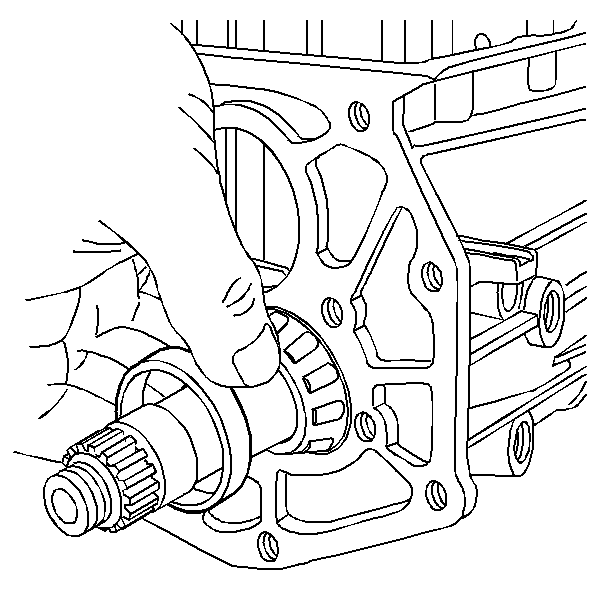
- Install the rear countershaft
bearing race.
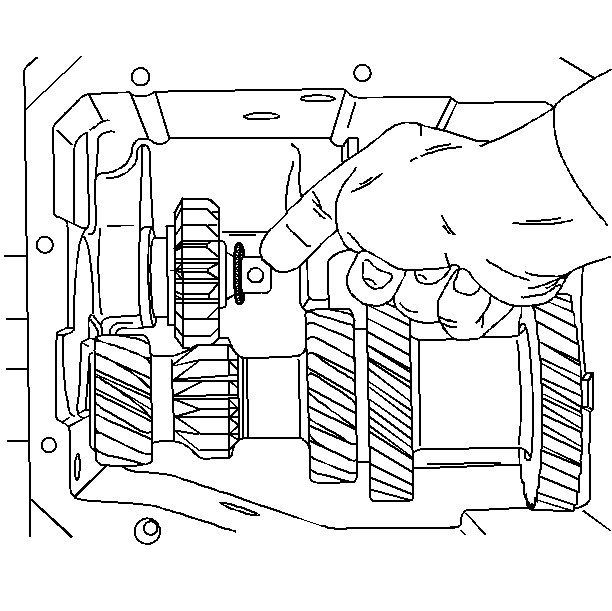
- Install the reverse idler
gear and a new rubber O-ring on the reverse idler gear shaft. The shift lever
groove should face the rear of the case.
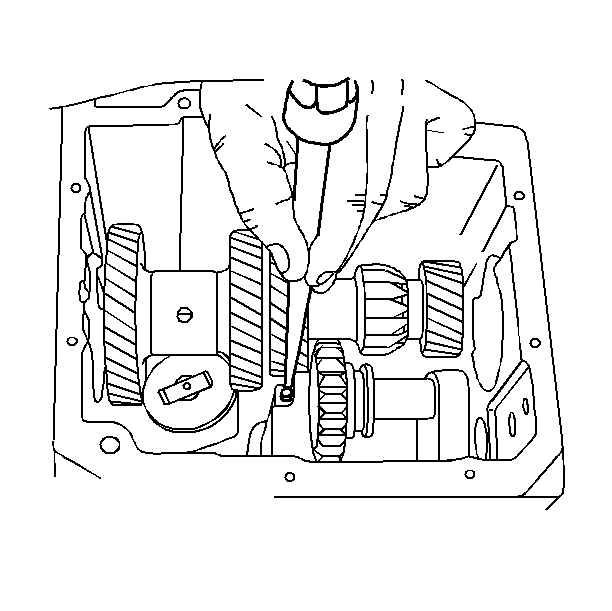
- Install a new roll pin
into the reverse idler gear shaft.
Notice: Use the correct fastener in the correct location. Replacement fasteners
must be the correct part number for that application. Fasteners requiring
replacement or fasteners requiring the use of thread locking compound or sealant
are identified in the service procedure. Do not use paints, lubricants, or
corrosion inhibitors on fasteners or fastener joint surfaces unless specified.
These coatings affect fastener torque and joint clamping force and may damage
the fastener. Use the correct tightening sequence and specifications when
installing fasteners in order to avoid damage to parts and systems.
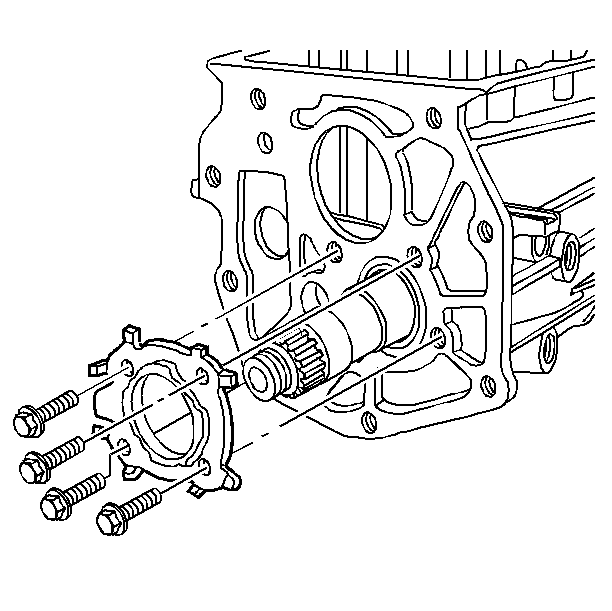
- Install the countershaft retainer and the countershaft retainer bolt.
Do not install the countershaft shims.
Tighten
Tighten the countershaft retainer bolts to 20 N·m (15 Ib ft).
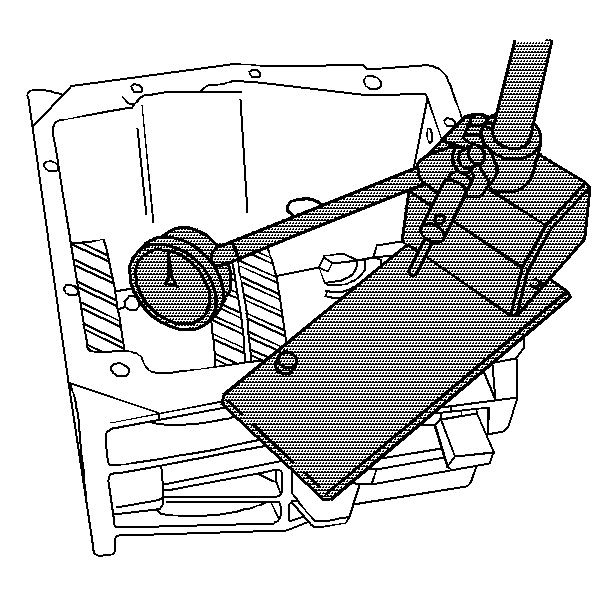
- Measure the countershaft
end play as follows:
| 8.2. | Record the end play measurement. |
| 8.3. | Remove the countershaft retainer. |
| 8.4. | Select a shim pack in order to provide 0.00-0.10 mm
(0.00-0.004 in) end play. Refer to Shim Size Specifications. |
| 8.5. | Do not preload the bearing with shims larger than the original
end play measurement. |
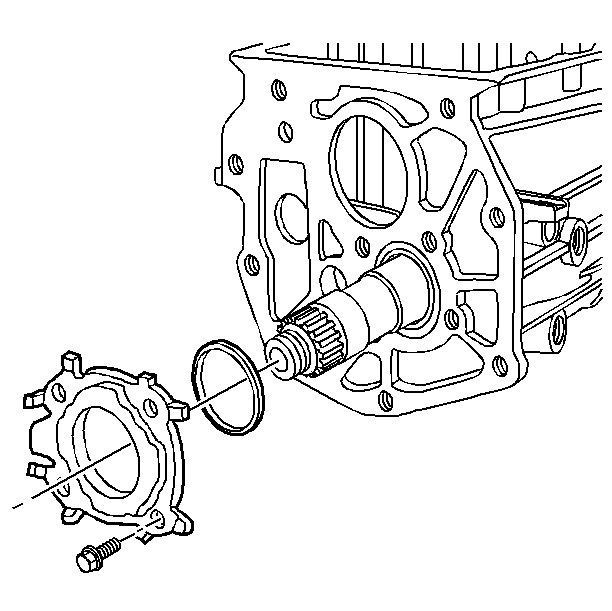
- Install the countershaft
shims, the countershaft retainer, and the countershaft retainer bolts.
Tighten
Tighten the countershaft retainer bolts to 20 N·m (15 Ib ft).
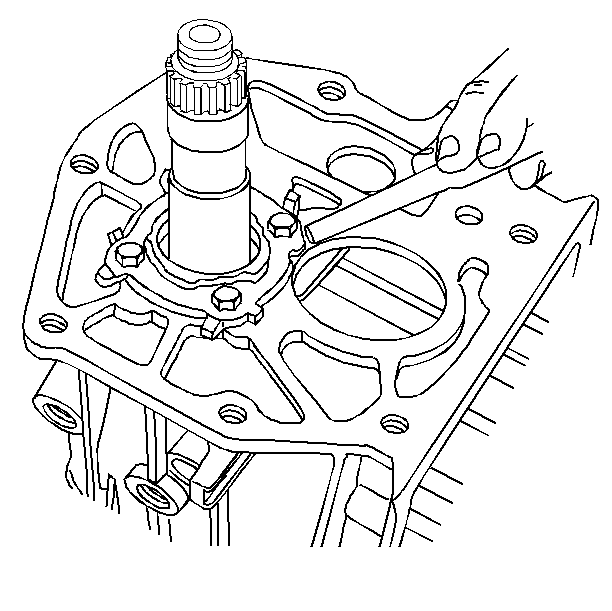
- Bend the staking tabs
over the four bolts.
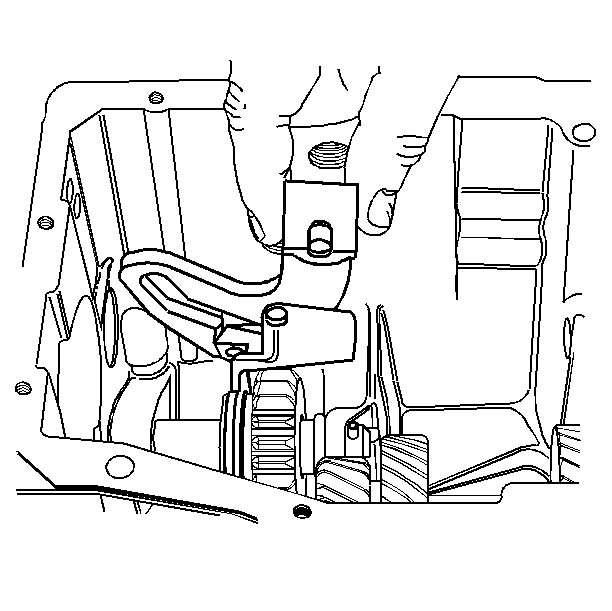
- Install the reverse shift
fork in the case.
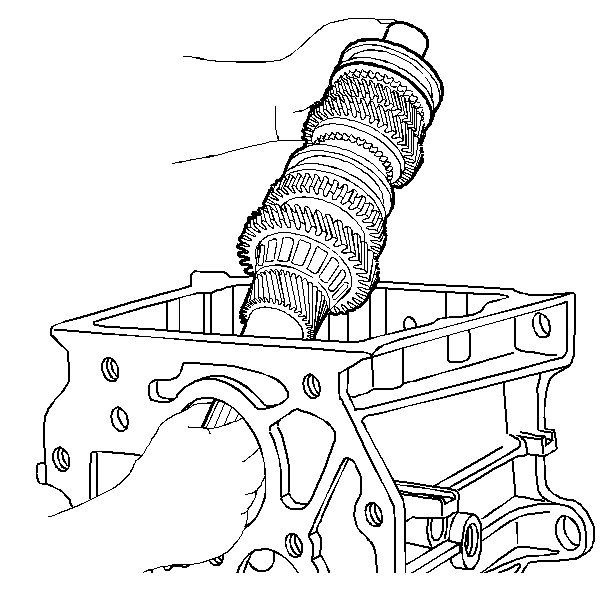
- Install the mainshaft
assembly.
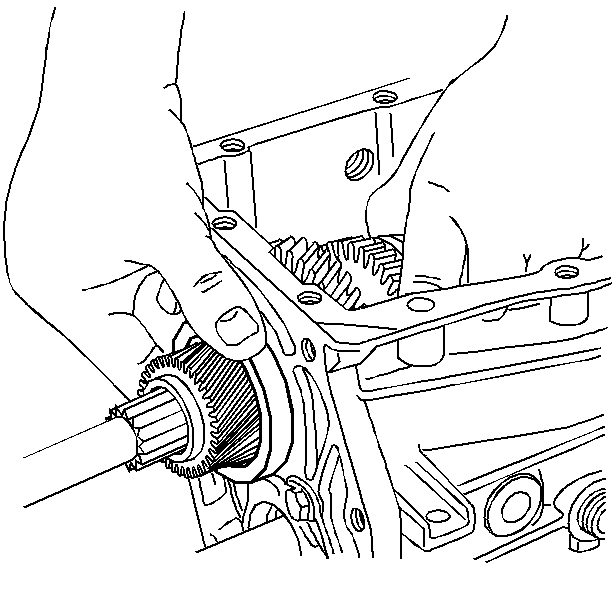
- Install the rear mainshaft
bearing race.
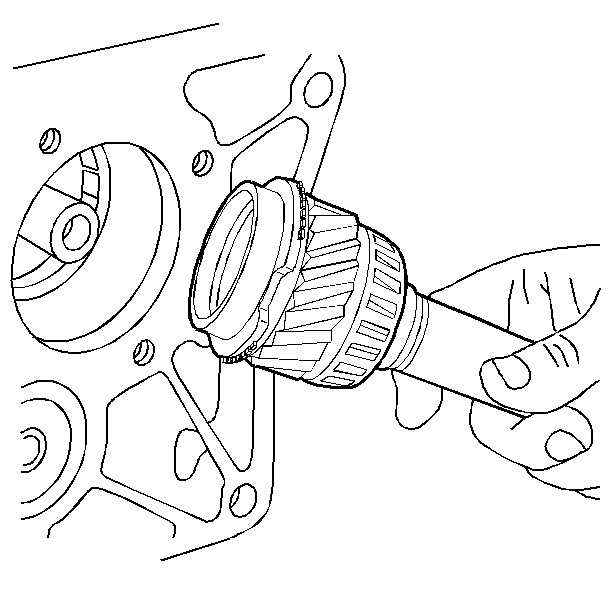
- Install the main drive
gear. Engage the 3rd/4th gear synchronizer sleeve and the blocking ring.
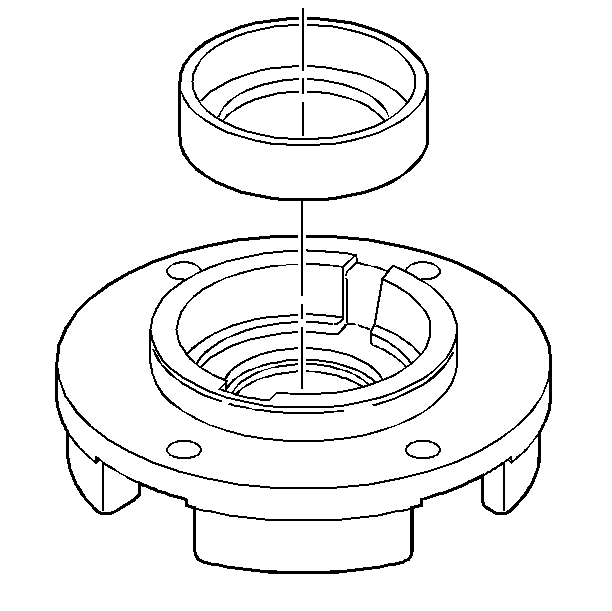
Install the
bearing race in the input gear bearing retainer. Do not install the shims.
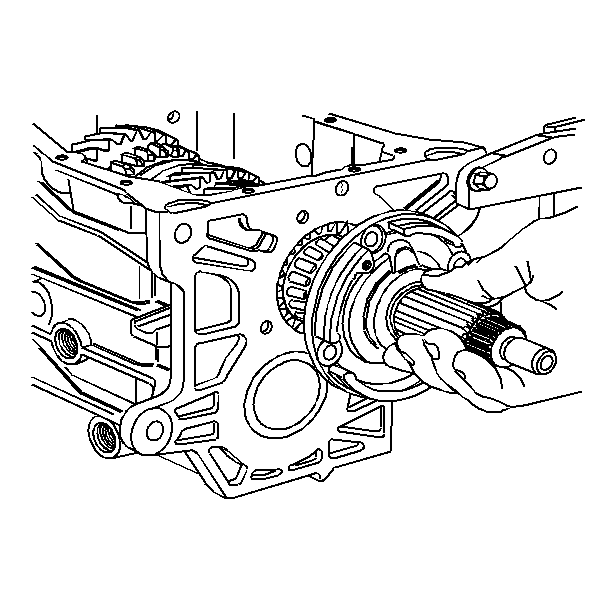
- Install the main drive
gear bearing retainer.
Tighten
Tighten the retainer bolts to 20 N·m (15 lb ft).
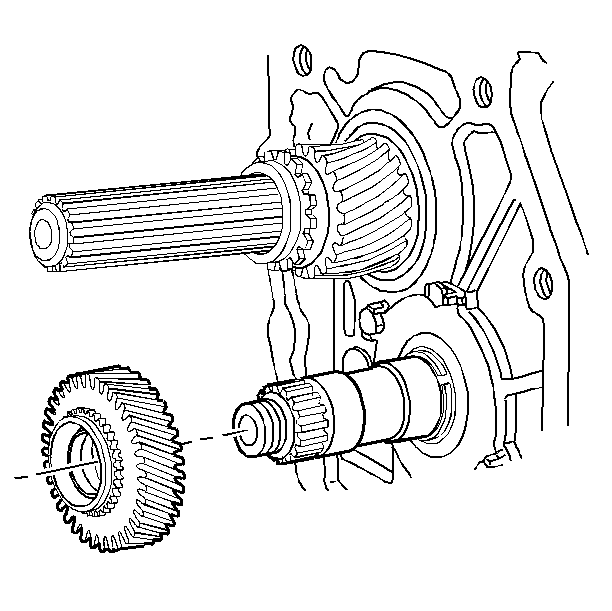
- Install the 5th speed
driven gear. The friction damper should be keyed onto the shaft.
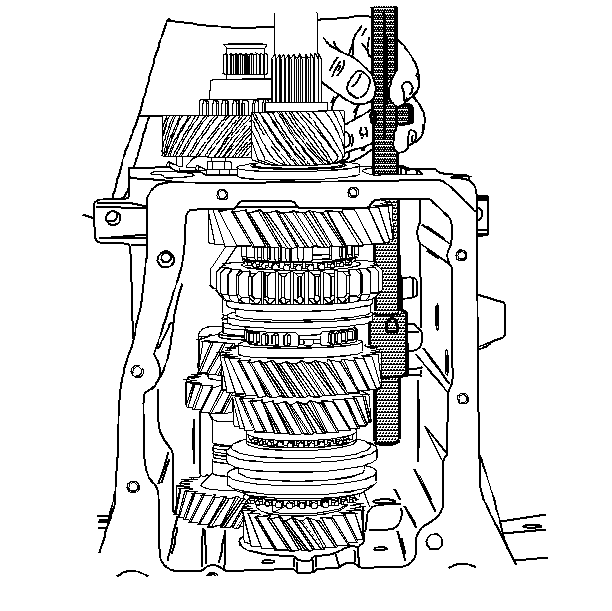
- Install the shift shaft
assembly into the case and through the reverse shift fork and lock spring.
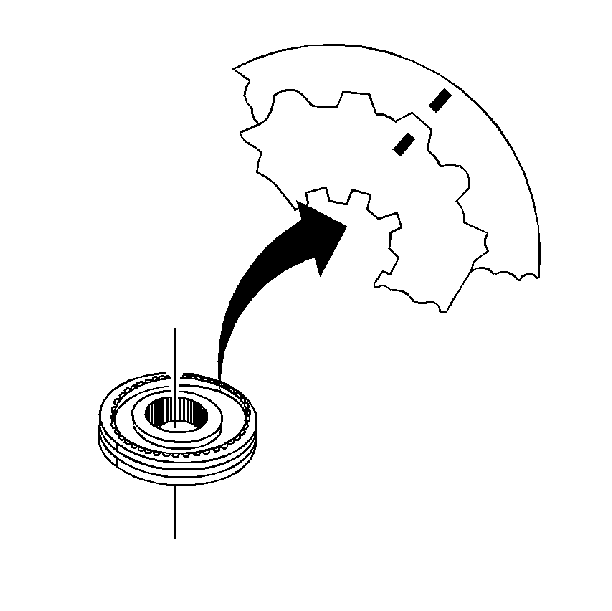
- Align the marks on the
hub and sleeve of the 5th speed gear synchronizer that were made during disassembly.
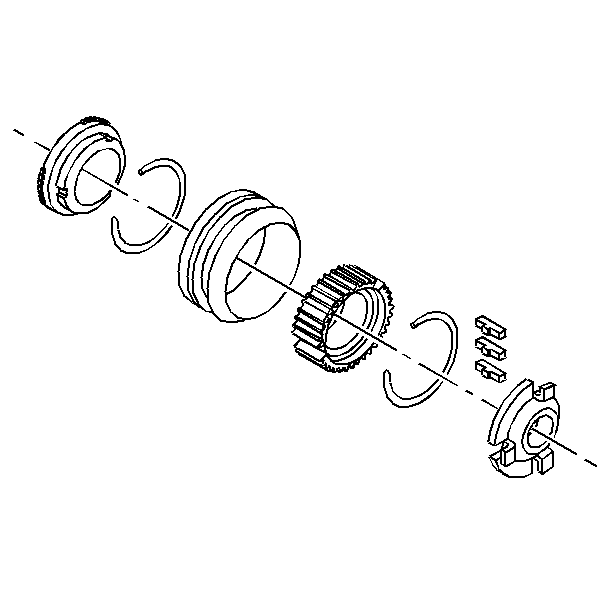
- Assemble the 5th speed
gear synchronizer. Install the blocking ring and the 5th speed gear synchronizer
in the 5th speed gear shift fork.
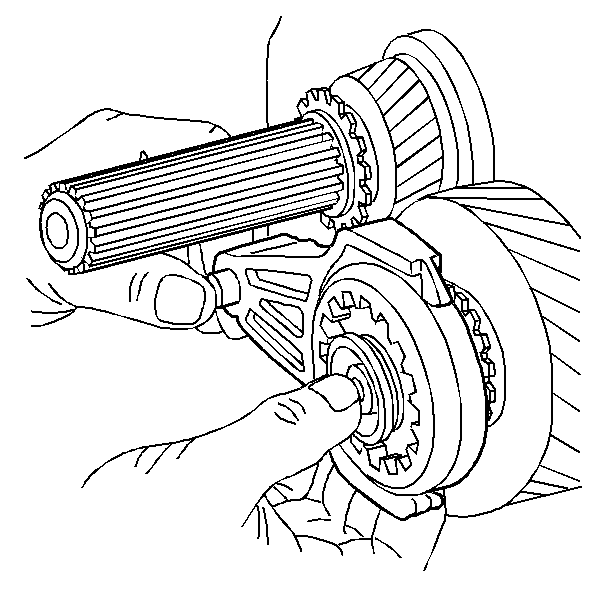
- Install the shift fork
and the 5th speed gear synchronizer assembly.
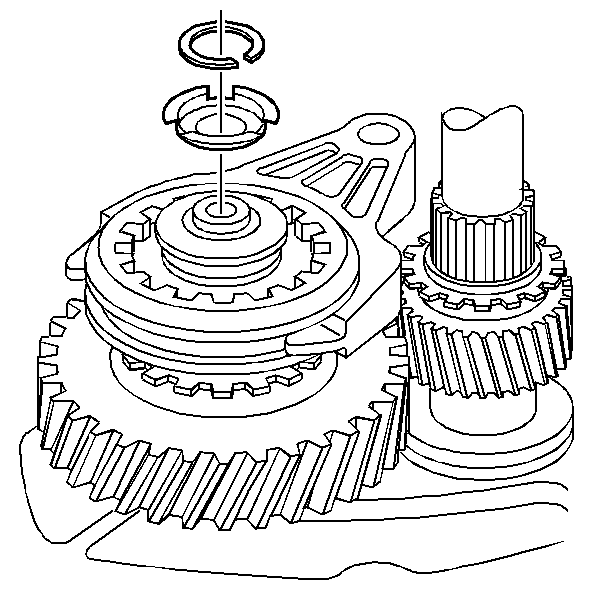
- Install the 5th speed
gear synchronizer retainer.
- Install a new retainer ring.
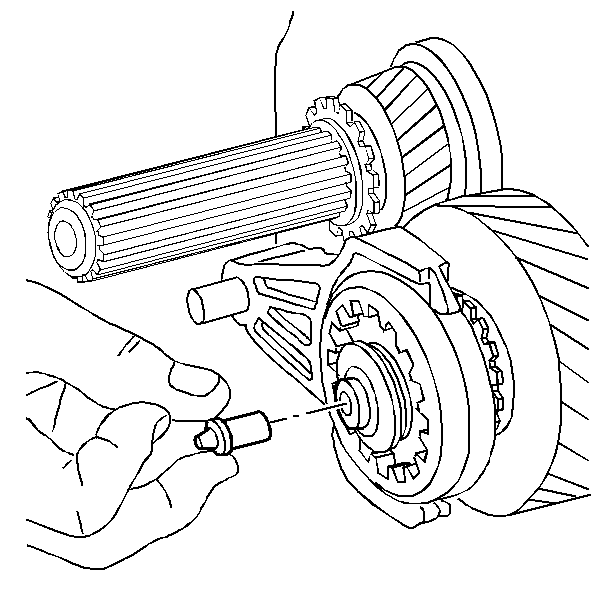
- Install the oiling funnel
into the rear of the countershaft.
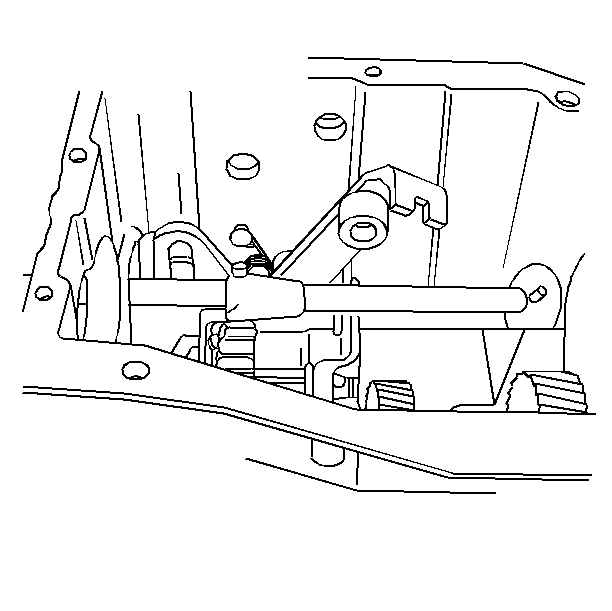
- Connect the shift lever
return spring at the side of the case. Make sure the reverse shift fork
pin and the 5th speed gear shift rail pin are engaged with the
shift lever.
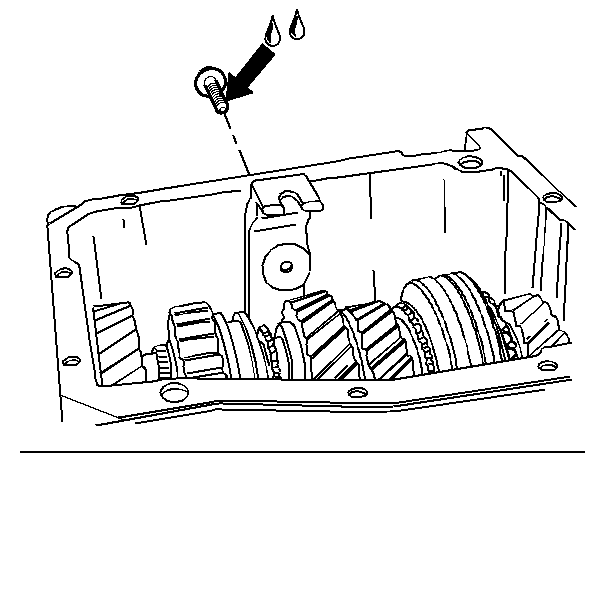
- Apply threadlock GM P/N United
States 12345493, GM P/N Canada 10953488 or equivalent
to the threads of the 5th speed gear/reverse lever pivot bolt.
- Install the 5th speed gear/reverse lever pivot bolt.
Tighten
Tighten the bolt to 27 N·m (20 Ib ft).
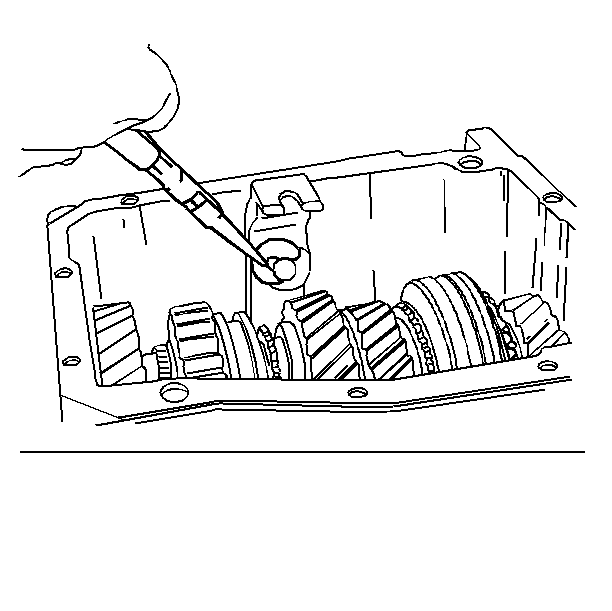
- Install the 5th speed/reverse
shift lever retainer clip.
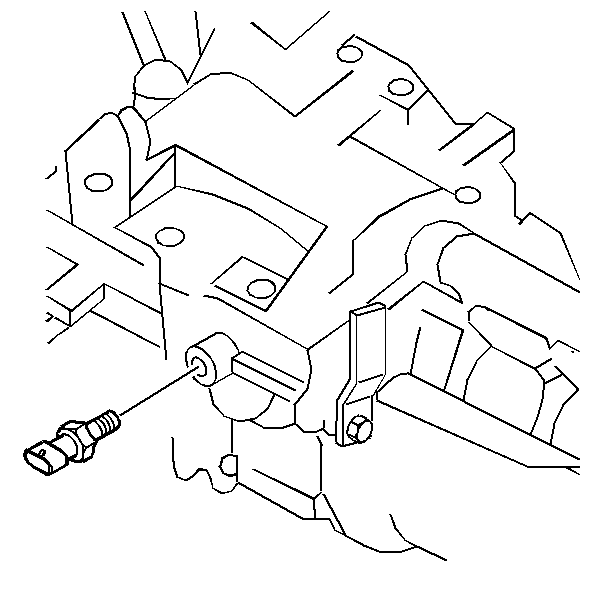
- Install the backup lamp
switch.
Coat the threads of the backup lamp switch with sealant
GM P/N United States 12346004, GM P/N Canada 10953480
or the equivalent.
Tighten
Tighten the backup lamp switch to 38 N·m (28 lb ft).
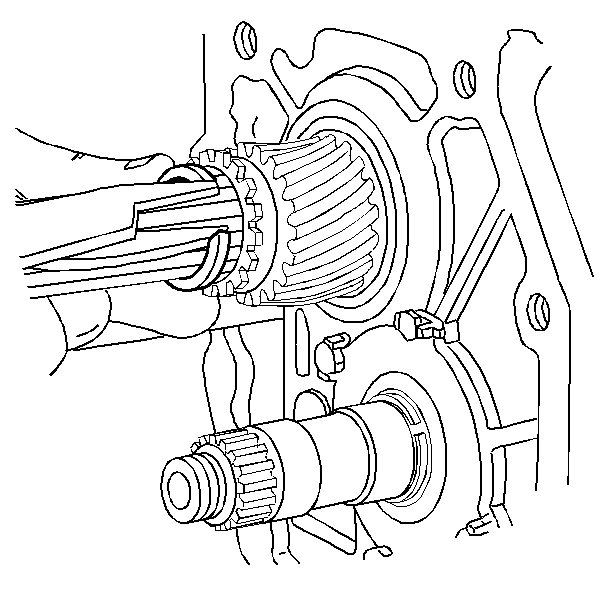
- Install the 5th speed
gear retainer ring.
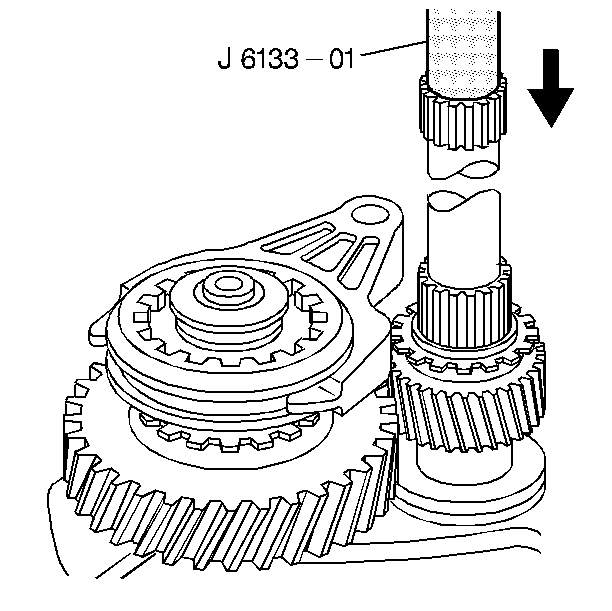
- Install the speedometer
reluctor wheel and the reluctor wheel retainer ball using the J 6133-A
.
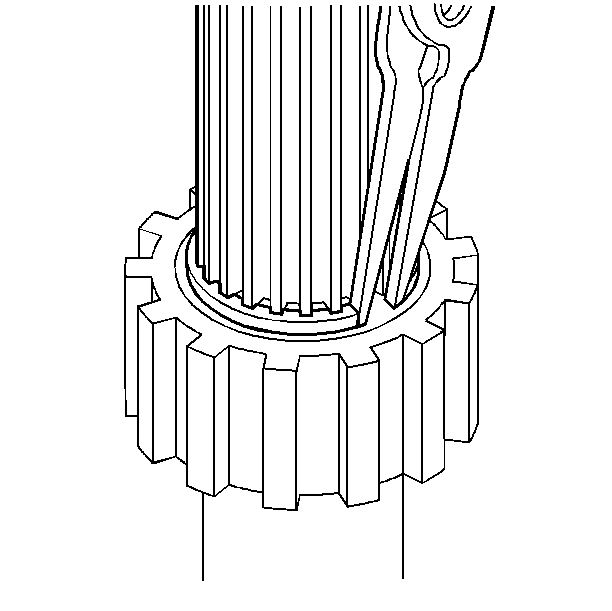
- Install the speedometer
reluctor wheel retainer ring.
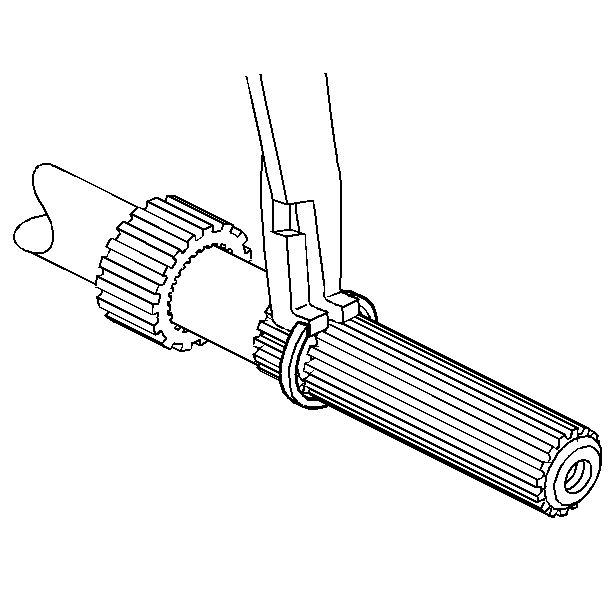
- Install a new mainshaft
retainer ring.
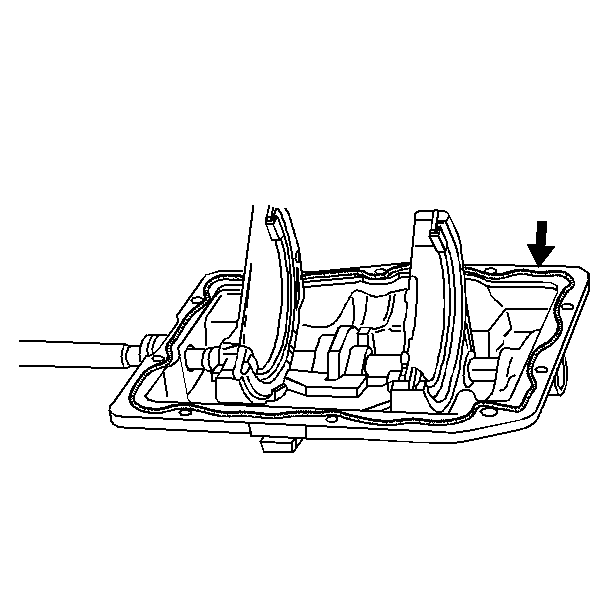
- Apply a 3 mm (0.118 in)
bead of sealant GM P/N United States 12345739, GM P/N Canada 10953472
or equivalent to the cover assembly.
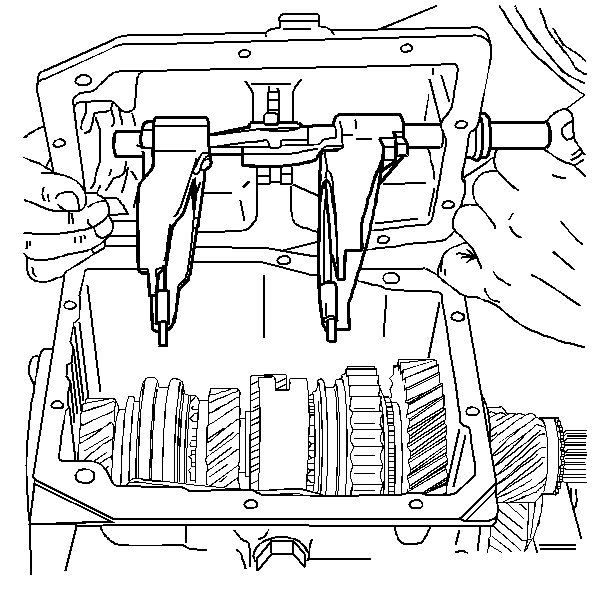
- Install the cover while
aligning the shift forks and the synchronizer sleeves.
Position
the mainshaft synchronizers in neutral. The mainshaft should rotate freely.
Position the cover assembly shift forks in neutral, center.
- Install the two dowel bolts.
- Install the remaining cover bolts.
Tighten
Tighten the cover bolts to 13 N·m (115 Ib in).
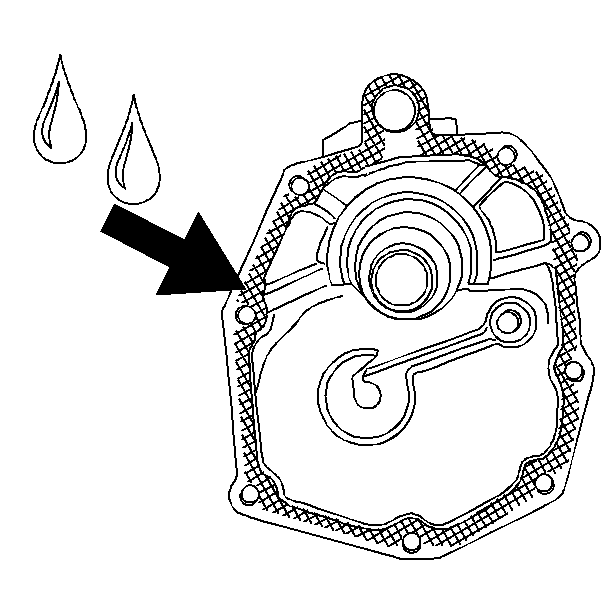
- Apply a 3 mm (0.118 in)
bead of sealant GM P/N United States 12345739, GM P/N Canada 10953472
or equivalent to the extension housing sealing surface.
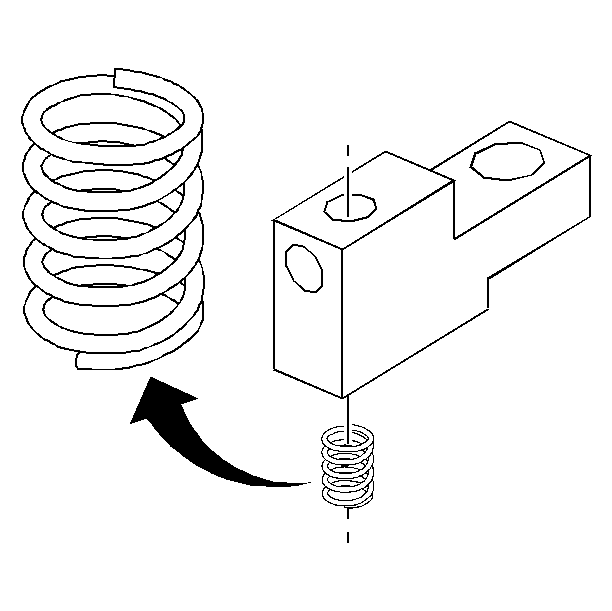
- Coat the detent spring
with petroleum jelly. Install the detent spring in the offset lever.
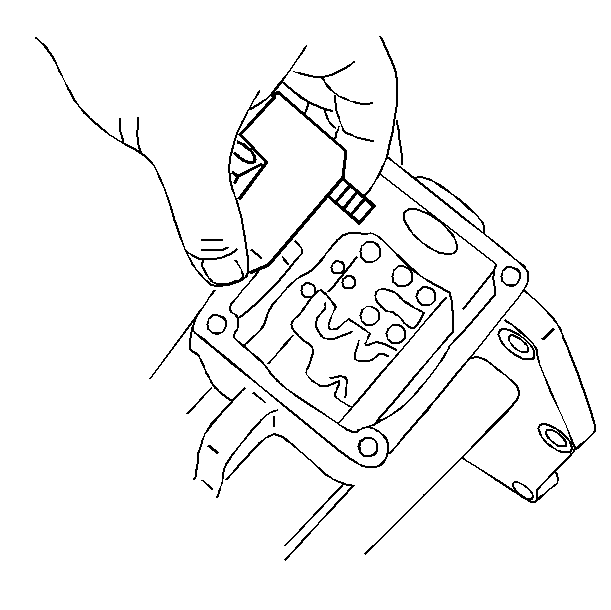
- Lubricate the detent plate
with J 36850
and install
the detent ball in the neutral position on the plate. Position
the offset lever in the extension housing with the spring over the
detent ball.
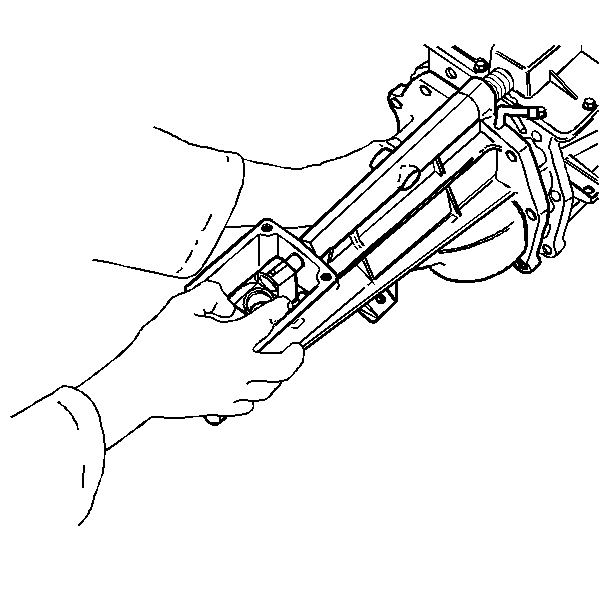
- Slide the lever and the
extension housing into position as an assembly. Press downward on the offset
lever to compress the detent spring. Push the lever and the housing
into position.
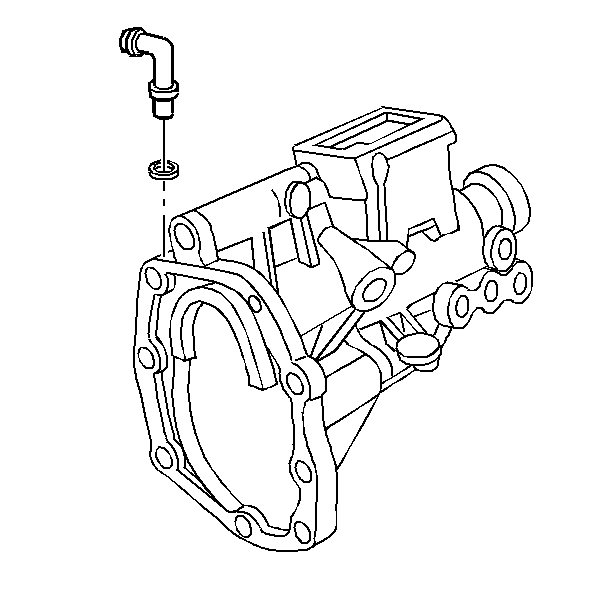
- Install the extension
housing vent and bolt, if removed.
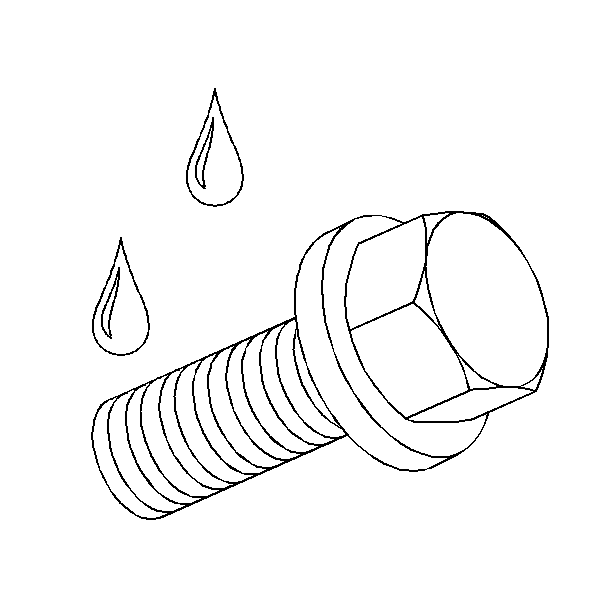
- Apply sealant GM P/N United
States 12346004, GM P/N Canada 10953480 or equivalent
to the threads of the extension housing bolts.
- Install the extension housing bolts.
Tighten
Tighten the bolts to 30 N·m (22 Ib ft).
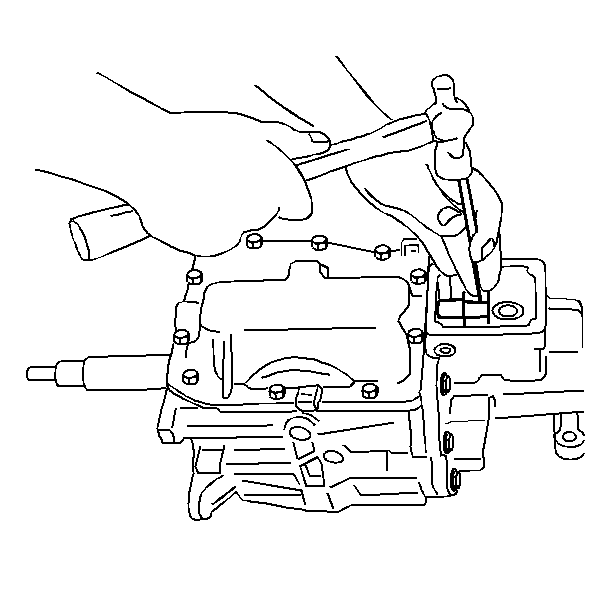
- Install a new roll pin
into the offset lever and the shift shaft.
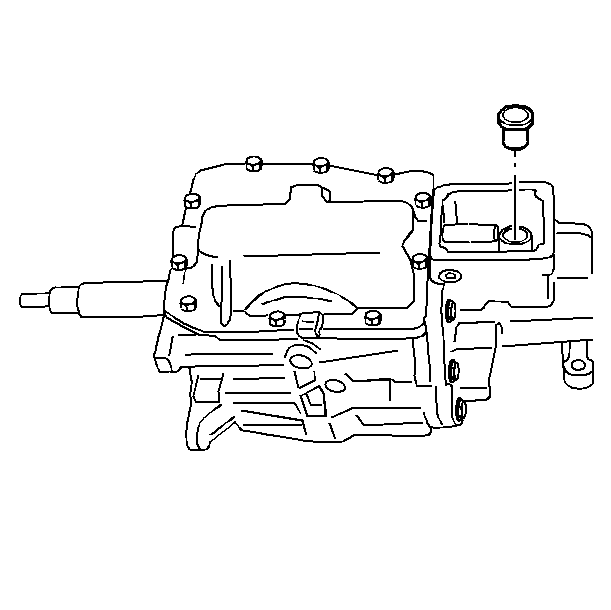
- Install the damper sleeve
in the offset lever.
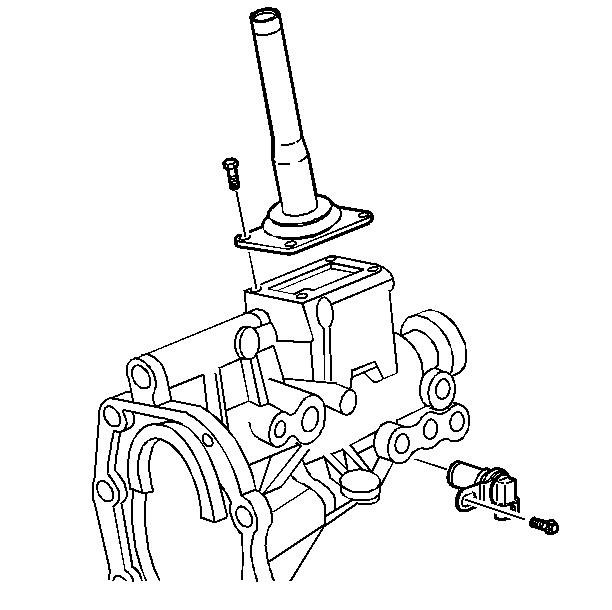
- Install the shifter and
bolts.
- Install the vehicle speed sensor.
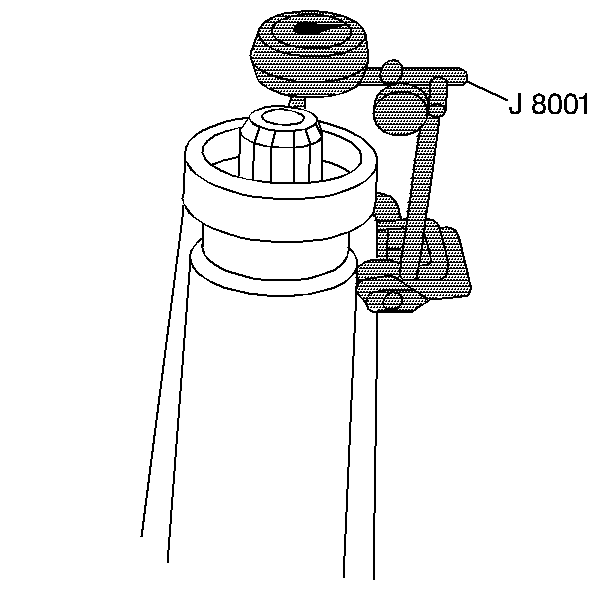
- Measure the mainshaft
end play as follows:
| 49.1. | Turn the transmission case on end. |
| 49.3. | Rotate the mainshaft and zero the dial indicator. |
| 49.4. | Pull upward on the mainshaft until the end play is removed. |
| 49.5. | Record the measurement. |
| 49.6. | The ideal mainshaft end play is zero (0.00). Plus or minus 0.02 mm
(0.001 in) is allowable. |
| 49.7. | Select a shim to obtain allowable tolerance. |
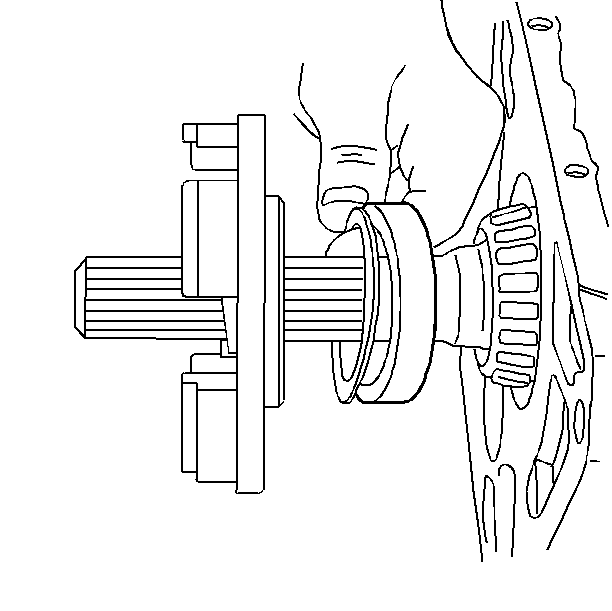
- Remove the main drive
gear bearing retainer and the front bearing race. Install the necessary
shims and reinstall the bearing race.
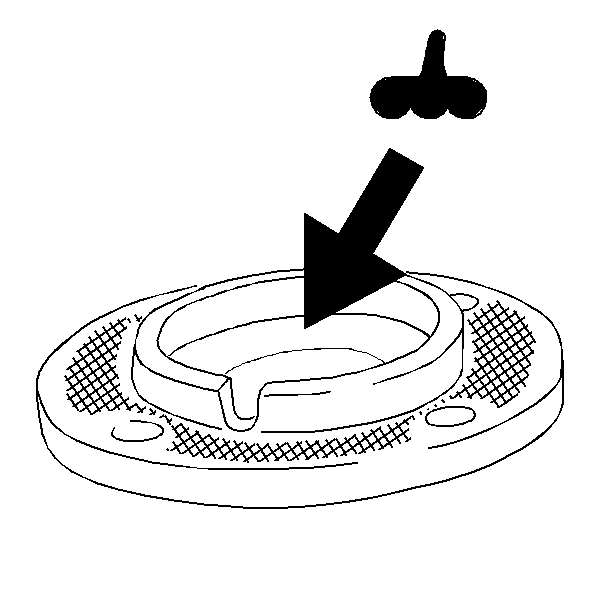
- Apply a 3 mm (0.118 in)
diameter bead of sealant GM P/N United States 12345739,
GM P/N Canada 10953472 or equivalent to the
case mating surface of the main drive gear bearing retainer.

- Apply sealant GM P/N United
States 12346004, GM P/N Canada 10953480 or the
equivalent to the threads of the main drive gear retainer bolts.
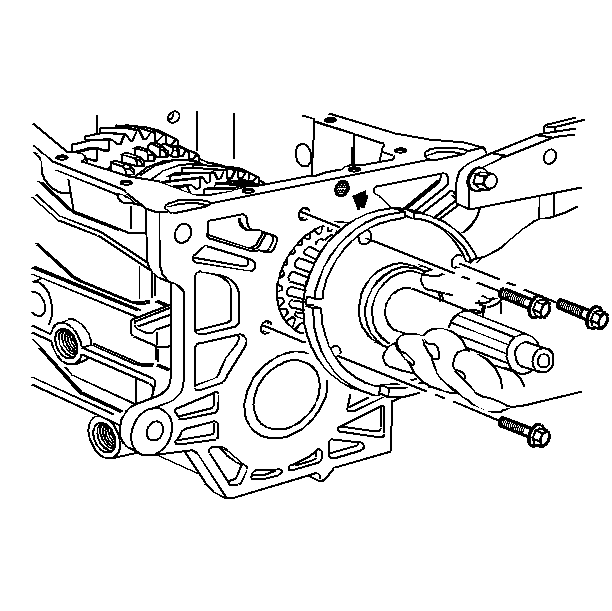
- Install the main drive
gear bearing retainer and bolts.
Tighten
Tighten the retainer bolts to 20 N·m (15 lb ft).
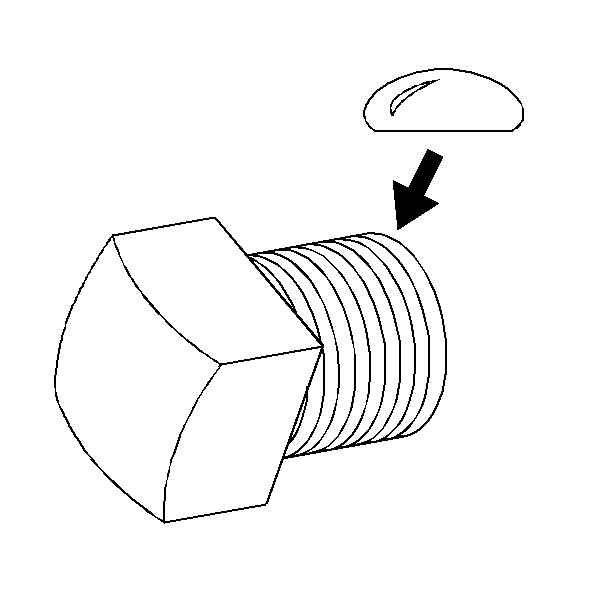
- Apply sealant GM P/N United
States 12346004, GM P/N Canada 10953480 or equivalent
to the oil drain plug and the oil fill plug.
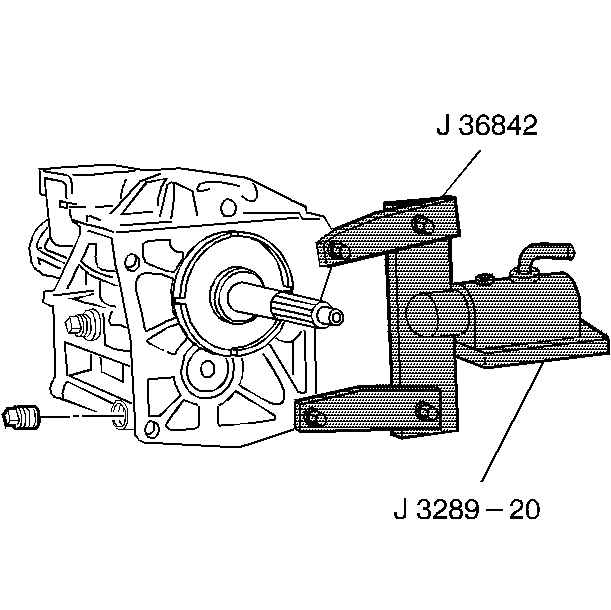
- Install the oil drain
plug.
Tighten
Tighten the oil drain plug to 27 N·m (20 Ib ft).
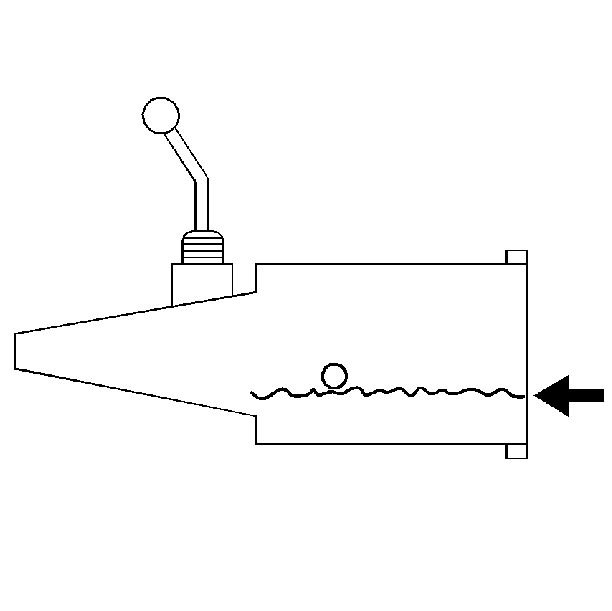
Notice: Use only DEXRON®-III Automatic Transmission Lubricant
for this manual transmission assembly. Other lubricants or additives may damage
the blocker ring friction material or the adhesives.
- Install new transmission fluid.
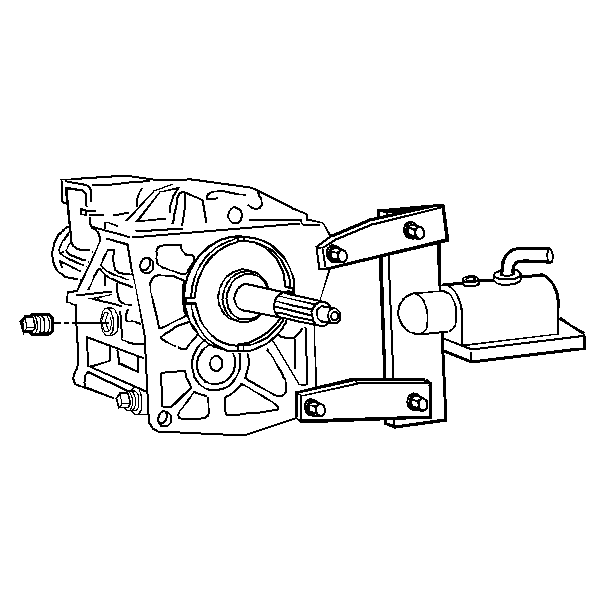
- Install the oil fill plug.
Tighten
Tighten the oil fill plug to 27 N·m (20 Ib ft).


