Rotors and drums do not have a set tolerance. However,
rotors or drums with more than 21 g (0.75 ounce) imbalance have
the potential to cause vibration. Inspect the rotors and the drums for
imbalance using either the on-vehicle or the off-vehicle method.
Checking Rotor/Drum Imbalance (On-Vehicle)
- Raise and suitably support the vehicle. Refer to
Lifting and Jacking the Vehicle
in General Information.
- Remove the rear tire and wheel. Refer to
Tire and Wheel Removal and Installation
in Tires
and Wheels.
- Reinstall the wheel
nuts in order to retain the rotors/drums.
- Run the vehicle at the complaint speed while inspecting for the
vibration.
- If the vibration still exists, perform the following steps:
| 5.1. | Remove the rotors/drums. |
| 5.2. | Run the vehicle back to speed. |
- If the vibration is eliminated, perform the following steps:
| 6.1. | Remove the rotors/drums one at a time. |
| 6.2. | Perform the vibration test for each rotor/drum. |
| 6.3. | Replace the rotor/drum that is causing the imbalance. |
| 6.4. | Inspect the balance of the new rotor/drum. |
Checking Rotor/Drum Imbalance (Off-Vehicle)
- Measure the diameter and the width of the rotor/drum.

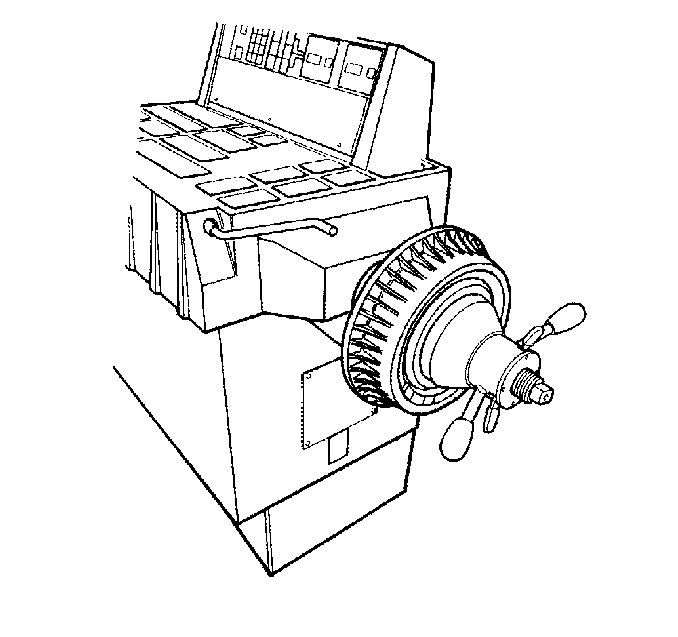
- Mount the rotor/drum on
a balancer in the same manner as a wheel.
Important: You can only inspect the rotors/drums for static imbalance. Ignore the
dynamic imbalance reading.
- Inspect for static imbalance.
- If the rotor/drum shows imbalance, replace the rotor/drum.
- Inspect the balance of the new rotor/drum before you install the
rotor/drum on the vehicle.

