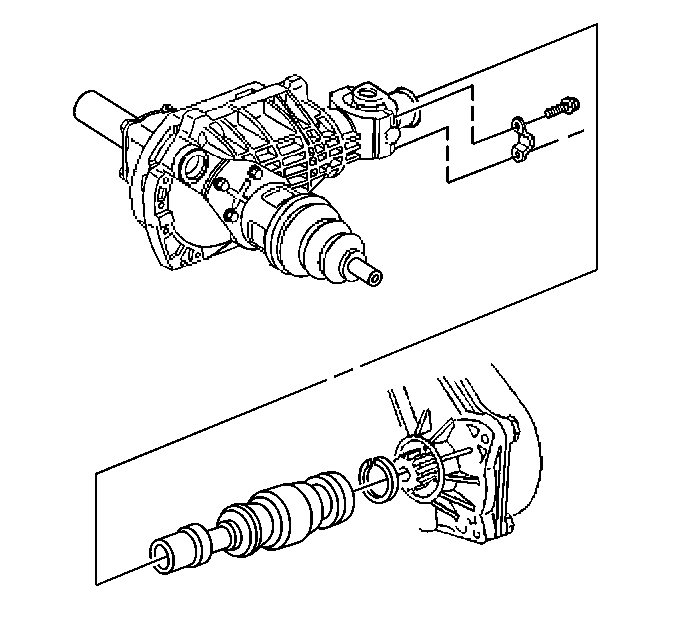
Removal Procedure

Important: Observe the position of all the driveline components. Accurately mark
the relationship of the following components before removal:
Reassemble all of the components in the exact relationship to each
other prior to removal. Follow the specifications, the torque values,
and any measurements obtained prior to disassembly.
- Raise the vehicle on a hoist and install suitable safety stands.
- Accurately reference mark the propeller shaft.
- Remove the bolts from the front axle.
- Remove the propeller shaft.
| 4.1. | Slide the propeller shaft forward. |
| 4.2. | Lower the propeller shaft and remove. |
Installation Procedure

- Install the shaft. Align
the previous reference marks.
- Assemble the shaft to the transfer case front output shaft.
Important: Ensure that the propeller shaft assembly is fully engaged into the slip
yoke. The retaining ring will snap into place when the shaft is properly
engaged.
Notice: Use the correct fastener in the correct location. Replacement fasteners
must be the correct part number for that application. Fasteners requiring
replacement or fasteners requiring the use of thread locking compound or sealant
are identified in the service procedure. Do not use paints, lubricants, or
corrosion inhibitors on fasteners or fastener joint surfaces unless specified.
These coatings affect fastener torque and joint clamping force and may damage
the fastener. Use the correct tightening sequence and specifications when
installing fasteners in order to avoid damage to parts and systems.
- Install the bolts
to the front axle.
Tighten
Tighten the bolts to 20 N·m (15 lb ft).


