For 1990-2009 cars only
Special Tools
J 39400-A Halogen Leak Detector
Removal Procedure
- Recover the refrigerant. Refer to Refrigerant Recovery and Recharging.
- Raise and support the vehicle. Refer to Lifting and Jacking the Vehicle.
- Remove the right front wheel and tire from the vehicle. Refer to Tire and Wheel Removal and Installation.
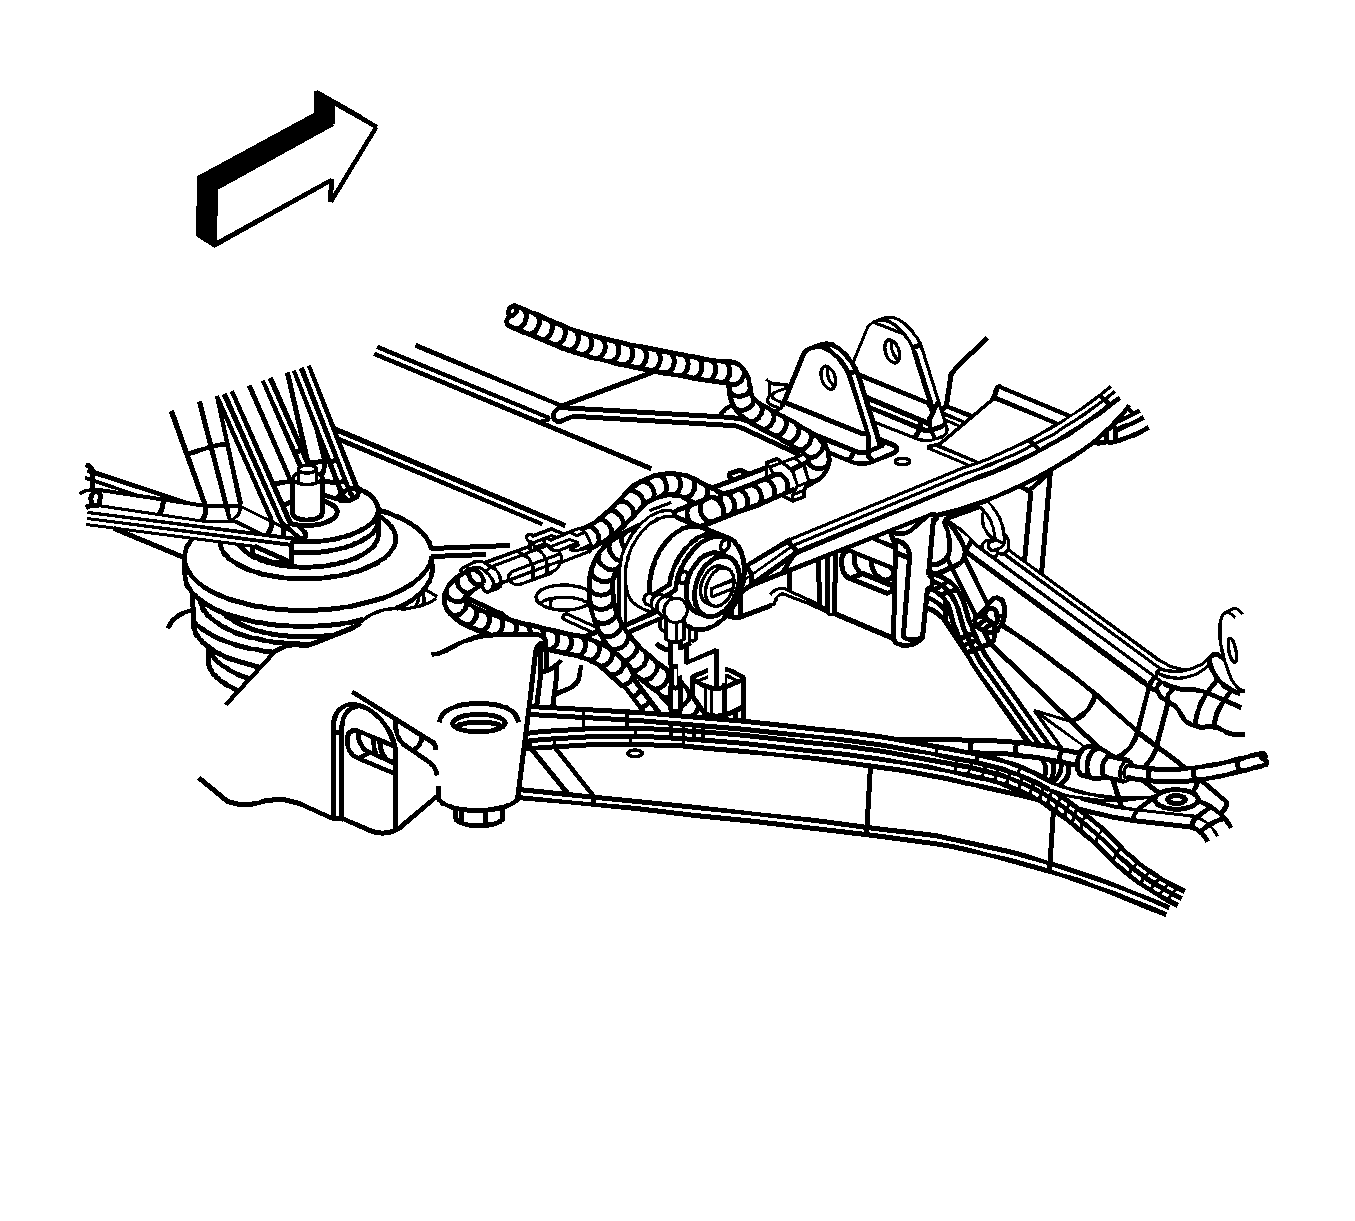
- Disconnect the RH ESC position sensor harness connector.
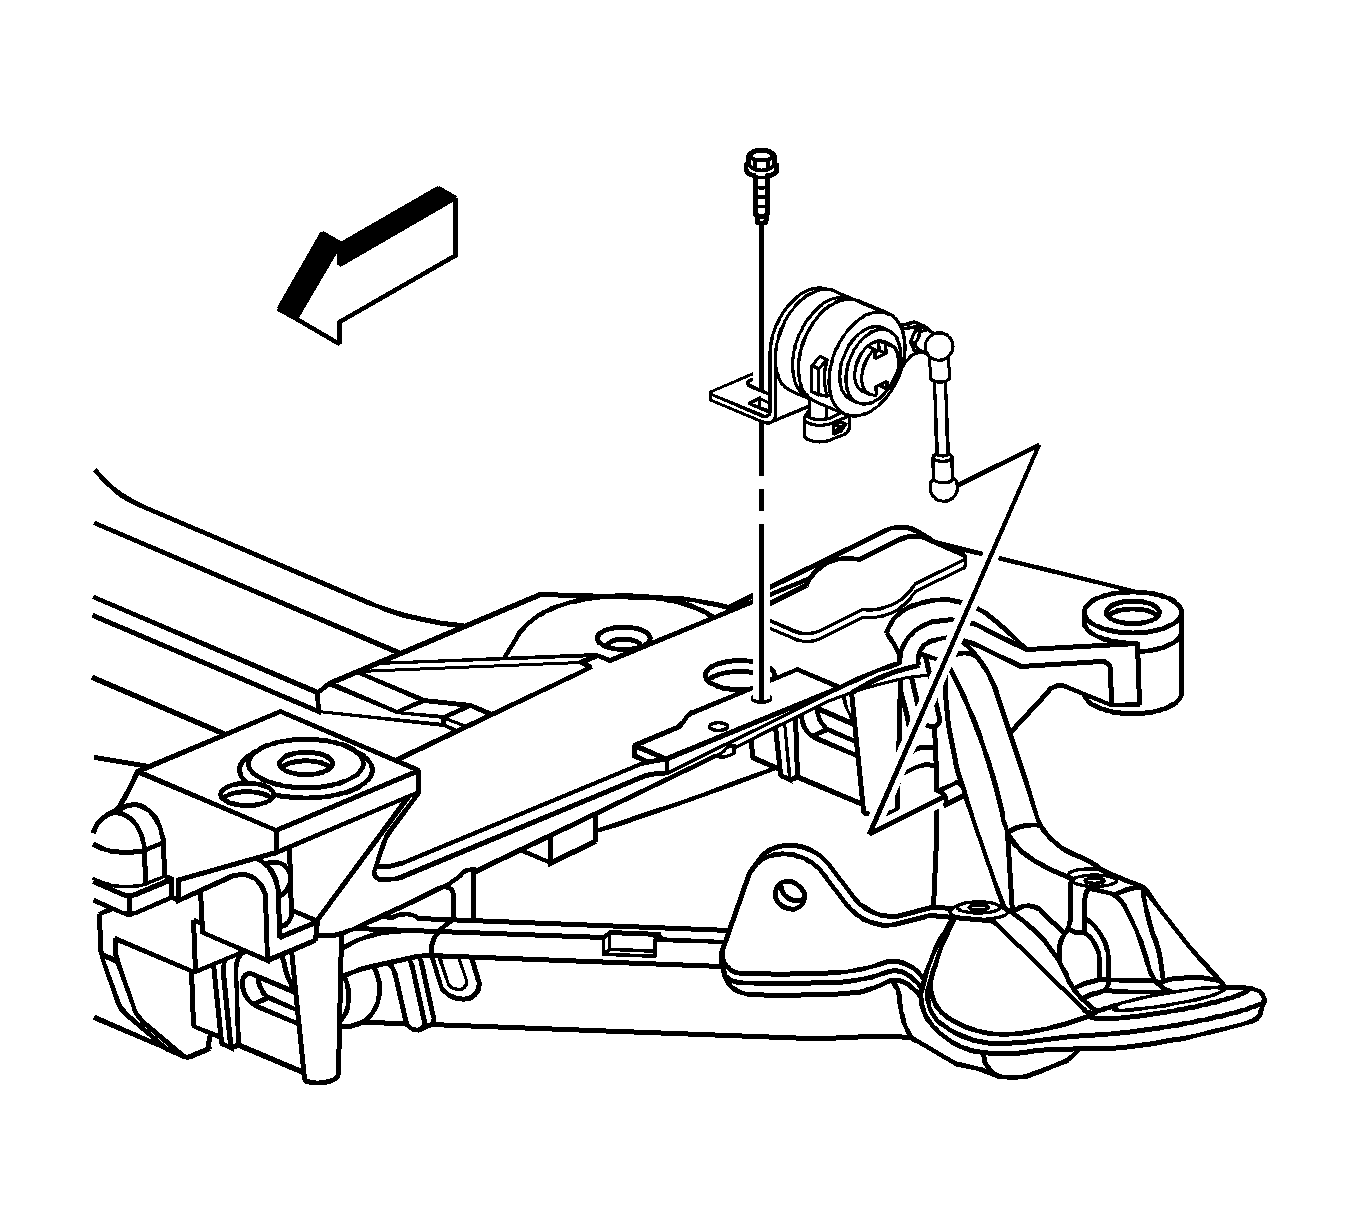
- Disconnect the ESC sensor link from the control arm link stud.
- Remove the ESC position sensor mounting bolt.
- Remove the ESC position sensor from the vehicle.
- Disconnect the front RH ABS electrical connector from the engine cradle and reposition aside.
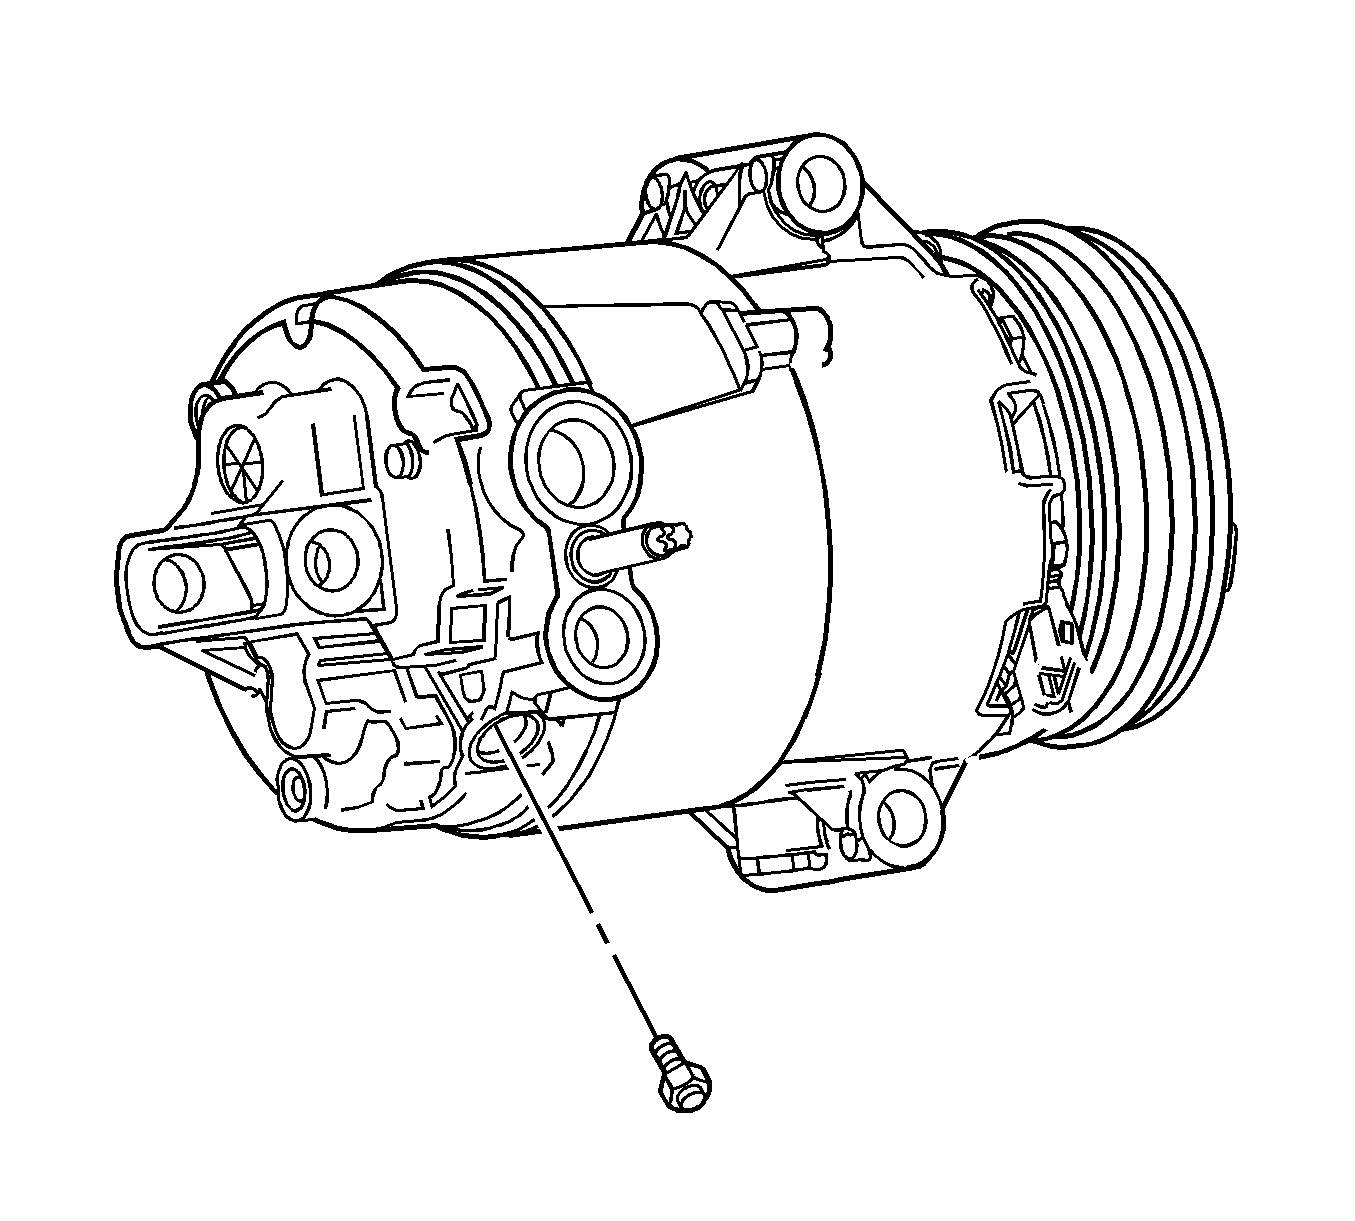
- Remove the high pressure relief valve.
- Cap or tape the A/C compressor.


Note: Cap or tape the open A/C components immediately to prevent system contamination.
Installation Procedure
- Remove the cap or tape from the A/C compressor.
- Install the high pressure relief valve and tighten to 8 N·m (70 lb in).
- Connect the front RH ABS electrical connector to the engine cradle.
- Install the ESC position sensor to the vehicle.
- Install the ESC position sensor mounting bolt and tighten to 3 N·m (26 lb in).
- Connect the ESC sensor link to the control arm link stud.
- Connect the RH ESC position sensor harness connector.
- Install the right front wheel and tire to the vehicle. Refer to Tire and Wheel Removal and Installation.
- Lower the vehicle.
- Evacuate and recharge the refrigerant system. Refer to Refrigerant Recovery and Recharging.
- Leak test the fittings of the component using J 39400-A .
Caution: Refer to Fastener Caution in the Preface section.


