This section includes basic information needed to understand the map database.
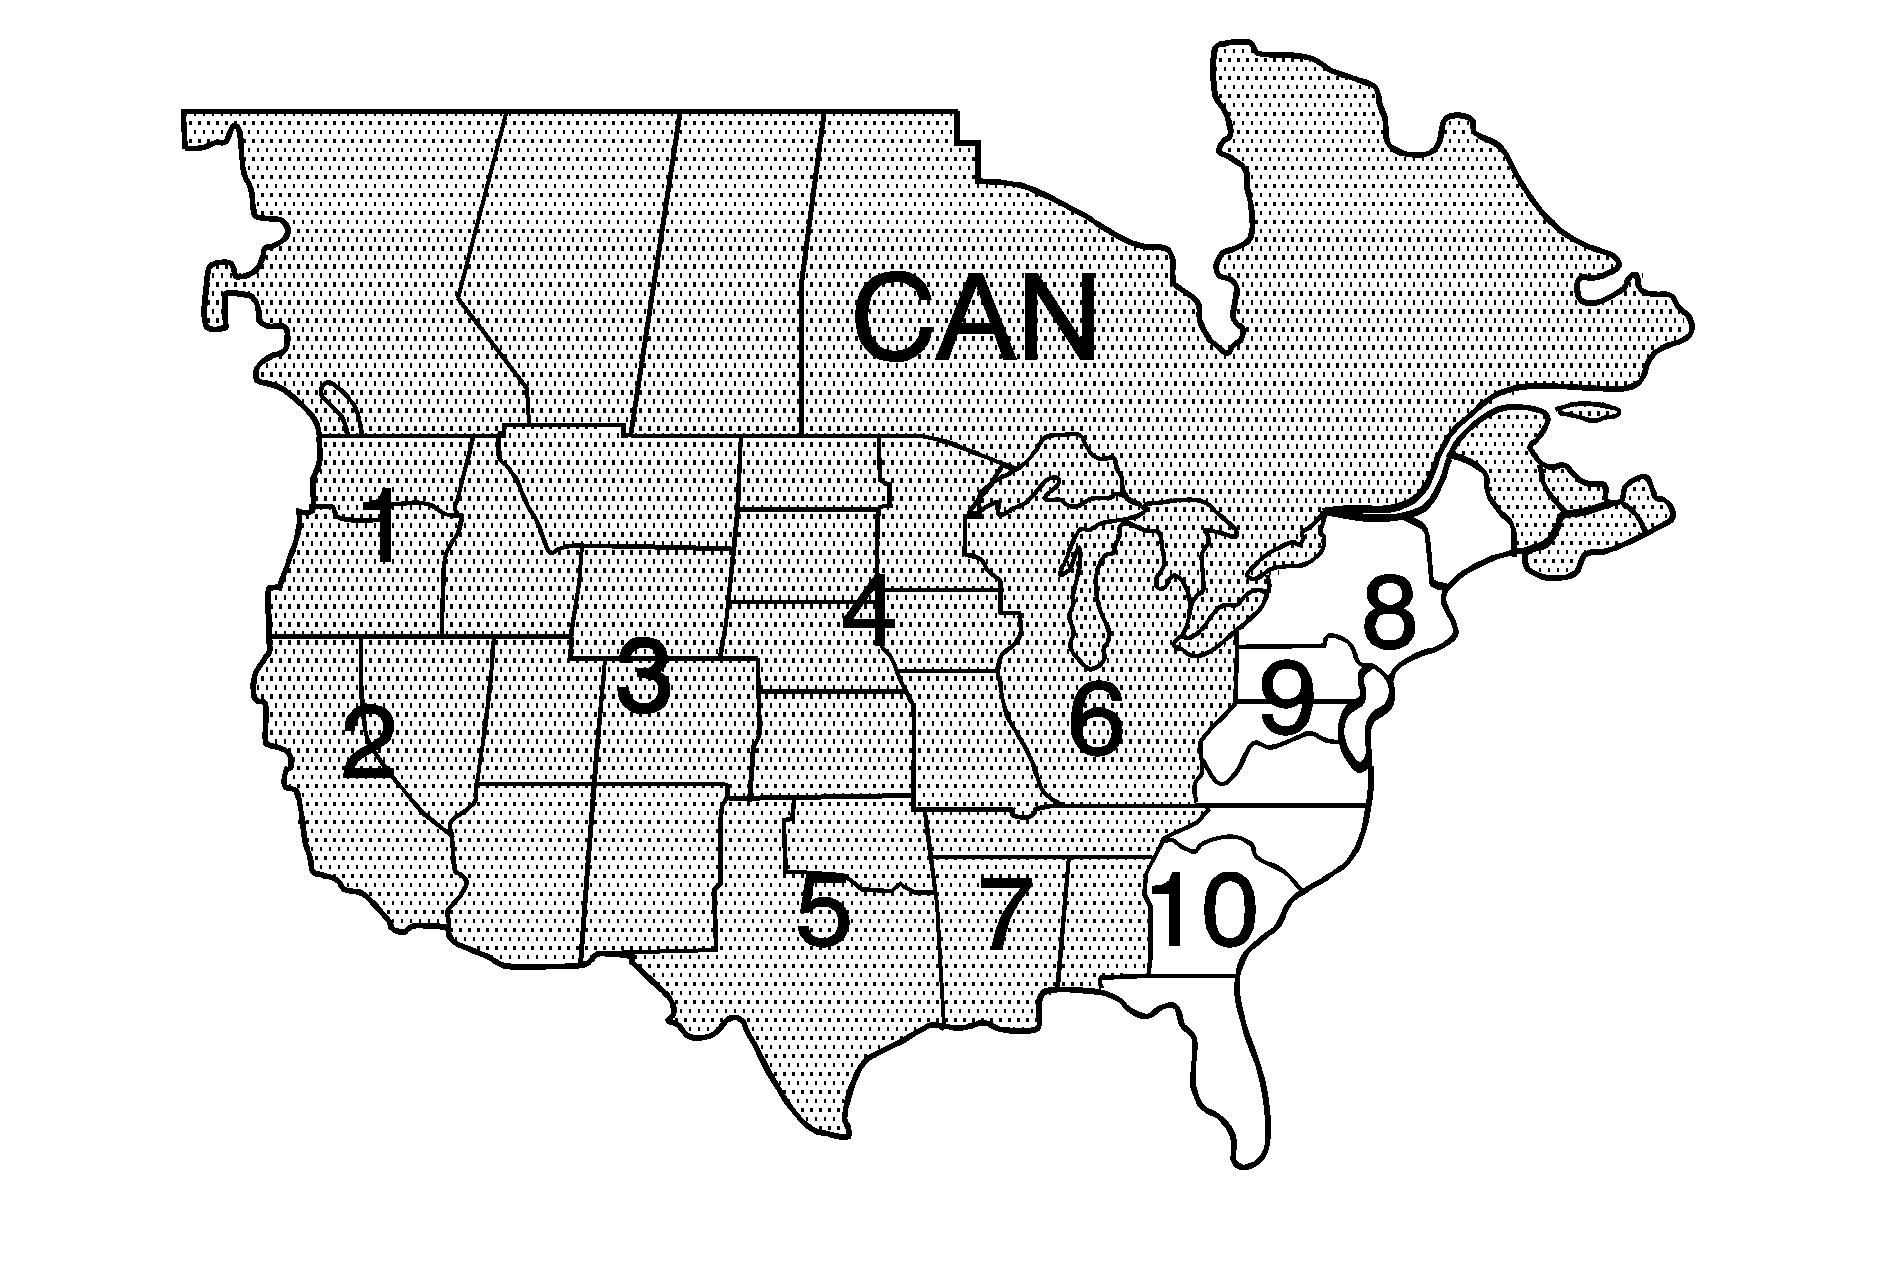
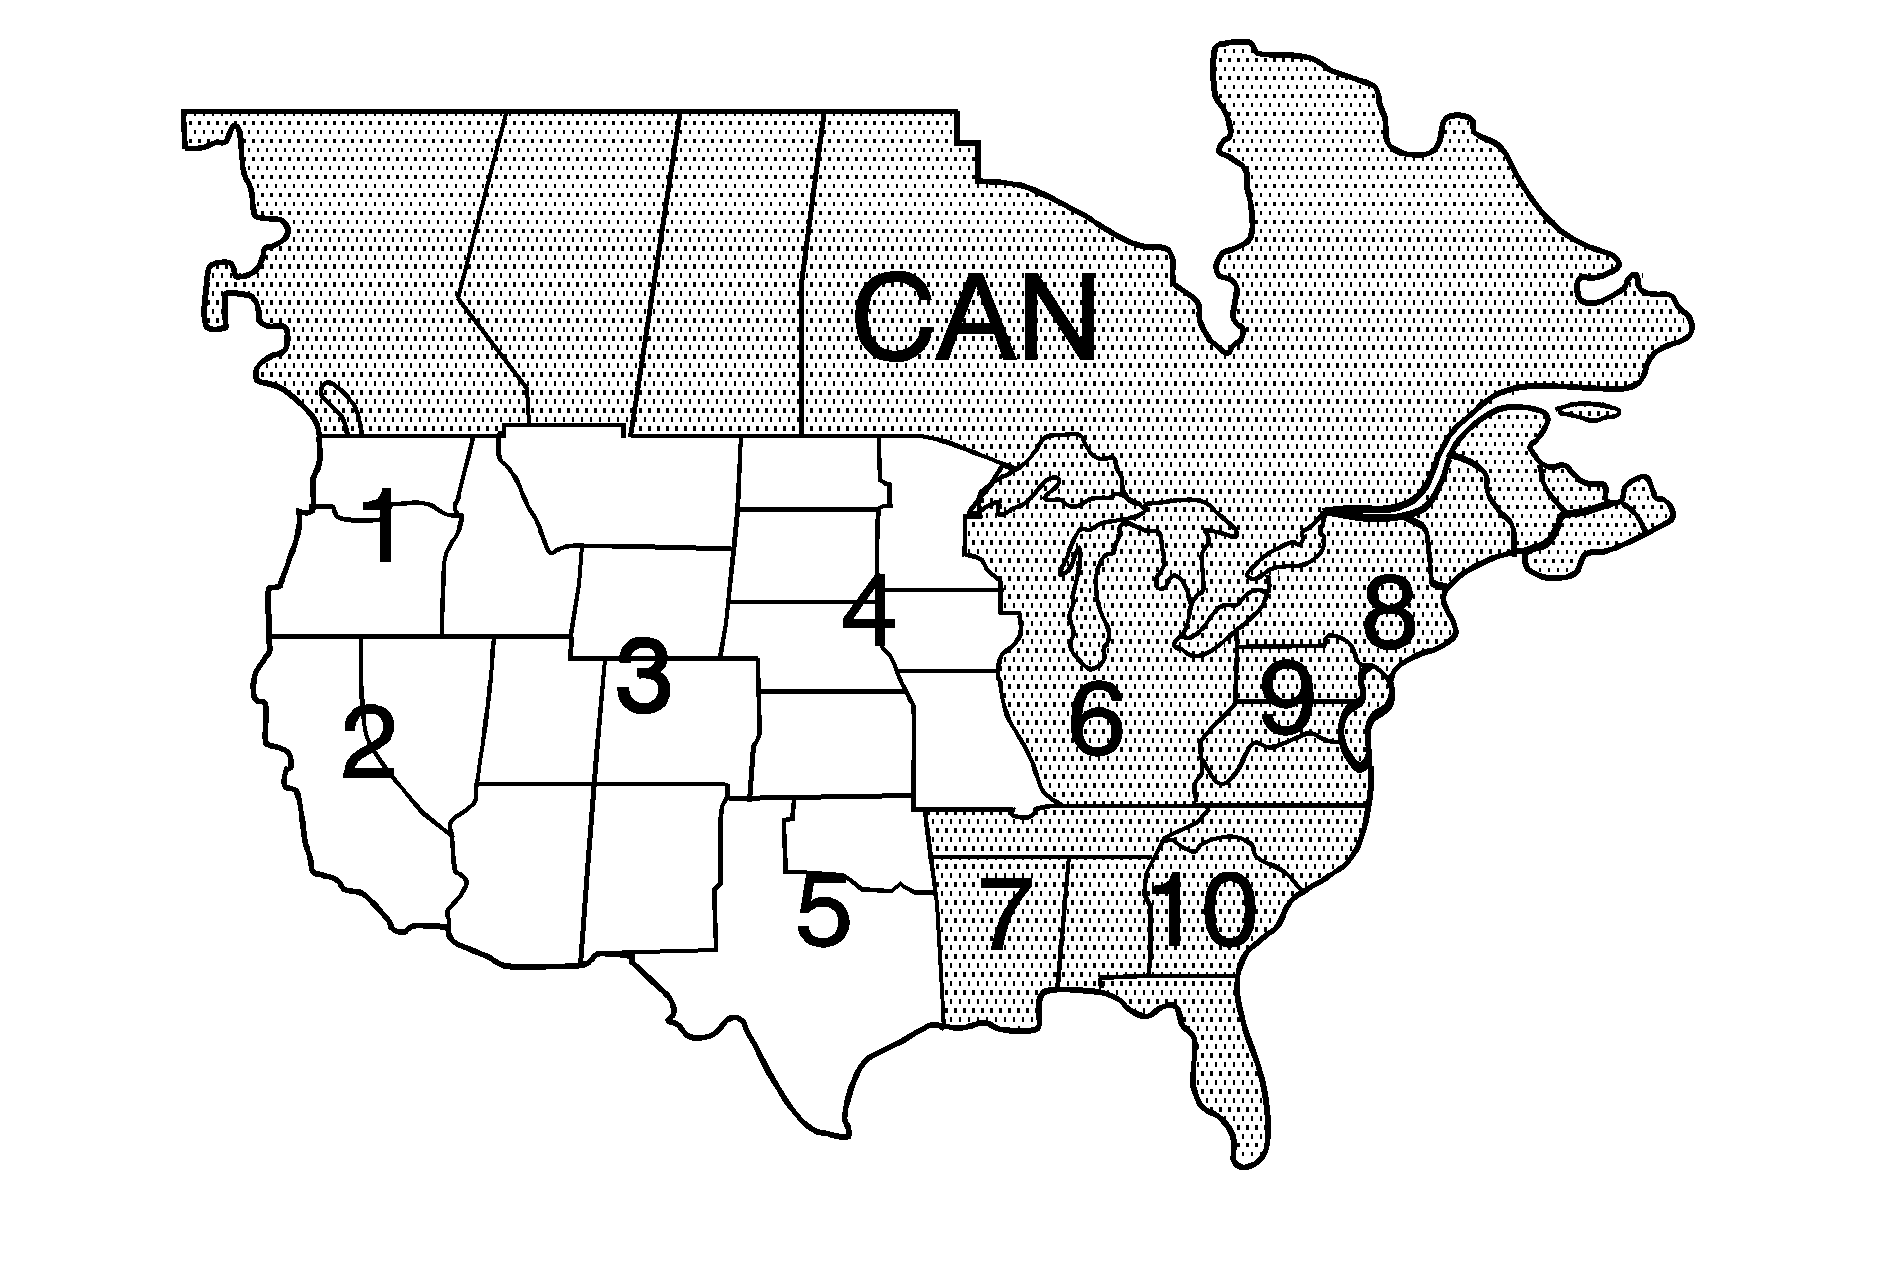
The maps are stored on a DVD-ROM. The 48 contiguous United States and portions of Canada are contained on two discs. To minimize the necessity of changing the discs, both map discs cover US6, US7, and Canada.
West
East
Installing the DVD Map Disc
Your dealer/retailer may have installed the map DVD. If the map DVD was not installed, do the following to load it:
- Turn the ignition on.
- With the vehicle in P (Park), press and hold the TILT key until a beep is heard. The system's faceplate opens.
- If already loaded, the map DVD or a CD ejects from the slot.
- Load the map DVD into the slot by inserting it partway. The system pulls it in.
- Press and release the TILT key to close the faceplate.
Notice: Shifting out of P (Park) with the system's faceplate open will cause the faceplate to close automatically. This could cause damage to a CD, DVD or the system if it is partially loaded. Before shifting out of P (Park), make sure that the DVD or CD is loaded properly. The vehicle must be shifted back into P (Park) to close the faceplate.
Once the map DVD is inserted correctly, you will have the following two choices:
| • | LANGUAGE |
| • | I AGREE |
The language can be changed at this time. See "Language" under Navigation Audio System for more information on choosing a language. Once a language has been selected, touch I AGREE to plan a route. The map appears showing the current vehicle position.
DVD Map Disc Messages
If an error appears on the display and/or the map disc comes out, it could be for one of the following reasons:
| • | If the map disc was installed into the CD slot. See "Installing the DVD Map Disc" previously. |
| • | It is very hot, when the temperature returns to normal, the map disc should play. |
| • | You are driving on a very rough road. When the road becomes smoother, the map disc should play. |
| • | The map disc is dirty, scratched, wet, or upside down. |
If any error occurs repeatedly or if an error cannot be corrected, contact your dealer/retailer.
Ejecting the DVD Map Disc
When the DVD map disc is not loaded, the navigation portion of the system cannot be used.
- Turn the ignition on.
- With the vehicle in P (Park), press and hold the TILT key until a beep is heard. The system's faceplate opens.
- The map DVD ejects from the slot. Pull the disc out.
- Press and release the TILT key to close the faceplate.
Notice: Shifting out of P (Park) with the system's faceplate open will cause the faceplate to close automatically. This could cause damage to a CD, DVD or the system if it is partially loaded. Before shifting out of P (Park), make sure that the DVD or CD is loaded properly. The vehicle must be shifted back into P (Park) to close the faceplate.
Handling the DVD Map Disc
When handling the DVD map disc, be careful of the following:
| • | Handle the disc very carefully to avoid contamination or flaws. Signals may not read out properly if the disc gets contaminated or flawed. |
| • | If the disc gets soiled, use a soft cloth to gently wipe it out from the center of the disc to the outside. Do not use photographic record cleaner, solvents, or other cleaners. |
| • | Do not use the disc to rest on while writing or drawing using any writing utensil or attach a seal to any of the sides or the disc. |
| • | Do not keep the disc in direct sunlight, high temperatures, or humidity. |
| • | After using the disc, place it back into the original case. |
Setting the Search Area
To determine or change the system's search area:
- Press the ROUTE key.
- Touch the Enter Destination screen button.
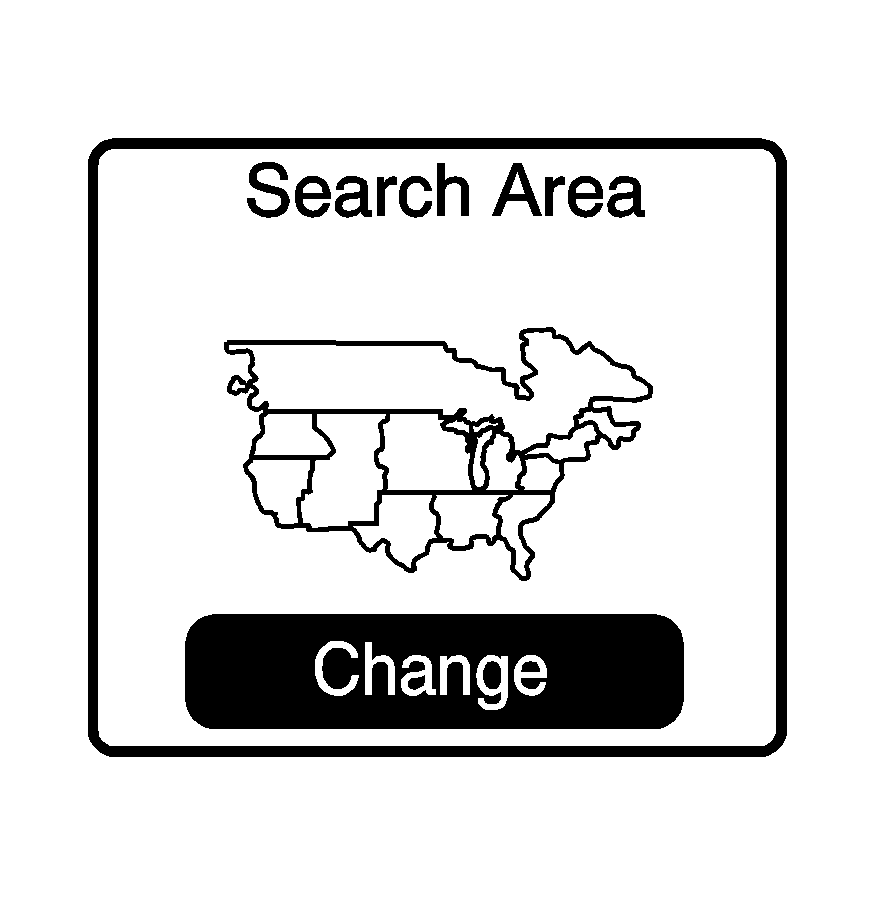
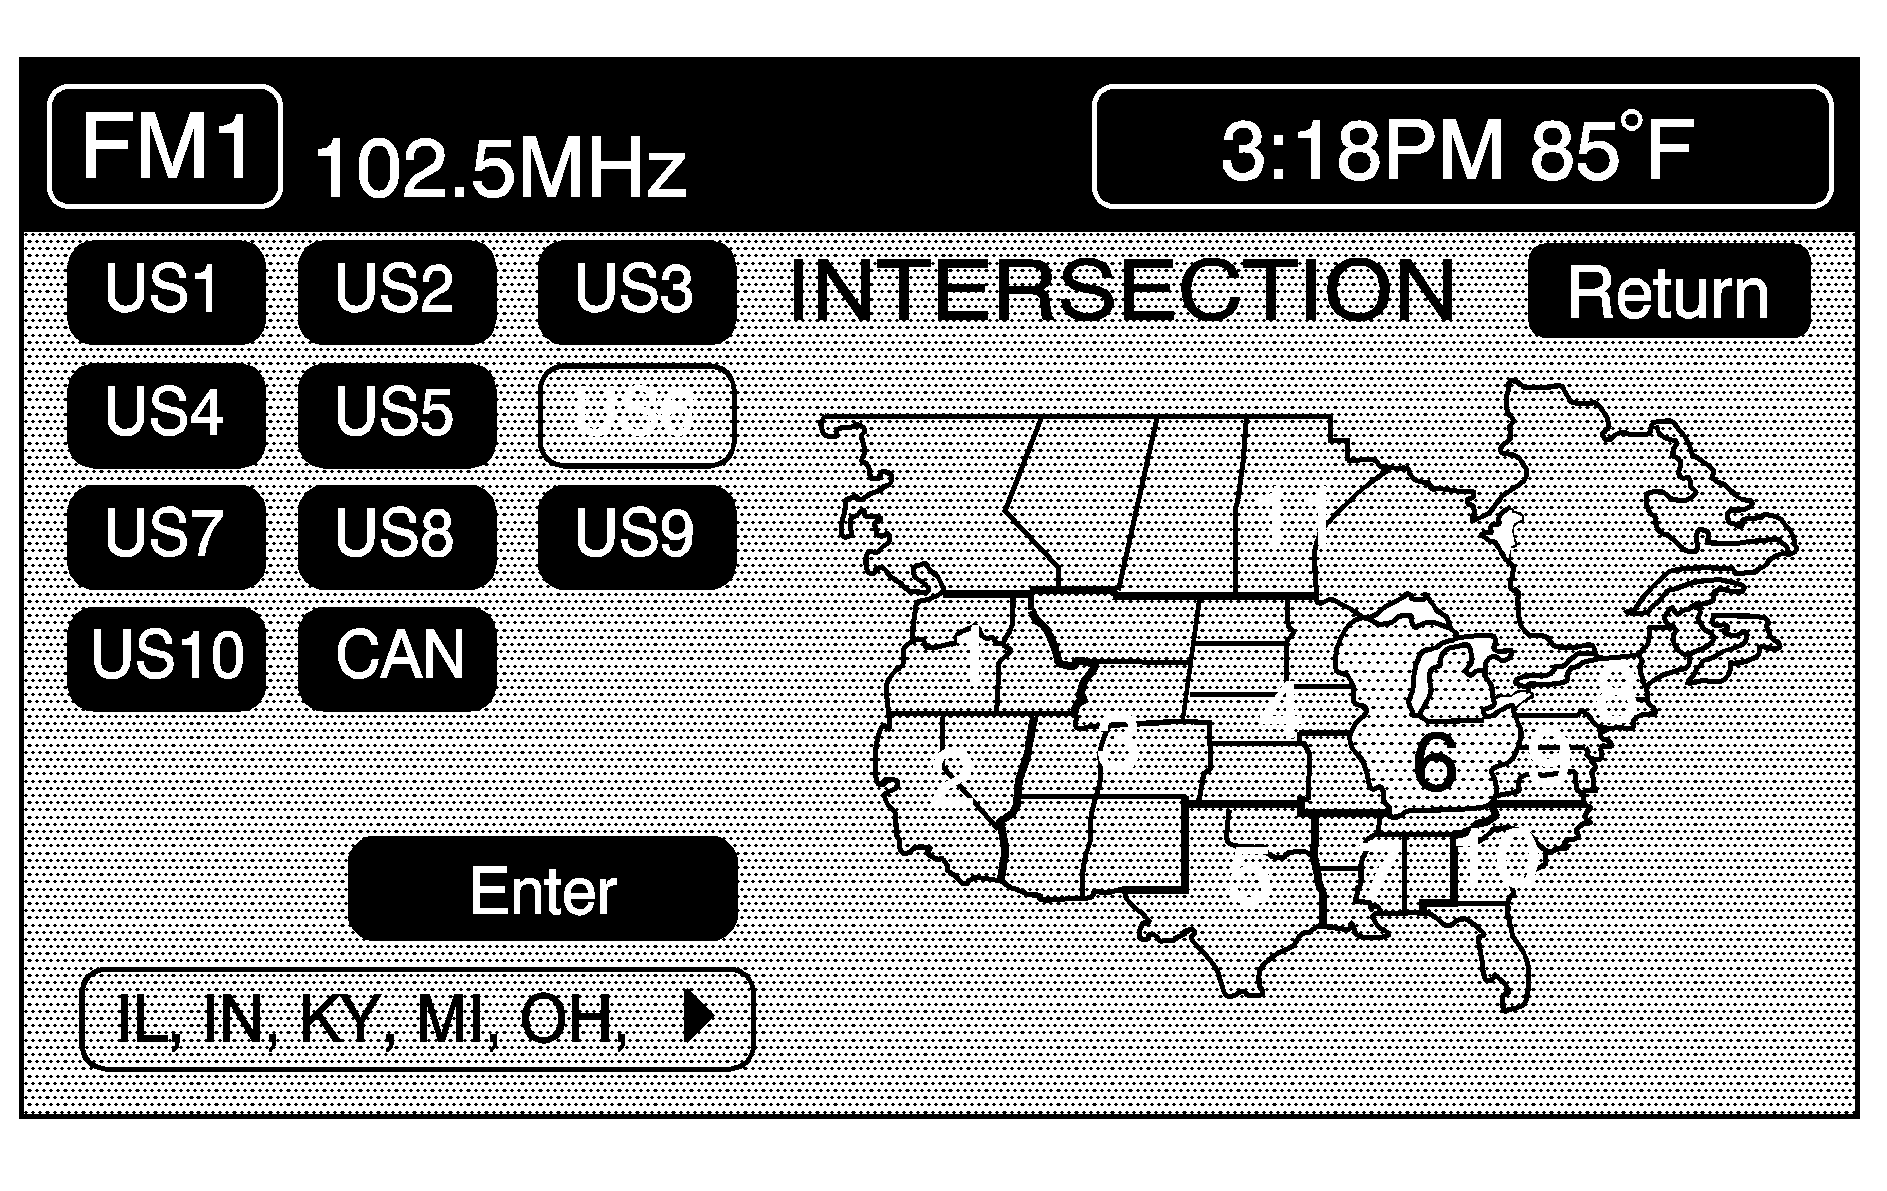
- Touch Change under the Search Area heading. The system displays a map with each region represented.
- Select the desired region by touching the appropriate screen button to the left of the U.S. map. The name of the states or the country included in the selected region displays at the bottom of the screen and the region is highlighted.
- Touch Enter to set the region as the search area.
- Touch Return to go back to the previous screen.
Map Adjustments
The system allows the adjustment of the scale of view on the map. The map scrolls automatically based on the direction being traveled.
Map Scales
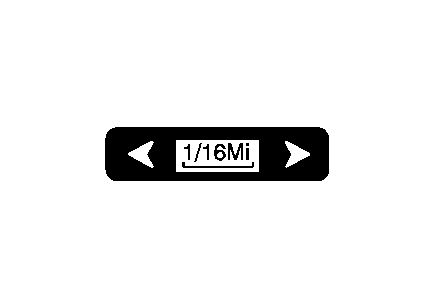
To view a larger or smaller scale of the map, touch the map scale arrows.

The scale of the map can also be adjusted by touching the scale on the bar. The scale of a map can range from 1/32 of a mile (0.05 km) to 128 miles (256 km).
Scrolling the Map

Touch anywhere on the map screen twice to display the scroll symbol.
Place your finger on the map screen in any direction outside of the scroll symbol to scroll in that direction. The map continues to scroll until your finger is removed from the screen.
If the vehicle is in P (Park), the system initially scrolls at a slower rate. The rate increases while continuing to touch the map screen.
If the vehicle is in motion, there is one scroll speed and a limited distance to scroll. Keep touching the map screen to scroll a longer distance.
If the vehicle icon becomes lost while scrolling, press the MAP key to show the vehicle's current location.
The scroll feature can be used to set a destination. See "Set by Map" under Enter Destination.
