Press the MENU hard key to display the following menu. Under the Setup menu, you can make adjustments to the functions listed on the menu using the touch-sensitive buttons on the screen.
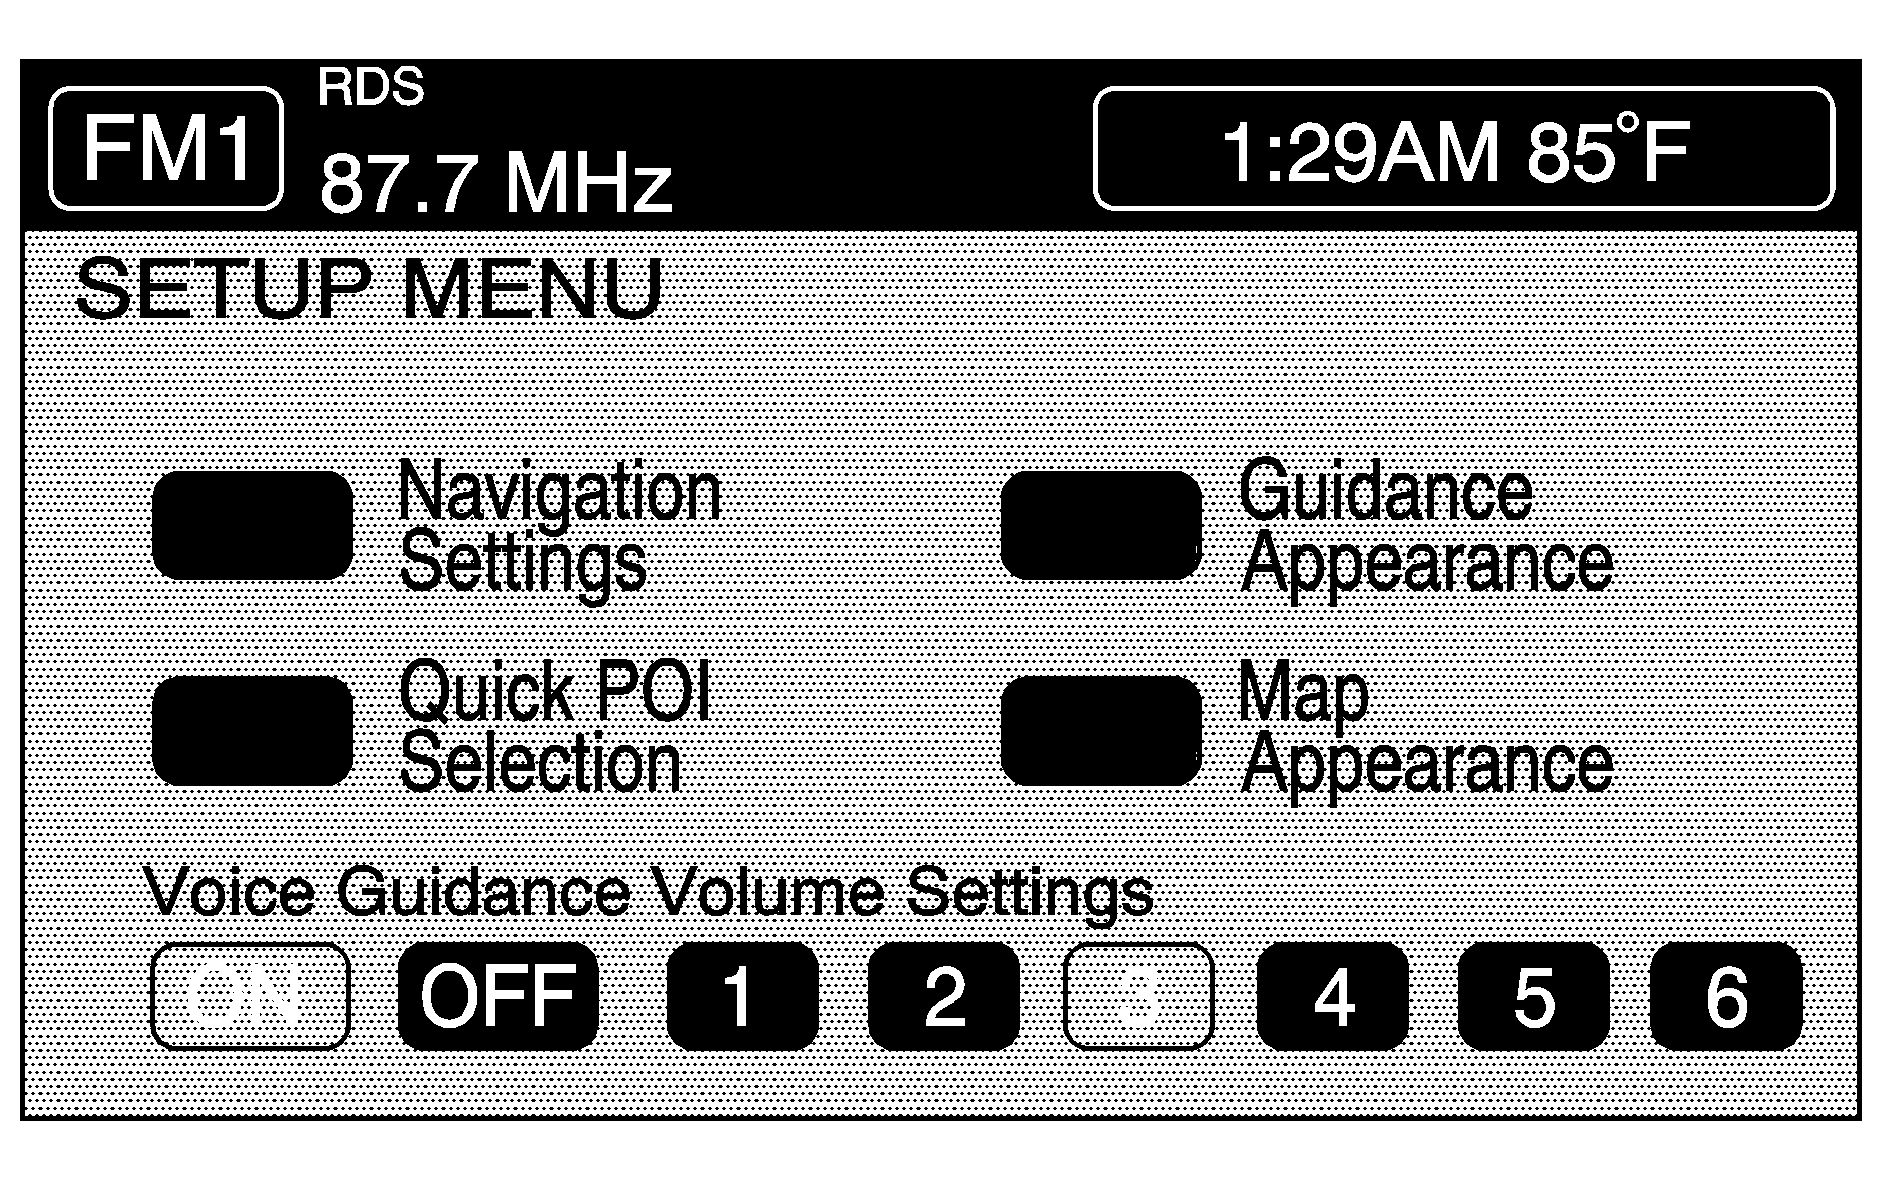
Navigation Settings
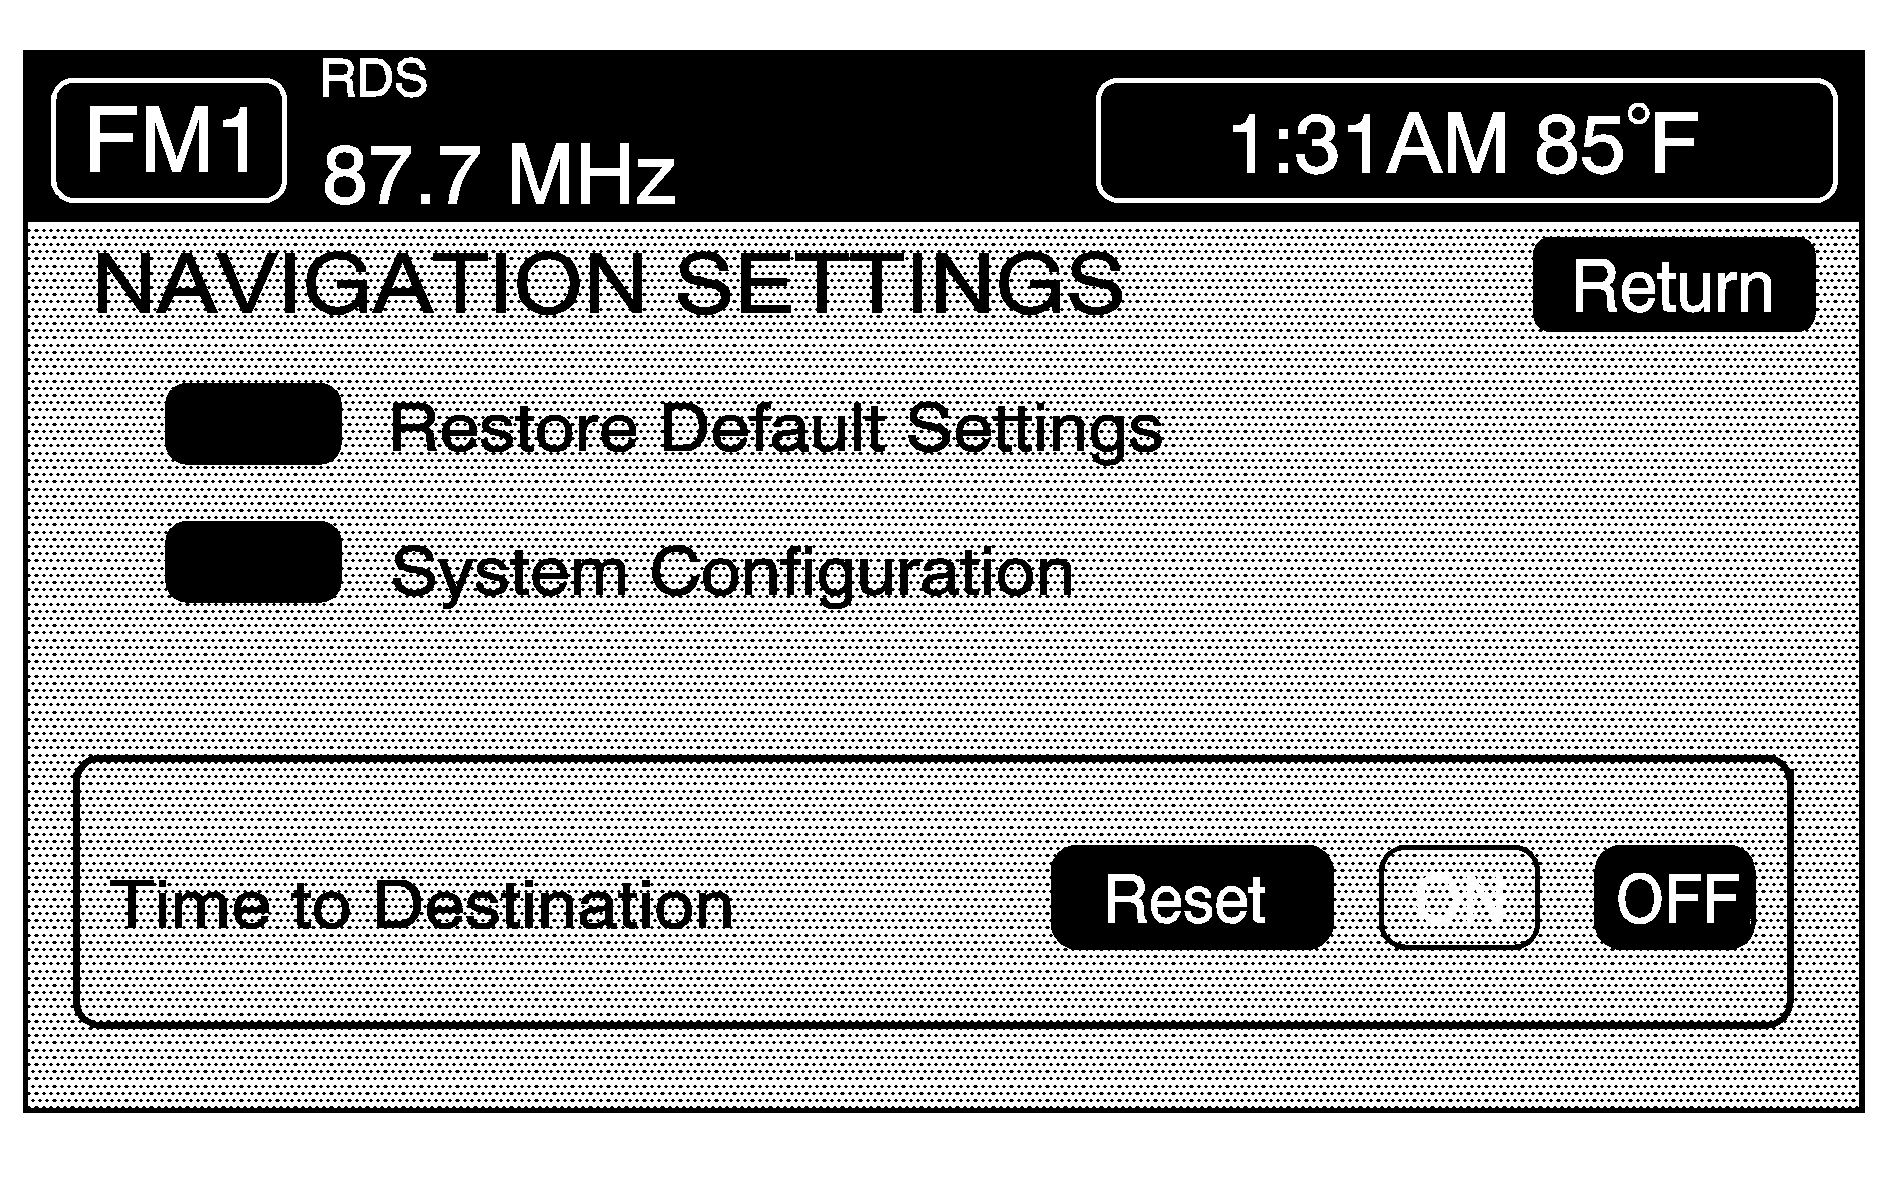
This menu allows you to change the following options for the Navigation System:
Restore Default Settings
This feature will automatically reset the system to the default values. The default settings are:
Distance Unit | Mile |
Minimize Time/Dist | Time |
Use Major Roads | Yes |
Use Toll Roads | Yes |
Use Ferries | No |
Detour Distance on Freeway | 20 mi. ( 32 km ) |
Detour Distance not on Freeway | 4 mi. ( 6 km ) |
Voice Guidance | ON |
Guidance Appearance | Auto, Arrow, 2 D |
Map Appearance | 2 D |
Quick POI Selection | Gas, All Restaurant, Supermarket, ATM, Park, Hotel |
Search Area | Region 9 |
To restore the default settings, do the following:
- Touch the RESTORE DEFAULT SETTINGS button.
- Touch ENTER.
- Touch RETURN to exit this feature.
System Configuration
Once you touch the SYSTEM CONFIGURATION button, you will have the following choices:
Adjust Vehicle Position: To correct the position of your vehicle on the map (if your vehicle has been shipped, for example) or to change to the correct position, do the following:- Touch the ADJUST VEH POSITION button. The system will display POSITION ADJUSTMENT. The vehicle position icon and the scroll symbol will appear on the map.
- Use the scroll symbol and the zoom in/zoom out feature to locate the vehicle position on the map.
- Touch the ENTER button to set the correct vehicle position. The system will display POSITION ADJUSTMENT and two arrows will appear on the map screen.
- Touch the arrows to adjust the direction of the vehicle icon counterclockwise or clockwise. When you touch one of the arrows, you will see the vehicle icon direction changing.
- When you have completed setting the vehicle to the correct direction, touch the ENTER button. The system will display RELOCATION COMPLETE.
- Touch the RETURN button to exit out of this menu.
The correct vehicle position and direction is now set.
If you begin to drive your vehicle during this procedure, the system will not be able to adjust the position or direction of your vehicle.
- Touch START to begin calibration.
- Touch RETURN to exit this menu.
Time to Destination
This feature allows you to reset or turn on or off the estimated time to travel from your current position to the destination. The estimated travel time is based on the calculated route information and the vehicle's average speed. When on, the time to destination will display along with the distance to destination.
RESET: Touch this button if you want to reset the average speed to the default values.ON: Touch this button to display the estimated travel time on the map screen along with the distance to destination.
OFF: Touch this button to turn the estimated travel time feature off. The time to destination will no longer be displayed along with the distance to destination.
Quick POI (Point of Interest) Selection
This feature allows you to choose a point of interest, such as gas stations, restaurants, hotels, etc. to be displayed on the map screen. You can also set a destination to a specific point of interest.
The six Quick POI default settings are GAS, ALL REST, SUPERMKT., ATM, PARK and HOTEL.
To access the QUICK POI SELECTION menu, do the following:
- Press the SETUP hard key.
- Touch QUICK POI.
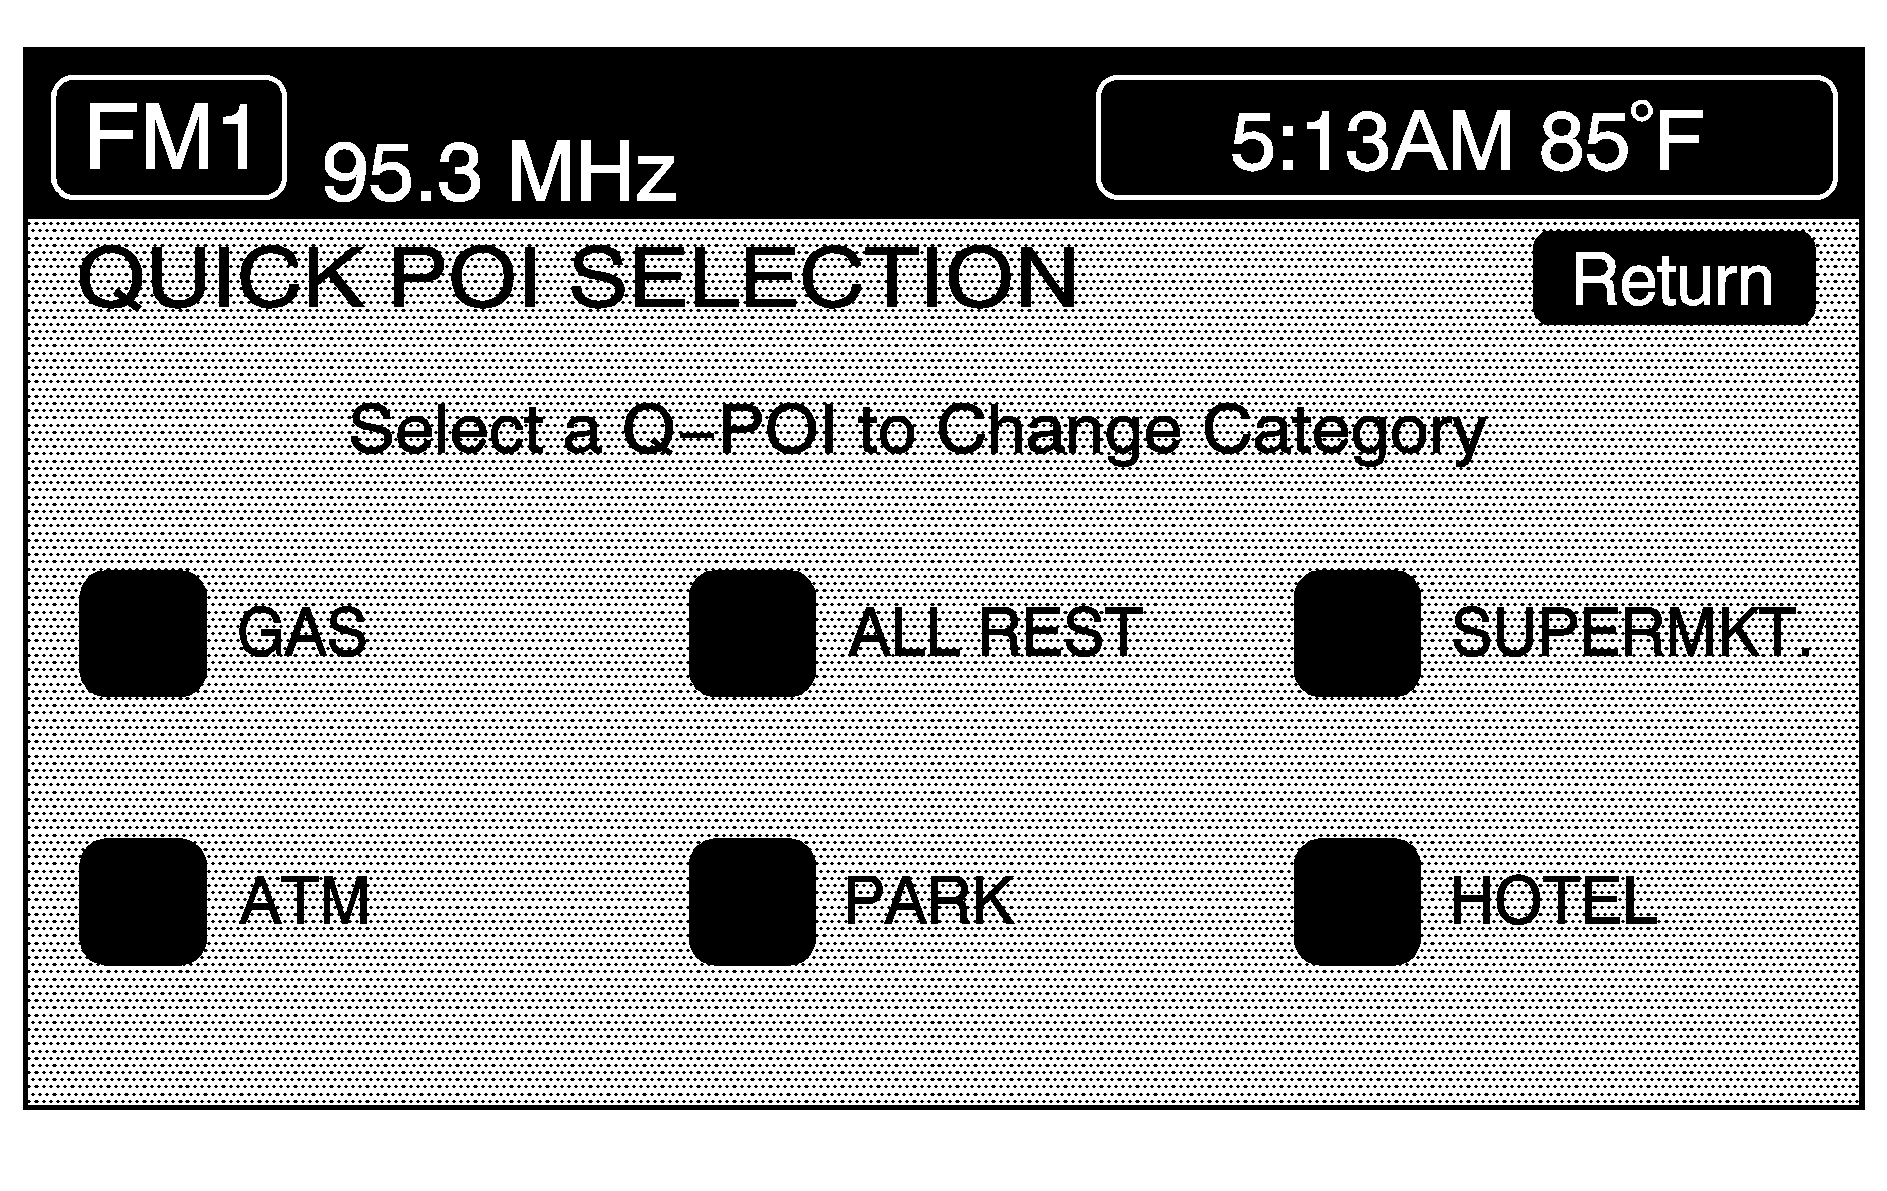
Setting the Quick POI menu
To set the Quick POI list displayed on the map screen, do the following.
- Select the category you would like to replace.
- Select a Quick POI category from the Quick POI selection menu list. The system will return to the Quick POI selection screen when a POI is selected.
- Touch RETURN to save the setting and the system will take you back to the previous menu.
Displaying Quick POI Icons
This feature will allow you to display the icons of a category type in its location on the map screen. To display the icons of a category do the following:
- Touch the map screen once.
- Touch the POI button. The QUICK POI SELECTION list will be displayed.
- Select a category type or touch LIST CATEGORIES OR ALL LOCAL POIs to display the icon of the selected category in their locations on the map screen.
Removing Quick POI Icons
This feature will allow you to remove the displayed icons from the map screen. To remove the POI icons from the map screen do the following:
- Touch the map screen once.
- Touch the POI OFF button. The current POI icons will be removed from the map screen.
Setting a Destination Using Quick POI
This feature will allow you to plan a destination to a point of interest from the map screen. To plan a route using a POI icon do the following:
- Touch the POI icon on the map screen that you wish to set a destination to.
- The selected icon will be surrounded with a blinking box. The name of the selected icon will be displayed on the map screen. Touch the INFO button to view the POI name, address, city and phone number (if available).
- Touch the ENT DEST button.
- Touch the ENTER button to start planning your route.
- To start route guidance, touch the START button or begin driving the vehicle. Route guidance will automatically begin after a short distance.
If a final destination is already entered, you can add the POI as a waypoint.
If available, the system will display up to three routes in a pop-up window indicating the total mileage and time to destination for the planned route which can be selected by using the NEXT button. The map will display the difference between the three routes by displaying them each in different colors. The selected route is highlighted in red.
If you touch the CHG ROUTE button before the START button you will be able to change your route preferences if desired. See "Route Preference" later in this section for more information.
When your route guidance has been planned, it will be highlighted and a bulls-eye symbol will appear on the map to show your final destination. A waypoint symbol will also appear on the map if a waypoint is set.
If you wish to cancel the route you have just set, do the following:
- Press the ROUTE hard key.
- Touch the ROUTE PREFERENCES button.
- Touch the CANCEL ROUTE button.
- Select YES to cancel or NO to continue.
See "Cancel Route" under Easy Planning Route for more information.
Guidance Appearance
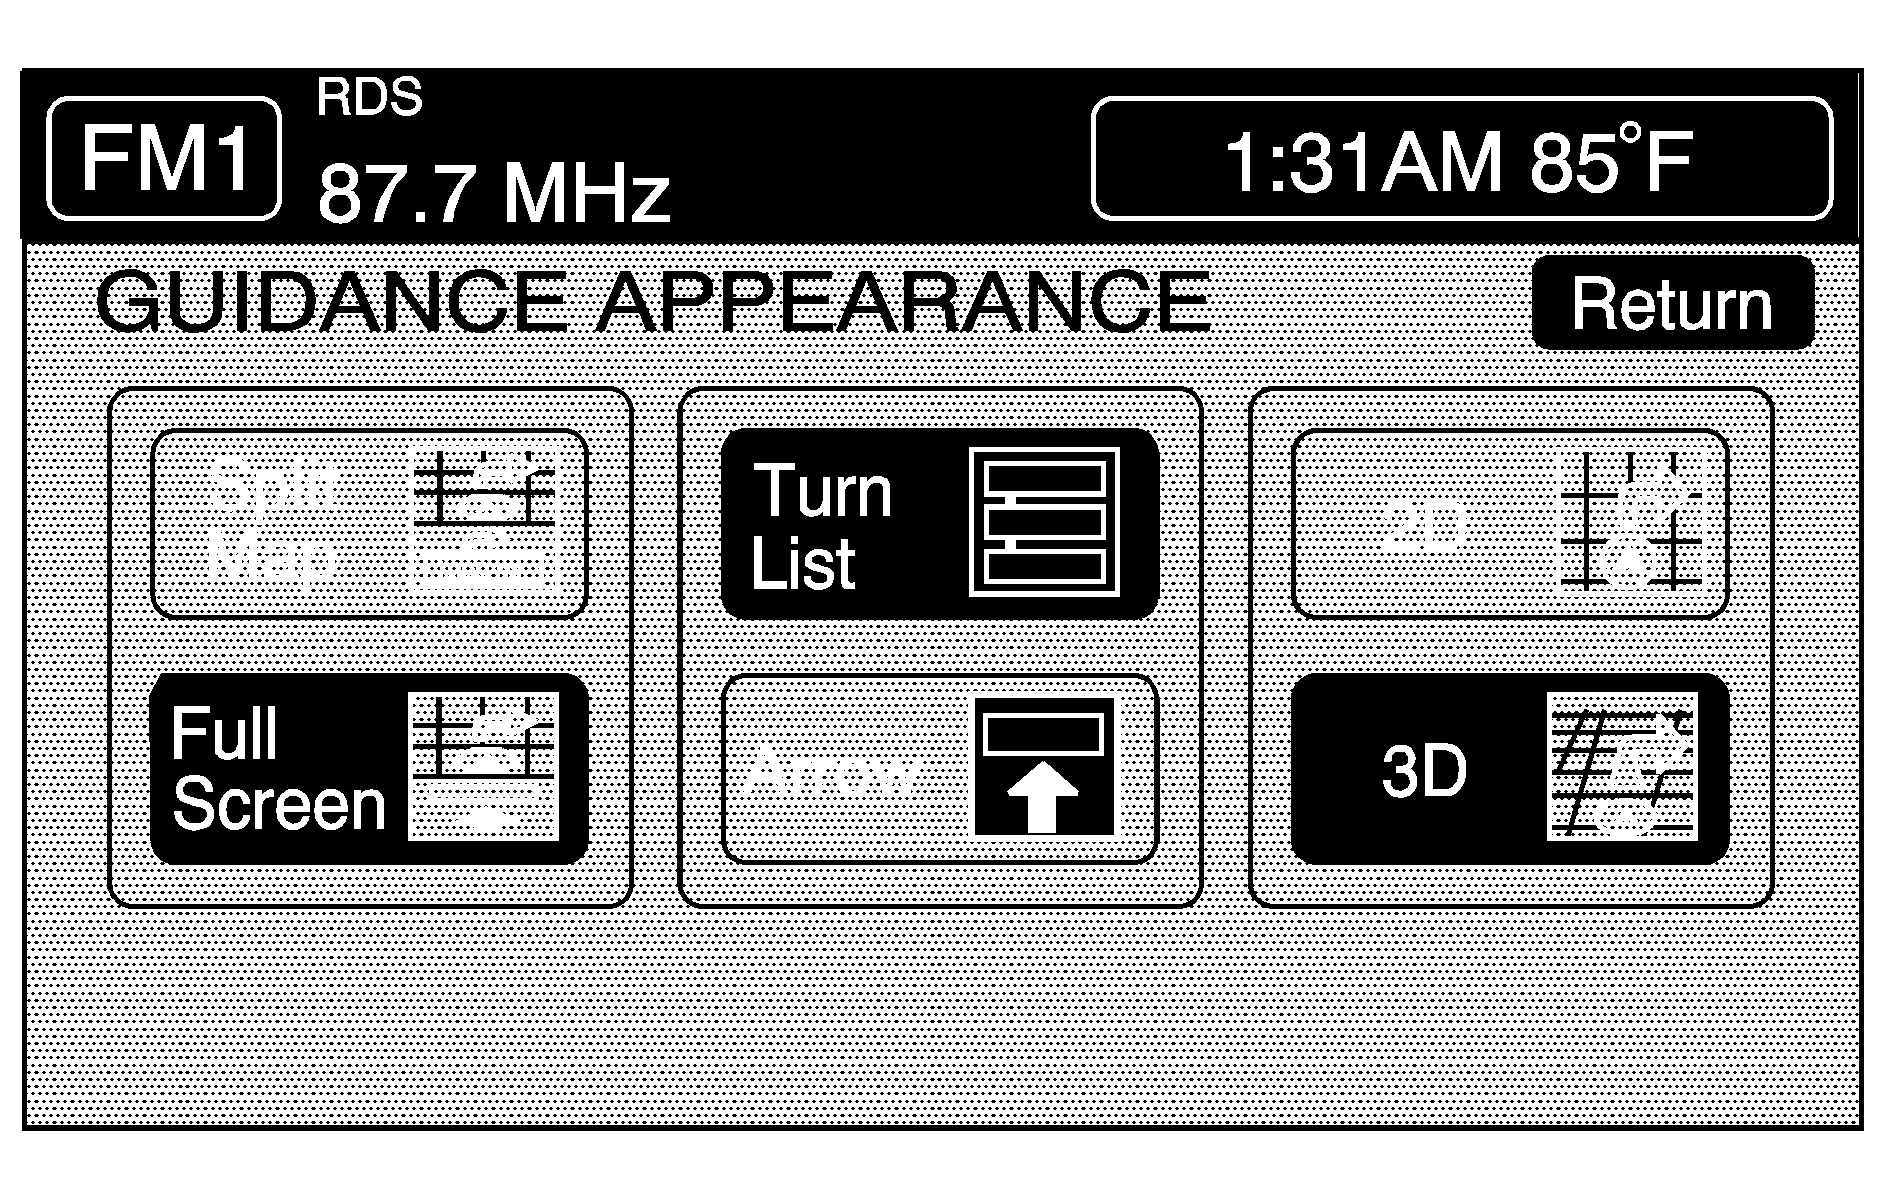
This menu allows you to set up the following three options for the guidance appearance screen which is displayed on the map while on a planned route. The current setting will appear as light blue.
Split Map: Touch this button to have the guidance screen displayed on the map at all times.Full Screen: Touch this button to have the guidance screen displayed on the map when approaching a maneuver.
Turn List Guidance
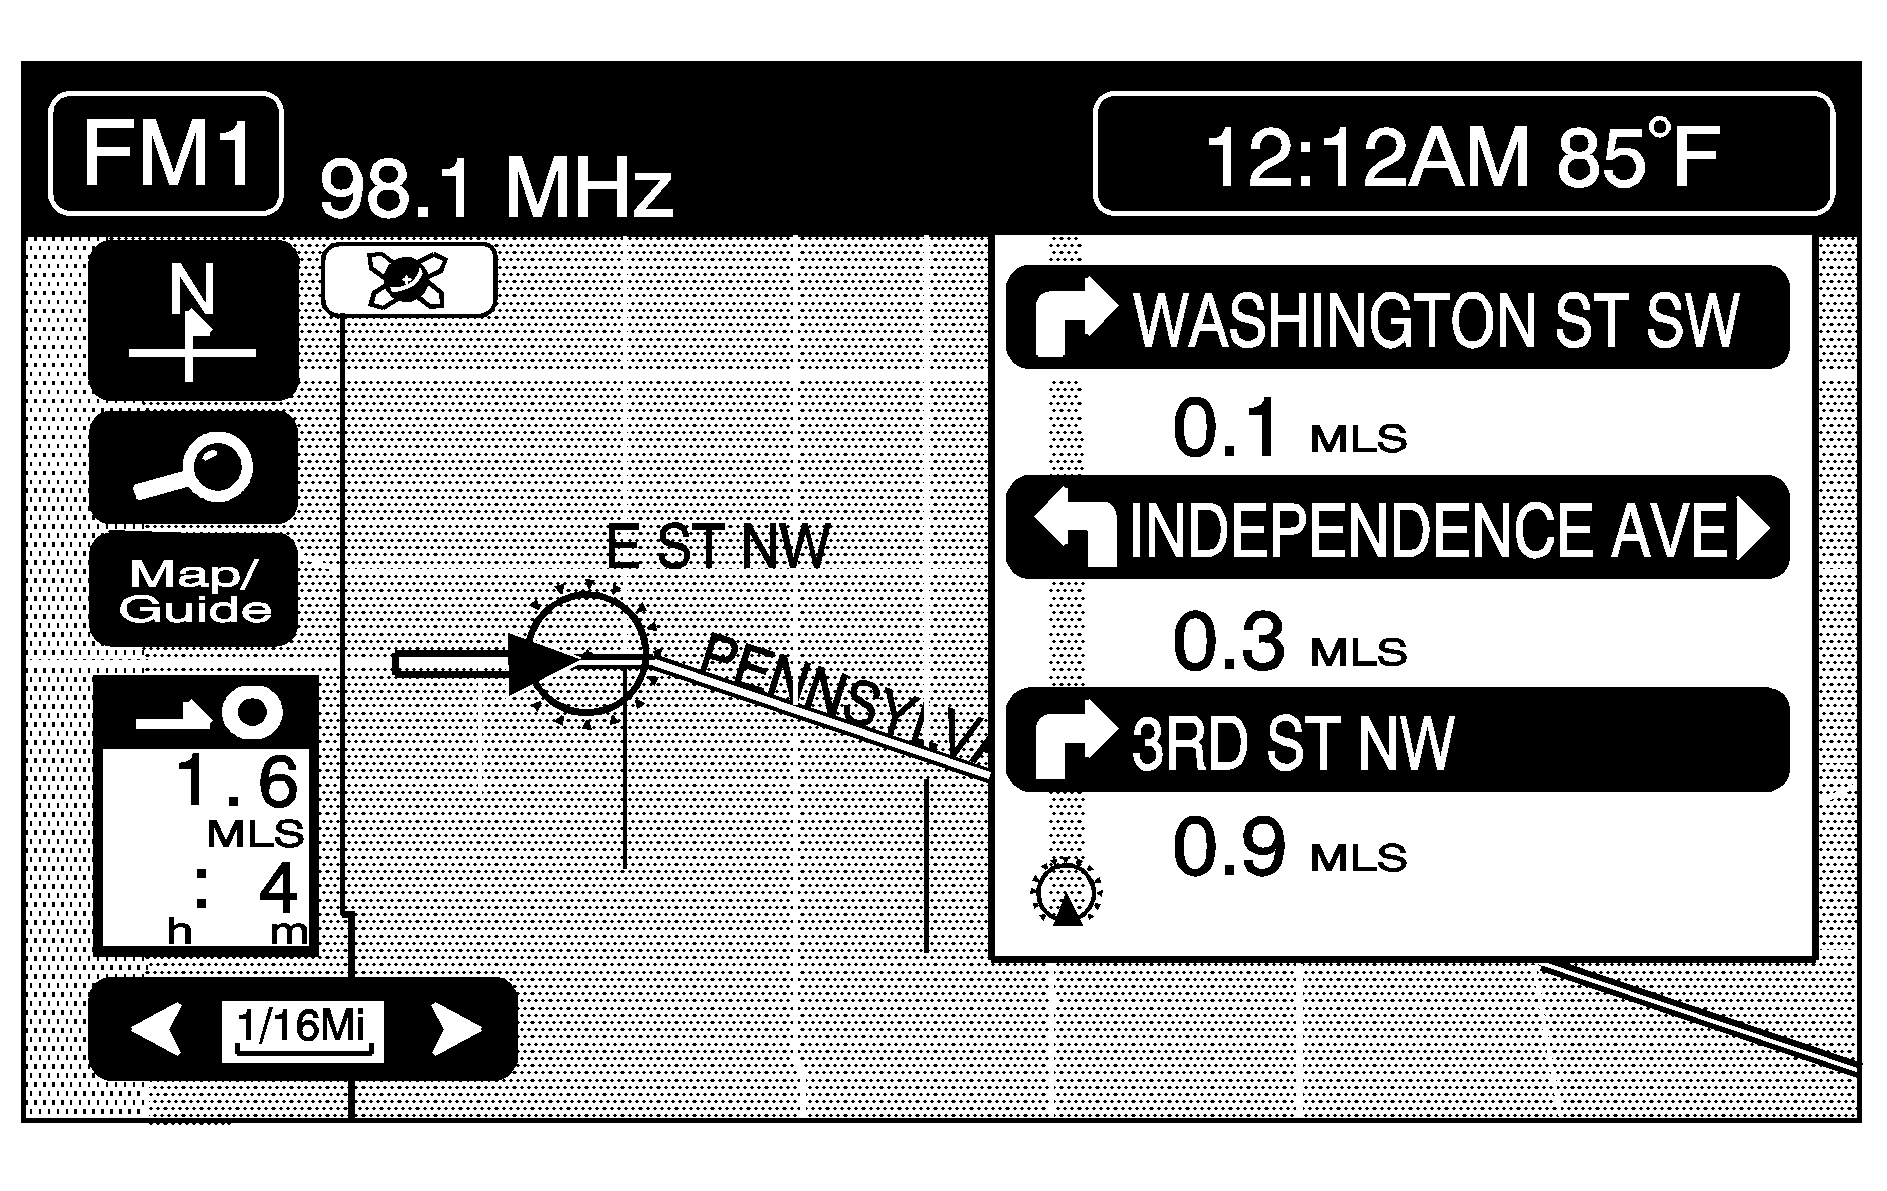
Turn List: Touch this button to have the guidance screen display several upcoming turns. Directional arrows, street name and distance to the next turn will also be displayed. As you approach the next turn, the system will automatically display a zoomed-in view of the upcoming maneuver.
Arrow: Touch this button to have the guidance screen display the next turn. A directional arrow, street name and distance to the turn will also be displayed. As you approach the turn, the system will automatically display a zoomed-in view of the upcoming maneuver.
Arrow Guidance
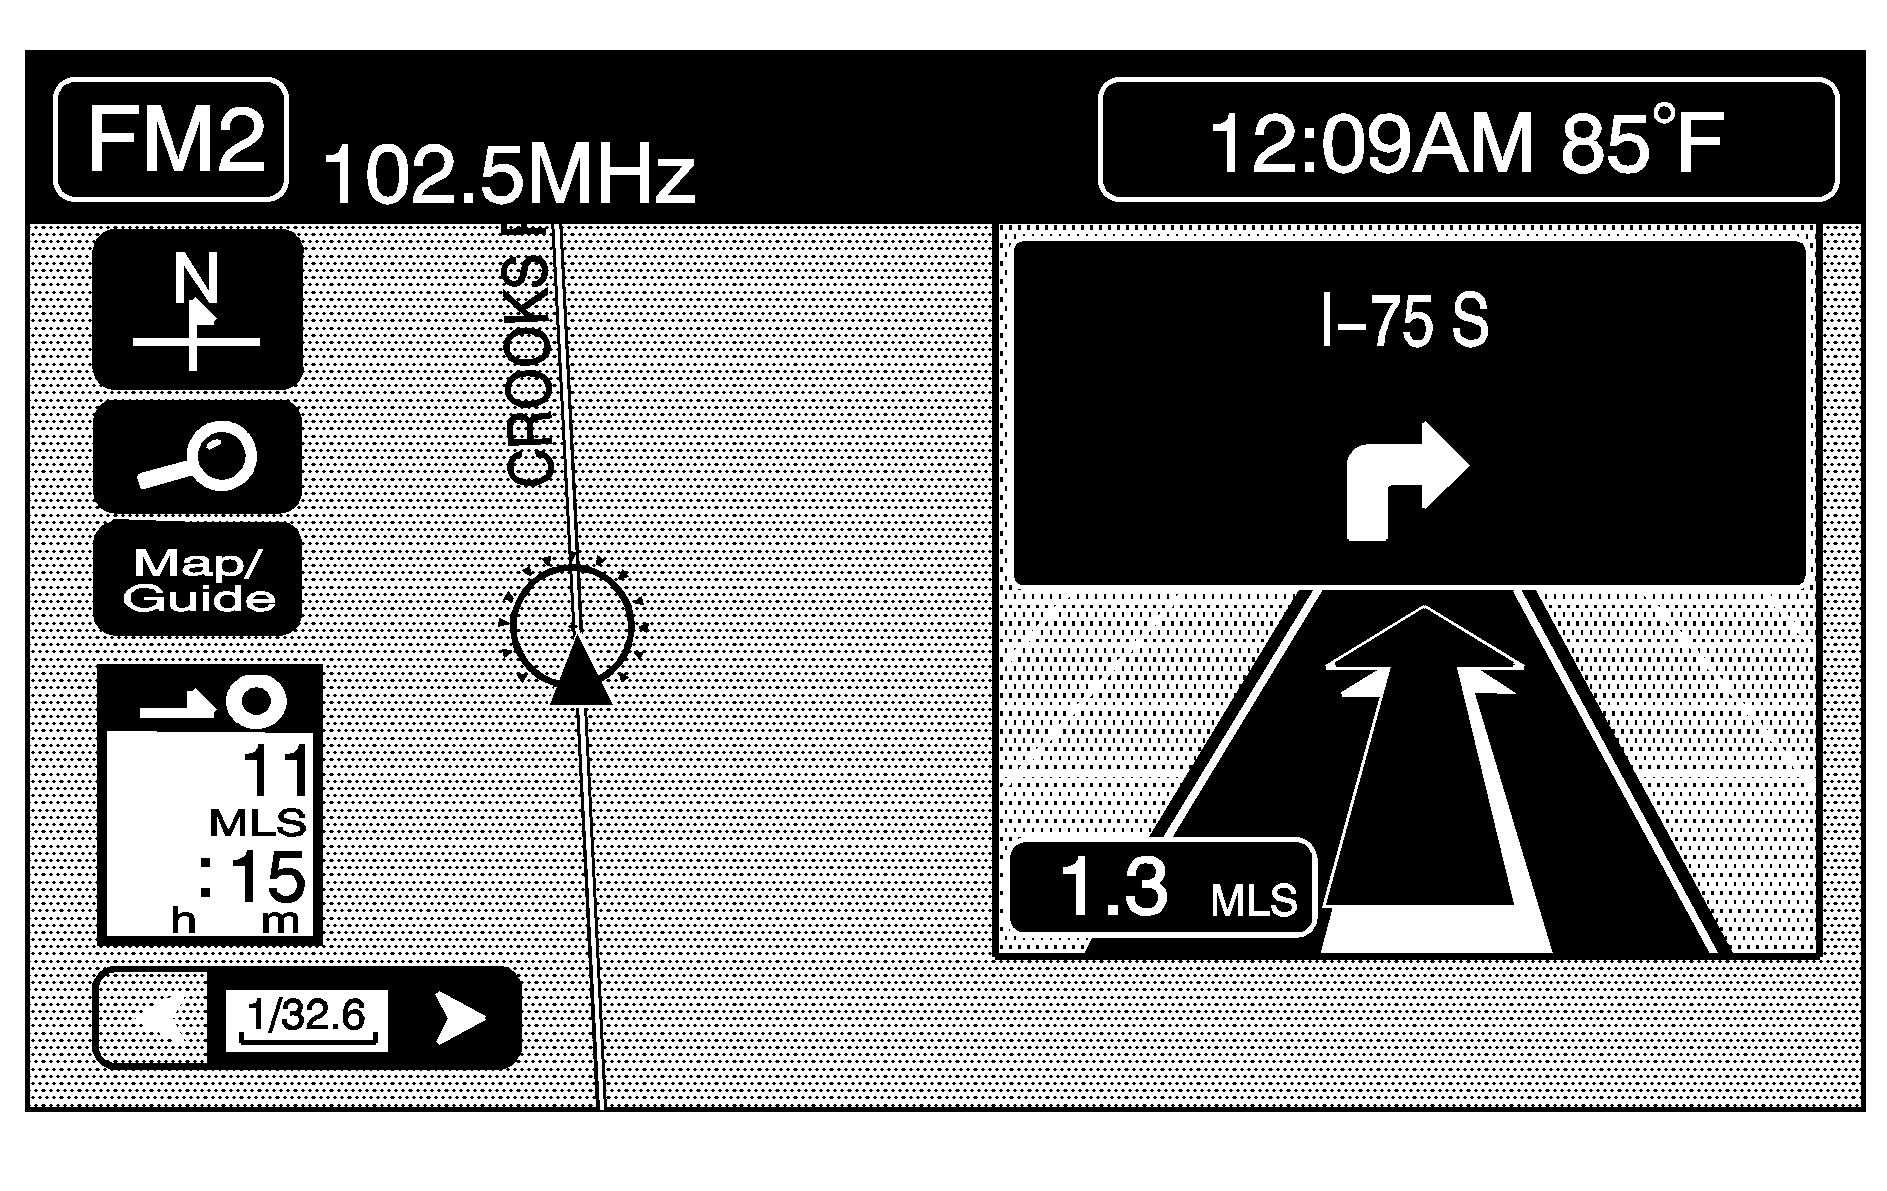
2D: Touch this button to have the guidance screen display as a two-dimensional view.
3D: Touch this button to have the guidance screen display as a three-dimensional view.
Map Appearance
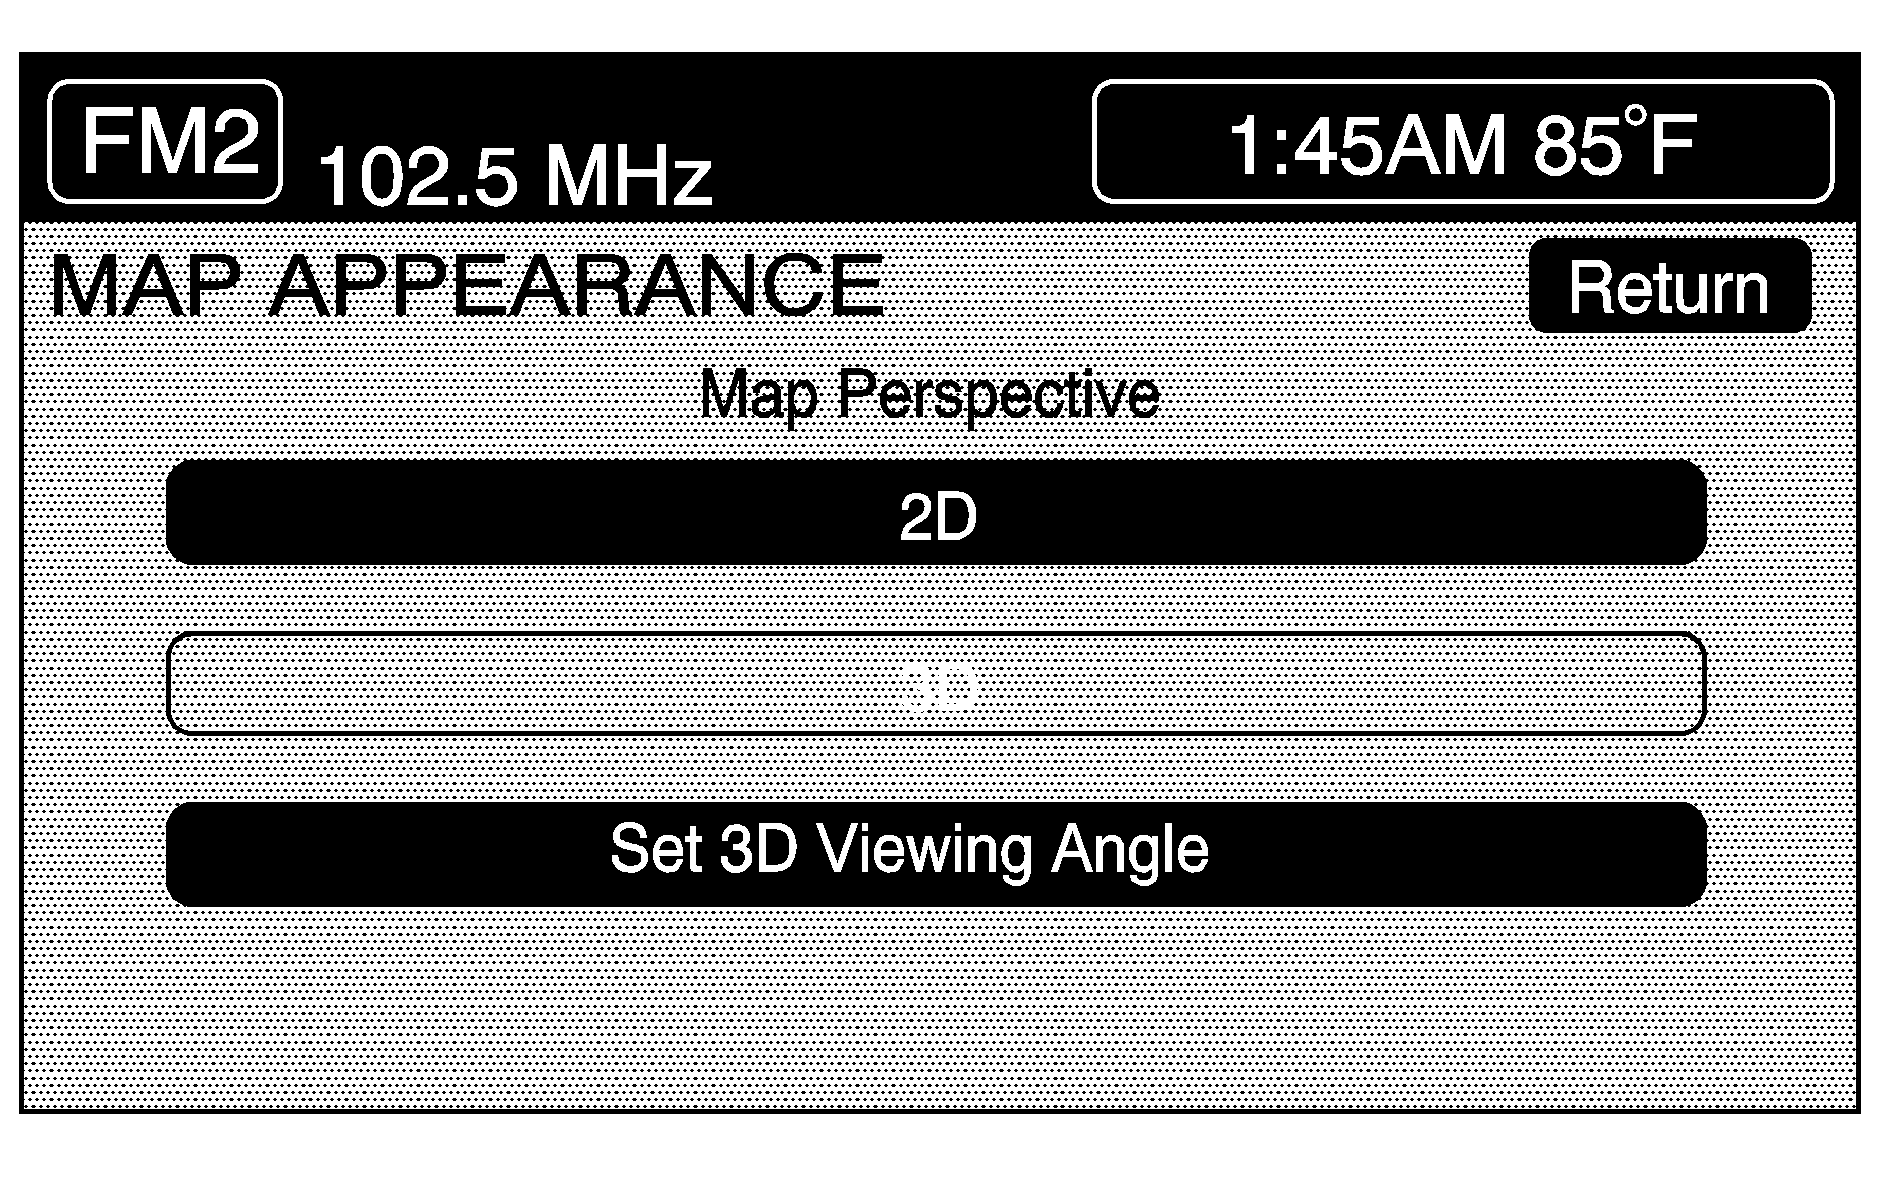
This menu allows you to set up one of the following options for the map appearance screen. The current setting will appear as light blue.
2D: Touch this button to have the map screen display as a two-dimensional view.3D: Touch this button to have the map screen display as a three-dimensional view.
SET 3D VIEWING ANGLE: This allows you to adjust the 3D viewing angle. To adjust the viewing angle, do the following:
- Select 3D from the MAP APPEARANCE menu.
- Touch the SET 3D VIEWING ANGLE button.
- Touch the vertical scroll up or down arrows to set your preferred viewing angle.
- Touch RETURN to save your settings and to exit this menu or touch RESET to restore the viewing angle to the default settings.
The map screen with 3D viewing angle bar will be displayed.
Voice Guidance Volume Settings
This feature allows you to set the voice prompt volume level or to turn the voice prompts on or off. The voice prompts will not be heard while using voice recognition. The last voice prompt can be repeated by using the REPEAT hard key. See Map and Repeat .
Set the voice prompt volume level by touching the numbered (one to six) buttons to increase or decrease the volume level with one being the lowest volume level and six being the highest.
Voice prompts can be turned on or off by touching the ON or OFF button.
Touch the RETURN button to go back to the SETUP main menu.
