For 1990-2009 cars only
Removal Procedure
- Place the module in the closed/flush position.
- Lower the headliner. Refer to Headlining Trim Panel Replacement .
- Disconnect the electrical connector from the motor/actuator.
- Remove the motor/actuator. Refer to Sunroof Motor/Actuator Replacement .
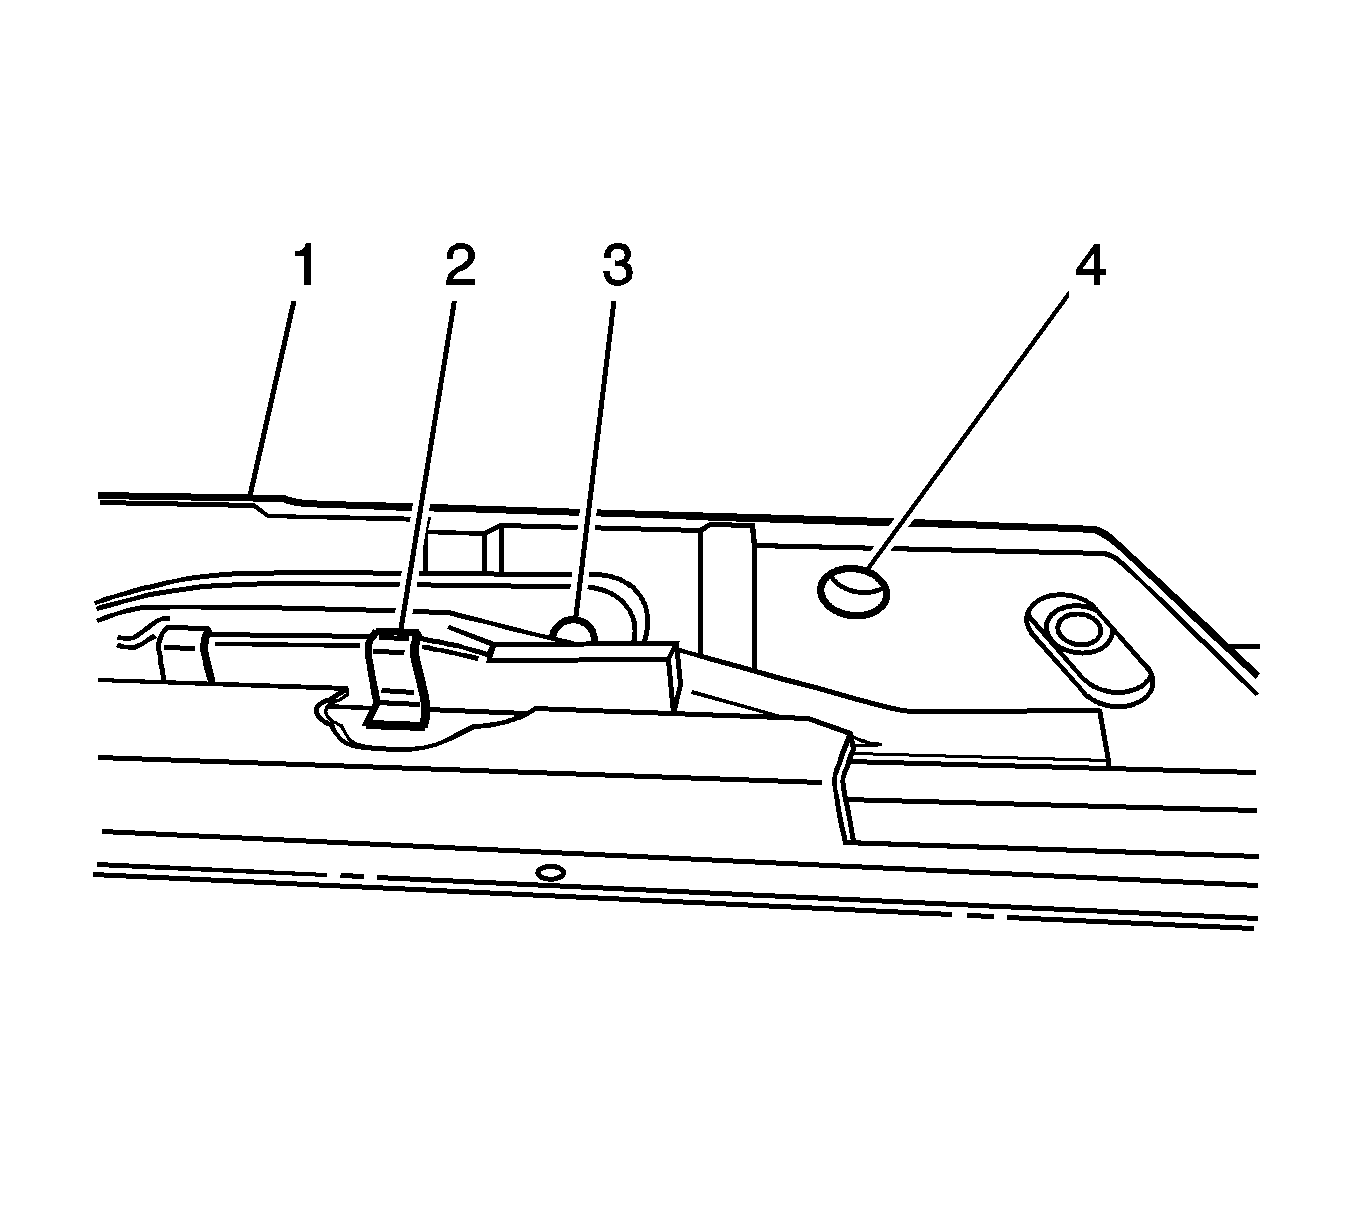
- Push the cam assembly (2) forward until the timing hole (3) in the cam is aligned with the timing hole (4) in the lifter arm (1).
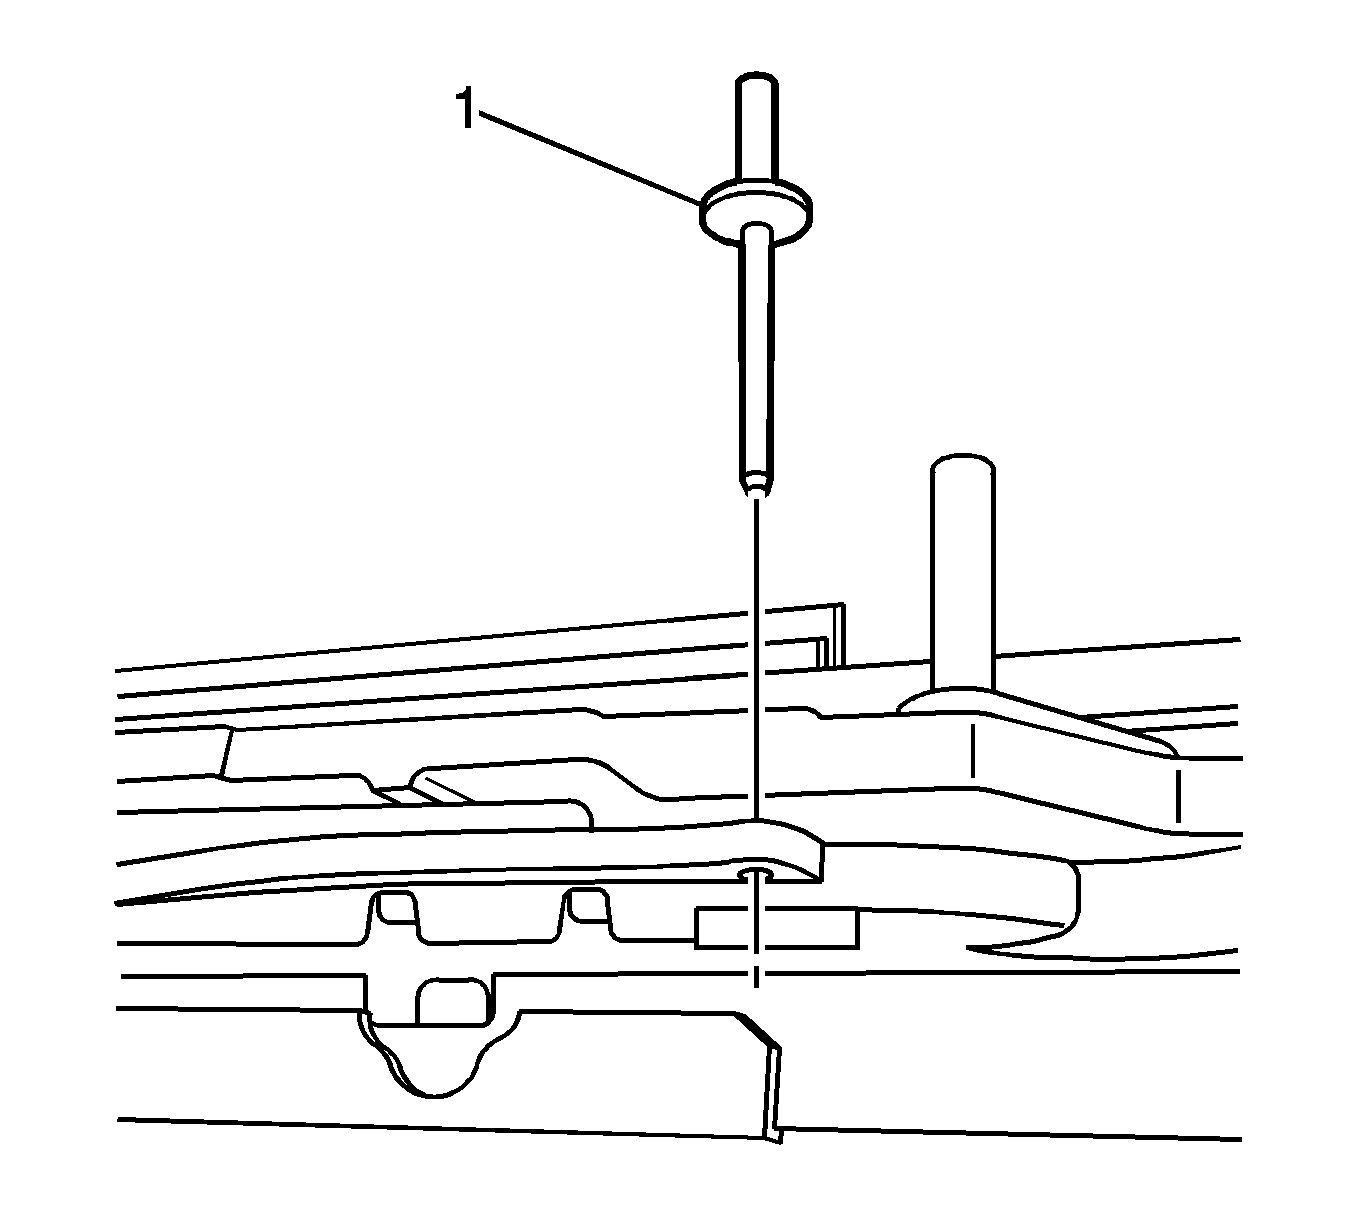
- Insert a pin (1) in the holes on both sides of the module to hold the position while installing the drive motor.


Important: Both mechanisms should now be in the closed position.
Using a suitable tool, insert it into the hole of the mechanism arm, it will not go all the way through mechanism.Installation Procedure
- Install the sunroof window. Refer to Sunroof Window Replacement - Front .
- Install the motor/actuator. Refer to Sunroof Motor/Actuator Replacement .
- Connect the electrical connector to the motor/actuator.
- Remove the pin (1) from the holes that held the position while installing the drive motor.
- Install the headliner. Refer to Headlining Trim Panel Replacement .
- Perform the Initialization/Teach Procedure. Refer to Sunroof Motor/Actuator Initialization/Teach Process .
- Verify the operation of the sunroof.
Notice: Refer to Fastener Notice in the Preface section.
Tighten
Tighten the screws to 4 N·m (35 lb in).
Tighten
Tighten the motor attachment screws to 3.5 N·m
(31 lb in).

