Special Tools
| • | J 45019
Flange and Pinion Cage Remover |
| • | J 46265
Stub Shaft Seal Installer |
Removal Procedure
- Remove the carrier from the vehicle. Refer to
Differential Carrier Assembly Replacement
.
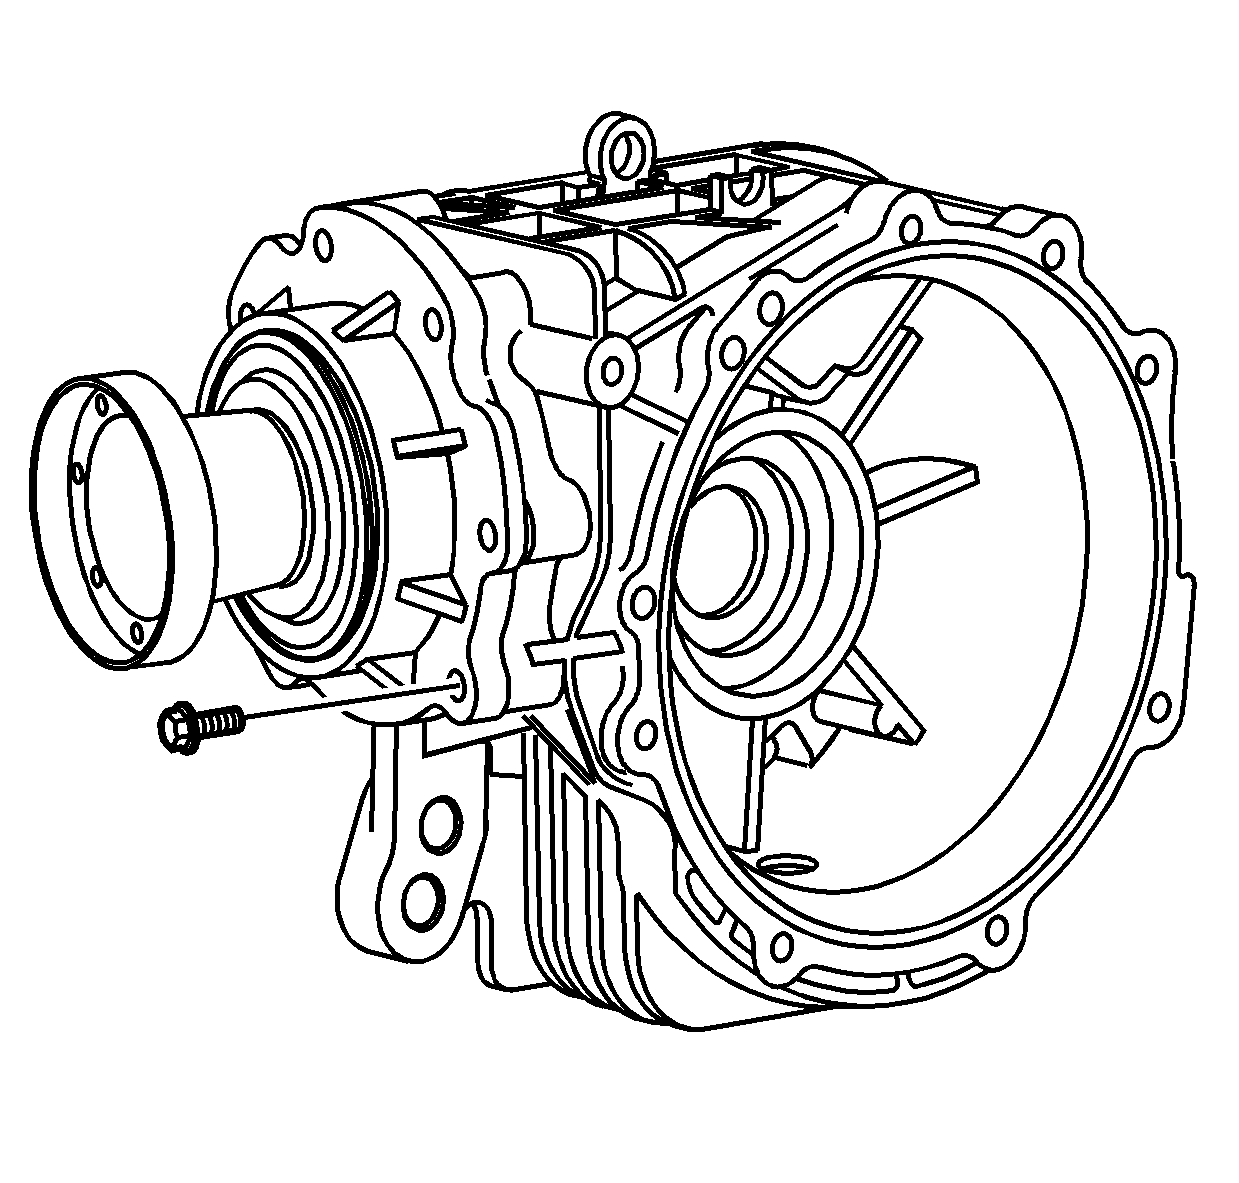
- Remove the bolts from the pinion bearing housing.
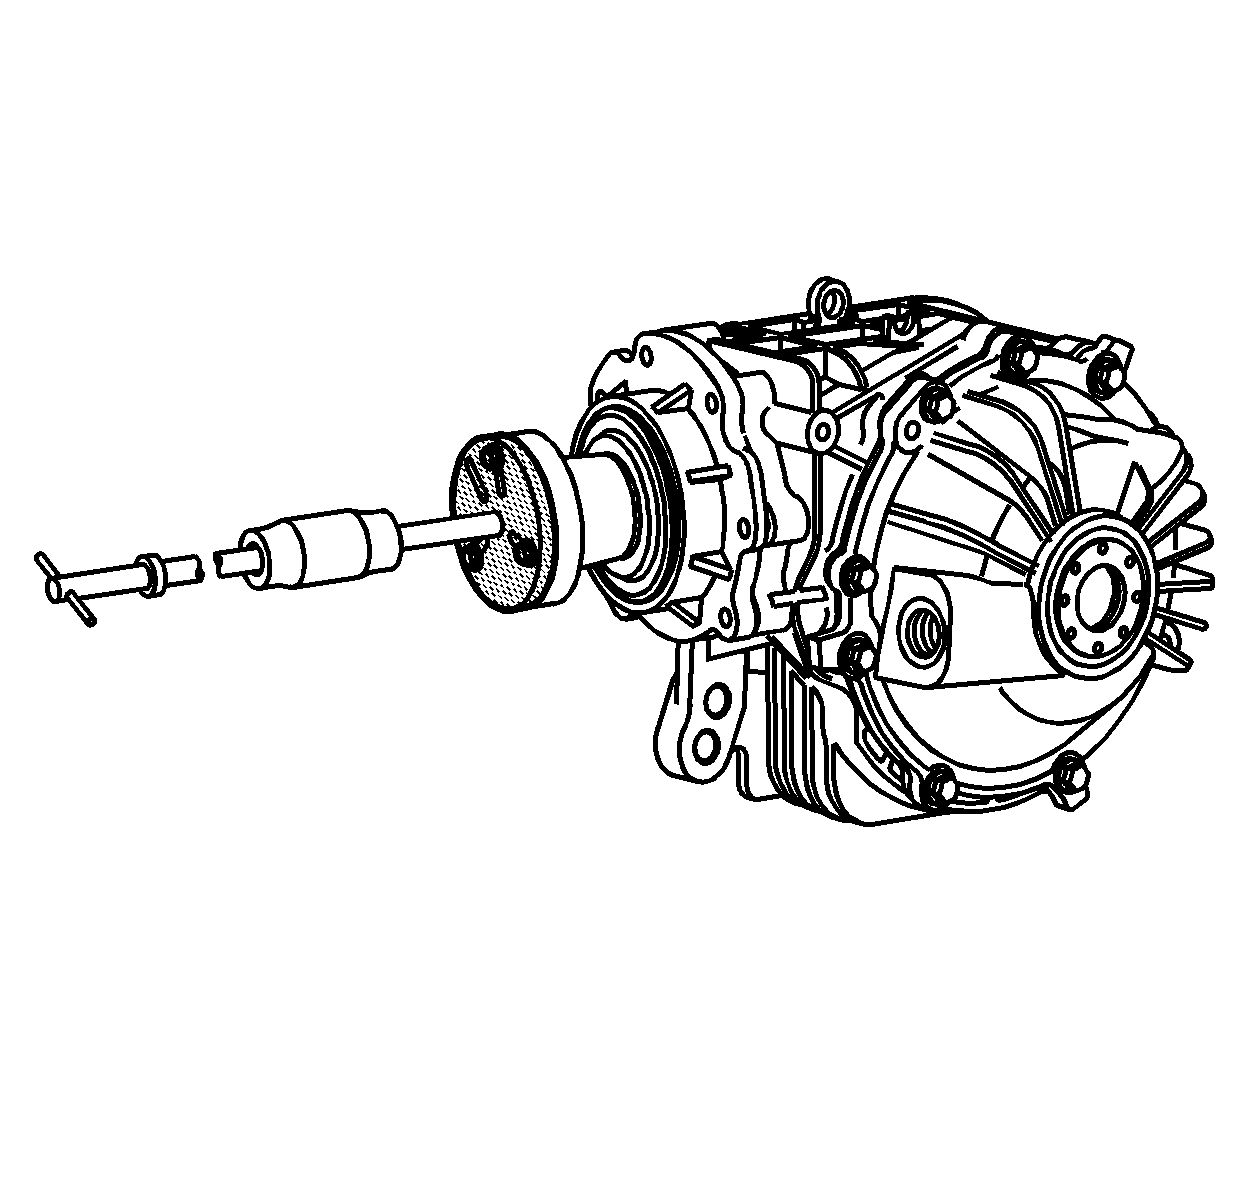
- Install the
J 45019
and slide hammer.
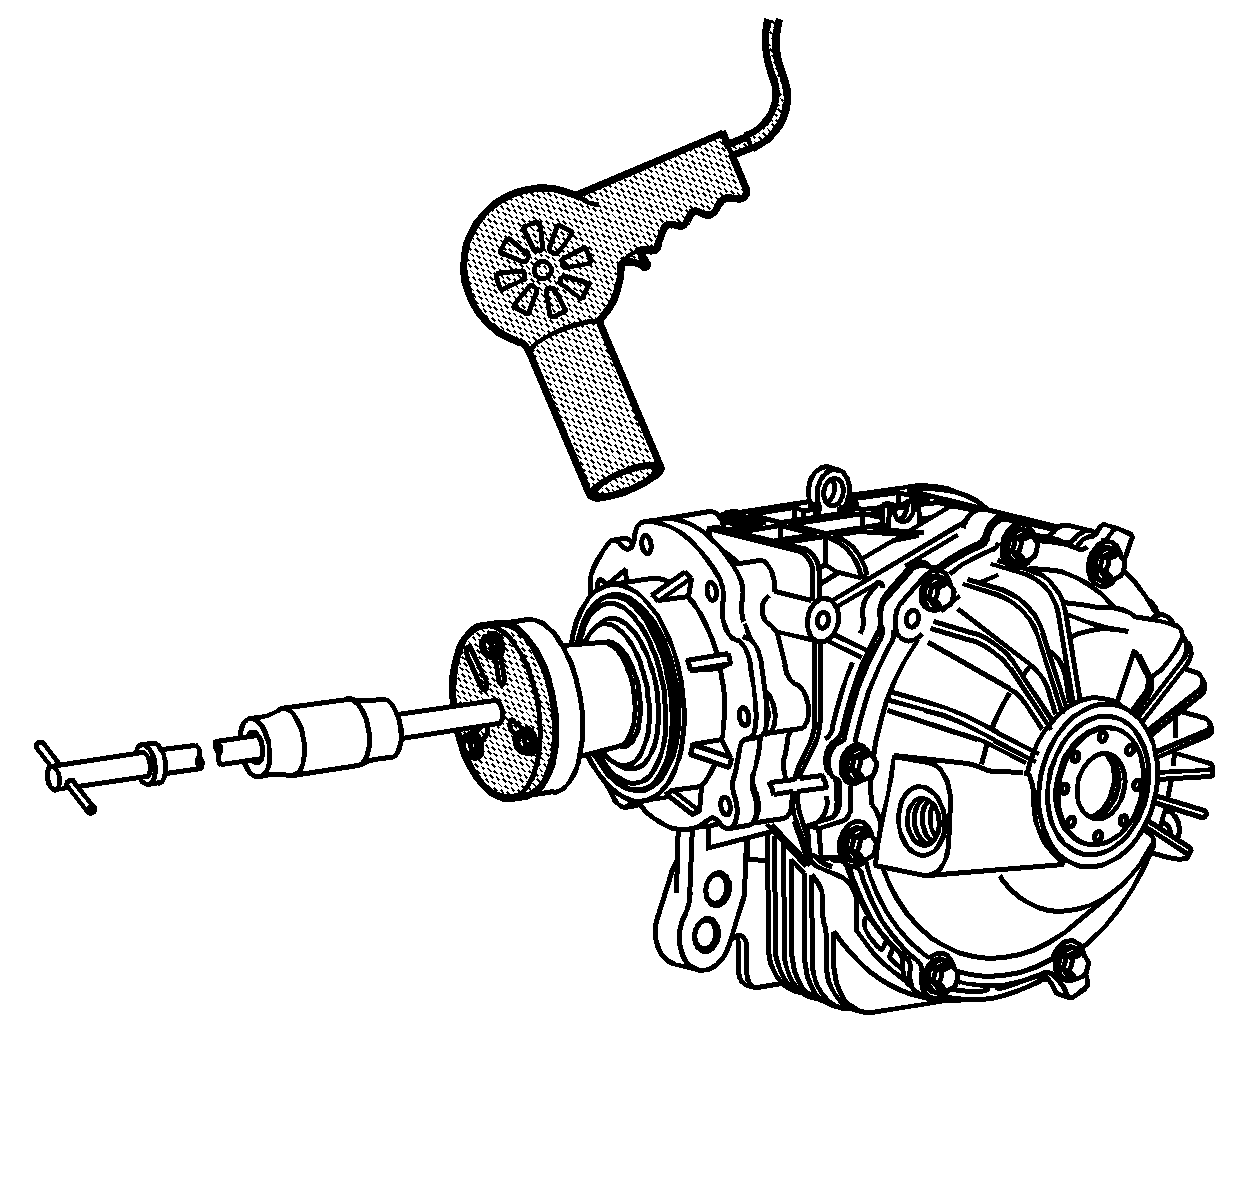
- Using the
J 25070
, apply heat
around the pinion housing to ease removal.
- Remove the
J 45019
from the flange.
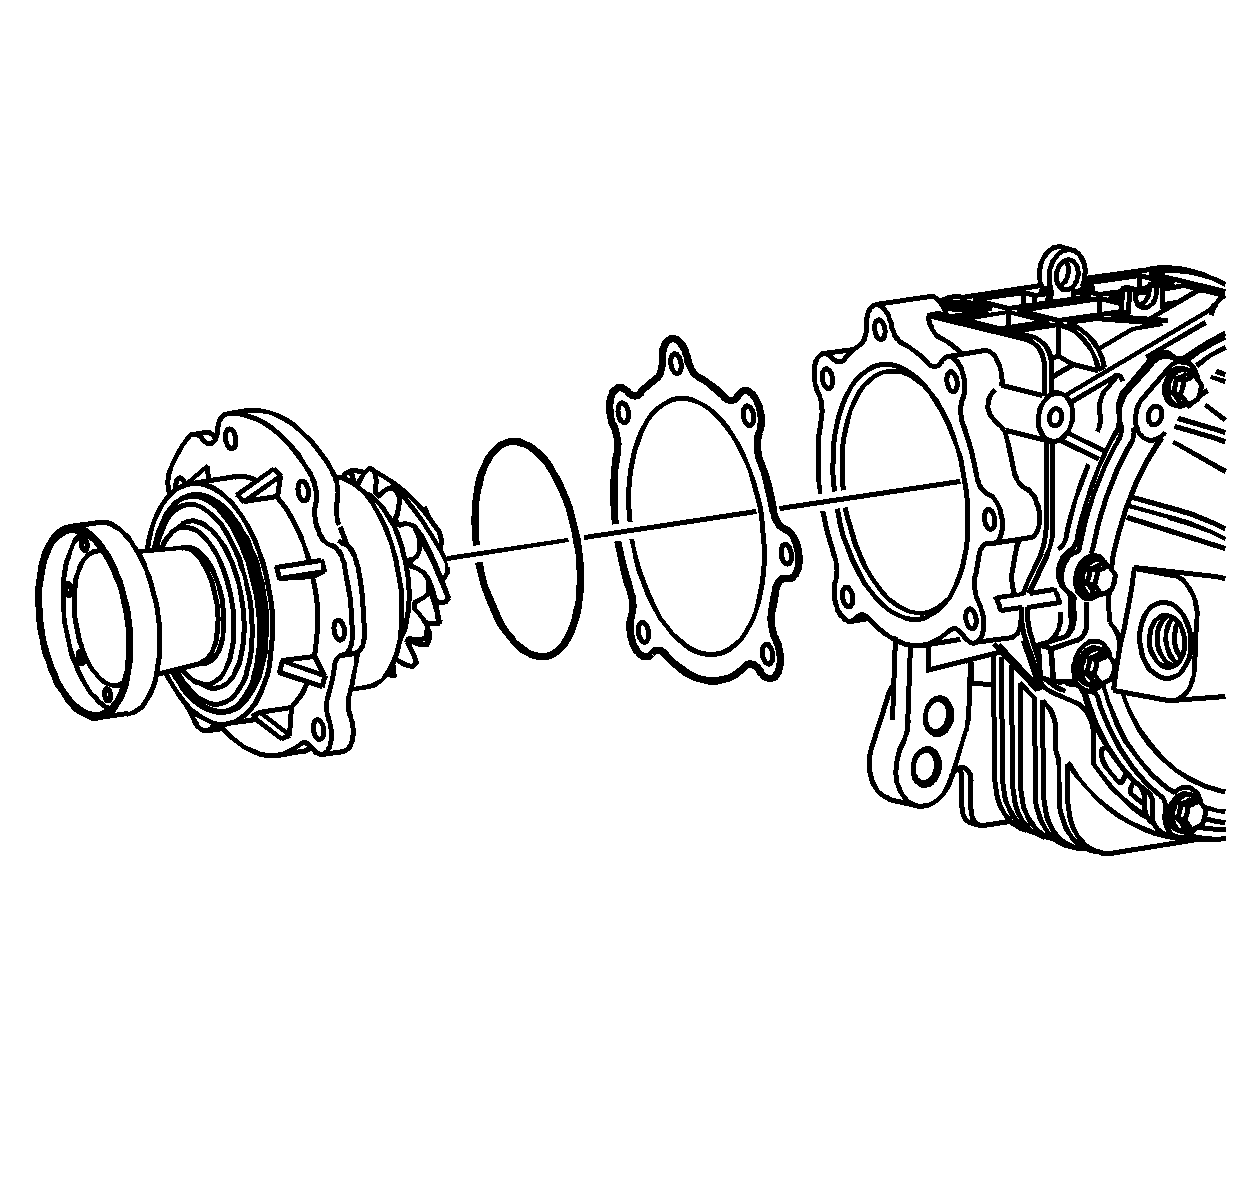
- Remove the pinion assembly, O-ring, and the shims from the from differential carrier.
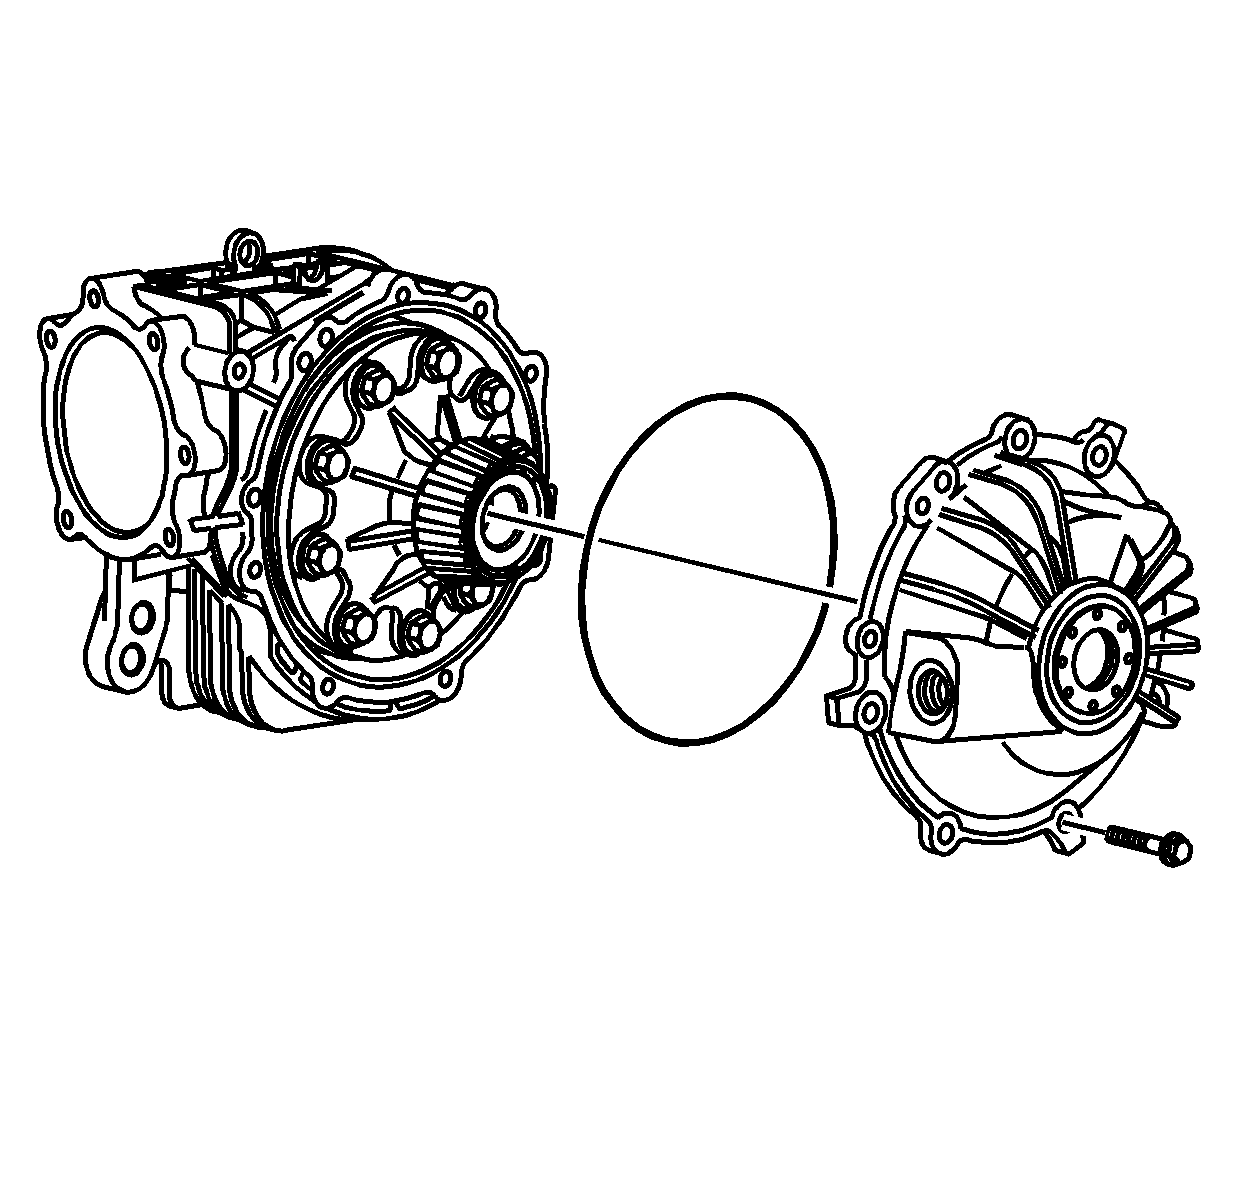
- Remove the carrier side cover bolts.
- Using the appropriate tool in the pry tabs, remove the carrier side cover.
- Remove the O-ring from the side cover.
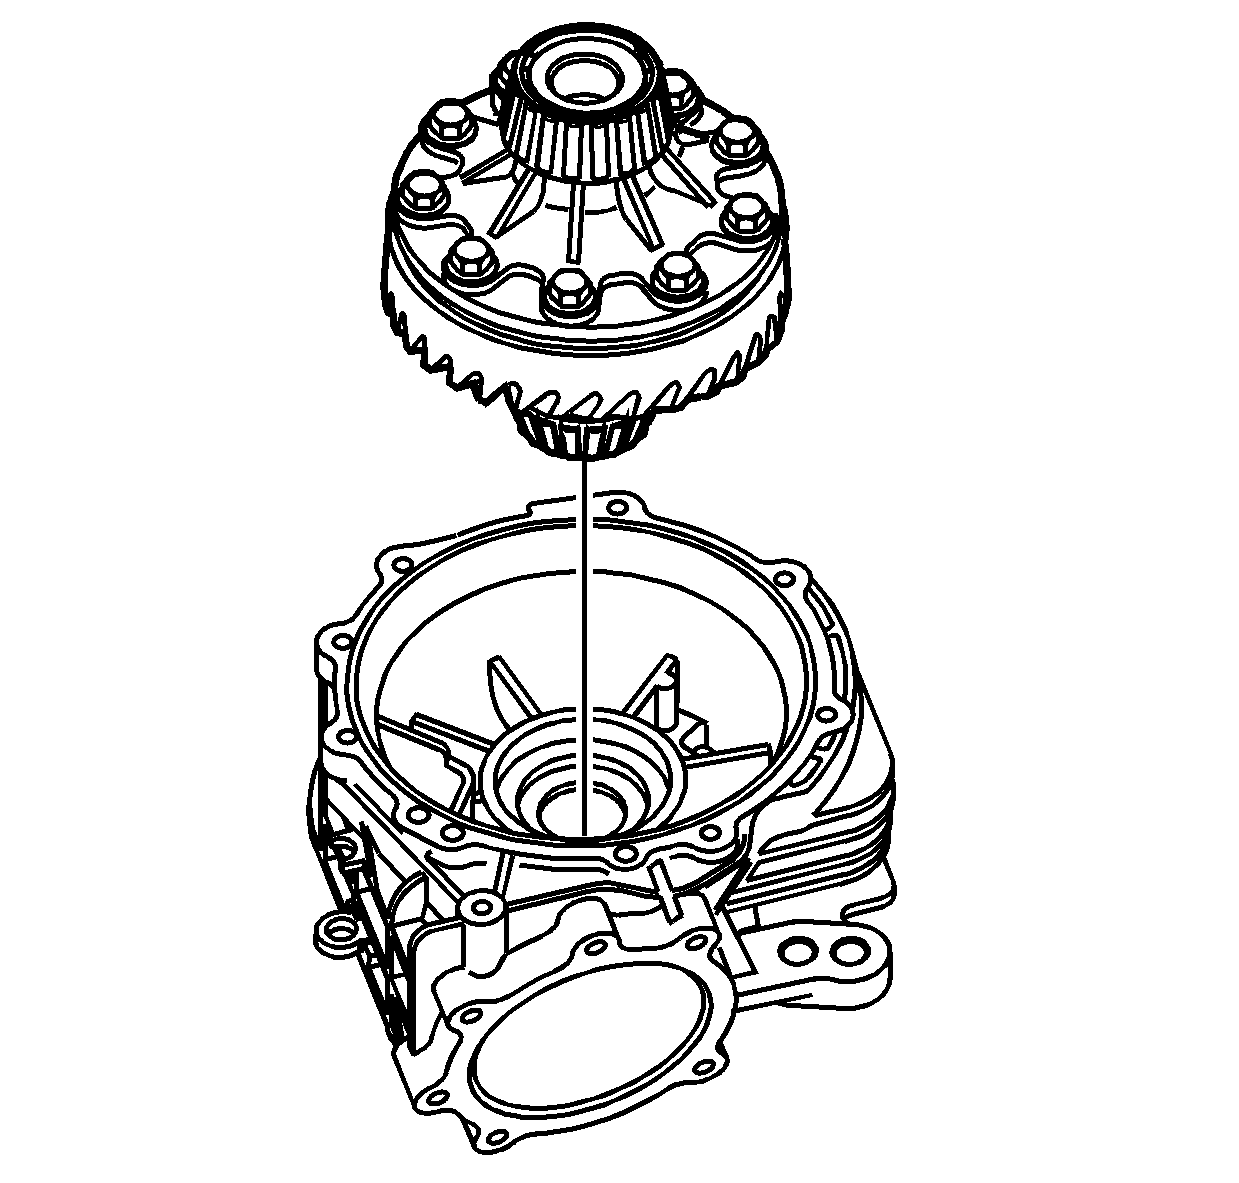
- Remove the differential assembly from the carrier.
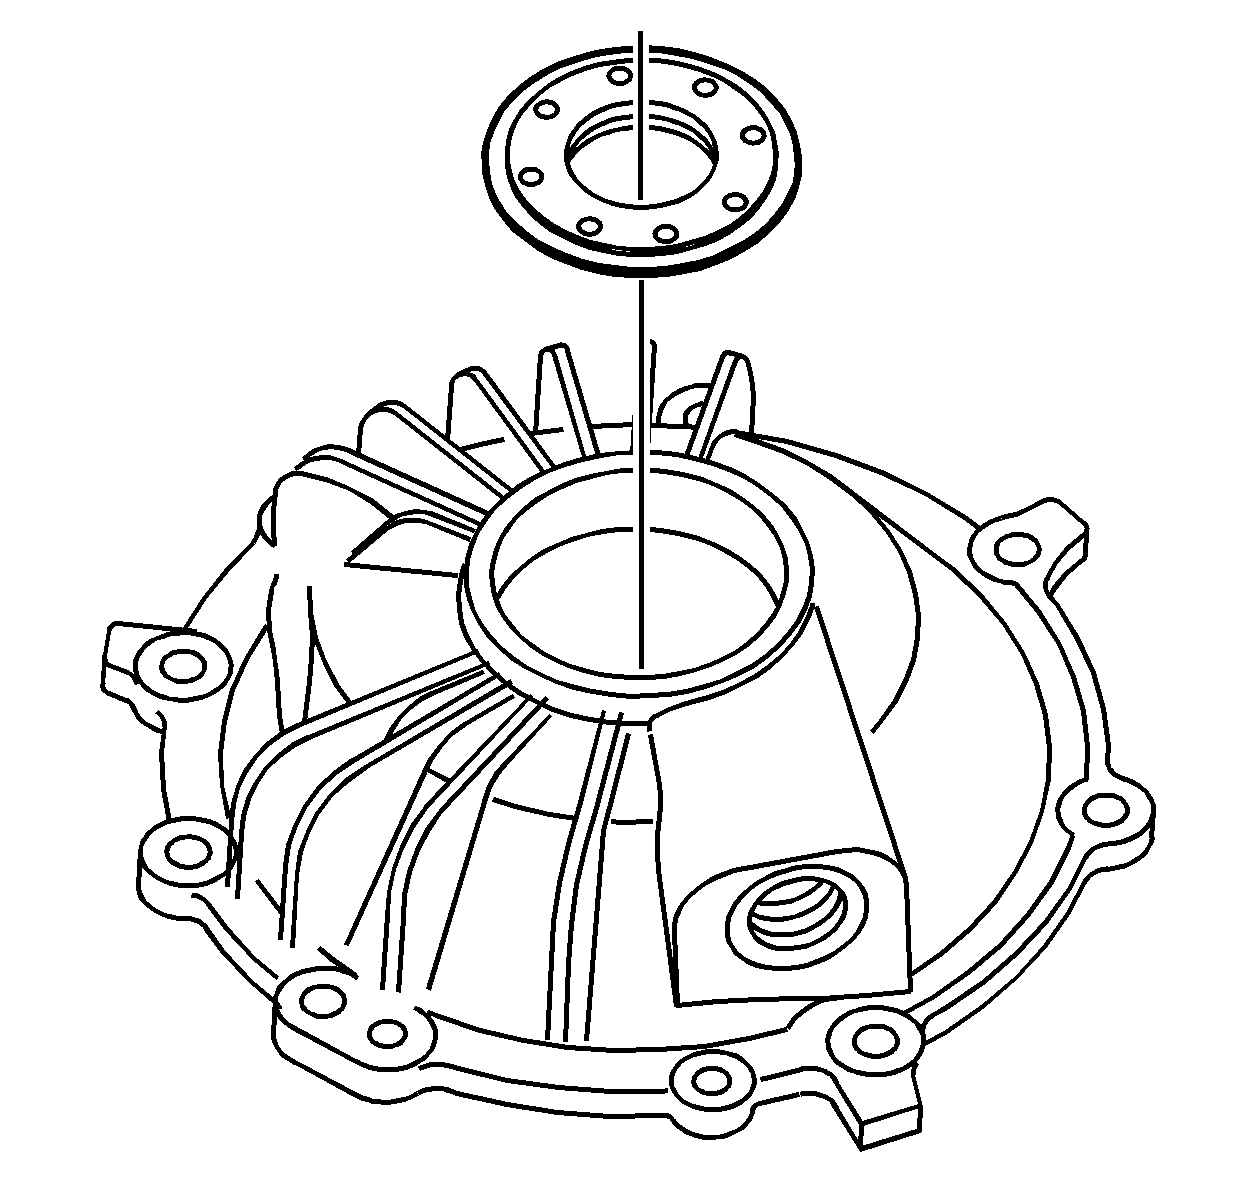
- Remove the right output shaft seal from the cover.
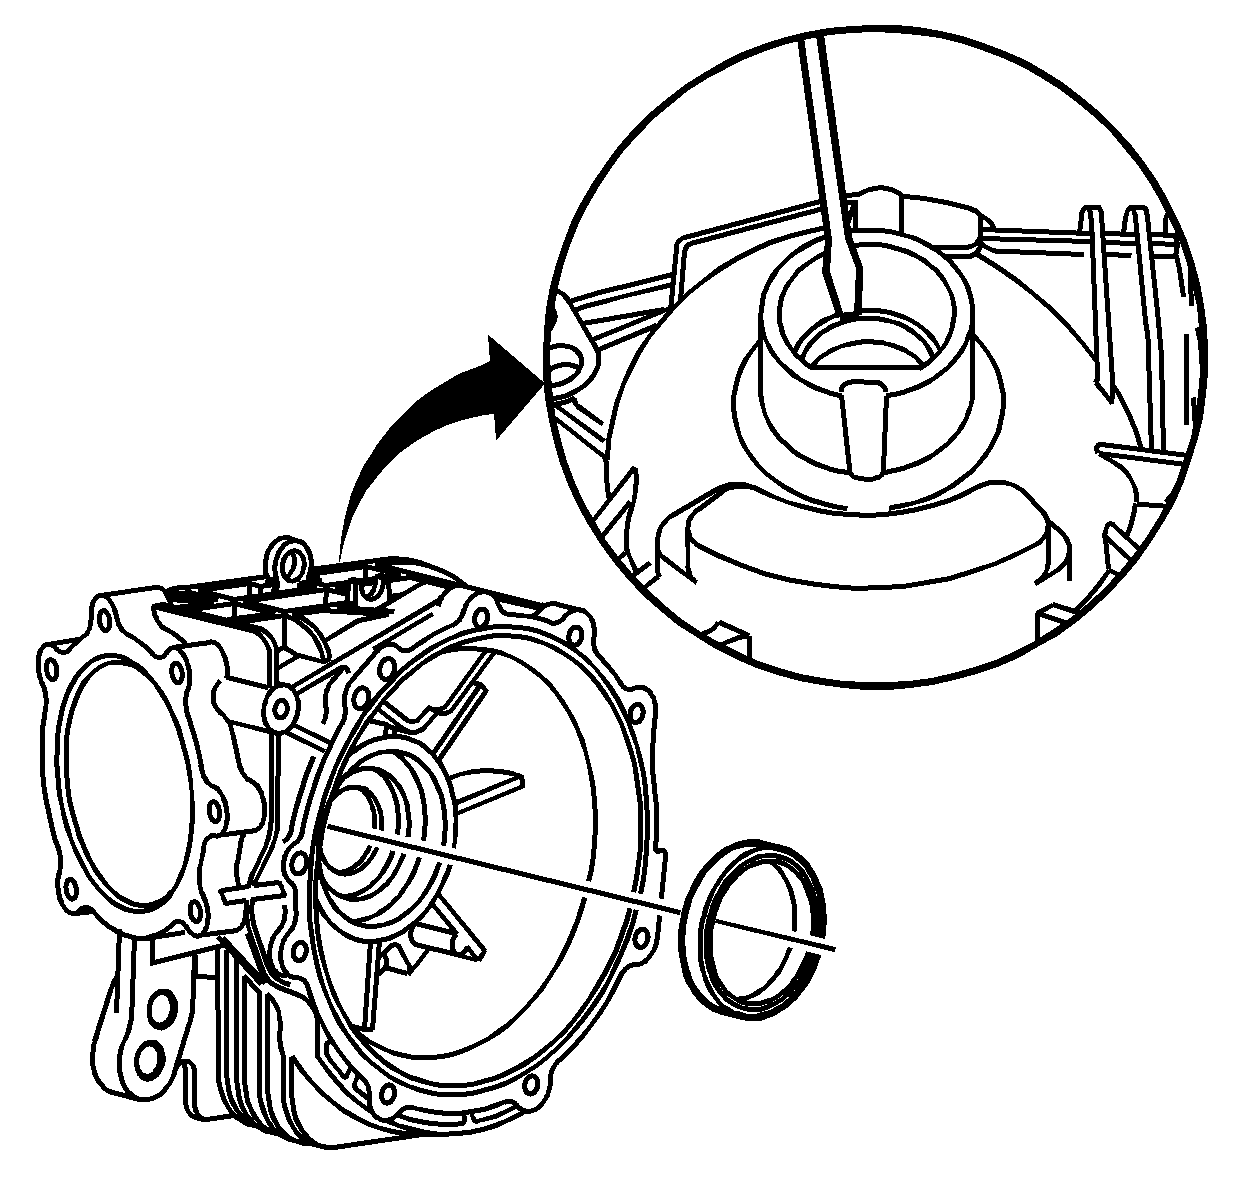
- Using a suitable tool, remove the left output shaft oil seal from the carrier.
Installation Procedure
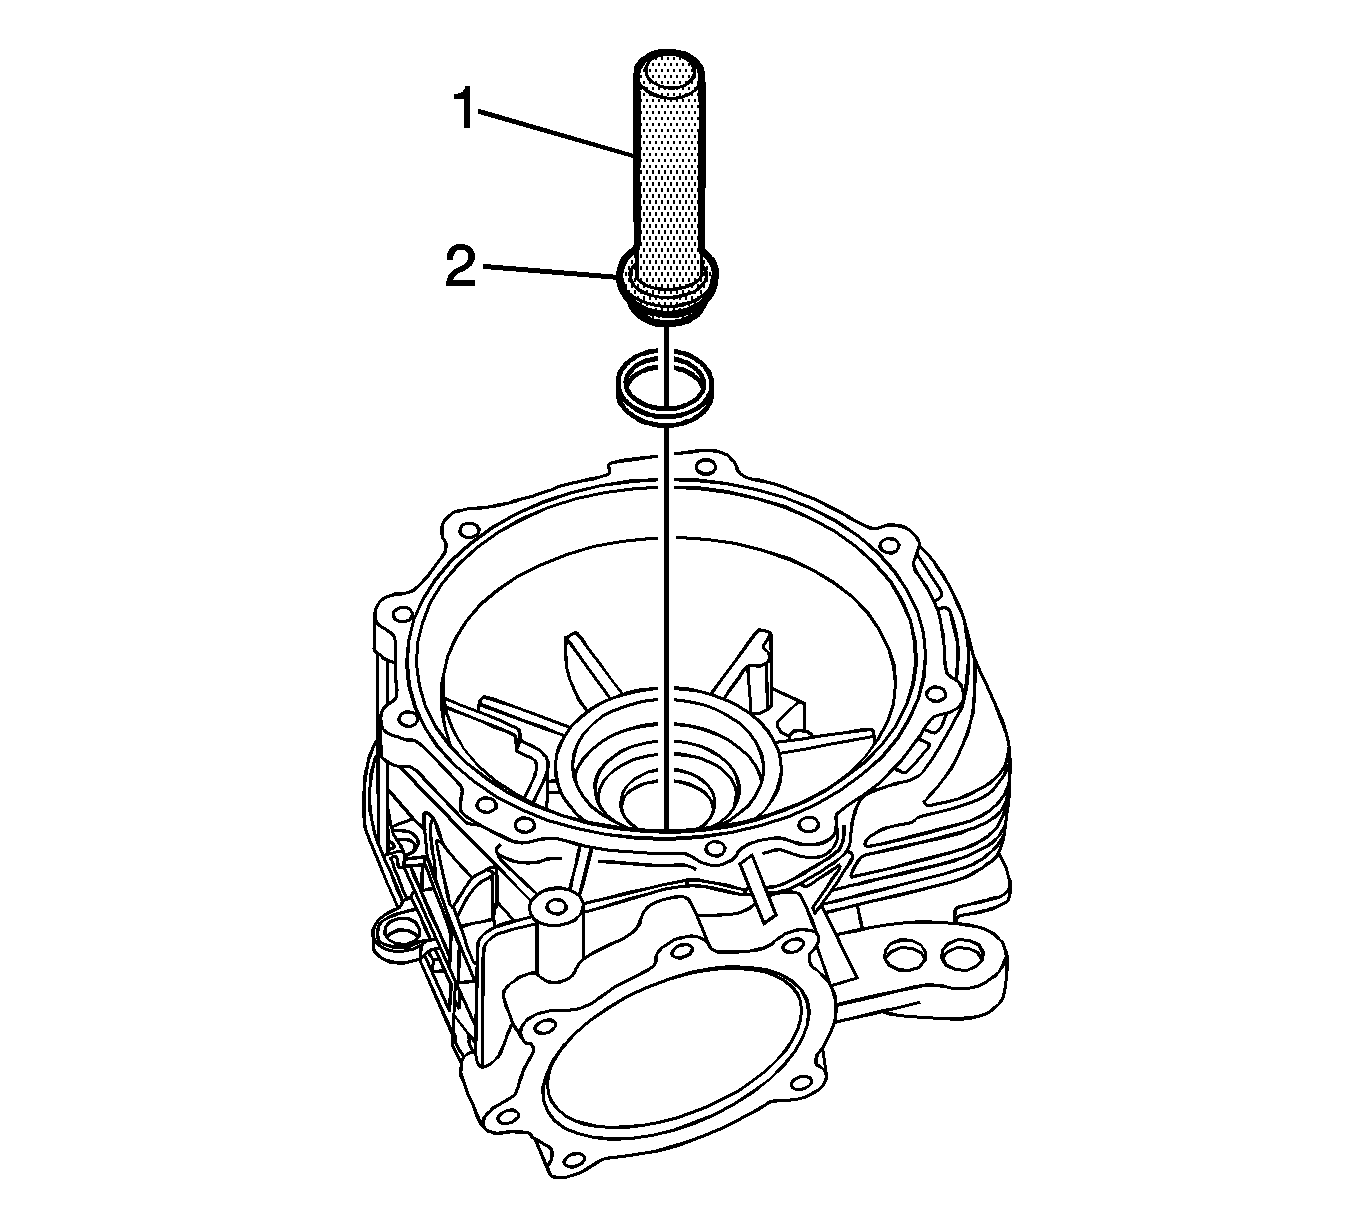
- Using the
J 46265
(2) and
J 8092
(1),
install the left output shaft seal.

- Install the selected shims and the NEW O-ring on the pinion housing.
Important: Inspect the bearing housing for nicks and burrs. Remove if necessary.
- Apply a light coat of gear lube to the bearing housing to ease installation.
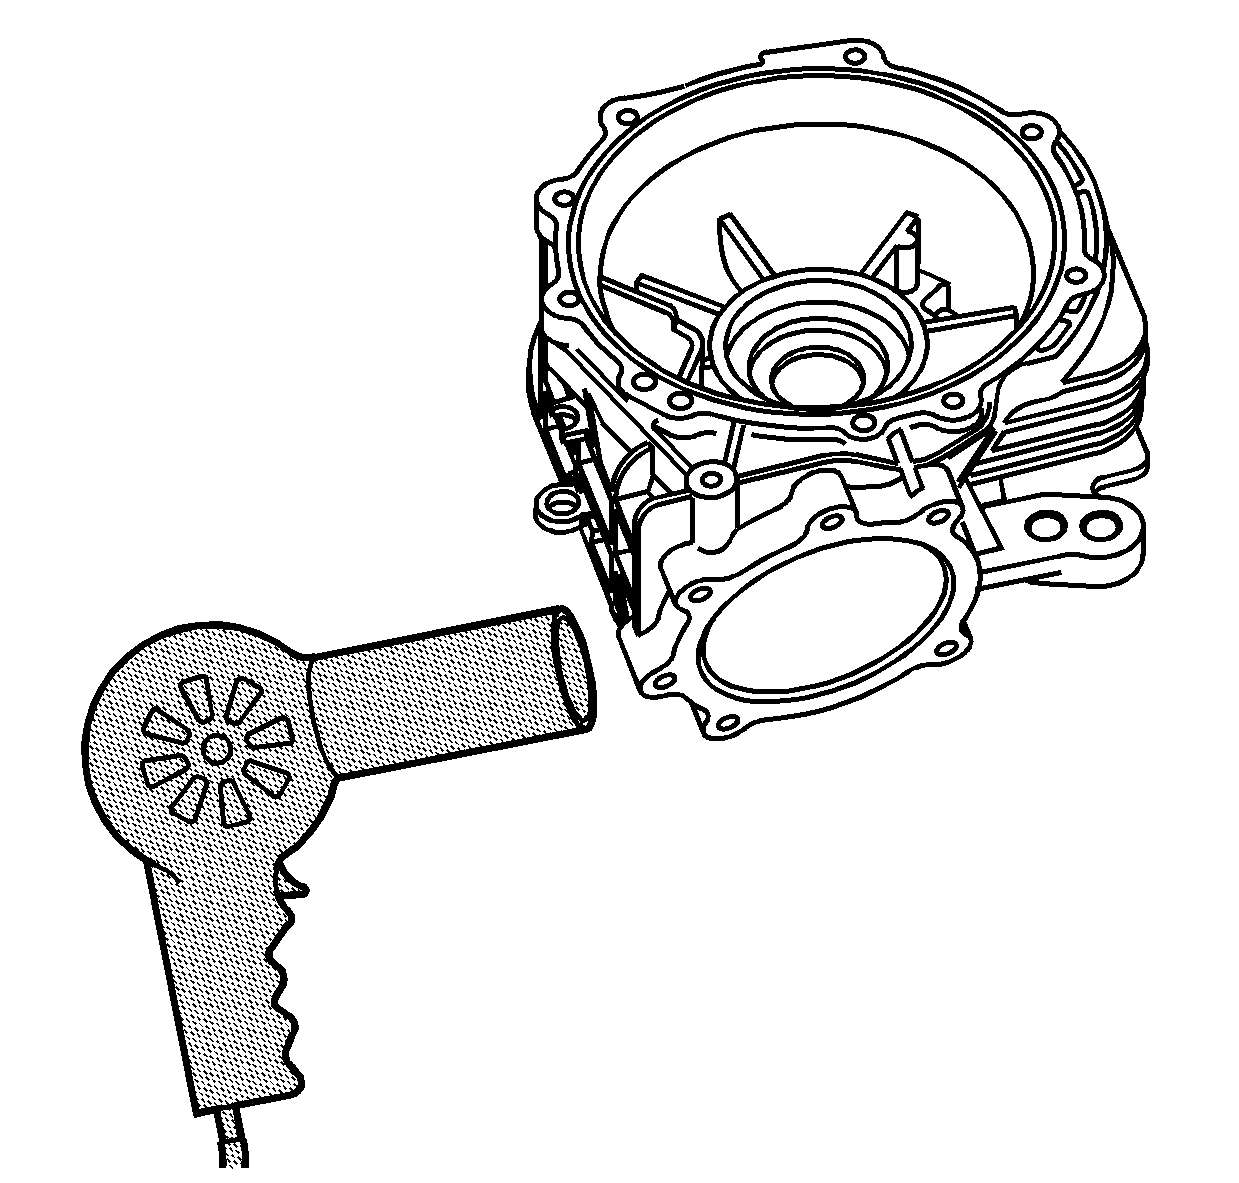
Important: Inspect the carrier pinion housing bore for nicks or burrs. Remove if necessary.
- Apply a light coat of gear lube into the pinion housing bore of the carrier.
- Using the
J 25070
, apply heat to the differential carrier.
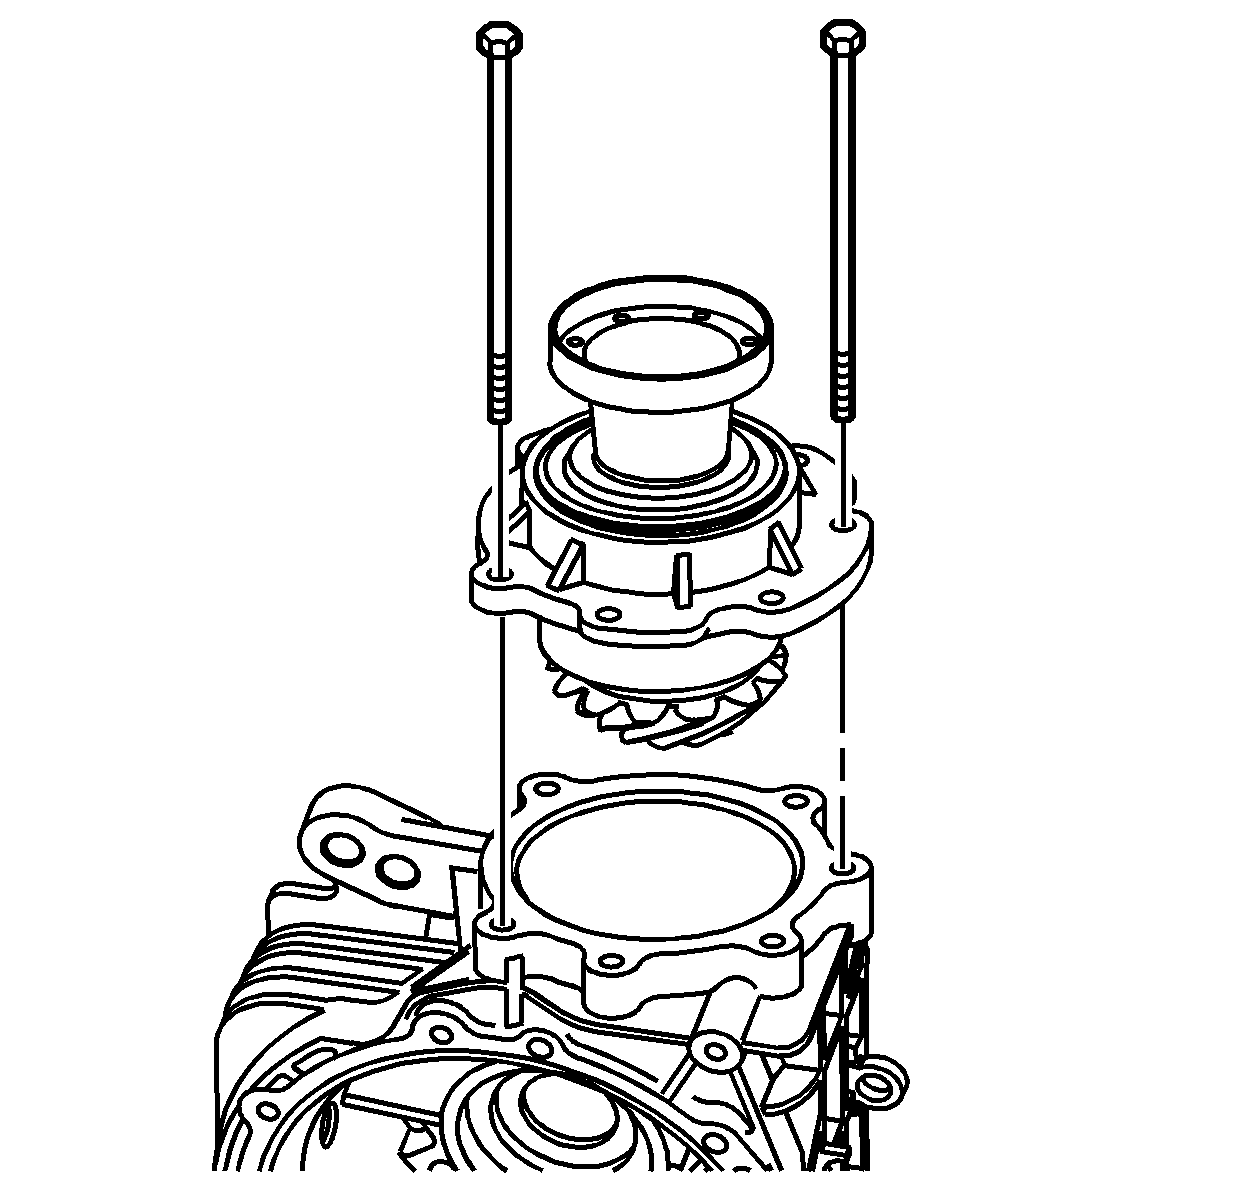
- Using the two long bolts from
J 45019
as guides, align the housing bolt holes to the carrier bolt holes.
- Hand tighten the guide bolts.
- Applying even pressure, push the housing evenly into the differential housing.
- Remove the long bolts.
Notice: Refer to Fastener Notice in the Preface section.

- Install the pinion housing bolts.
Tighten
Tighten the bolts to 29 N·m (21 lb ft).

- Install the differential assembly into the differential carrier.
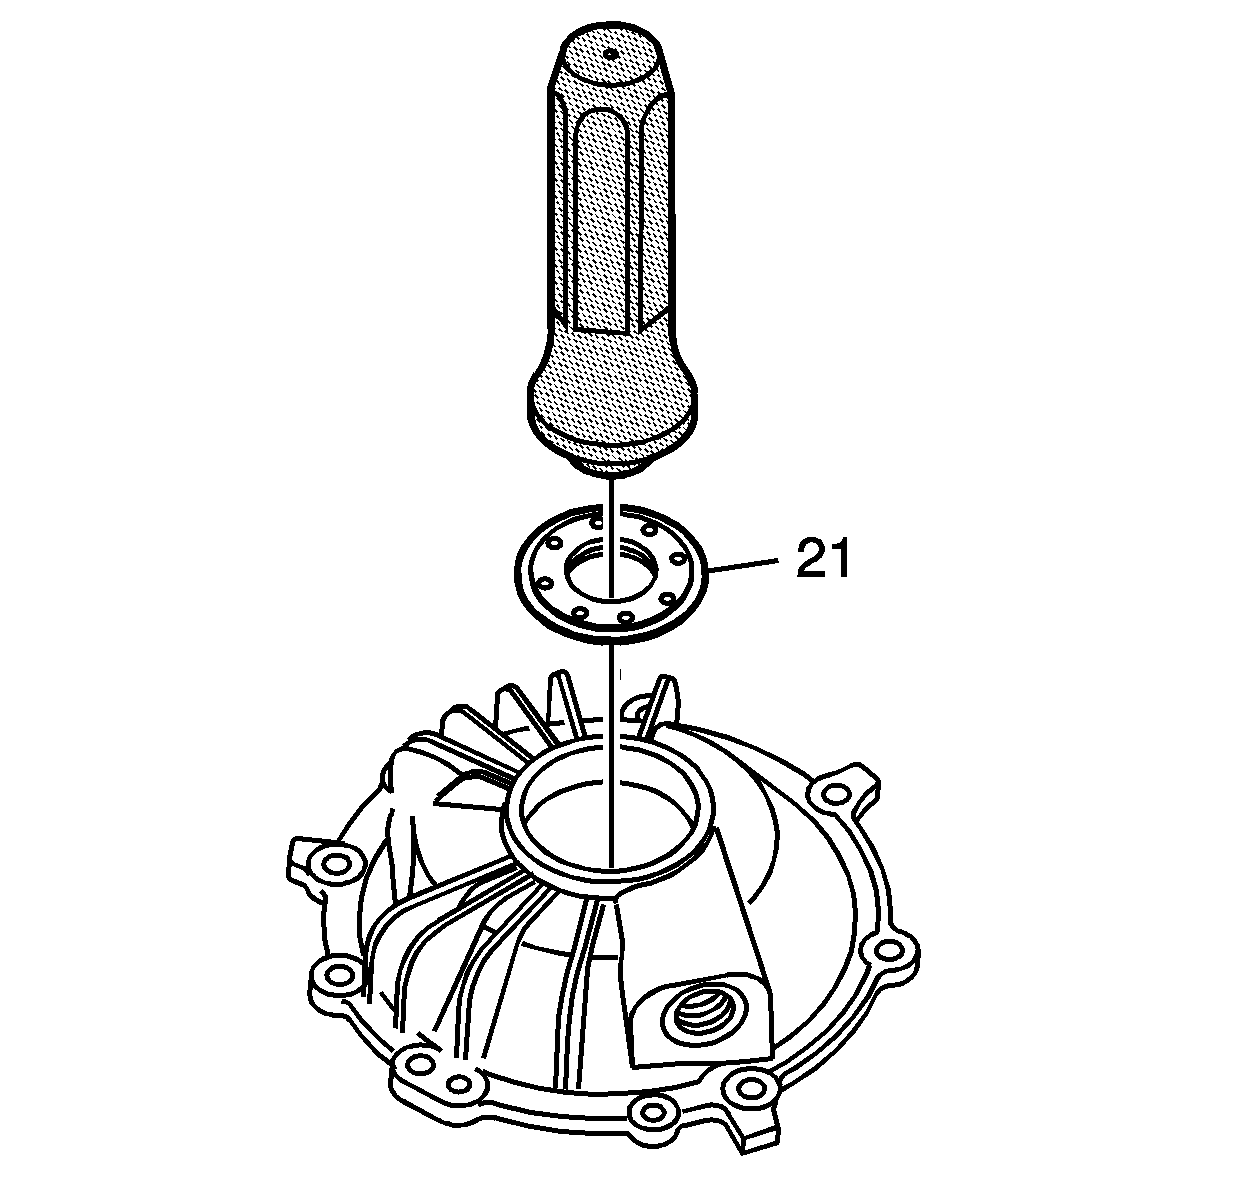
- Lightly lube the outside diameter of the oil seal with axle lube.
- Using the
J 45017
, install the right output shaft oil seal (21).
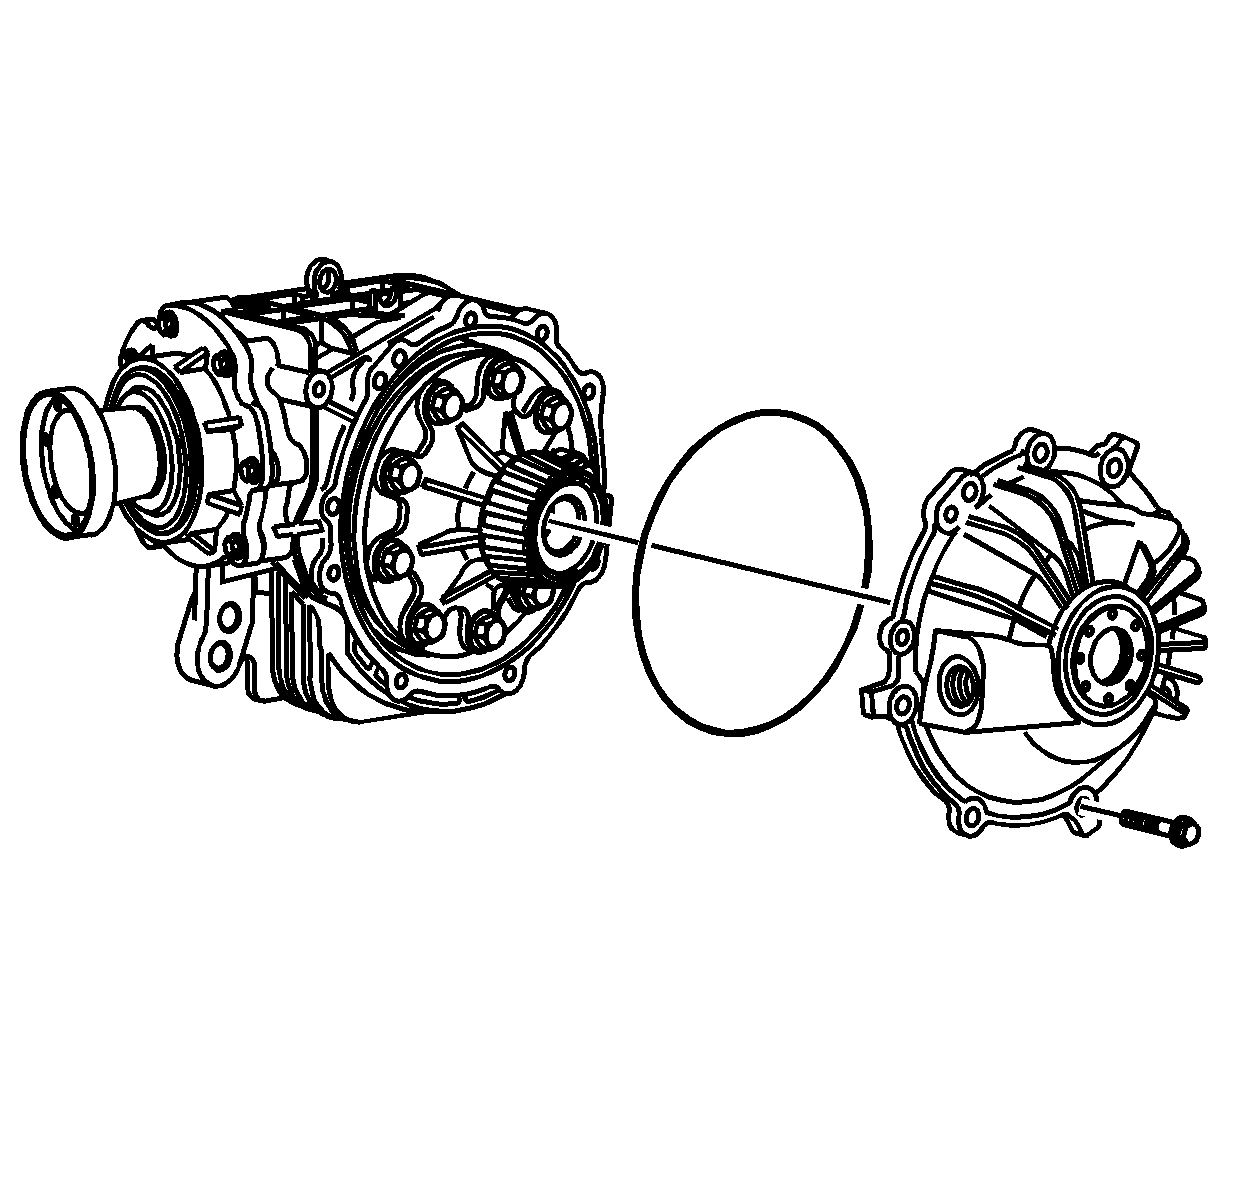
- Install a NEW carrier cover O-ring into the groove.
- Apply a light coat of gear lube to the O-ring area.
- Align the bolt holes and push cover onto the differential carrier evenly.
- Start the cover bolts in the holes by hand.
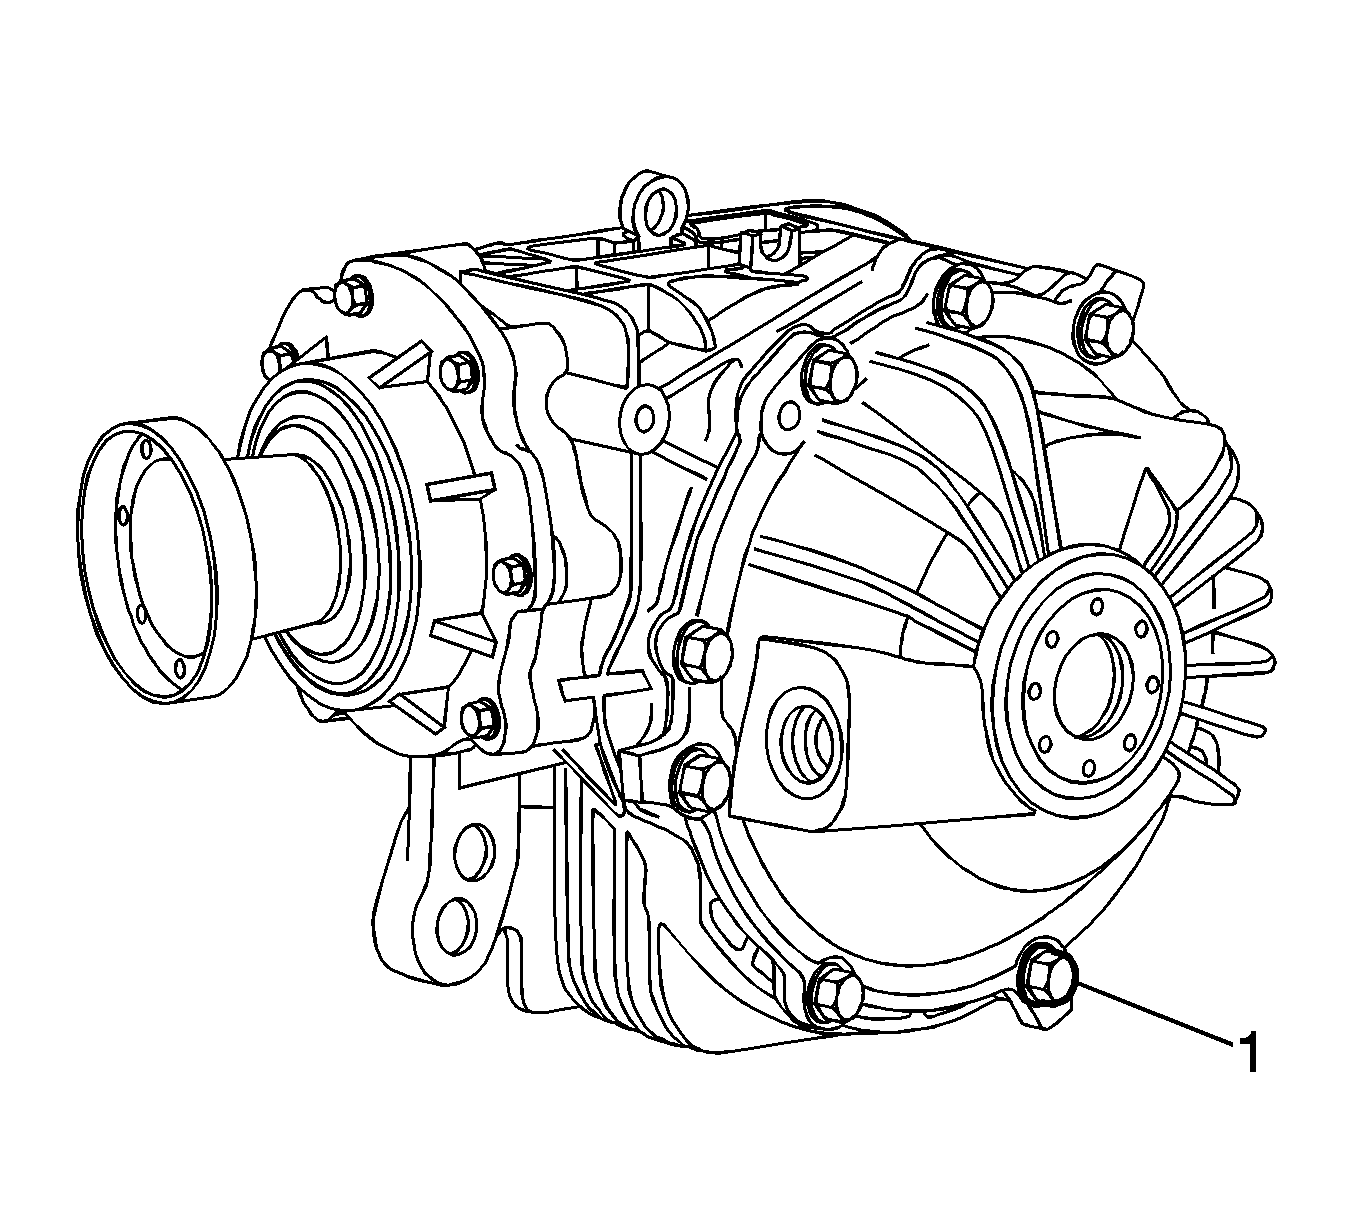
- Install the side cover mounting bolts (1).
Tighten
Tighten the cover bolts to 29 N·m (21 lb ft) in a criss-cross pattern.
- Install the drain plug. Refer to
- Install the carrier into the vehicle. Refer to
Differential Carrier Assembly Replacement
.
- Fill the differential with fluid. Refer to
Front Axle Lubricant Replacement
.


